Introduction
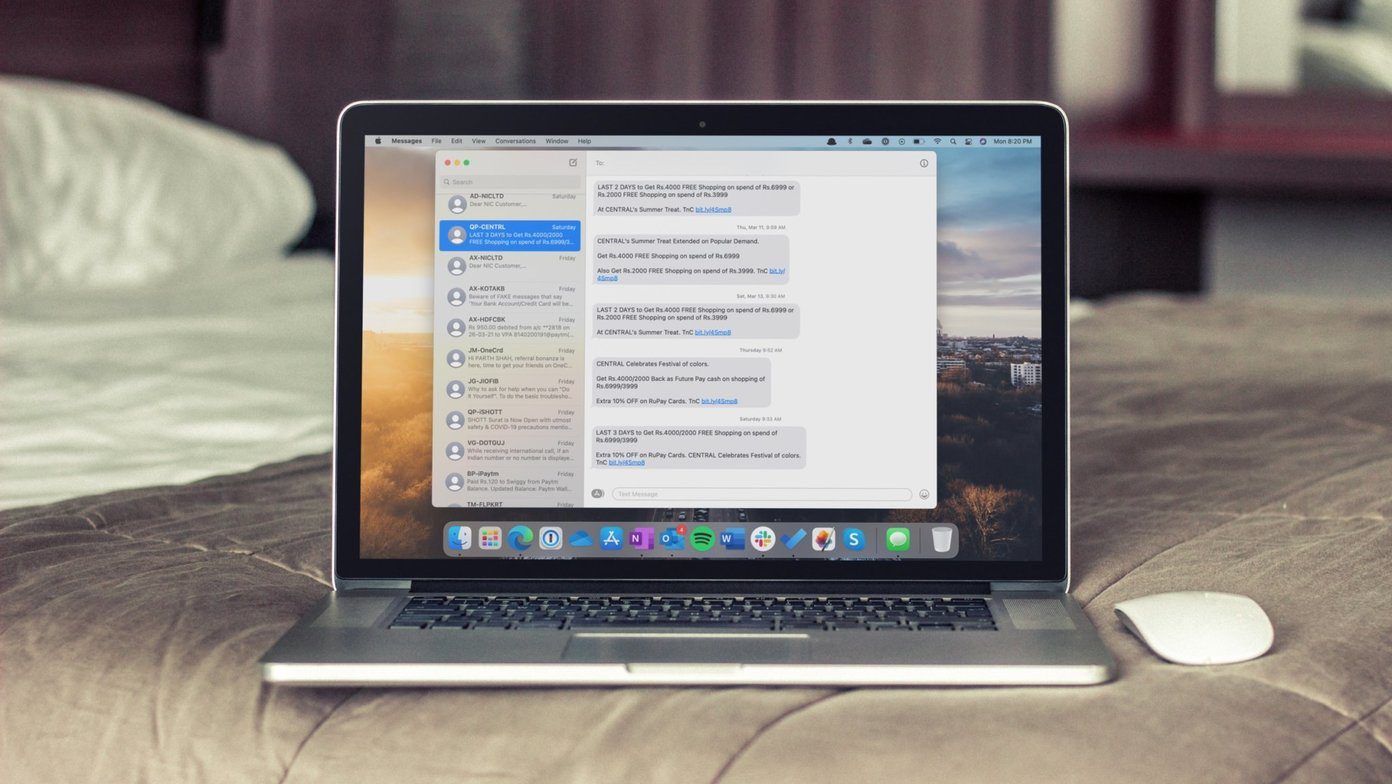
Welcome to the world of seamless communication with iMessage on your Mac! With iMessage, you can send messages, photos, and videos to your friends, family, and colleagues using your Mac’s built-in messaging app. Whether you’re working on important projects or simply catching up with loved ones, iMessage on Mac allows you to stay connected without having to rely on your iPhone or iPad.
In this article, we’ll guide you through the process of setting up iMessage on your Mac, so you can start enjoying the convenience of sending and receiving messages directly from your computer. The setup process is quick and easy, and with a few simple steps, you’ll be on your way to a seamless messaging experience across all your Apple devices.
Before we dive into the setup, make sure you have a compatible Mac computer running the latest version of macOS. It’s always a good idea to keep your operating system up to date to ensure you have access to the latest features and improvements.
So, without further ado, let’s get started with setting up iMessage on your Mac and embrace the world of convenient and effortless communication!
Step 1: Update your Mac’s operating system
Before you can set up iMessage on your Mac, it’s essential to ensure that your Mac’s operating system is up to date. Updating your macOS will not only provide you with the latest features and security enhancements but also ensure compatibility with iMessage.
To check for updates and install the latest version of the operating system, follow these simple steps:
- Click on the Apple menu in the top-left corner of your screen.
- Select “System Preferences” from the drop-down menu.
- In the System Preferences window, click on “Software Update.”
- If there are any available updates, you’ll see them listed. Click on “Update Now” to proceed with installing the updates.
- Follow the on-screen instructions to complete the update process. You may need to restart your Mac after the installation is finished.
It’s important to note that the update process may take some time, depending on the size of the update and the speed of your internet connection. Make sure that your Mac is connected to a stable internet connection and plugged into a power source to avoid any interruptions during the update.
Once your Mac’s operating system is up to date, you’re ready to move on to the next step of setting up iMessage on your Mac. Getting your Mac updated ensures that you have the latest features and improvements, providing you with a seamless and reliable messaging experience.
Step 2: Sign in to iCloud on your Mac
In order to use iMessage on your Mac, you’ll need to sign in to your iCloud account. iCloud is Apple’s cloud-based service that allows you to sync your data across all your Apple devices, including your Mac.
To sign in to iCloud on your Mac, follow these steps:
- Click on the Apple menu in the top-left corner of your screen.
- Select “System Preferences” from the drop-down menu.
- In the System Preferences window, click on “Apple ID.”
- If you haven’t signed in to your Apple ID, click on “Sign In” and enter your Apple ID and password. If you don’t have an Apple ID yet, you can create one by clicking on “Create Apple ID.”
- Once signed in, you’ll see your Apple ID details and options to manage your iCloud settings.
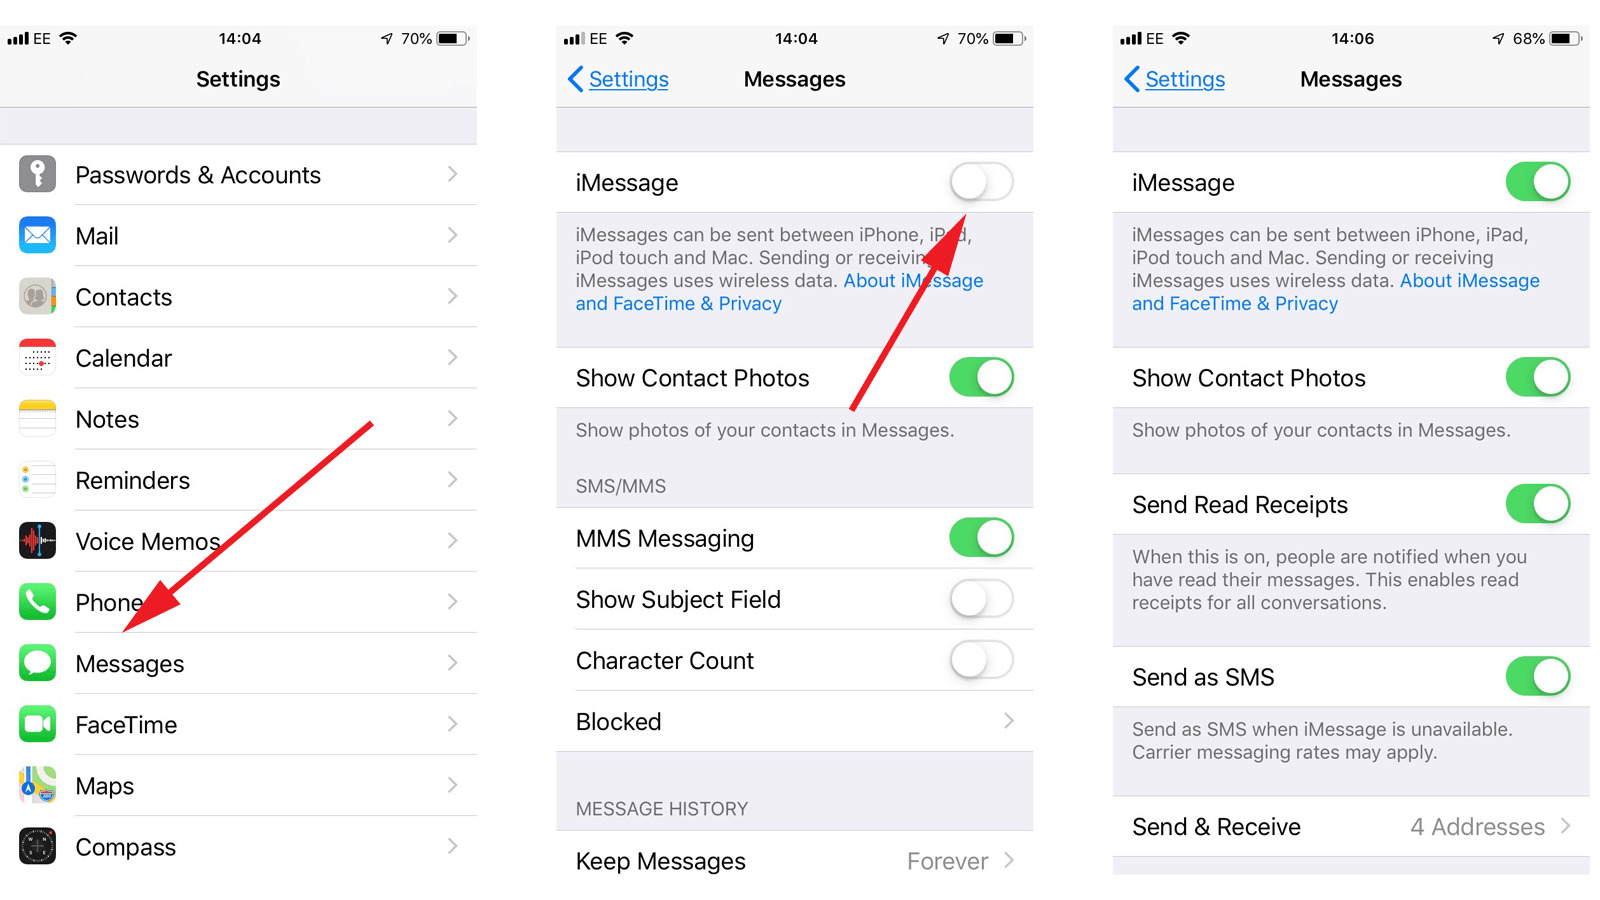
- Make sure that the box next to “iMessage” is checked. This will enable iMessage on your Mac and allow you to send and receive messages.
Signing in to iCloud on your Mac allows you to access your messages, conversations, and other data seamlessly across all your Apple devices. It also enables features like syncing your messages, notifications, and even SMS messages from your iPhone to your Mac.
Once you’re signed in to iCloud and have enabled iMessage on your Mac, you’re ready to take the next step in setting up iMessage and start enjoying the convenience of messaging directly from your Mac.
Step 3: Turn on iMessage on your Mac
Now that you’ve signed in to your iCloud account, it’s time to turn on iMessage on your Mac. By enabling iMessage, you’ll be able to send and receive messages using your Mac’s messaging app.
Follow these simple steps to turn on iMessage on your Mac:
- Launch the Messages app on your Mac. You can find it in the Applications folder or by using Spotlight.
- In the Messages menu at the top of your screen, click on “Preferences.”
- In the Preferences window, click on the “Accounts” tab.
- You’ll see your iCloud account listed on the left-hand side. Make sure the box next to your iCloud account is checked.
- If you have multiple accounts, such as Google or Yahoo, you can add them by clicking on the “+” button at the bottom left and following the on-screen instructions.
- Once you’ve enabled iMessage and added any additional accounts, close the Preferences window.
After turning on iMessage on your Mac, you’ll notice that your messages and conversations from your iPhone or other Apple devices will start syncing to your Mac. This allows you to seamlessly continue your conversations across all your devices.
Additionally, when you enable iMessage on your Mac, you’ll be able to send and receive messages with other iMessage users, whether they’re using an iPhone, iPad, or another Mac. This makes it easy to stay connected with friends, family, and colleagues, even if you don’t have your iPhone or iPad nearby.
With iMessage activated on your Mac, you’re one step closer to enjoying the convenience of messaging directly from your computer. Now, let’s move on to the next step and verify your phone number and email addresses to ensure seamless messaging across all your devices.
Step 4: Verify your phone number and email addresses
In order to fully utilize iMessage on your Mac and ensure seamless messaging, it’s important to verify your phone number and email addresses. Verifying these details will allow iMessage to associate them with your Apple ID and ensure that messages can be sent and received from your Mac.
Follow these steps to verify your phone number and email addresses:
- Open the Messages app on your Mac.
- In the menu at the top of the screen, click on “Preferences.”
- In the Preferences window, select the “Accounts” tab.
- Click on your iCloud account on the left-hand side.
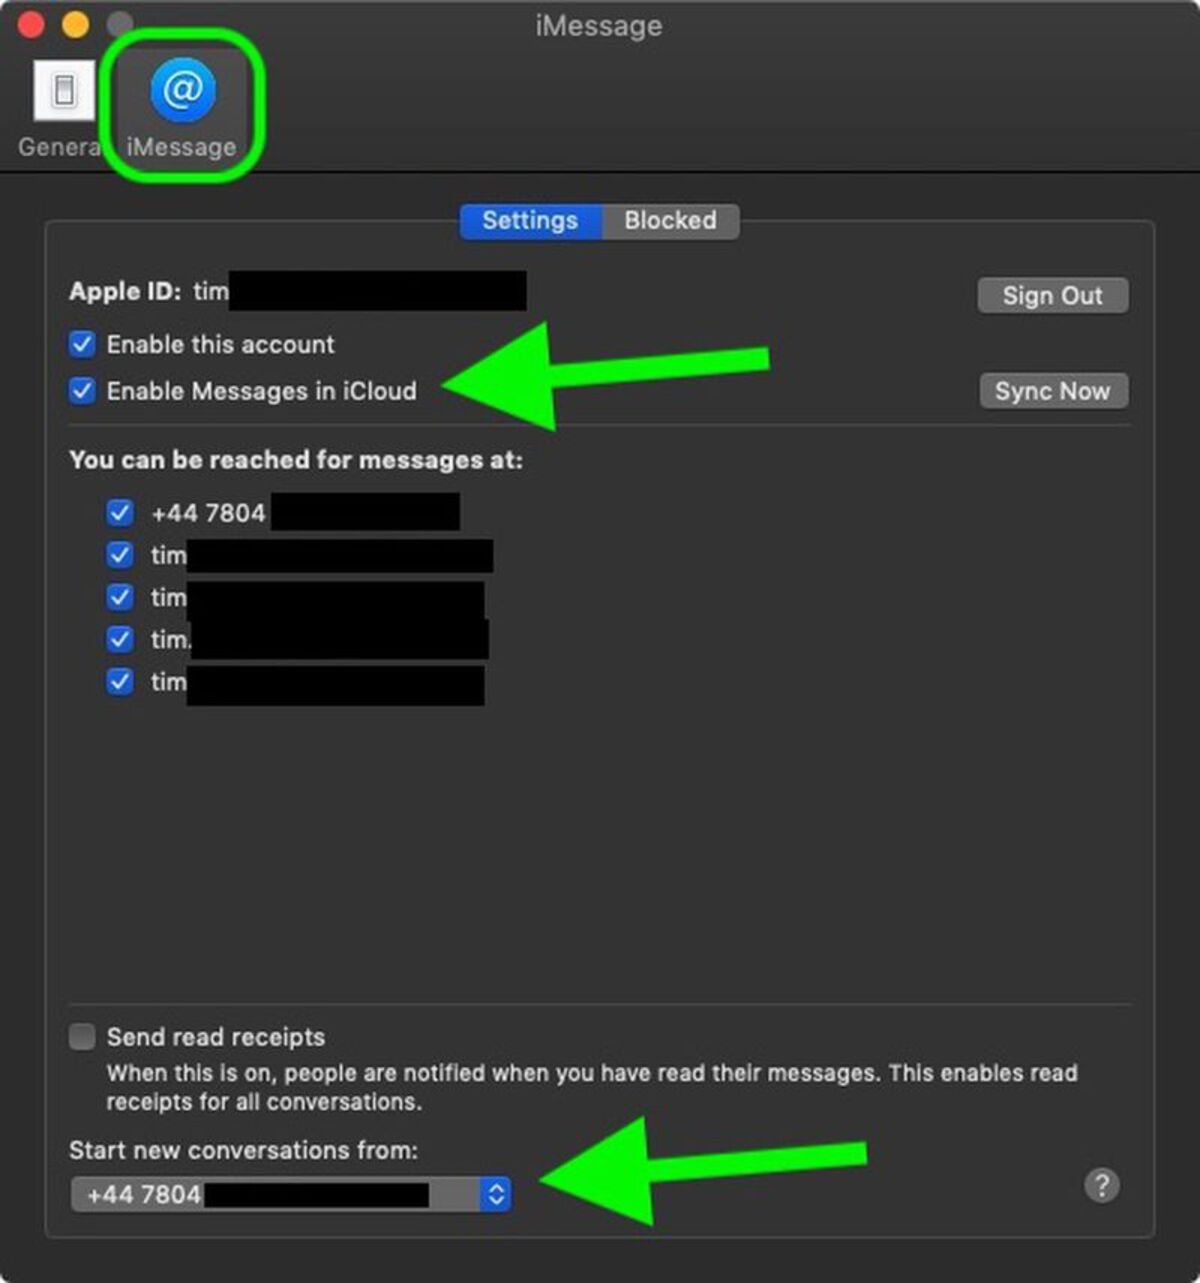
- Under the “You can be reached for messages at” section, make sure your phone number listed is correct. If not, click on “Enable” and follow the prompts to add your phone number.
- Beneath the phone number section, you’ll see a list of email addresses associated with your Apple ID. Verify that these email addresses are correct and active. You can add additional email addresses by clicking on “Add Email…” and following the instructions.
- Once you’ve verified your phone number and email addresses, close the Preferences window.
Verifying your phone number and email addresses ensures that iMessage can identify you as the sender and recipient of messages, regardless of which device you’re using. This means that messages can seamlessly sync and be delivered to your Mac, iPhone, or other Apple devices.
By verifying your contact information, you can easily receive iMessages on your Mac and reply to them using your keyboard and the Messages app. Plus, with your phone number and email addresses associated with your Apple ID, others can easily find and message you across all your devices.
Now that you’ve verified your phone number and email addresses, your iMessage setup is nearly complete! Let’s move on to the next step and sync your iMessage conversations with your Mac.
Step 5: Sync your iMessage conversations with your Mac
One of the great advantages of using iMessage on your Mac is the ability to sync your conversations across all your Apple devices. This means that you can seamlessly continue your conversations from your iPhone or iPad on your Mac, without missing a beat.
Follow these steps to sync your iMessage conversations with your Mac:
- Open the Messages app on your Mac.
- In the menu at the top of the screen, click on “Preferences.”
- In the Preferences window, select the “Accounts” tab.
- Ensure that your iCloud account is selected on the left-hand side.
- Under the “Enable Messages in iCloud” section, check the box next to “Enable Messages in iCloud.”
- Click on the “Sync Now” button to initiate the synchronization process.
- Wait for the sync to complete. This may take a few moments, depending on the number of conversations and the speed of your internet connection.
Once the sync is complete, you’ll notice that your iMessage conversations from your other Apple devices will be available on your Mac. Any messages you send or receive on your iPhone or iPad will be mirrored on your Mac, ensuring that you have access to your conversations wherever you are.
Syncing your iMessage conversations also helps keep your messages organized and up to date. If you delete a message on one device, it’ll be deleted on all your devices, keeping your conversations consistent across the board.
With your iMessage conversations now synced with your Mac, you can easily switch between devices and seamlessly continue your conversations without missing a message. It’s a convenient feature that allows you to stay in touch with friends, family, and colleagues without any hassle.
Now that your conversations are in sync, let’s move on to the next step and customize your iMessage settings for a personalized messaging experience.
Step 6: Customize your iMessage settings
Now that you have set up iMessage on your Mac and synced your conversations, it’s time to customize your iMessage settings according to your preferences. Customizing these settings allows you to personalize your messaging experience and optimize iMessage to suit your needs.
Here are some key aspects you can customize in your iMessage settings:
- Notification preferences: Click on the Apple menu in the top-left corner of your screen and select “System Preferences.” Then, click on “Notifications” and locate the Messages app. From here, you can choose how you want to be notified about new messages, whether it’s with a sound, a badge, or a banner.
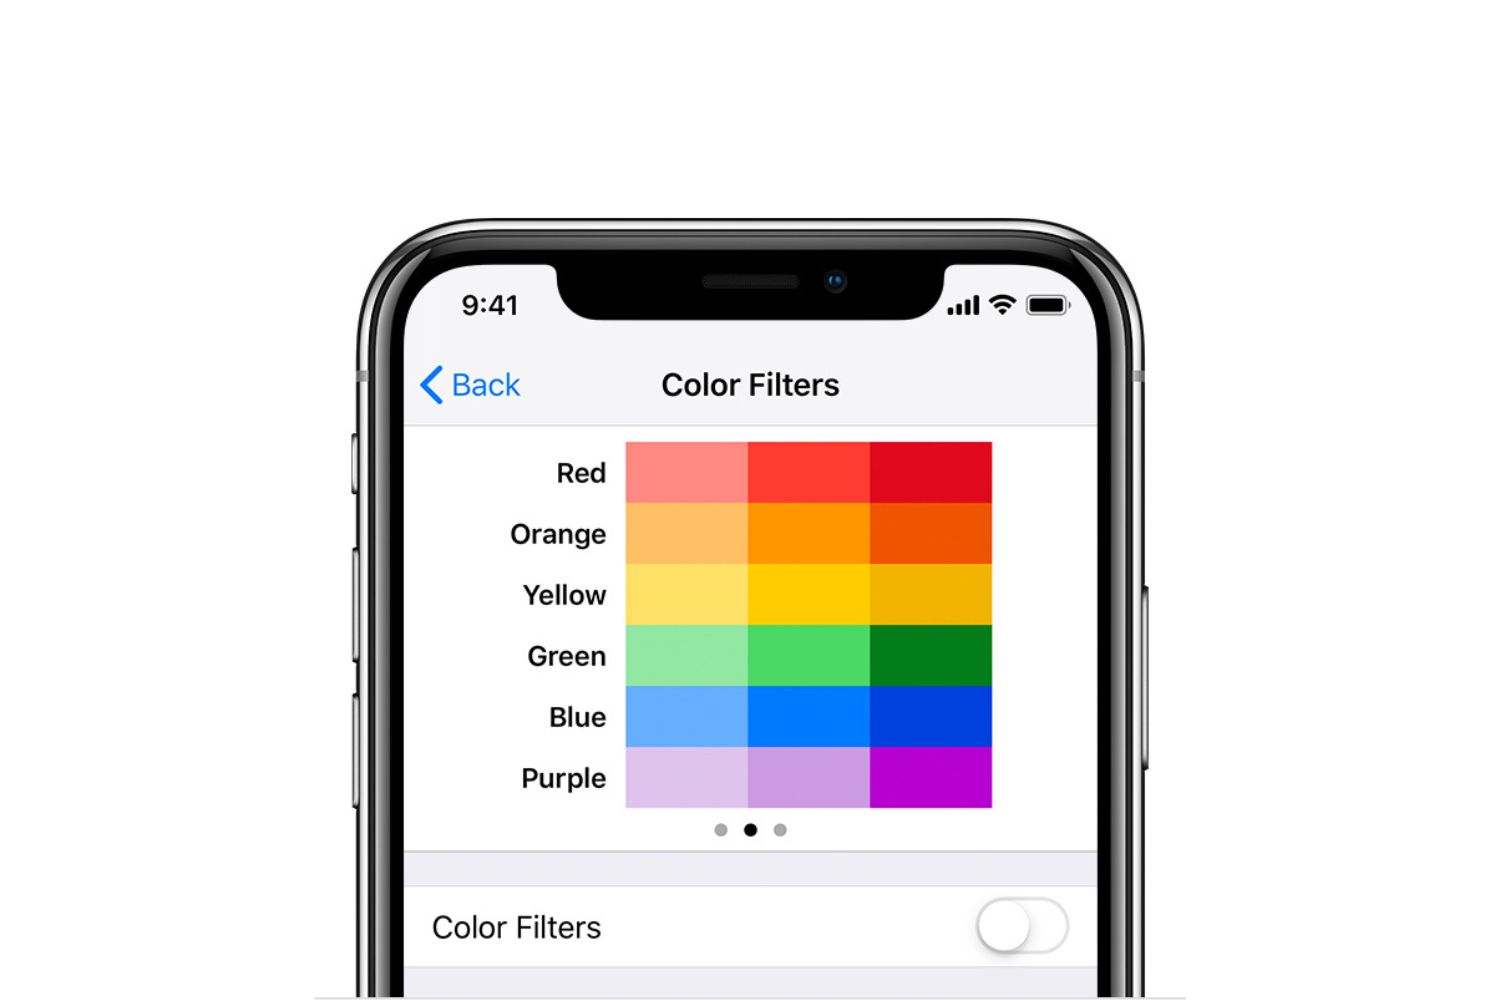
- Appearance options: Within the Messages app, click on “Preferences” in the menu at the top of the screen. You can choose your preferred message bubble color, as well as the font style and size for your messages.
- Message forwarding: If you have multiple Apple devices, you may want to enable message forwarding to receive and send messages from your Mac. Go to the Messages preferences and select the “Text Message Forwarding” option. Follow the prompts to enable this feature.
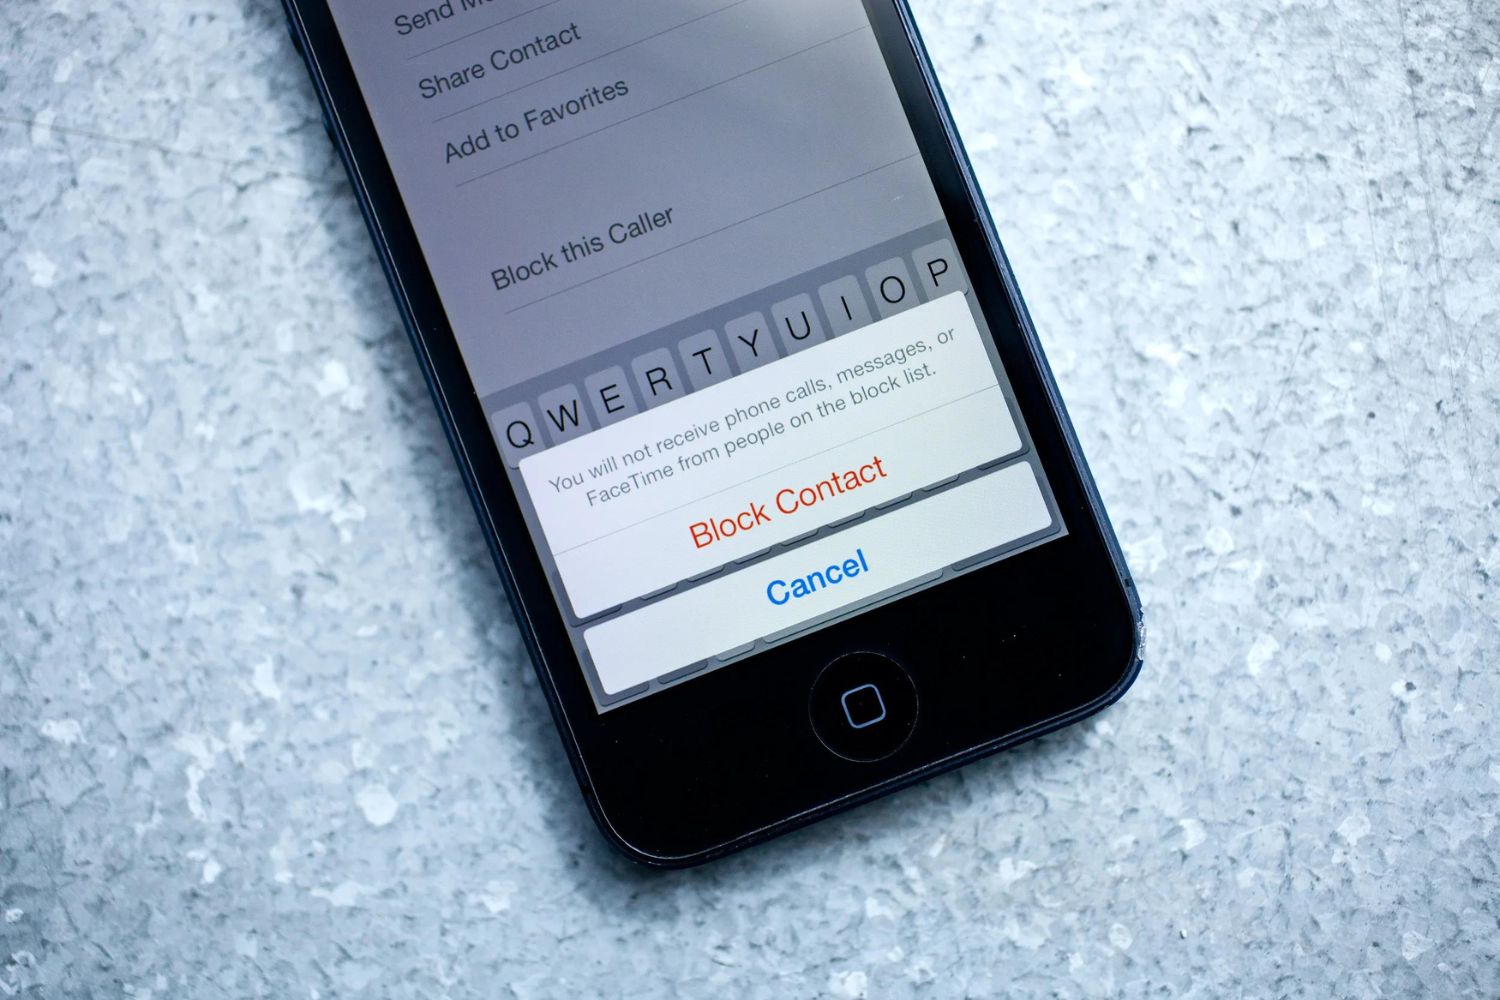
- Block contacts: If you want to prevent certain individuals from contacting you via iMessage, you can block them. Open a conversation with the contact, click on “Details” in the top-right corner, and select “Block this Caller.”
- Manage attachments and media: You can specify how iMessage handles media, such as photos and videos, that you send and receive. In the Messages preferences, go to the “General” tab and choose your preferences for automatic image and video downloads.
These are just a few examples of the customization options available in iMessage. Feel free to explore the preferences and settings to customize your messaging experience according to your preferences.
Customizing your iMessage settings ensures that the app works the way you want it to, providing you with a personalized and enjoyable messaging experience on your Mac. Take some time to adjust the settings to match your style and preferences.
Now that you have customized your iMessage settings, you’re all set to enjoy the convenience and flexibility of messaging on your Mac. Stay connected with friends, family, and colleagues with ease, right from your computer.
Conclusion
Congratulations! You have successfully set up iMessage on your Mac, allowing you to send and receive messages, photos, and videos directly from your computer. By following these simple steps, you have unlocked the convenience of seamless communication across all your Apple devices.
We began by ensuring that your Mac’s operating system is up to date, which is crucial for a smooth iMessage experience. Next, you signed in to your iCloud account, which serves as the backbone for syncing your messages and contacts. Then, we turned on iMessage and verified your phone number and email addresses, ensuring that messages can be sent and received on your Mac.
We then synced your iMessage conversations, allowing you to pick up where you left off on your Mac or other Apple devices. Finally, we explored the customization options available in iMessage settings, enabling you to personalize your messaging experience to suit your preferences.
With iMessage on your Mac, you now have the flexibility to stay connected, whether you’re working on important projects or catching up with loved ones. Enjoy the convenience of sending messages from your keyboard, accessing your conversations seamlessly across devices, and customizing the appearance and notification settings to your liking.
Remember to keep your Mac’s software updated to ensure the best iMessage experience and take advantage of any new features and security enhancements that Apple releases.
Now that you’re all set, it’s time to start enjoying the benefits of iMessage on your Mac. Stay connected, share moments, and have meaningful conversations with the simplicity and convenience that iMessage brings to your fingertips.