Introduction
Welcome to our guide on how to check iMessage history. iMessage is a popular messaging platform that allows Apple users to send text messages, photos, videos, and more to other Apple device owners. While iMessage offers a seamless and convenient way to communicate, you may find yourself in situations where you need to review your message history for various reasons.
In this article, we will explore different methods to check your iMessage history on various Apple devices, including iPhones, Macs, and iPads. Whether you want to revisit an important conversation, recover deleted messages, or simply keep a record of your chats, we’ve got you covered.
Before we dive into the methods, it’s important to note that iMessage history is specific to each device. This means that if you use iMessage on multiple devices, such as an iPhone and a Mac, the message history will not sync automatically across all devices. However, each device will retain its own message history.
Now, let’s explore the different methods you can use to check your iMessage history on specific devices. Whether you are an iPhone, Mac, or iPad user, we’ve got step-by-step instructions to help you access and review your past iMessage conversations.
Prerequisites
Before you proceed with checking your iMessage history, there are a few prerequisites you need to ensure:
- An Apple device: To access your iMessage history, you will need either an iPhone, Mac, or iPad. Make sure you have one of these devices available.
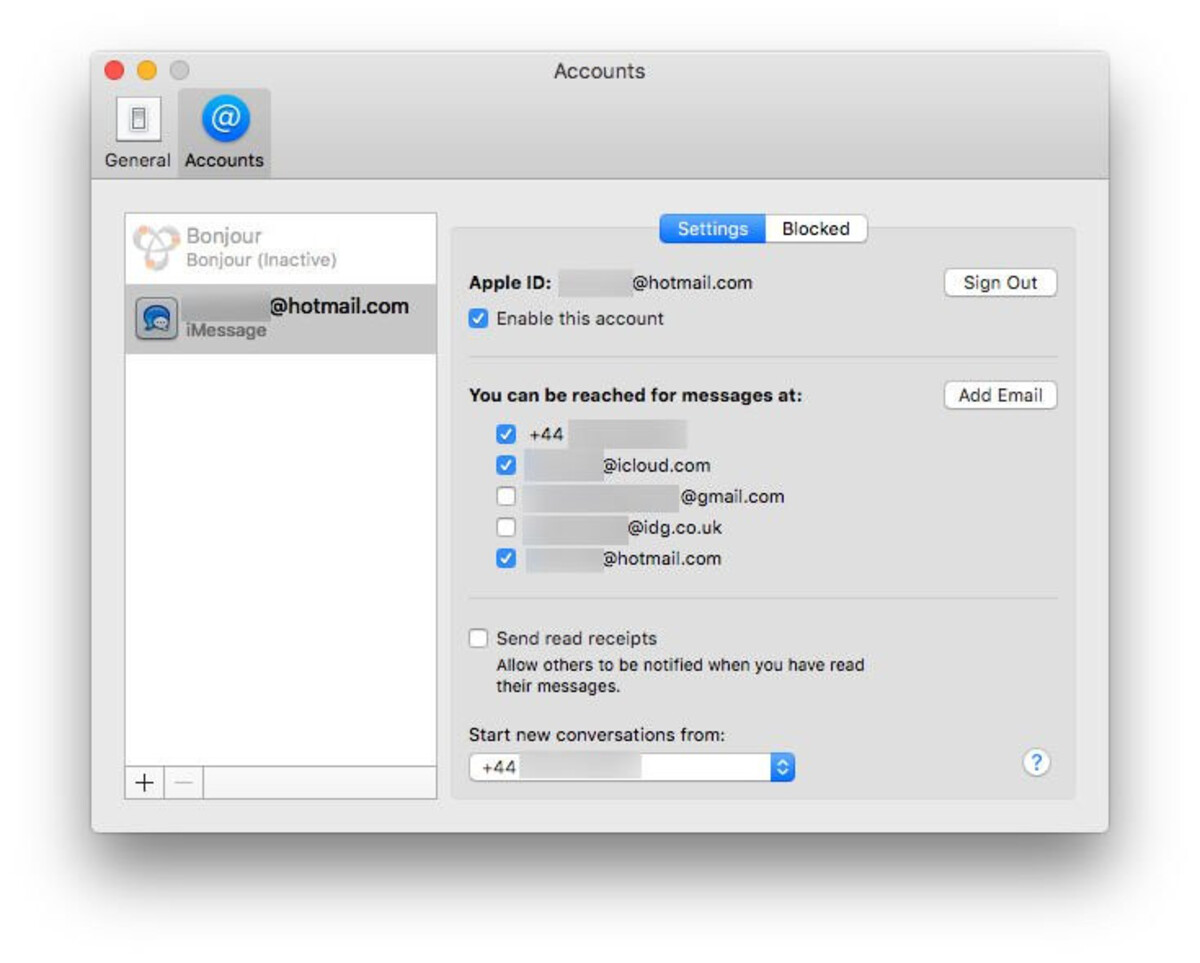
- iMessage enabled: Ensure that iMessage is activated on your device. You can check this by going to Settings on your iPhone or iPad, or by accessing the Messages app on your Mac.
- iCloud backup (optional): If you want to recover deleted iMessages or access message history from a previous backup, make sure that you have enabled iCloud backup on your device. This will allow you to restore messages from a saved backup.
- Latest software update: It is always recommended to have the latest software update installed on your device. This ensures compatibility and may provide additional features or bug fixes related to iMessage.
Once you have met these prerequisites, you are ready to proceed with checking your iMessage history. Now, let’s move on to the specific instructions for each device.
Method 1: Checking iMessage History on iPhone
To check your iMessage history on an iPhone, follow these steps:
- Open the Messages app on your iPhone. This app usually has a green icon with a white speech bubble.
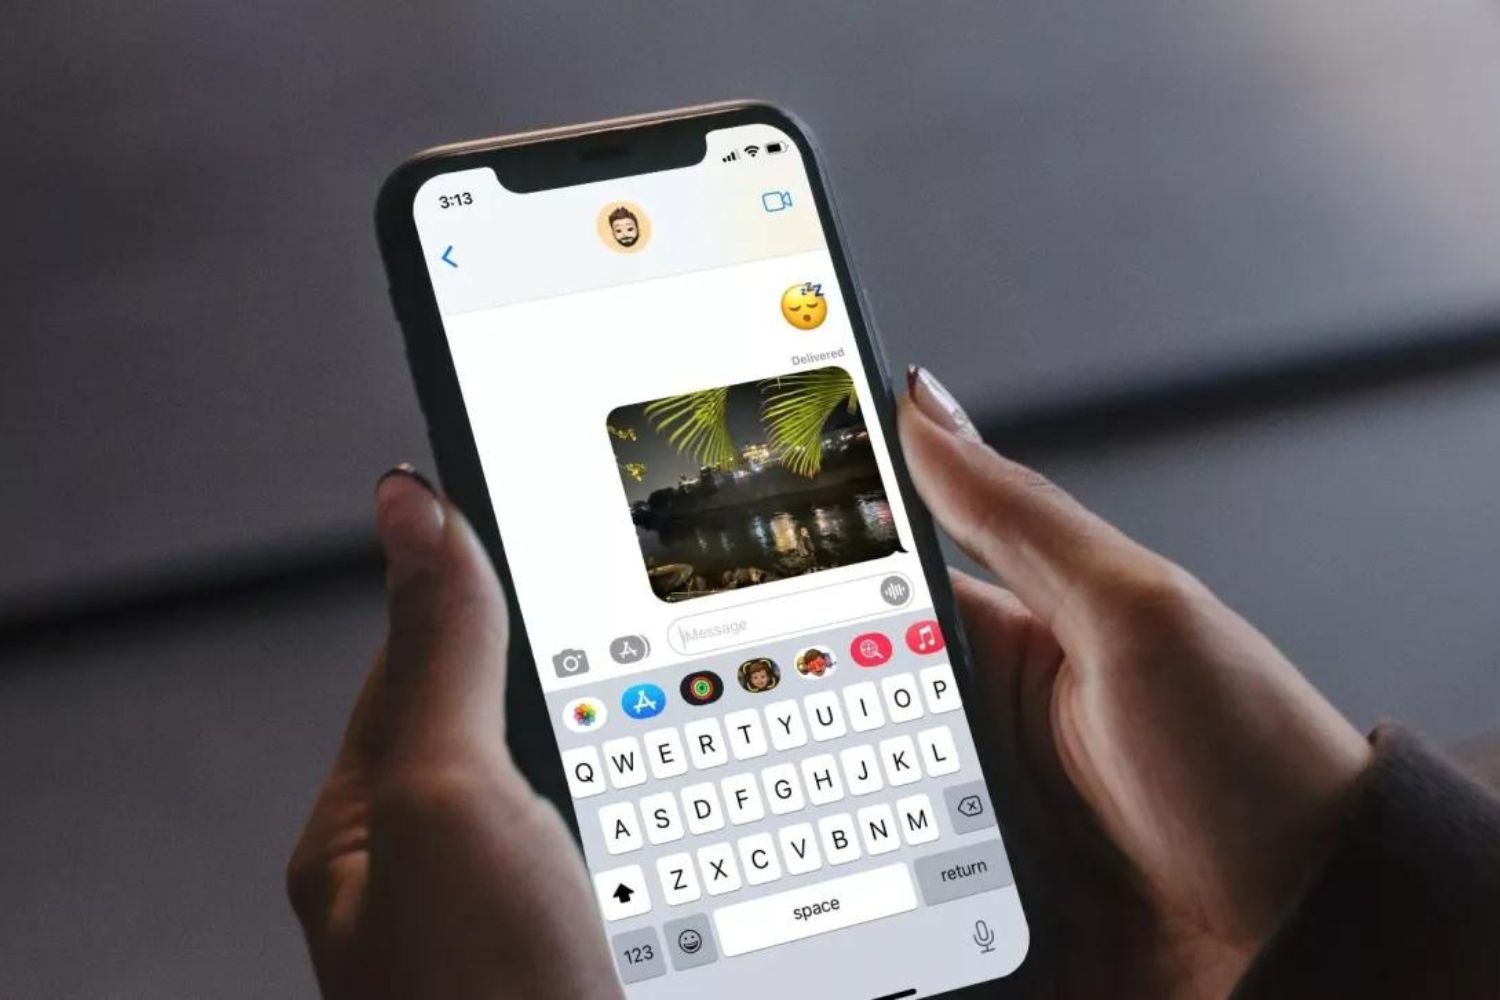
- In the Messages app, tap on the conversation you want to view the history for. This will open the conversation thread.
- Swipe up on the screen to reveal older messages. Keep swiping up until you reach the beginning of the conversation or the desired point you want to review.
- You can also use the search bar at the top of the screen to search for specific keywords or phrases within your iMessage history.
That’s it! You can now review your iMessage history on your iPhone. Keep in mind that the amount of history available may depend on your device’s storage capacity and message settings. Older messages may be automatically deleted to free up space.
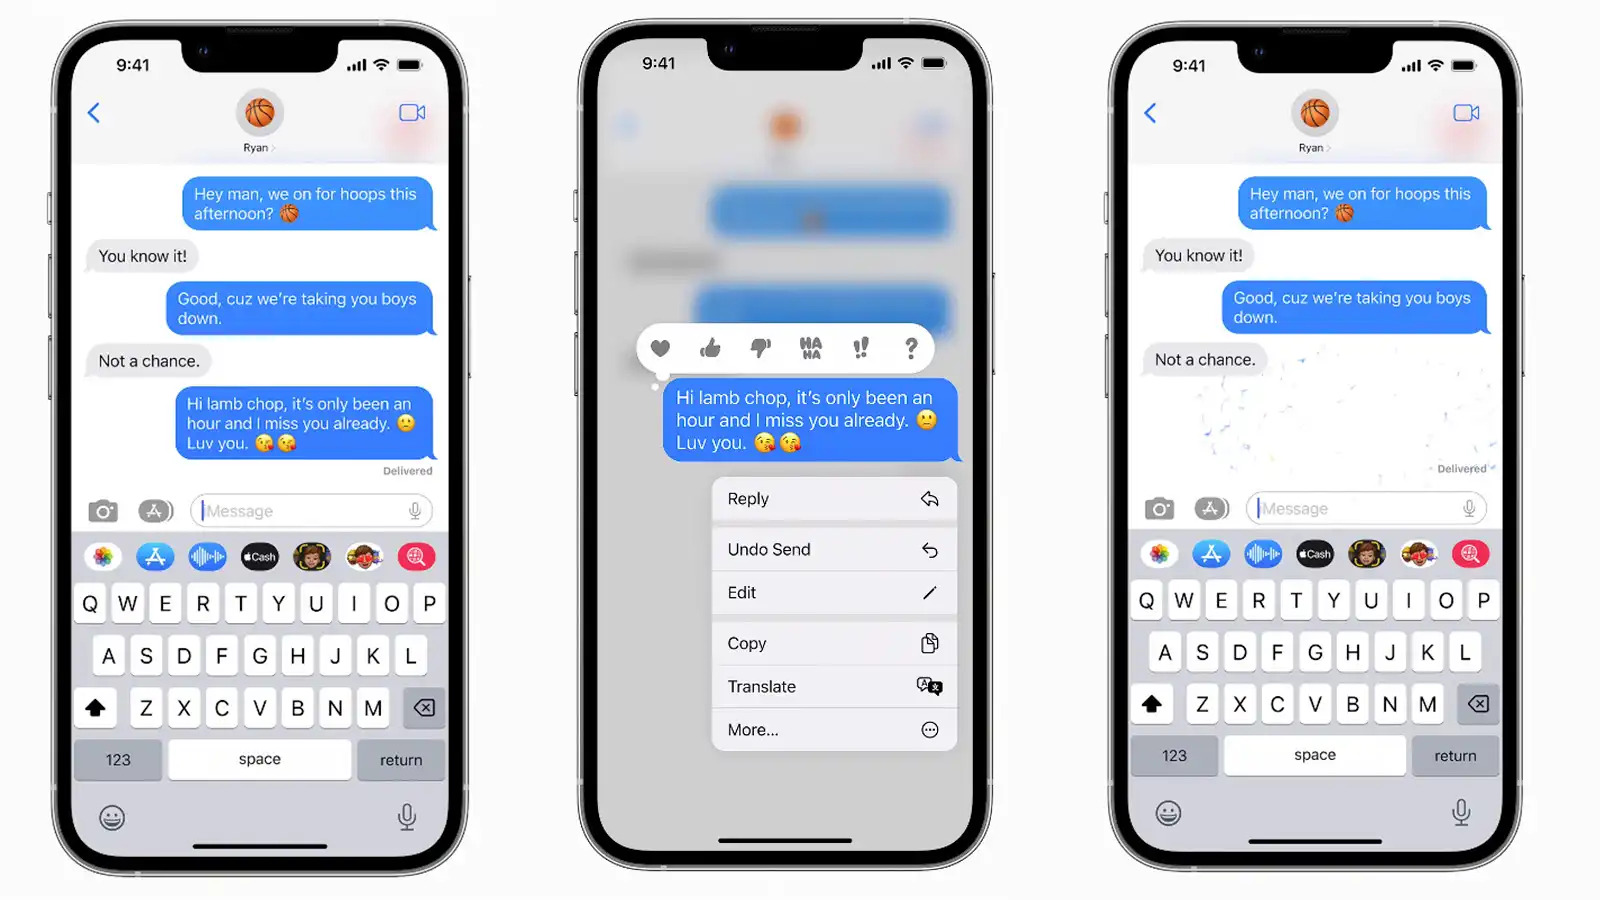
If you want to save a copy of your iMessage history for future reference, you can take a screenshot of the conversation or use the “Copy” option to paste the messages into another application like Notes or Email.
Now let’s move on to the next method, which involves checking iMessage history on a Mac.
Method 2: Checking iMessage History on Mac
If you prefer to check your iMessage history on a Mac, here’s how you can do it:
- Launch the Messages app on your Mac. You can find it in the Applications folder or by searching for it using Spotlight.
- In the Messages app, select the conversation you want to view the history for from the sidebar. The conversation will appear in the main window.
- Scroll up in the chat window to view older messages. Continue scrolling until you reach the desired point in the conversation.
- If you have a large message history and need to search for specific messages, you can use the search bar at the top-right corner of the Messages window. Enter a keyword or phrase and Messages will display matching results.
That’s it! You can now review your iMessage history on your Mac. The Messages app on Mac provides a convenient interface with a larger screen, allowing for easier navigation through your conversations and a broader view of your message history.
Similar to the iPhone method, you can also save your iMessage history on Mac by taking screenshots or copying and pasting the messages into another application.
Now let’s move on to the final method, which involves checking iMessage history on an iPad.
Method 3: Checking iMessage History on iPad
If you have an iPad and want to check your iMessage history on it, follow these steps:
- Unlock your iPad and locate the Messages app on the home screen. The app icon resembles a green speech bubble.
- Tap on the Messages app to open it.
- In the Messages app, find the conversation you want to view the history for and tap on it. The conversation window will appear.
- Swipe upwards on the conversation window to reveal older messages. Continue swiping until you reach the desired point in the conversation or the beginning of the conversation.
- Similar to the other methods, you can use the search bar at the top of the screen to search for specific keywords or phrases within your iMessage history.
That’s it! You can now easily check your iMessage history on your iPad. The process is similar to checking iMessage history on an iPhone, with the added advantage of the larger screen size on an iPad, which makes it even more convenient for reviewing your conversations.
Just like on iPhone and Mac, you can also save your iMessage history on iPad by taking screenshots or copying and pasting the messages into other apps.
Now that you know how to check iMessage history on your iPhone, Mac, and iPad, let’s address some potential issues and troubleshooting tips in the next section.
Potential Issues and Troubleshooting
While checking iMessage history is typically a straightforward process, you may encounter a few issues along the way. Here are some common problems and troubleshooting tips:
- Syncing issues: If you have multiple Apple devices and notice that your iMessage history is not syncing between them, make sure that you are signed in to the same Apple ID on all devices. Additionally, ensure that the iMessage feature is enabled on each device.
- Missing messages: If you cannot find certain messages in your iMessage history, it could be due to the automatic deletion of older messages. Check your device’s message settings to see if there are any restrictions on the storage or duration of message history.
- Deleted messages: If you have accidentally deleted iMessages and want to recover them, you can try restoring from a recent iCloud backup. Keep in mind that this will replace the current content on your device with the backup, so ensure that you have backed up your device before proceeding.
- Message search problems: If you are having difficulties finding specific messages using the search feature, ensure that you are entering the correct keyword or phrase. You can also try to restart the Messages app or restart your device to resolve any temporary glitches.
- Software compatibility: If you are experiencing issues with checking iMessage history, make sure that your device’s software is up to date. Update to the latest version of iOS or macOS, depending on your device, as this can often resolve compatibility issues and improve functionality.
If you encounter any other issues or have specific questions regarding your iMessage history, it may be helpful to visit the Apple Support website or reach out to Apple Support directly for further assistance.
Now that you are aware of potential issues and troubleshooting tips, let’s wrap up this guide.
Conclusion
In conclusion, checking your iMessage history is relatively simple, regardless of whether you are using an iPhone, Mac, or iPad. By following the methods outlined in this guide, you can easily access and review your past iMessage conversations.
On your iPhone, you can open the Messages app, select the conversation, and swipe up to reveal older messages. On your Mac, open the Messages app, select the conversation from the sidebar, and scroll up to view older messages. On your iPad, open the Messages app, select the conversation, and swipe upwards to reveal older messages.
Remember to ensure that iMessage is enabled on all your Apple devices and consider enabling iCloud backup to have the option to recover deleted iMessages or access message history from previous backups.
If you face any syncing issues, missing messages, or other problems, refer to the troubleshooting tips provided in this guide. It’s important to keep your device’s software up to date as well.
We hope this guide has helped you in checking your iMessage history and resolving any issues you may have encountered. Now you can easily revisit conversations, recover important messages, or maintain a record of your chats.
Thank you for reading, and we hope you found this guide helpful. Happy messaging!


