Introduction
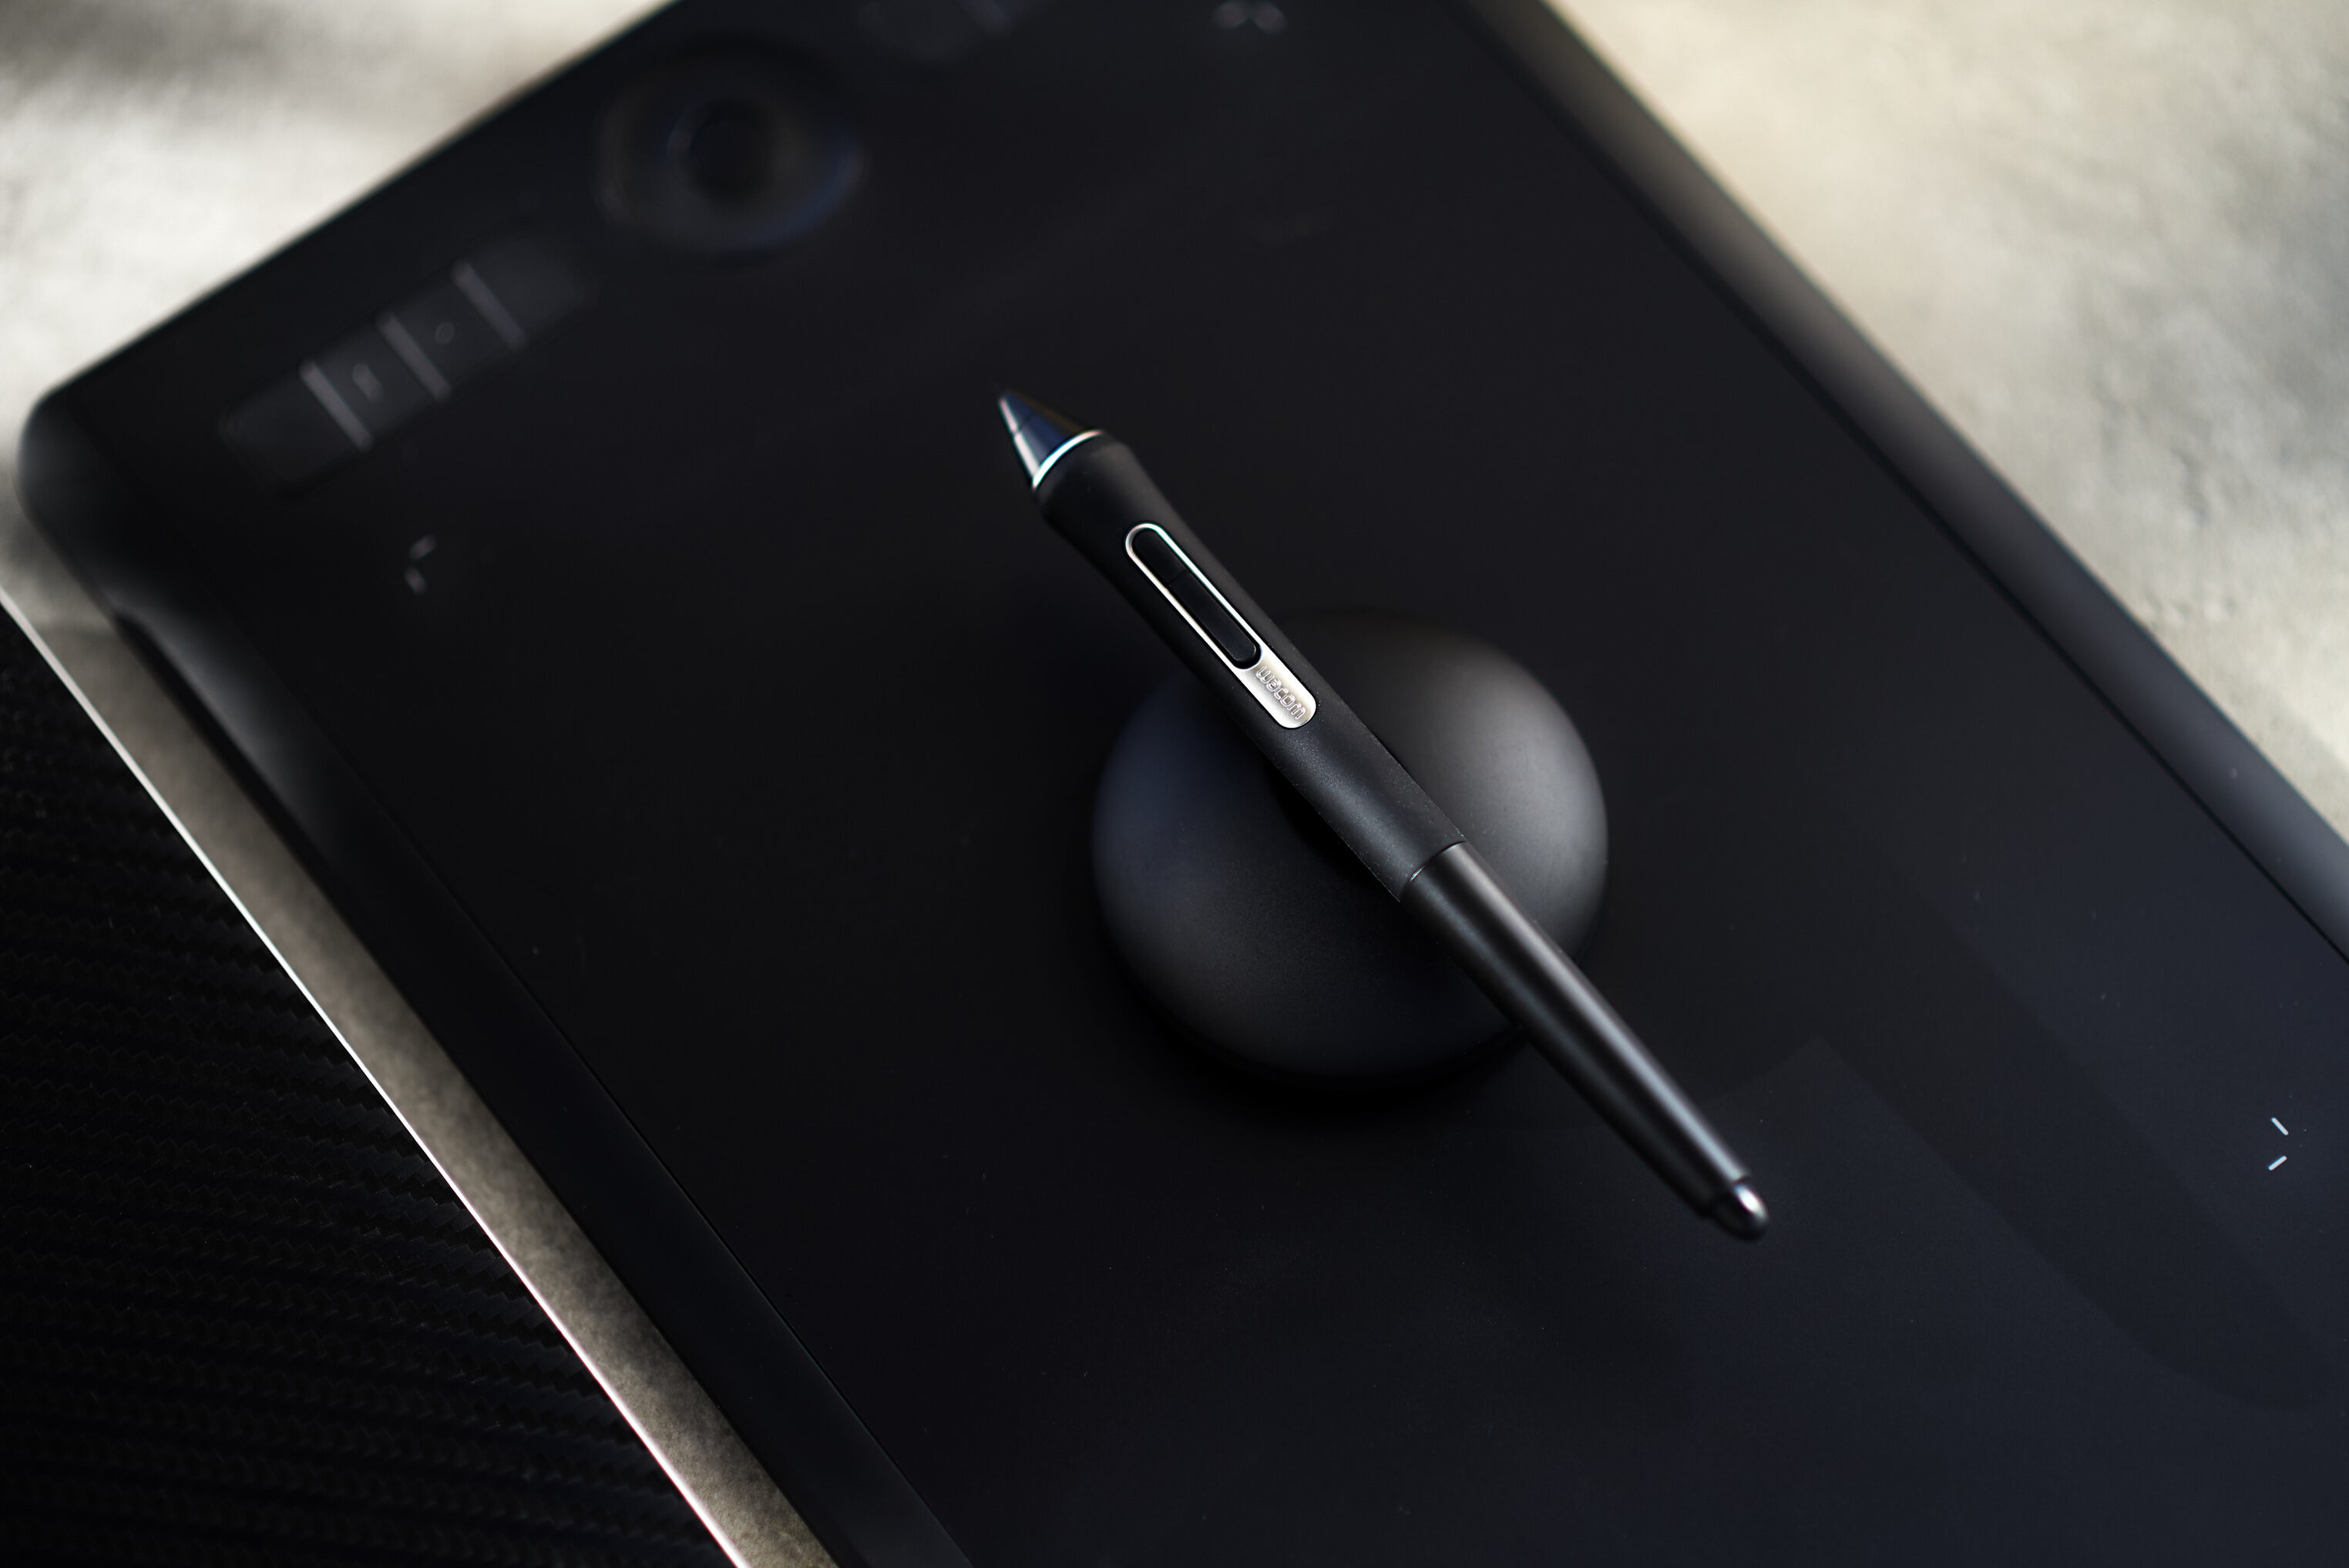
Welcome to our guide on how to set up buttons on your Wacom tablet. If you’re an artist, graphic designer, or anyone who regularly uses a Wacom tablet for digital work, customizing the buttons on your tablet can greatly enhance your productivity and workflow. Wacom tablets come with a range of programmable buttons, which allows you to assign various functions and shortcuts to them. This can save you time and effort by eliminating the need to navigate through menus or use keyboard shortcuts.
Setting up the buttons on your Wacom tablet is a straightforward process that requires installing the necessary software, connecting the tablet to your computer, and customizing the button settings to suit your preferences. Whether you want to assign common functions like Undo/Redo, Zoom, or Brush Size, or you wish to create custom shortcuts for specific software applications, this guide will walk you through the step-by-step process.
By the end of this guide, you will have a better understanding of how to harness the full potential of your Wacom tablet by configuring its buttons to optimize your digital workflow. So, let’s get started!
Step 1: Installing the Wacom Tablet Software
The first step in setting up the buttons on your Wacom tablet is to install the necessary software. The software enables your computer to communicate with and recognize your tablet, allowing you to customize its settings.
To install the Wacom tablet software, follow these steps:
- Start by visiting the official Wacom website (www.wacom.com) and navigate to the Support section.
- Search for the specific model of your Wacom tablet and locate the drivers/software downloads for your operating system.
- Download the latest version of the drivers/software and run the installation file.
- Follow the on-screen instructions to complete the installation process.
- Once the software installation is complete, connect your Wacom tablet to your computer using the provided USB cable.
Upon connecting your Wacom tablet, your computer should detect the device automatically. If prompted, follow any additional on-screen instructions to ensure proper installation.
It is essential to keep your tablet drivers up-to-date to ensure compatibility with the latest software updates and operating system changes. Therefore, periodically check the Wacom website for any available driver updates and install them accordingly.
Now that you have successfully installed the Wacom tablet software and connected the tablet to your computer, you are ready to move on to the next step: opening the software and accessing the customization options.
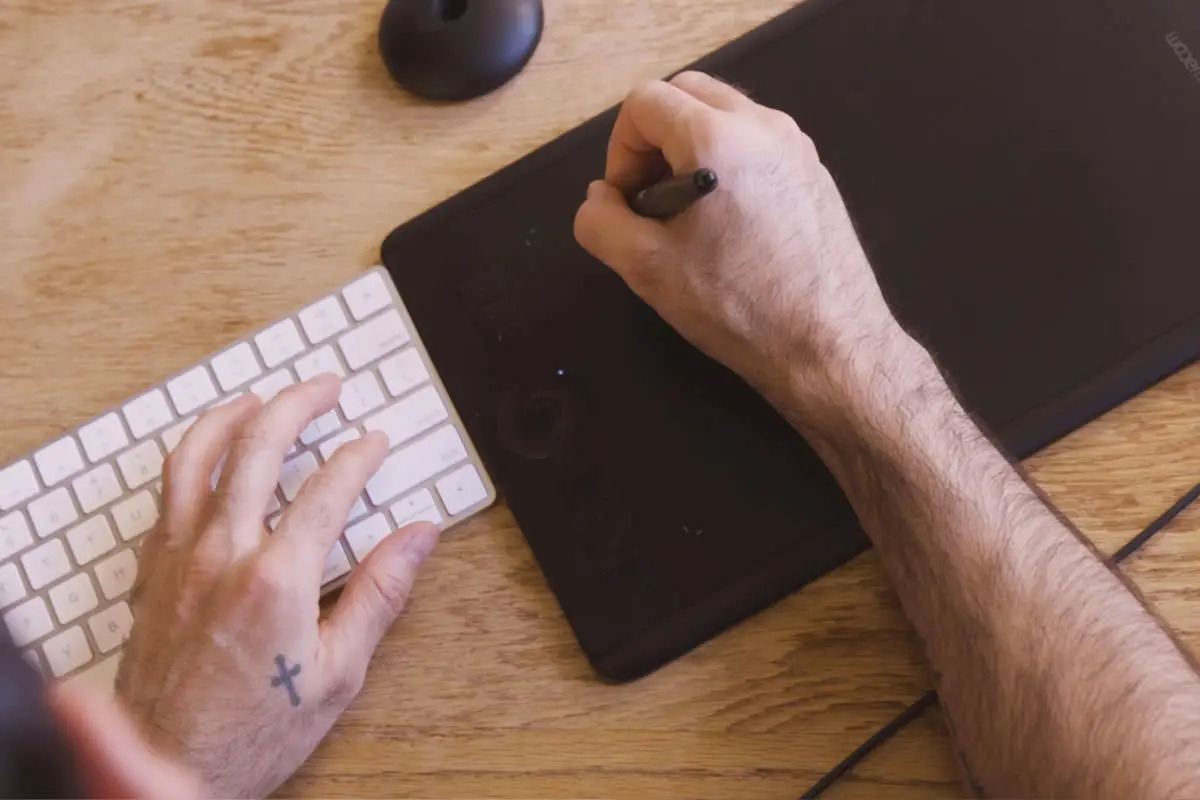
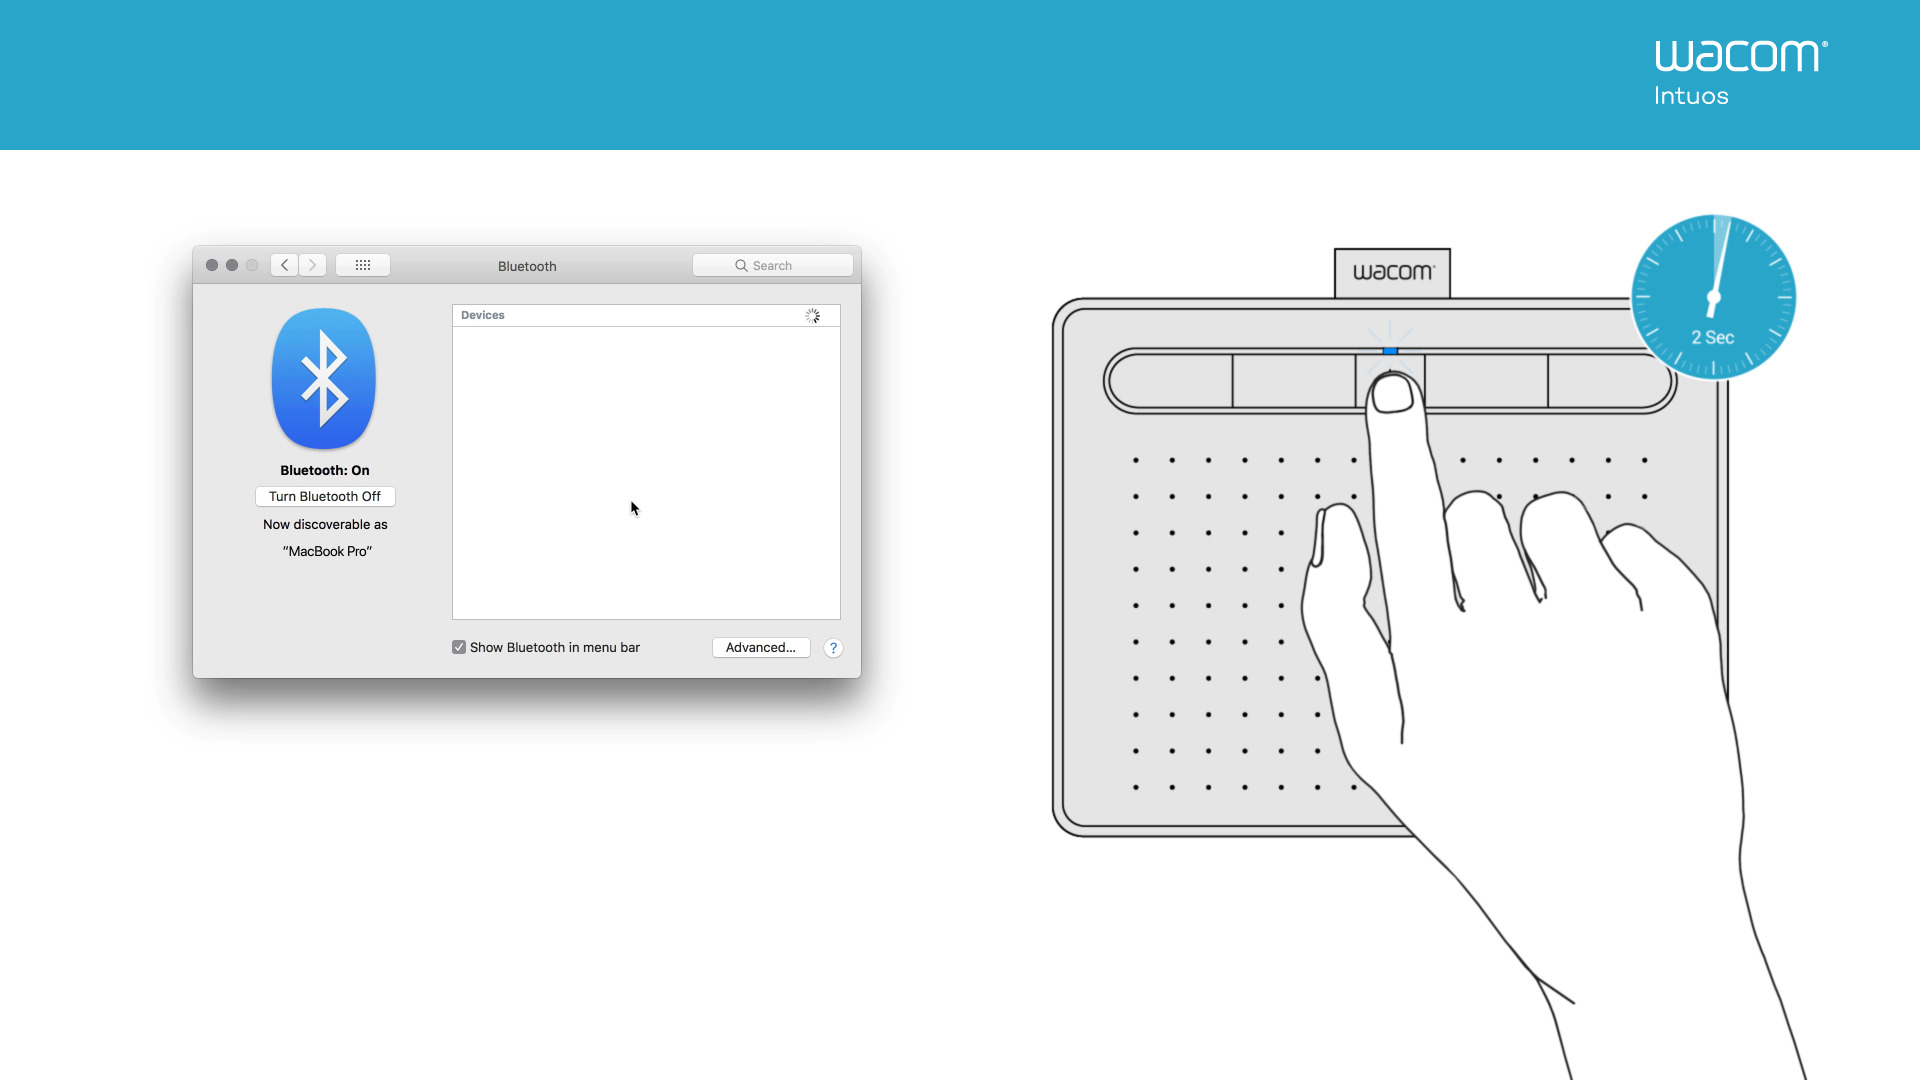
Step 2: Connecting the Wacom Tablet to Your Computer
Once you have installed the Wacom tablet software on your computer, the next step is to connect your Wacom tablet to your computer. This connection is necessary to establish communication between the tablet and your computer, allowing you to customize its settings and utilize its features.
To connect your Wacom tablet, follow these steps:
- Locate the USB cable that came with your Wacom tablet.
- Plug one end of the USB cable into the USB port on your computer.
- Connect the other end of the USB cable to the corresponding port on your Wacom tablet.
- Ensure that the USB connection is secure.
Once the Wacom tablet is connected to your computer, it should be recognized automatically. Depending on your operating system, you may see a notification or prompt indicating that the device has been detected.
If your Wacom tablet doesn’t get recognized, try the following steps:
- Verify that the USB cable is properly connected to both the computer and the tablet.
- Restart your computer and reconnect the tablet.
- If you are using a desktop computer, try connecting the tablet to a different USB port.
- If you are using a laptop, ensure that it is connected to a power source as some laptops may not provide enough power through the USB ports.
- If the issue persists, consult the troubleshooting section of the Wacom tablet manual or visit the official Wacom support website for further assistance.
Once your Wacom tablet is successfully connected to your computer, you are now ready to proceed to the next step: opening the Wacom tablet software and accessing the customization options.
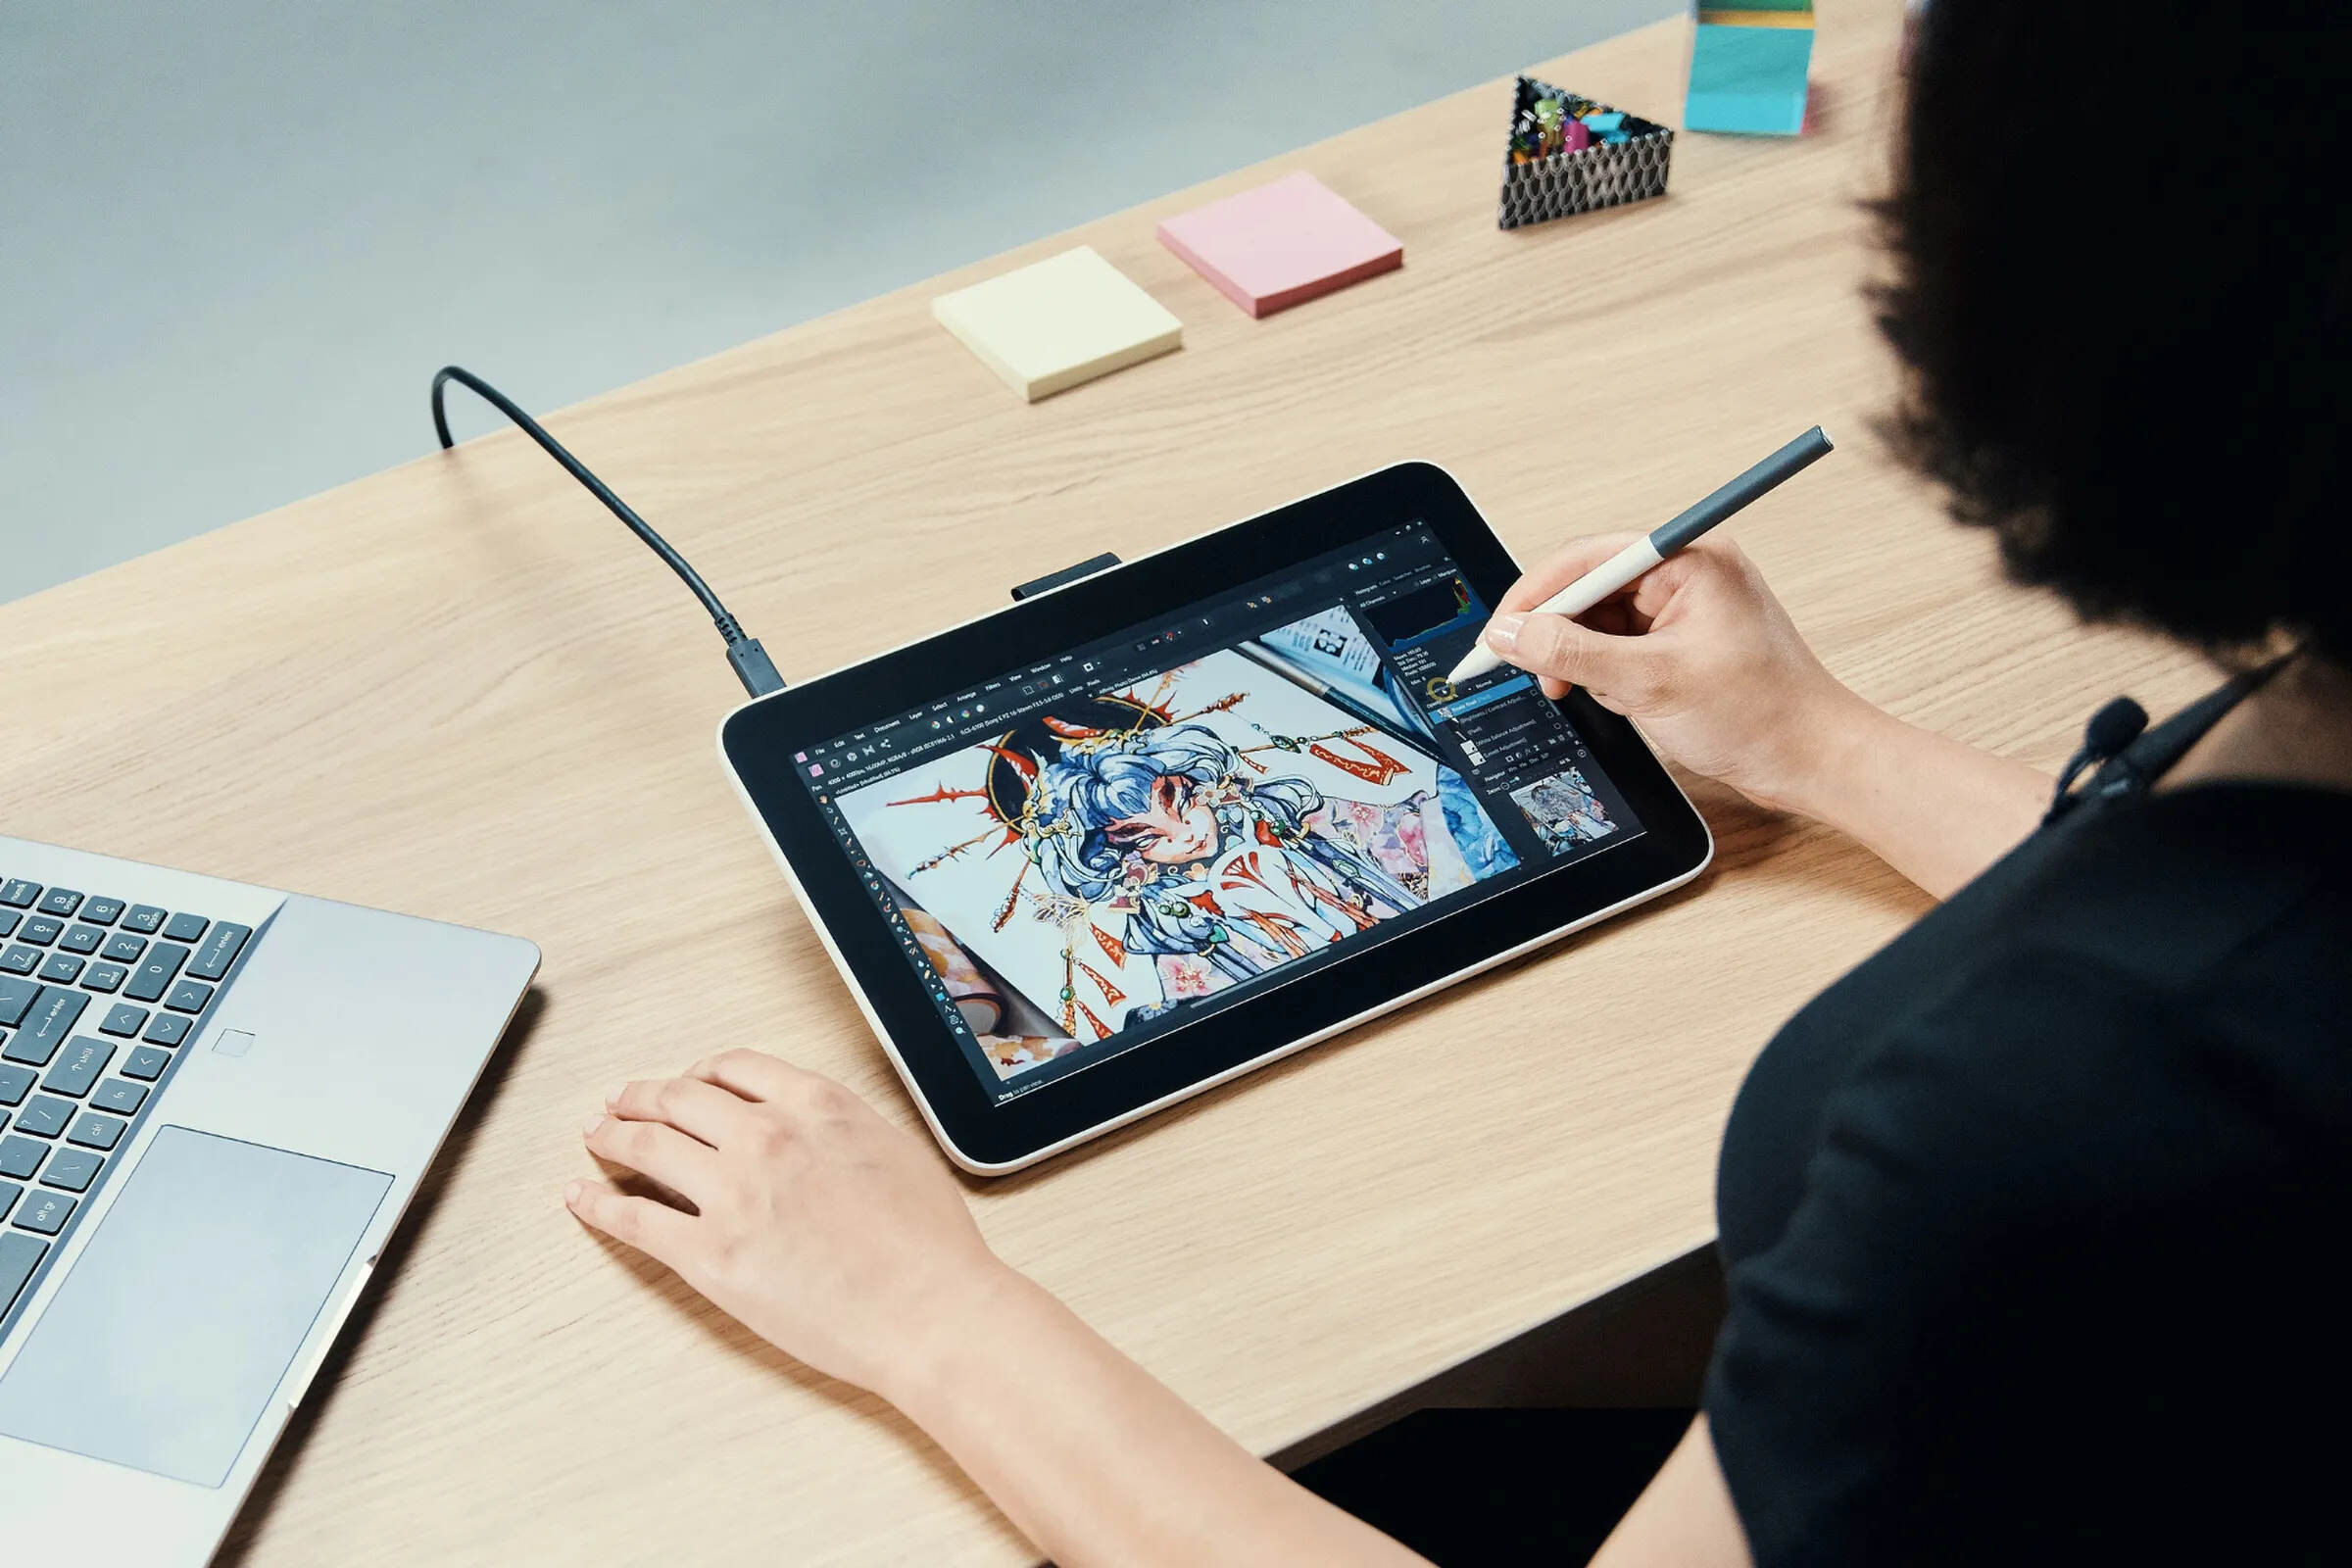
Step 3: Opening the Wacom Tablet Software
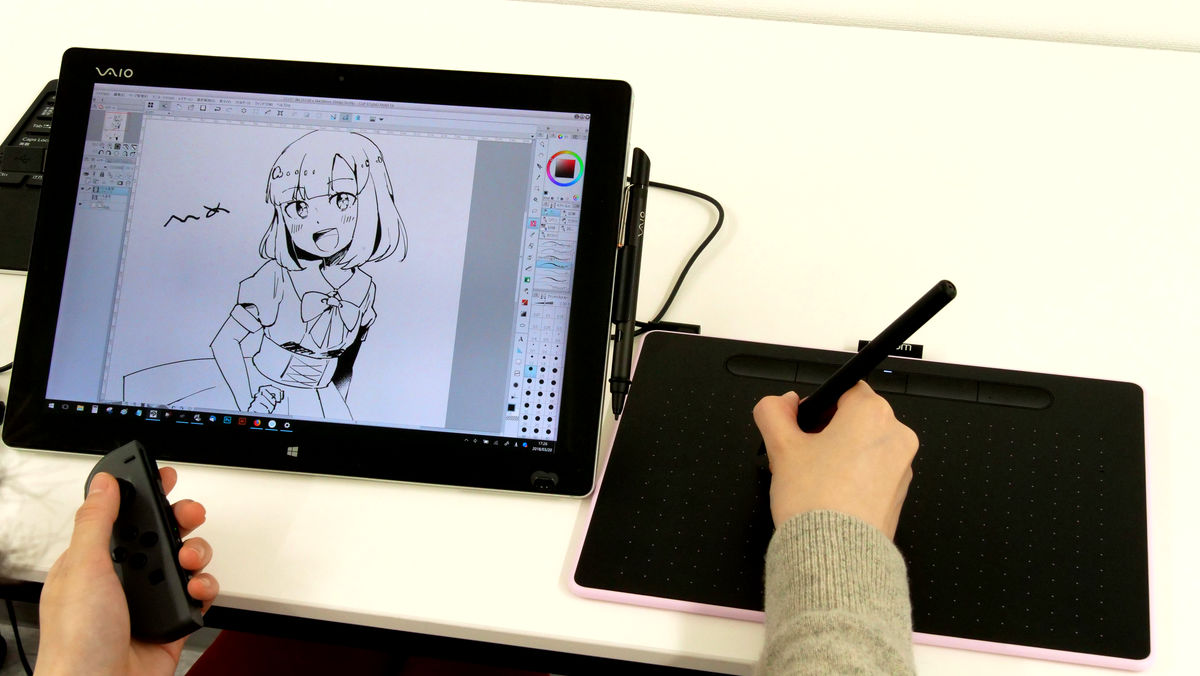
After connecting your Wacom tablet to your computer, the next step is to open the Wacom tablet software. This software provides a user-friendly interface that allows you to customize the settings of your tablet, including the buttons.
Follow these steps to open the Wacom tablet software:
- Locate the software icon on your computer. It is usually located in the system tray or can be found by searching for “Wacom Tablet” in your computer’s search bar.
- Double-click the software icon to launch the Wacom tablet application.
- If prompted, log in with your Wacom account credentials. If you don’t have an account, you may need to create one to access the software features.
- Once the software is open, you will be presented with a dashboard or control panel that provides various customization options for your tablet.
The exact layout and options available in the Wacom tablet software may vary depending on the model of your tablet and the version of the software. However, you should be able to find a section that allows you to configure the button settings.
In addition to customizing button settings, the Wacom tablet software may also offer other features, such as pen pressure sensitivity adjustments, tablet mapping settings, and pen shortcuts. Take some time to explore these options and adjust them according to your preferences.
Now that you have successfully opened the Wacom tablet software, you are ready to proceed to the next step: customizing the button settings to suit your needs and workflow.
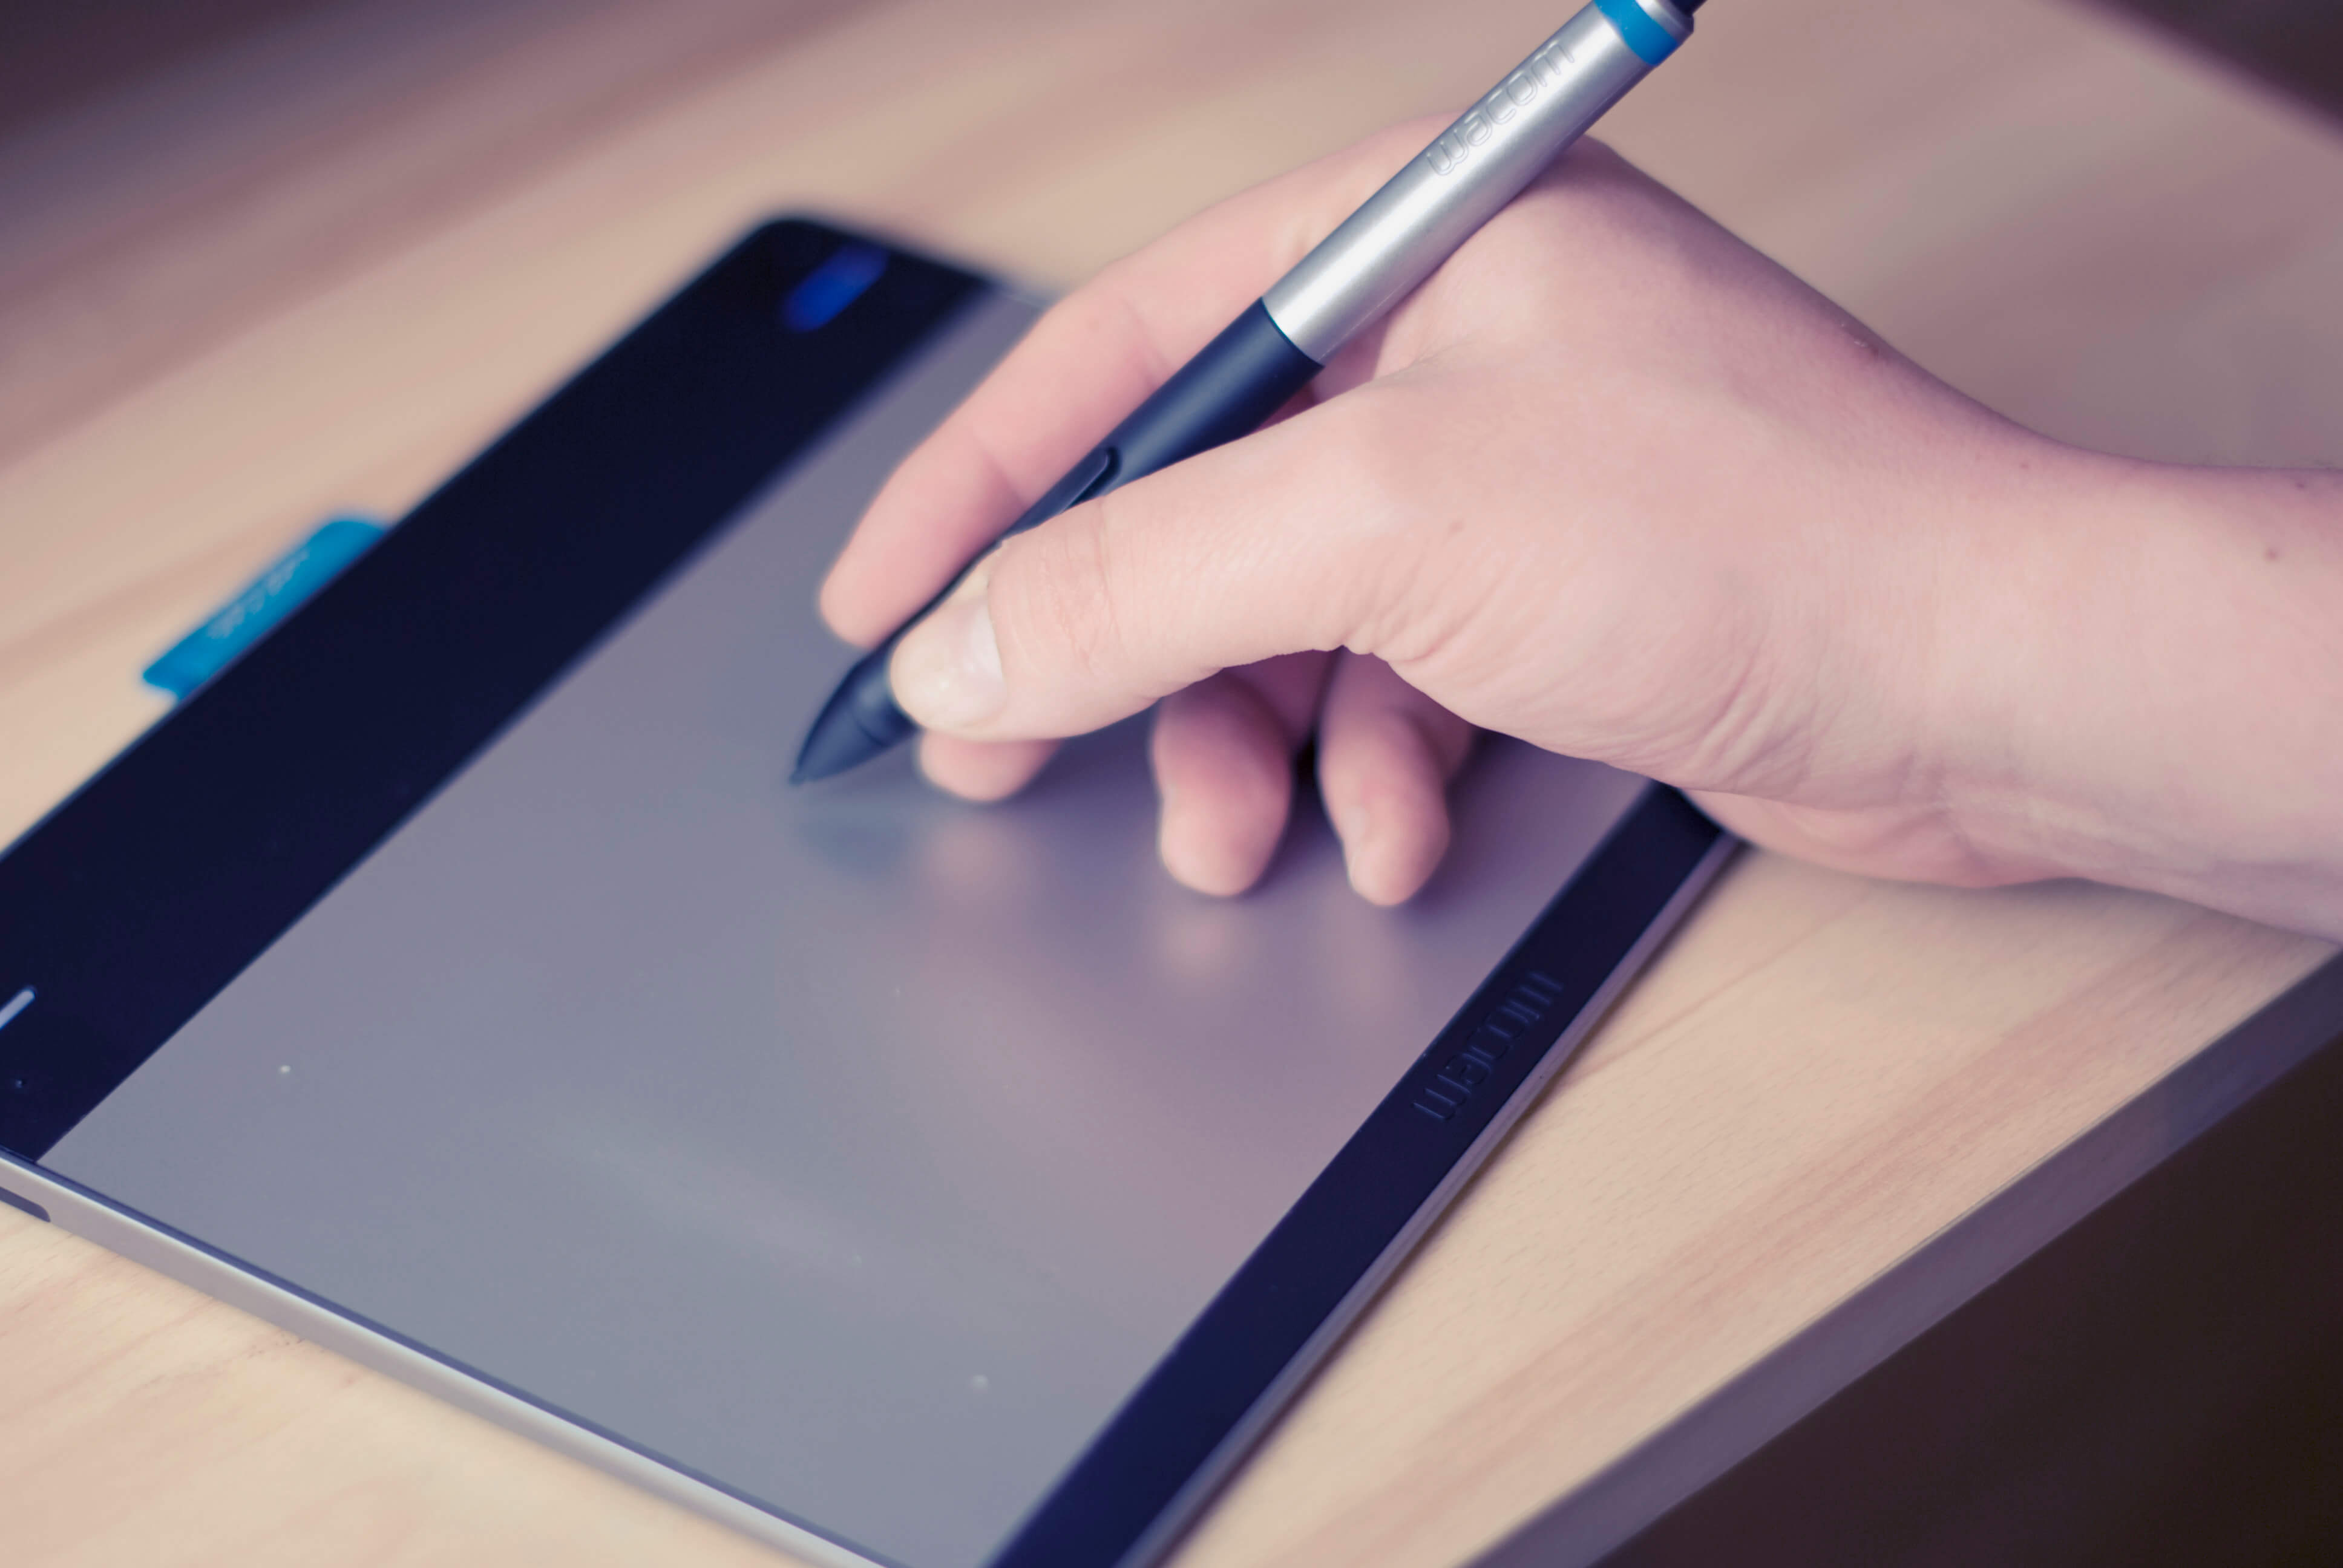
Step 4: Customizing Button Settings
Customizing the button settings on your Wacom tablet is an essential part of optimizing your digital workflow. By assigning specific functions or shortcuts to the buttons, you can streamline your creative process and perform actions more efficiently.
To customize the button settings on your Wacom tablet, follow these steps:
- Open the Wacom tablet software if it is not already open.
- Navigate to the section or tab that allows you to customize the button settings. This may be labeled as “Button Settings,” “ExpressKeys,” or a similar name.
- You should see a visual representation of your Wacom tablet, displaying the available buttons or keys that can be customized.
- Select the button or key you want to customize.
- Choose the function or action you want to assign to the button. This can be a commonly used keyboard shortcut, a function within a specific software application, or a custom macro.
- Repeat the process for each button you wish to customize.
When customizing the button settings, it’s important to consider your individual needs and workflow. Think about the tasks you frequently perform and the actions you need quick access to. Assigning functions or shortcuts that align with your specific preferences will help you work more efficiently.
Additionally, some Wacom tablets may offer different button customization options depending on the application you are currently using. This allows you to have different button settings for different software programs, further enhancing your productivity and convenience.
Take your time to experiment with different button settings and functions. If you find that a certain configuration doesn’t work well for you, don’t hesitate to make adjustments and try again. The goal is to find a setup that maximizes your workflow and makes your digital work more enjoyable.
Once you have customized the button settings to your liking, you are ready to move on to the next step: assigning functions to the buttons.
Step 5: Assigning Functions to Buttons
Now that you have customized the button settings on your Wacom tablet, the next step is to assign specific functions or actions to each button. This allows you to tailor the tablet’s behavior to suit your needs and work style.
Follow these steps to assign functions to the buttons on your Wacom tablet:
- Open the Wacom tablet software and navigate to the section or tab where you customized the button settings (refer to Step 4).
- Select the button you want to assign a function to.
- Choose the function or action you want to assign to the button from the available options.
- If desired, you can also create custom functions or macros by selecting the “Custom” or “Add Macro” option.
- Repeat the process for each button you wish to assign a function to.
When assigning functions to the buttons, consider the tasks you perform frequently and the actions that would benefit from quick accessibility. For example, you might assign commonly used keyboard shortcuts like “Undo” or “Redo” to the buttons, or assign functions specific to the software applications you commonly use.
Keep in mind that different software programs may have different functions or actions that can be assigned to the buttons. Make sure to explore the options available for each software and customize the button settings accordingly.
It’s important to note that the functions assigned to the buttons are not limited to software commands only. You can also assign general computer functions like opening a specific file or launching a preferred application to enhance your overall workflow.
Once you have assigned functions to the buttons on your Wacom tablet, take some time to ensure that the assigned functions work as intended. Test each button to ensure that it performs the desired action when pressed. If any issues or inconsistencies arise, revisit the button settings and make adjustments as necessary.
After assigning functions to the buttons, you are now ready to move on to the next step: testing and adjusting the button settings to optimize your experience.
Step 6: Testing and Adjusting Button Settings
After customizing and assigning functions to the buttons on your Wacom tablet, the next step is to test and adjust the button settings to ensure they work as intended. This will help you fine-tune your tablet’s behavior and optimize your digital workflow.
Follow these steps to test and adjust the button settings on your Wacom tablet:
- Open the software application or program that you frequently use with your Wacom tablet.
- Ensure that the Wacom tablet software is running in the background.
- Test each button by pressing it and verifying that the assigned function or action is executed correctly.
- If a button doesn’t perform the expected action or doesn’t work at all, return to the Wacom tablet software.
- Revisit the button settings and make any necessary adjustments or changes to fix the issue.
- Repeat the testing process for all buttons until they all function properly.
While testing the button settings, consider the placement and accessibility of the buttons on your tablet. Ensure that the assigned functions align with your natural hand position and do not hinder your creative process.
It’s also worth experimenting with different combinations of button functions to find a setup that enhances your productivity the most. Don’t be afraid to make adjustments and try different configurations until you find the optimal button settings for your needs.
If you encounter any difficulties during the testing and adjustment process, consult the user manual for your specific Wacom tablet model or visit the official Wacom support website for further assistance. They can provide additional troubleshooting steps or guidance in resolving any issues you may encounter.
By testing and adjusting the button settings on your Wacom tablet, you can ensure that your customized functions and actions are seamlessly integrated into your creative workflow.
Once you are satisfied with the button settings and everything is working as intended, you have successfully completed the process of setting up the buttons on your Wacom tablet!
Conclusion
Setting up the buttons on your Wacom tablet is a vital step in maximizing your productivity and efficiency in digital work. By customizing and assigning functions to the buttons, you can streamline your workflow, access frequently used commands or shortcuts with ease, and enhance your overall digital experience.
Throughout this guide, we have walked you through the step-by-step process of setting up the buttons on your Wacom tablet. We covered installing the necessary software, connecting the tablet to your computer, opening the software, customizing button settings, assigning functions to buttons, and testing and adjusting the button settings to optimize your experience.
Remember, the key to achieving the best setup for your Wacom tablet buttons lies in understanding your individual needs and preferences. Take the time to experiment with different configurations, test the assigned functions, and make adjustments as necessary. Find a setup that aligns with your workflow, making your digital work more efficient and enjoyable.
By harnessing the full potential of your Wacom tablet’s buttons, you can significantly improve your digital creativity and productivity. Whether you’re an artist, graphic designer, or anyone who relies on digital tools, customizing the buttons on your Wacom tablet will undoubtedly enhance your overall experience.
We hope this guide has provided you with a clear understanding of how to set up and customize the buttons on your Wacom tablet. Enjoy your newfound control and convenience as you navigate through your digital work with ease!