Introduction
Have you ever wondered what lies beneath the surface of your computer? The motherboard, often referred to as the “heart” of the computer, is a crucial component that connects all the other hardware components together. It houses the CPU, memory, and various expansion slots, making it vital for the overall functionality of your system.
Knowing the make and model of your motherboard can be helpful for various reasons. It allows you to determine if your computer is compatible with certain hardware upgrades or software installations. It also enables you to find the necessary drivers and BIOS updates specific to your motherboard.
While finding the information about your motherboard may seem like a daunting task, fear not! In this article, we will walk you through the steps to easily identify your motherboard model. Whether you are a computer enthusiast looking to upgrade your system or just curious about the inner workings, this guide will help you see what motherboard is powering your computer.
So, grab your screwdriver, put on your detective hat, and let’s dive into the world of motherboards!
Step 1: Shut down your computer
Before we begin the process of identifying your motherboard, it is essential to ensure that your computer is safely shut down. This step is necessary to avoid any potential damage to your hardware or interference with the motherboard identification process.
To shut down your computer, follow these simple steps:
- Save any open files or documents you are working on. Make sure to close all applications and programs running in the background.
- Click on the “Start” button in the bottom left corner of your screen.
- Select the “Power” option from the popup menu.
- Choose the “Shut down” option.
Alternatively, you can use the keyboard shortcut by simultaneously pressing the “Alt” key, the “F4” key, and the “Enter” key.
Allow your computer a few moments to complete the shutdown process. You can confirm that your computer is turned off by ensuring that the fans have stopped spinning, and any LED lights indicating power have turned off.
Now that your computer is safely shut down, we can move on to the next step in the process of identifying your motherboard.
Step 2: Unplug all cables and peripherals
Before we proceed with opening your computer case, it is crucial to disconnect all cables and peripherals from your computer. This step ensures that there are no potential electrical hazards and makes it easier to access the motherboard.
Follow these simple steps to unplug all cables and peripherals:
- Disconnect the power cable from the back of your computer. Make sure the power switch is turned off before doing so.
- Remove any USB devices, such as external hard drives, printers, or keyboards, connected to your computer.
- If you have any audio devices, such as headphones or speakers, connected to your computer, disconnect them as well.
- Take a moment to inspect the back of your computer for any additional cables or peripherals that need to be unplugged, such as Ethernet cables or HDMI cables.
- If you are using a laptop, unplug the charger cable from the power outlet.
Once you have successfully unplugged all cables and peripherals, you can proceed to the next step in the process of identifying your motherboard.
Step 3: Open the computer case
Now that all cables and peripherals have been disconnected from your computer, it’s time to open up the computer case to gain access to the motherboard. Opening the case may vary depending on the type of computer you have, whether it’s a desktop tower or a laptop. Follow the instructions below based on your computer type.
Desktop Tower:
- Place your computer on a stable surface with ample workspace.
- Locate the screws securing the side panel of your computer case. These screws are usually located at the back of the case.
- Use a screwdriver to carefully remove the screws and set them aside.
- Slide the side panel towards the back of the case, and then lift it upwards to remove it. Some cases may have a latch or locking mechanism that you need to release before removing the side panel.
Laptop:
- Turn off your laptop and make sure it is disconnected from any power source.
- Flip your laptop over to access the bottom panel.
- Look for the screws securing the bottom panel. These screws are often marked with small icons or symbols.
- Use a screwdriver to carefully remove the screws and set them aside.
- Slide the bottom panel towards the back of the laptop and lift it off to access the internal components, including the motherboard.
Now that you have successfully opened the computer case or laptop, you are one step closer to identifying your motherboard.
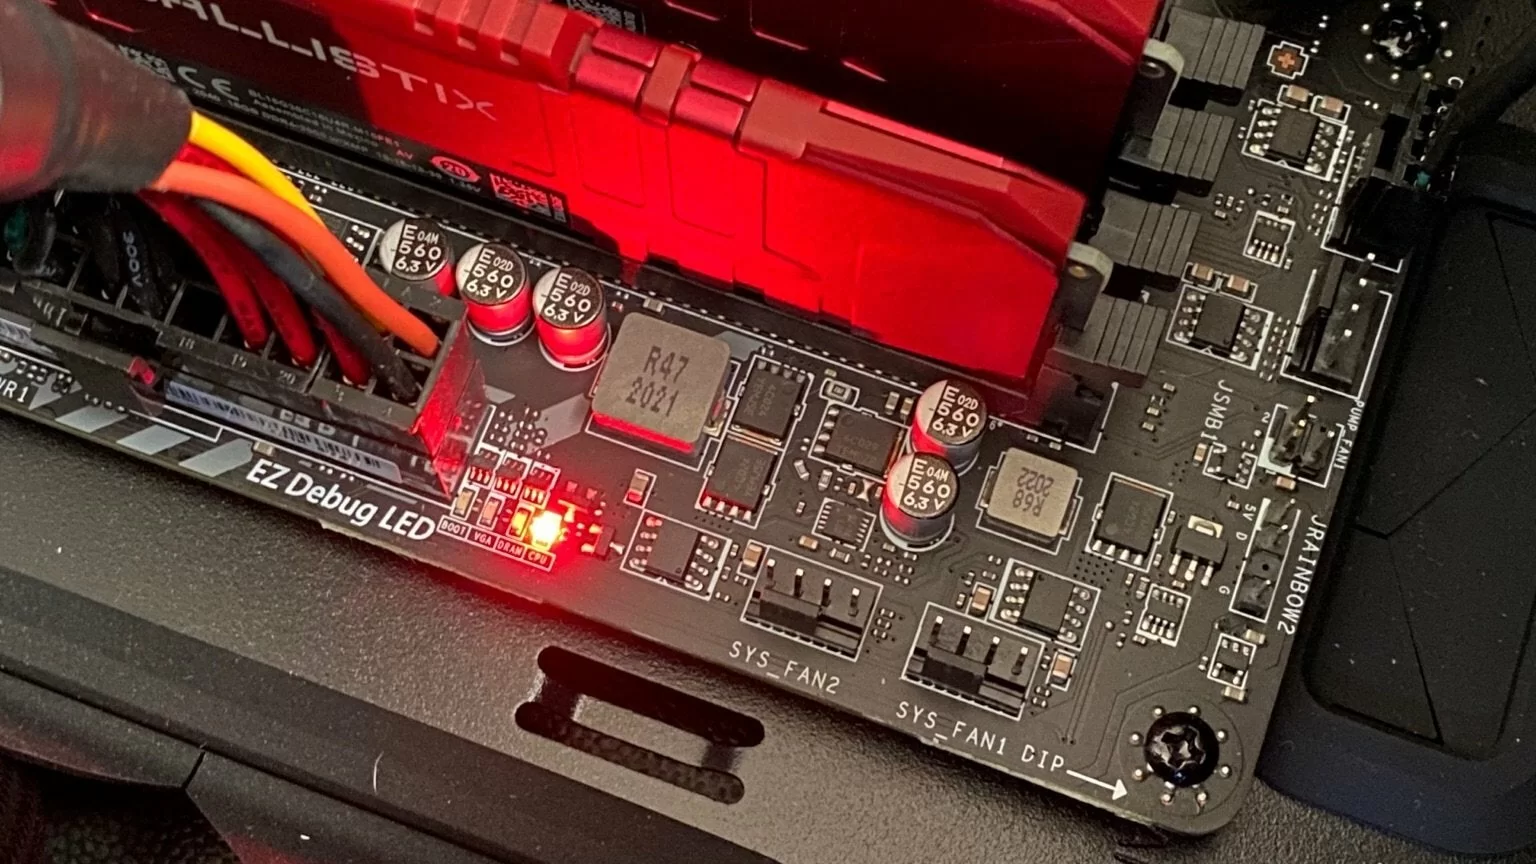
Step 4: Locate the motherboard
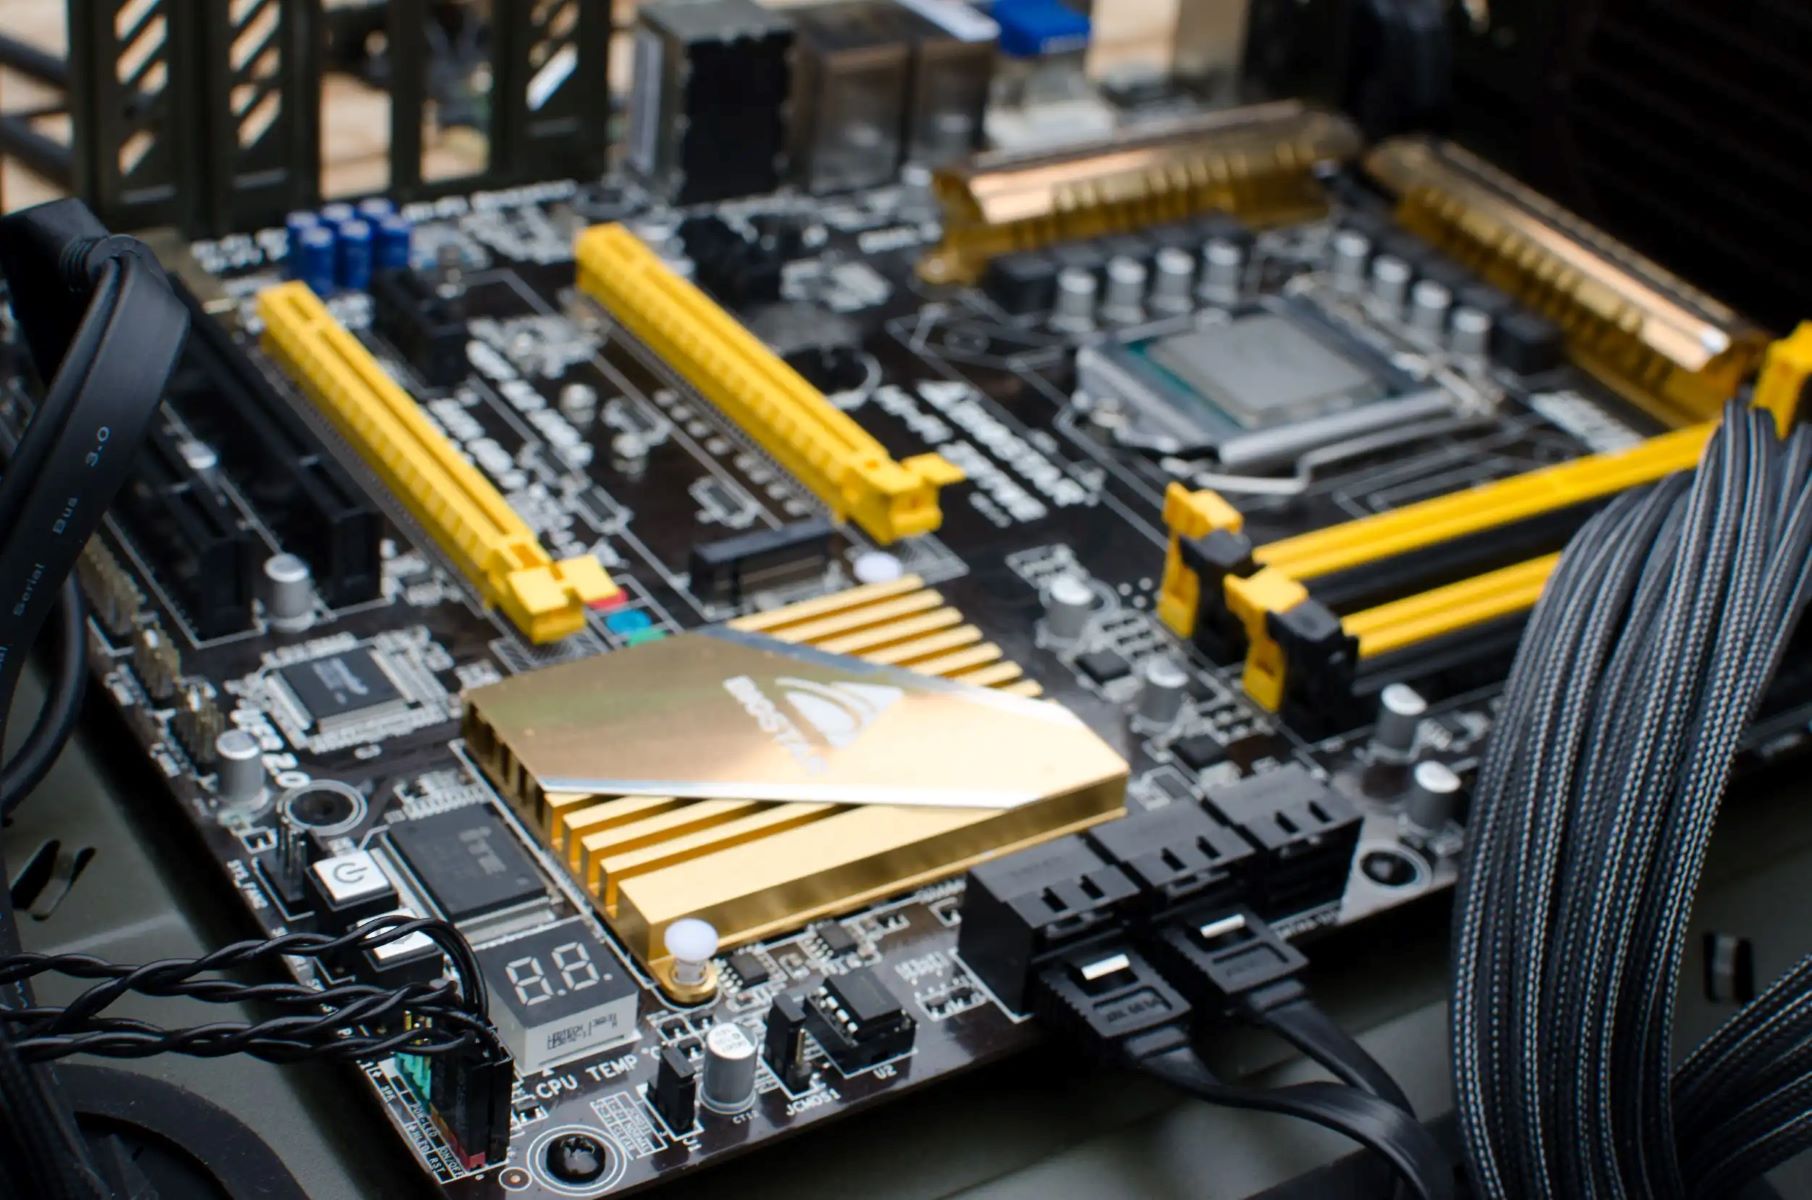
With the computer case or laptop open, it’s time to locate the motherboard. The motherboard is the main circuit board inside your computer that holds all the vital components, including the CPU, memory modules, and expansion slots.
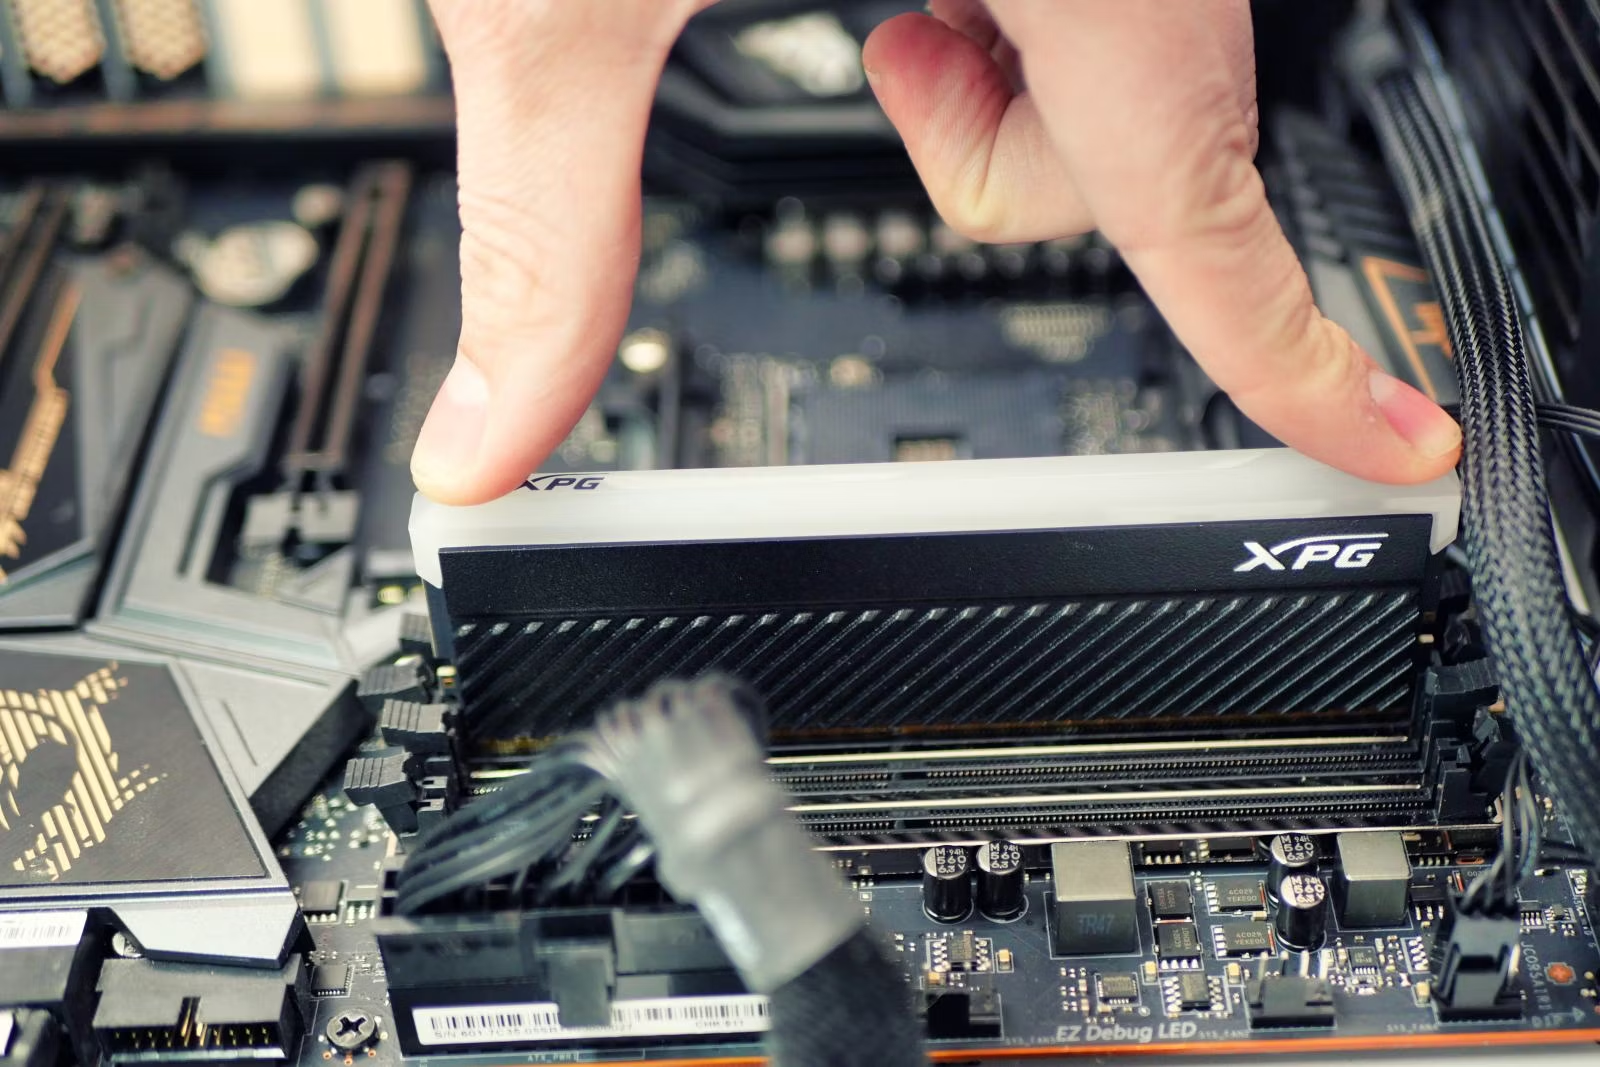
The motherboard is typically a large, rectangular board that is mounted horizontally inside the computer case. It can be identified by its various components and connectors, such as the CPU socket, RAM slots, PCI-Express slots, and SATA ports. Here are a few tips to help you locate the motherboard:
- Look towards the back of the computer case or laptop. The motherboard is usually positioned against the back panel and oriented parallel to it.
- Identify the large, rectangular board that is secured to the case or laptop frame. This is likely the motherboard.
- Take note of the various connectors and components on the motherboard, such as the CPU socket, RAM slots, and expansion slots. These will help you further confirm that you have located the motherboard.
It’s important to handle the motherboard with care and avoid touching any sensitive components or connectors. Now that you have successfully located the motherboard, let’s move on to the next step in identifying its specific model.
Step 5: Identify the motherboard model
Now that you have located the motherboard, the next step is to identify its specific model. There are a few different methods you can use to find this information:
- Visual inspection: Look for any labels, stickers, or markings on the motherboard. Manufacturers often print the model number directly on the board itself. Take note of any numbers or letters you find, as they could indicate the motherboard model.
- User manual: If you have the user manual for your computer or motherboard, it can be a valuable resource for finding the model information. Check the documentation for any references to the motherboard model or a list of specifications.
- Manufacturer’s website: Visit the website of the motherboard’s manufacturer. Look for a support or products page where you can search for your specific motherboard model. The manufacturer’s website may provide detailed information about the model, including specifications and support resources.
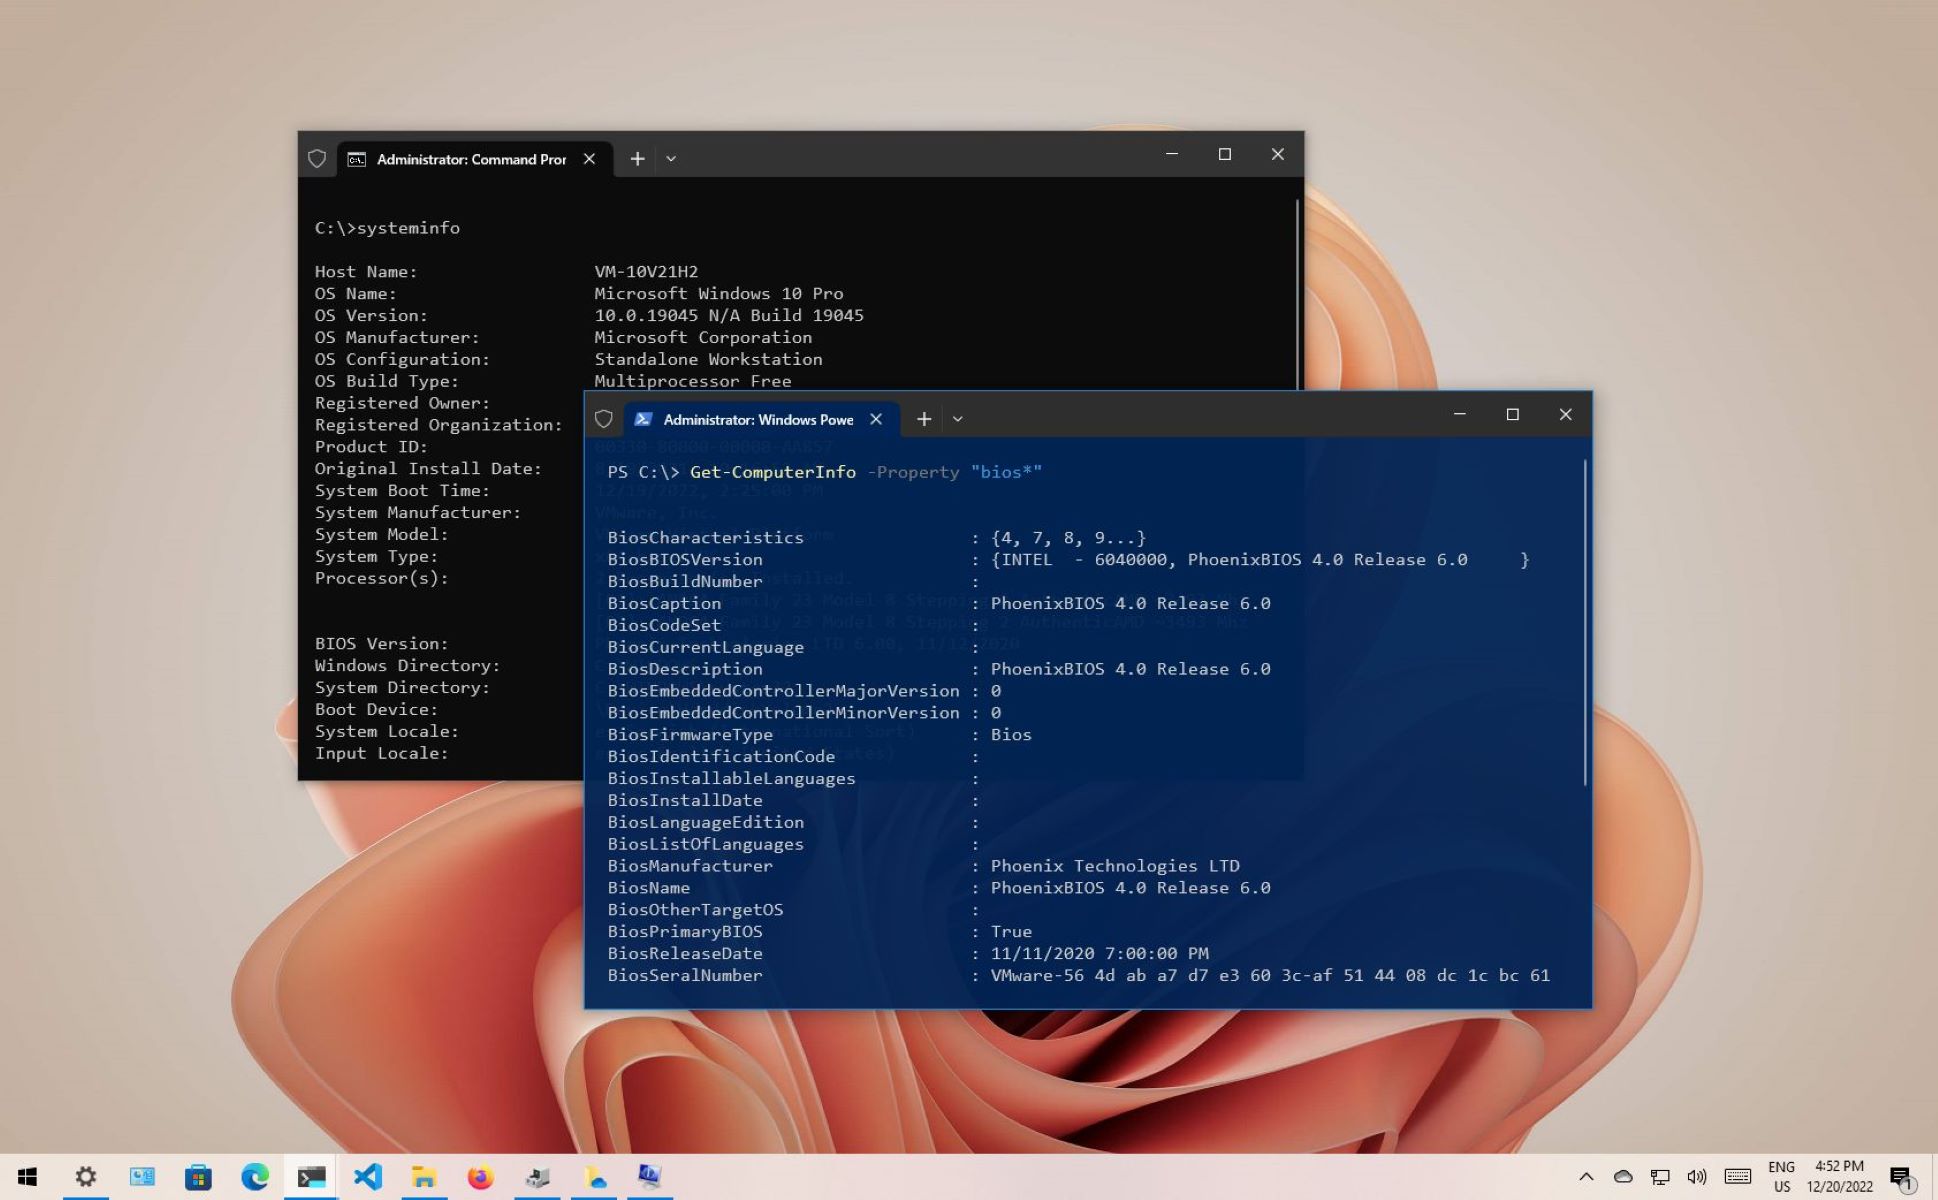
- Third-party software: There are various system information tools available that can scan your hardware and provide detailed information about your motherboard model. Programs like CPU-Z and Speccy can detect and display the motherboard model along with other hardware details.
- BIOS/UEFI: Restart your computer and access the BIOS/UEFI settings. Look for a section that displays system information or motherboard details. The specific location and terminology may vary depending on the manufacturer, but you should be able to find the model information within the BIOS/UEFI.
By using one or more of these methods, you should be able to identify the specific model of your motherboard. Once you have the model information, you can move on to the next steps to gather more details or find support specific to your motherboard model.
Step 6: Search for the motherboard model online
Now that you have identified the model of your motherboard, it’s time to gather more information by searching for it online. The internet is a valuable resource that can provide you with detailed specifications, support documentation, and even potential upgrades for your specific motherboard model.
Follow these steps to search for your motherboard model online:
- Open your preferred web browser.
- In the search bar, enter the exact model number of your motherboard. You can include the brand or manufacturer name to refine your search if necessary.
- Hit the enter key or click on the search icon to initiate the search.
- Review the search results and click on the relevant links that appear to be related to your motherboard model.
- Explore the websites that provide information about your motherboard model. Look for official manufacturer websites, tech forums, and user reviews for comprehensive and accurate information.
- On the manufacturer’s website, search for support pages or downloads sections where you can find drivers, BIOS updates, and user manuals for your specific motherboard model.
- Read through the specifications and features of your motherboard. This will give you a deeper understanding of its capabilities and potential compatibility with hardware upgrades or software requirements.
- Take note of any important information, such as compatible CPU models, RAM types, or expansion slots, that may be useful for future reference or upgrades.
- If you encounter any issues or have specific questions about your motherboard model, look for support options on the manufacturer’s website. They may have a knowledge base, FAQs, or contact methods to reach their support team.
By searching for your motherboard model online, you can access a wealth of information that will help you make informed decisions about upgrades, troubleshooting, and optimization for your computer system.
Step 7: Use system information tools
If you want to gather detailed information about your motherboard without physically inspecting it, you can make use of system information tools. These tools can scan your computer hardware and provide comprehensive information about your motherboard model, along with other system specifications.
Here’s how you can use system information tools to identify your motherboard:
- Research and identify a reliable system information tool that suits your needs. Some popular options include CPU-Z, Speccy, and HWiNFO.
- Download and install the chosen system information tool from a trusted source. Ensure that you are downloading the latest version to get accurate and up-to-date information.
- Launch the system information tool. It will scan your computer’s hardware and gather information about your motherboard model.
- Locate the section that displays motherboard details or specifications. The exact location and labeling may vary depending on the tool, but it should be easy to find within the software interface.
- Note down the motherboard model information provided by the system information tool. This will help you with future reference, upgrades, or troubleshooting.
- Take advantage of other features offered by the system information tool. These tools often provide additional information about your system’s CPU, memory, storage, graphics card, and more.
- Use the system information tool to monitor your computer’s hardware temperatures, voltages, and performance statistics if desired.
- If you have any questions or need further assistance regarding your motherboard or any other hardware component, consult the user manual or visit the manufacturer’s website for support.
By using system information tools, you can quickly and easily gather detailed information about your motherboard without the need for physical inspections or manual searches. It’s a convenient way to access the specifications and features of your motherboard, aiding in troubleshooting, upgrades, and overall system understanding.
Step 8: Check BIOS or UEFI settings
The BIOS (Basic Input/Output System) or UEFI (Unified Extensible Firmware Interface) settings on your computer can provide valuable information about your motherboard. These settings are accessible during the boot process and can offer insight into your motherboard model and other hardware details.
Follow these steps to check the BIOS or UEFI settings and find information about your motherboard:
- Restart your computer and wait for the initial boot screen to appear.
- Look for on-screen prompts or key combinations to access the BIOS/UEFI settings. Common keys include
Del,F2,F10, orEsc. The specific key combination may vary depending on your computer’s manufacturer. - Once you enter the BIOS/UEFI settings, navigate through the menus using the arrow keys on your keyboard.
- Look for a section or tab that displays system information or motherboard details. The exact location and terminology may differ depending on your computer’s BIOS/UEFI version.
- Within this section, you should find information such as the motherboard model, manufacturer, BIOS/UEFI version, and other relevant details.
- Take note of the motherboard model information provided in the BIOS/UEFI settings. You can use this for future reference or when seeking support or upgrades specific to your motherboard.
- If the BIOS/UEFI does not display the motherboard model directly, look for other options such as “System Information,” “Hardware Information,” or similar labels that may provide the desired details.
- Exit the BIOS/UEFI settings by saving your changes or selecting the “Exit and Save Changes” option.
Checking the BIOS/UEFI settings can provide you with the motherboard model information and other valuable hardware details. It also allows you to review and adjust various system settings if needed. Remember to proceed with caution and avoid making unnecessary changes that could potentially affect your system’s stability.
Step 9: Consult the motherboard manual
When it comes to gathering accurate and comprehensive information about your motherboard, one of the most reliable sources is the motherboard manual. The manual is provided by the manufacturer and contains detailed instructions, specifications, and other important information about your specific motherboard model.
Follow these steps to consult the motherboard manual:
- Locate the manual that came with your motherboard. It is usually included in the packaging when you purchase a new motherboard or computer.
- If you cannot find the physical manual, check the manufacturer’s website for a digital version. Most manufacturers provide downloadable manuals for their products.
- Open the motherboard manual in a PDF viewer or any other suitable program.
- Take your time to read through the manual carefully. Look for sections that provide information about your motherboard model, its layout, specifications, and features.
- Pay attention to any special instructions, jumper settings, or specific hardware configurations mentioned in the manual.
- If you have specific questions or need clarification about any aspect of your motherboard, refer to the relevant sections in the manual.
- The manual may also provide troubleshooting tips, installation guides for additional components, and other useful information related to your motherboard.
- Make notes or bookmark important pages in the manual for future reference.
- If you cannot find the physical manual and the digital version is not available, try contacting the manufacturer’s support team for assistance. They may be able to provide you with a copy of the manual or answer specific questions you have regarding your motherboard.
Consulting the motherboard manual is a reliable way to get detailed information about your motherboard. It is especially useful if you need specific instructions for installation, configuration, or troubleshooting related to your motherboard model.
Step 10: Take a picture or note down the details
At this stage, you have gathered critical information about your motherboard. To ensure you have a record of the details for future reference or when seeking support or upgrades, it’s recommended to take a picture or note down the important information.
Here are the steps to document the motherboard details:
- Option 1: Take a picture:
- Using a smartphone or camera, position yourself in a way that allows you to clearly capture the motherboard area of your computer.
- Ensure the picture is focused and all important labels and markings are clearly visible.
- Save the picture on a device or cloud storage where you can easily access it later.
- Option 2: Note down the details:
- Using a pen and paper, write down the crucial information about your motherboard, such as the model number, brand, manufacturer, and any other relevant details.
- Make sure your handwriting is legible and the information is accurate.
- Keep the note in a safe place where you can easily refer to it whenever needed.
Taking a picture or noting down the details provides you with a tangible reference for your motherboard’s information. It ensures that you have a backup in case you misplace the manual or need to provide the details to a technician or support representative.
Having this documentation on hand will save you time and effort when looking for specific information or navigating through support resources related to your motherboard.
Step 11: Close the computer case
Now that you have successfully identified your motherboard and documented the necessary details, it’s time to close the computer case and secure everything back in place. This step is essential to protect the internal components from dust, debris, and potential damage.
Follow these steps to close the computer case:
- Desktop Tower:
- Position the side panel back onto the computer case.
- Align the panel with the case and slide it towards the front until it locks into place.
- Retrieve the screws that you set aside earlier.
- Using a screwdriver, carefully tighten the screws to secure the side panel. Be cautious not to overtighten as this can damage the case or components.
- Laptop:
- Ensure that all internal components are properly aligned and secured.
- Place the bottom panel back onto the laptop.
- Align the panel with the appropriate slots or connectors.
- Gently press down on the panel until it snaps into place.
- Retrieve the screws that you set aside earlier, if applicable.
- Using a screwdriver, carefully tighten the screws to secure the bottom panel. Again, avoid overtightening to prevent any damage.
Once you have closed the computer case, ensure that all screws are tightened properly, and the case is securely closed. This will help maintain the integrity of your computer system and prevent any potential issues caused by loose connections or dust accumulation.
Finally, reconnect all the cables and peripherals that were disconnected earlier, ensuring a secure and stable connection.
With the computer case closed and everything secure, you have successfully completed the process of identifying your motherboard and closing up your computer.
Conclusion
Identifying your motherboard may seem like a daunting task, but with the step-by-step process outlined in this guide, it becomes a manageable and rewarding experience. By taking the time to locate and gather information about your motherboard, you gain insight into its specifications, capabilities, and compatibility with hardware and software upgrades.
Throughout the process, we covered various methods to identify your motherboard, including visually inspecting the hardware, searching online, consulting the motherboard manual, using system information tools, and checking the BIOS or UEFI settings. Each method provides unique advantages and can help you gather different types of information about your motherboard model.
By documenting the motherboard details through pictures or notes, you create a convenient reference for future use, whether it be for troubleshooting, seeking support, or planning upgrades. Having this information readily available can save you valuable time and effort when you need to make informed decisions about your computer system.
Remember to always handle your computer’s hardware with care and take necessary precautions when working inside your computer case. Be sure to disconnect all cables and peripherals, and avoid static electricity by grounding yourself before touching any components.
With your newfound knowledge about your motherboard, you can confidently explore hardware and software options that best suit your needs and optimize the performance of your computer system.
So, whether you’re a tech enthusiast or just curious about the inner workings of your computer, take pride in the fact that you now have the skills to identify your motherboard and delve deeper into the world of computer hardware.