Introduction
Welcome to the world of Android, where everything from communication to entertainment is just a tap away. One of the most convenient features of Android is its built-in voicemail system, which allows you to receive and store important voice messages. However, what happens when you need to save those precious voicemails for future reference or sentimental reasons? Luckily, there are several methods available that will enable you to easily save voicemails on your Android device.
In this article, we will walk you through the step-by-step process of saving voicemails on Android, ensuring that your important messages are never lost. Whether you want to preserve a heartfelt message from a loved one or need to keep a voicemail as evidence for legal purposes, we have got you covered. Let’s dive into the different methods you can use to save voicemails on your Android device.
Before we begin, it’s important to note that the methods we will be discussing may vary slightly depending on your specific Android device and the version of the operating system you are using. However, the general concepts and steps should remain similar across different devices and Android versions.
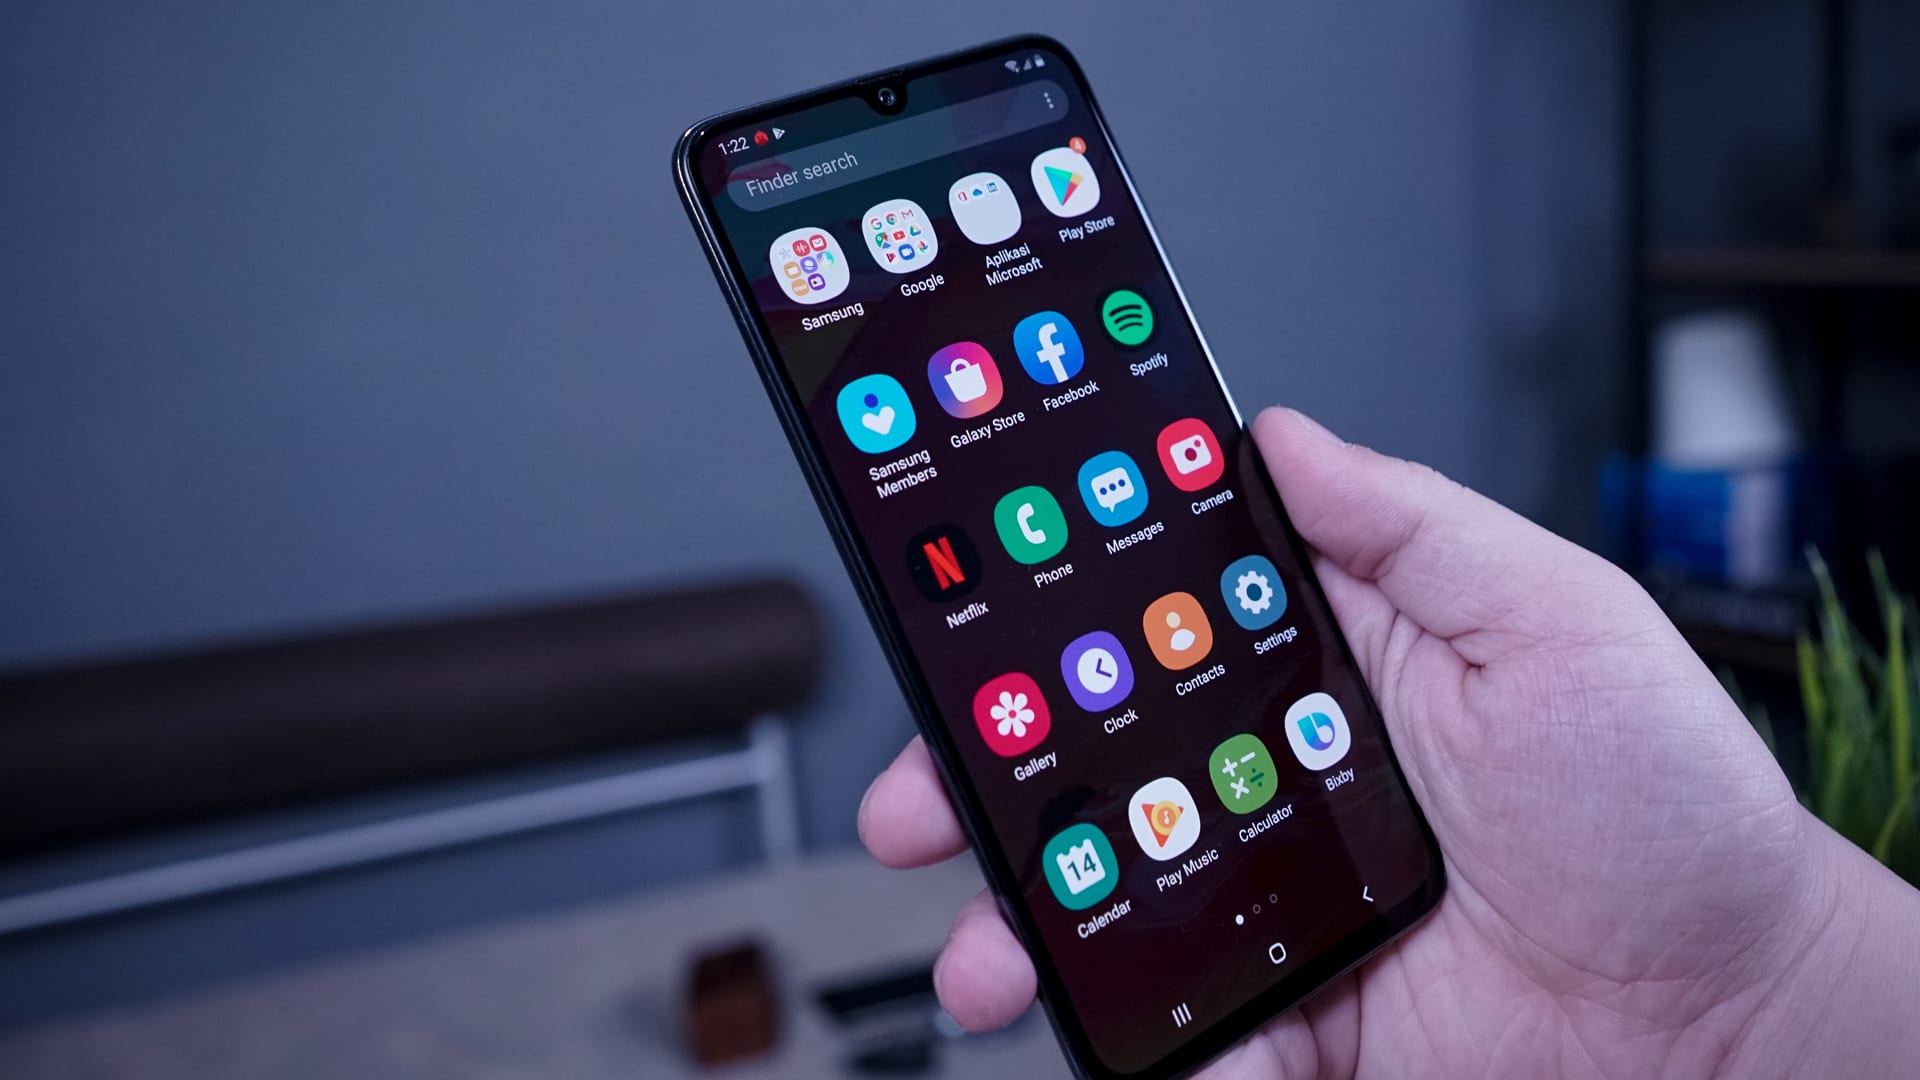
So, whether you have a Samsung Galaxy, Google Pixel, or any other Android device, follow along as we guide you through the process of saving your valuable voicemails.
Step 1: Using a Voicemail Saving App
If you’re looking for a straightforward and user-friendly method to save your voicemails on Android, using a voicemail saving app is your best bet. These apps are specifically designed to capture and store voicemail messages, making it easy for you to access them whenever you need.
To get started, follow these simple steps:
- Open the Google Play Store on your Android device.
- Search for “voicemail saving app” in the search bar.
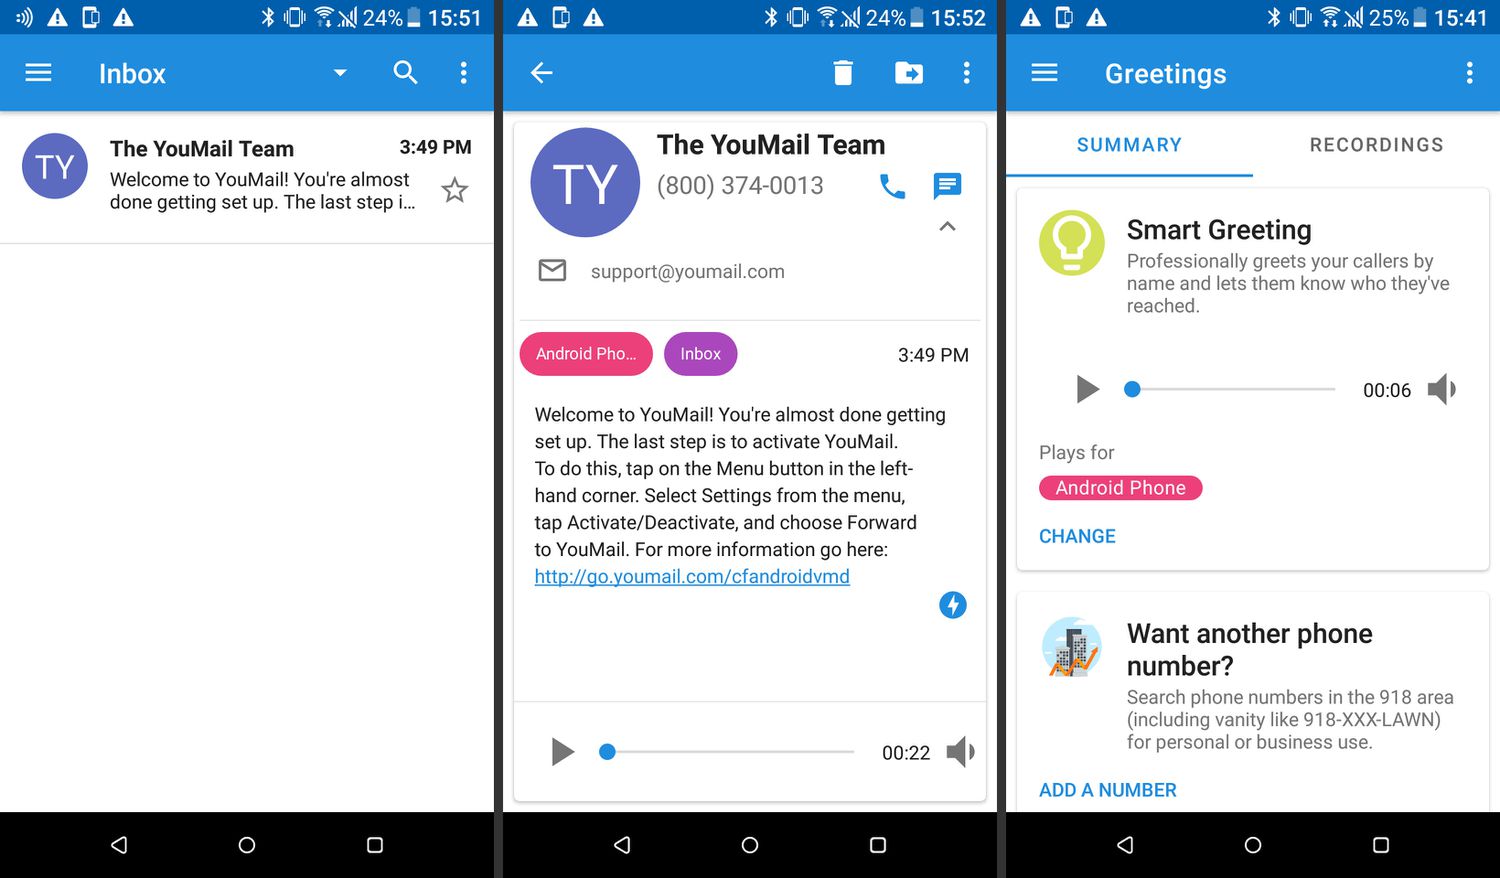
- Select a reputable app from the search results, such as “Voicemail Saver” or “YouMail”.
- Tap on the app to open its download page and click on the “Install” button.
- Wait for the app to download and install on your device. Once the installation is complete, open the app.
- Follow the setup instructions provided by the app to connect it with your voicemail service. This may involve entering your voicemail password or setting up a new voicemail account.
- Once the app is set up and connected to your voicemail, it will automatically start saving any new voicemails you receive.
- To access your saved voicemails, simply open the voicemail saving app and navigate to the “Saved Voicemails” or similar section.
- From here, you can listen to your saved voicemails, organize them into folders, or even share them with others if needed.
Using a voicemail saving app gives you the added benefit of having all your voicemails in one secure location, ensuring they are easily accessible and protected from accidental deletion. Additionally, some apps may offer extra features like transcription or the ability to export voicemails as audio files.
Now that you have successfully set up a voicemail saving app on your Android device, it’s time to move on to the next step: saving voicemails as audio files.
Step 2: Saving Voicemails as Audio Files
Have you ever received a voicemail that holds sentimental value, and you want to keep it for years to come? Saving voicemails as audio files is a great way to ensure that you have a permanent copy of the message. Luckily, saving voicemails as audio files on your Android device is a simple process.
Follow the steps below to save your voicemails as audio files:
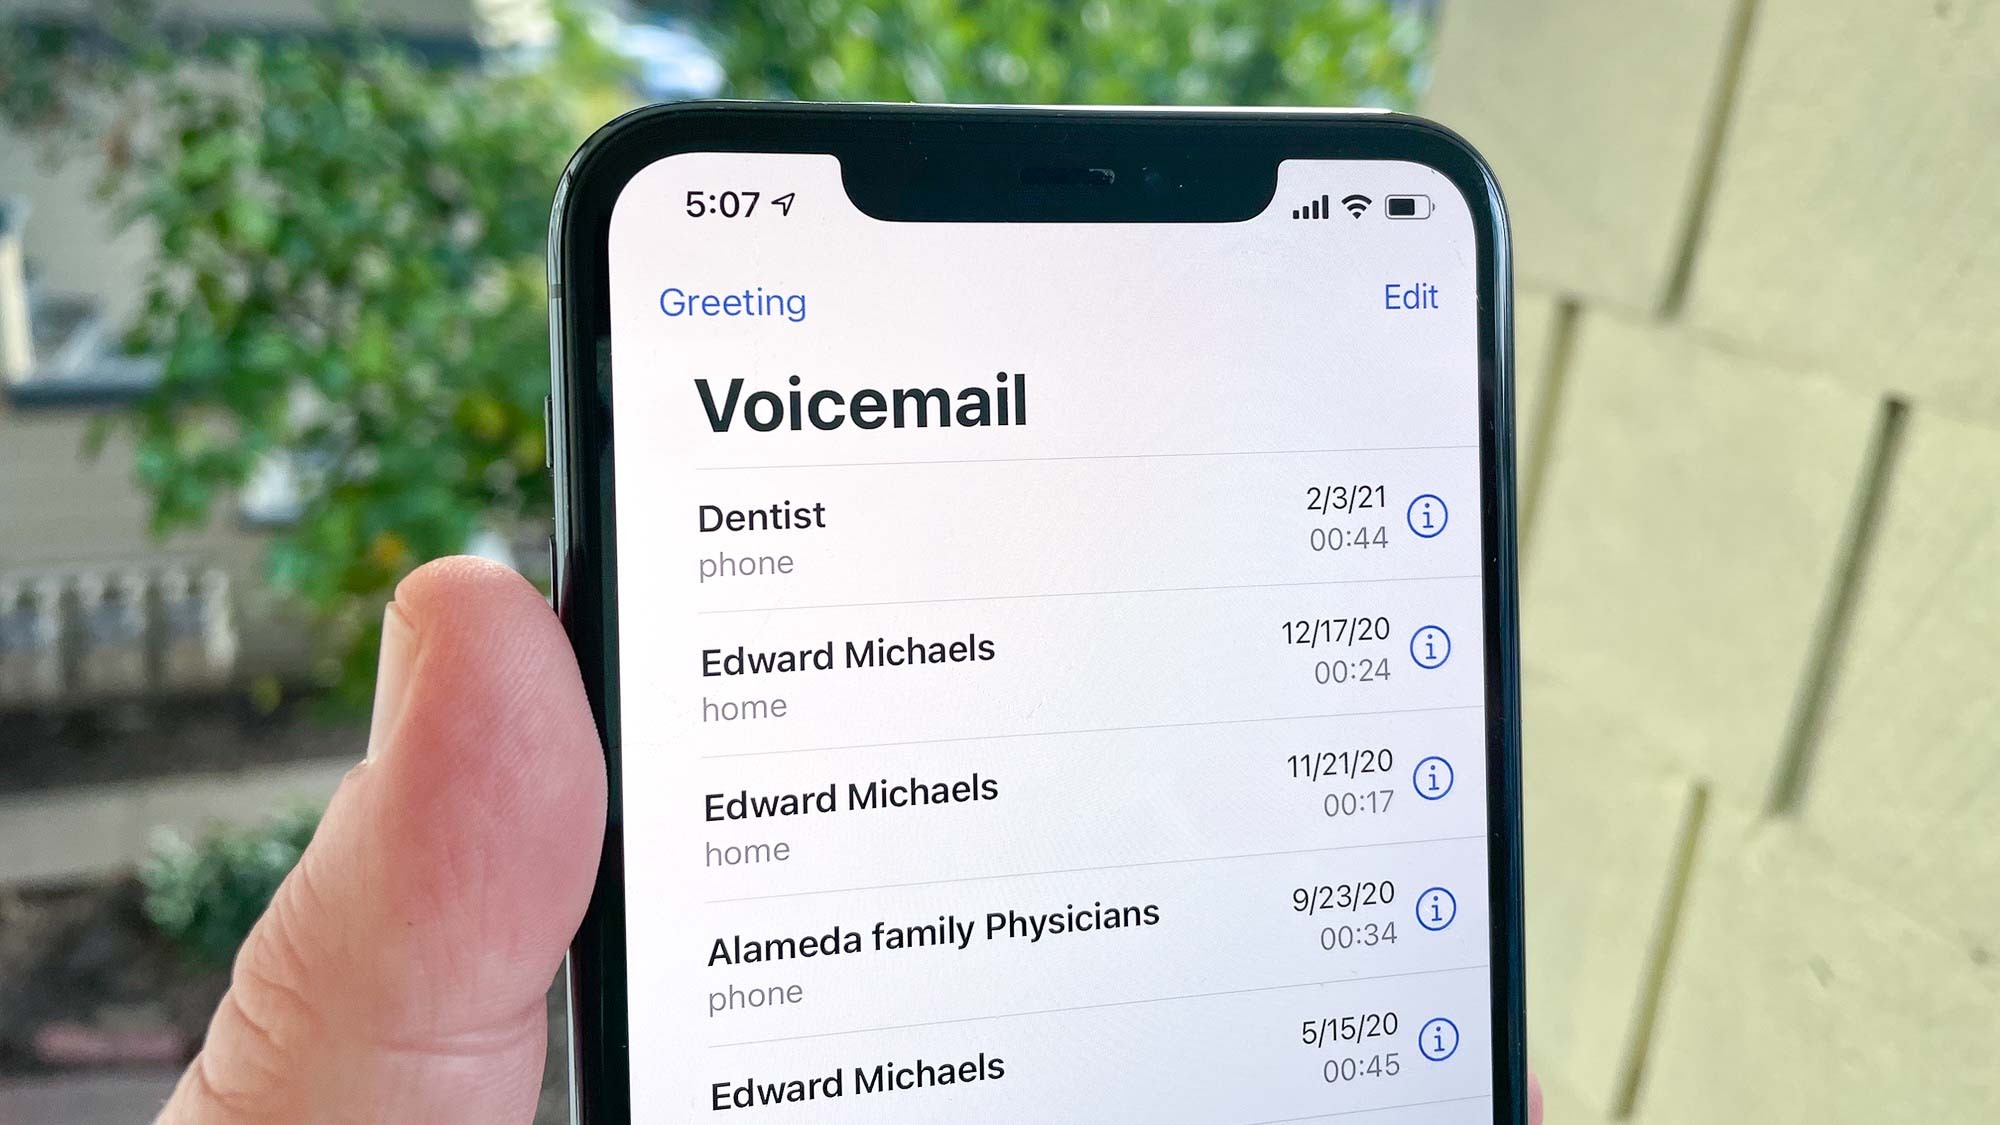
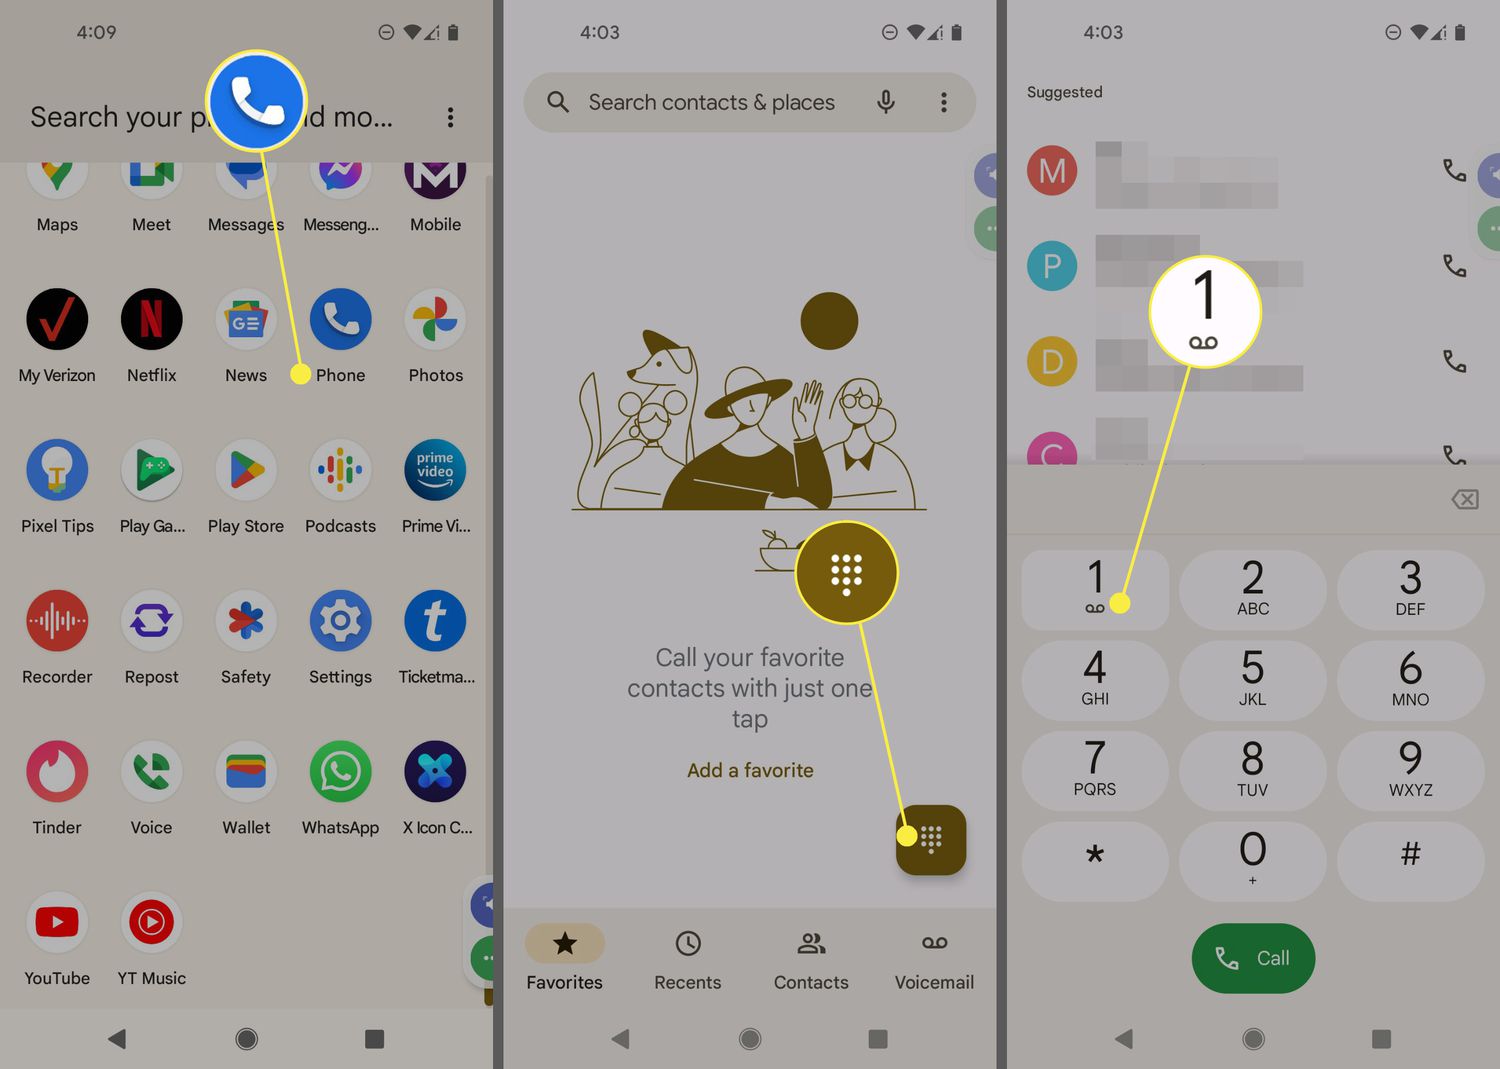
- Open the voicemail app on your Android device.
- Locate the voicemail message that you want to save as an audio file.
- Tap on the voicemail to open it and play the message.
- While the voicemail is playing, use the screen recording feature on your Android device. The specific method to enable screen recording may vary depending on your device. You can usually find it in the quick settings panel or by long-pressing the power button.
- Once the screen recording is enabled, let the voicemail play until it finishes.
- Stop the screen recording by following the same steps used to enable it.
- The screen recording will be saved as a video file on your Android device.
- To extract the audio from the screen recording, you will need to use a video editing app or an online converter. There are various video editing apps available on the Google Play Store, such as “FilmoraGo” or “InShot”. Install one of these apps and import the screen recording into the editor. Trim the video to remove any unnecessary parts and save the extracted audio as an MP3 file.
By following these steps, you can convert your voicemail messages into audio files and store them on your Android device for easy access and safekeeping. This method allows you to preserve the original voice and tone of the message, keeping the sentimental value intact.
Now that you have successfully saved your voicemails as audio files, it’s time to explore another option: backing up voicemails to cloud storage.
Step 3: Backing up Voicemails to Cloud Storage
Backing up your voicemails to cloud storage provides an additional layer of security and ensures that your important messages are never lost, even if your Android device gets damaged or lost. Cloud storage offers the convenience of accessing your voicemails from any device with an internet connection. Here’s how you can back up your voicemails to cloud storage:
- First, ensure that you have a cloud storage account. Popular cloud storage options include Google Drive, Dropbox, and OneDrive.
- Open the voicemail app on your Android device.
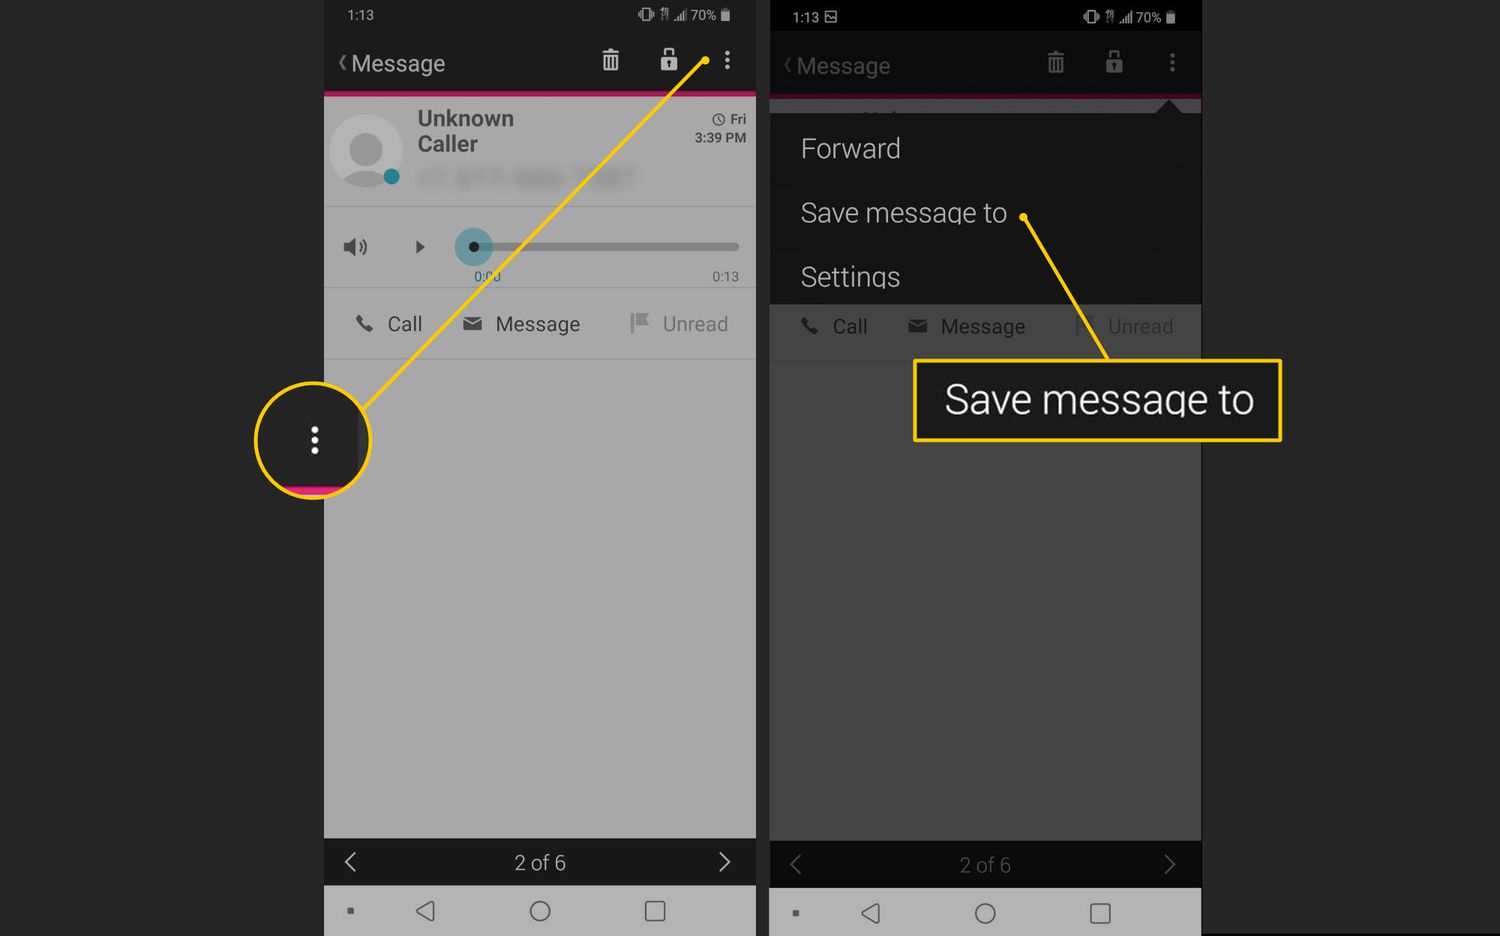
- Select the voicemail you want to back up to the cloud.
- Look for the share or export option within the voicemail app menu. The specific location of this option may vary depending on the voicemail app you are using.
- Choose the cloud storage app you have installed on your Android device from the sharing options.
- Follow the prompts to select the destination folder within your cloud storage account and confirm the upload.
- The voicemail will now be uploaded to your cloud storage account, making it accessible from any device connected to the internet.
Once your voicemails are uploaded to cloud storage, you can access them by logging into your cloud storage account using a web browser or the respective mobile app. From there, you can play, download, or even share your voicemails as needed.
Remember to regularly back up your voicemails to cloud storage to ensure that you always have a copy of your important messages. This method provides peace of mind, knowing that your voicemails are safely stored in a remote location.
Now that you have backed up your voicemails to cloud storage, it’s time to explore the final step: transferring voicemails to your computer.
Step 4: Transferring Voicemails to Your Computer
If you prefer to have your voicemails stored on your computer for easy access and archiving, transferring them from your Android device is the way to go. Transferring voicemails to your computer allows you to create backups, organize them in a preferred file structure, and even share them with others if needed. Here’s how you can transfer your voicemails to your computer:
- Connect your Android device to your computer using a USB cable.
- On your Android device, swipe down from the top of the screen to access the notification panel.
- Tap on the “USB” notification, usually labeled as “Charging this device via USB” or “Android System”.
- Select “File Transfer” or “Transfer files” from the available USB connection options.
- On your computer, open the file explorer or finder program.
- Navigate to the location where your Android device is displayed.
- Locate the folder or directory labeled “Voicemail” or similar on your Android device.
- Copy and paste the voicemails you want to transfer to your computer into a folder on your computer. You can create a new folder specifically for your voicemails for better organization.
- Wait for the files to finish transferring from your Android device to your computer.
Once the voicemails are transferred to your computer, you can access and manage them using any media player or audio editing software installed on your computer. You can also create backups of the voicemails on external storage devices for added protection.
Transferring voicemails to your computer not only provides a secure and centralized location for your important messages but also allows you to free up storage space on your Android device. Remember to regularly transfer and organize your voicemails to keep everything neat and easily accessible.
Congratulations! You have successfully completed all the steps to save your voicemails on your Android device. Whether you have used a voicemail saving app, saved voicemails as audio files, backed them up to cloud storage, or transferred them to your computer, you now have multiple options to keep your important voicemails safe and easily accessible.
Conclusion
Voicemails often hold sentimental value or contain important information that we don’t want to lose. By following the steps outlined in this guide, you can ensure that your voicemails are safely saved and easily accessible whenever you need them. Whether it’s using a voicemail saving app, saving voicemails as audio files, backing them up to cloud storage, or transferring them to your computer, there are various methods available that cater to your preferences and needs.
Using a voicemail saving app provides a simple and user-friendly way to store your voicemails. These apps are specifically designed to capture and store voicemail messages, keeping them organized and easily accessible.
If you want to preserve the original voice and tone of the message, saving voicemails as audio files is a great option. By using the screen recording feature on your Android device and converting the recording into an audio file, you can create a permanent copy of the voicemail.
Backing up your voicemails to cloud storage offers an additional layer of security and accessibility. With your voicemails stored in the cloud, you can access them from any device with an internet connection, ensuring they are never lost, even if your Android device is damaged or lost.
Transferring your voicemails to your computer allows for easy access, organization, and sharing of your important messages. By connecting your Android device to your computer and copying the voicemails, you can create backups, manage them with media players or audio editing software, and even free up space on your Android device.
By taking advantage of these methods, you can safeguard your valuable voicemails and have peace of mind knowing that they are securely stored and easily retrievable. Remember to regularly back up and organize your voicemails to maintain a well-organized collection of important messages.
Now that you are equipped with the knowledge and tools to save your voicemails on Android, go ahead and start preserving those meaningful messages or crucial pieces of information. Enjoy the convenience and peace of mind that comes with knowing your voicemails are safely stored and accessible whenever you need them.