Introduction
Welcome to the world of Android! Setting up your voicemail on your Android device is a simple process that will ensure you never miss an important message again. Whether it’s a personal or work-related call, having a personalized voicemail greeting allows callers to leave a message when you’re unable to answer the phone. In this article, we will guide you through the steps to set up voicemail on your Android device.
Android devices have different interfaces based on the manufacturer and the version of the operating system running on the device. However, the basic steps to set up voicemail remain consistent across most Android devices. We will provide general instructions that should work for the majority of Android smartphones and tablets.
By following these steps, you will be able to customize your voicemail greeting, ensuring that callers receive a warm and informative message. Your voicemail greeting can also convey vital information like alternative contact methods or any other instructions you may have for callers. So, let’s get started and learn how to set up your voicemail on Android!
Step 1: Open the Phone App
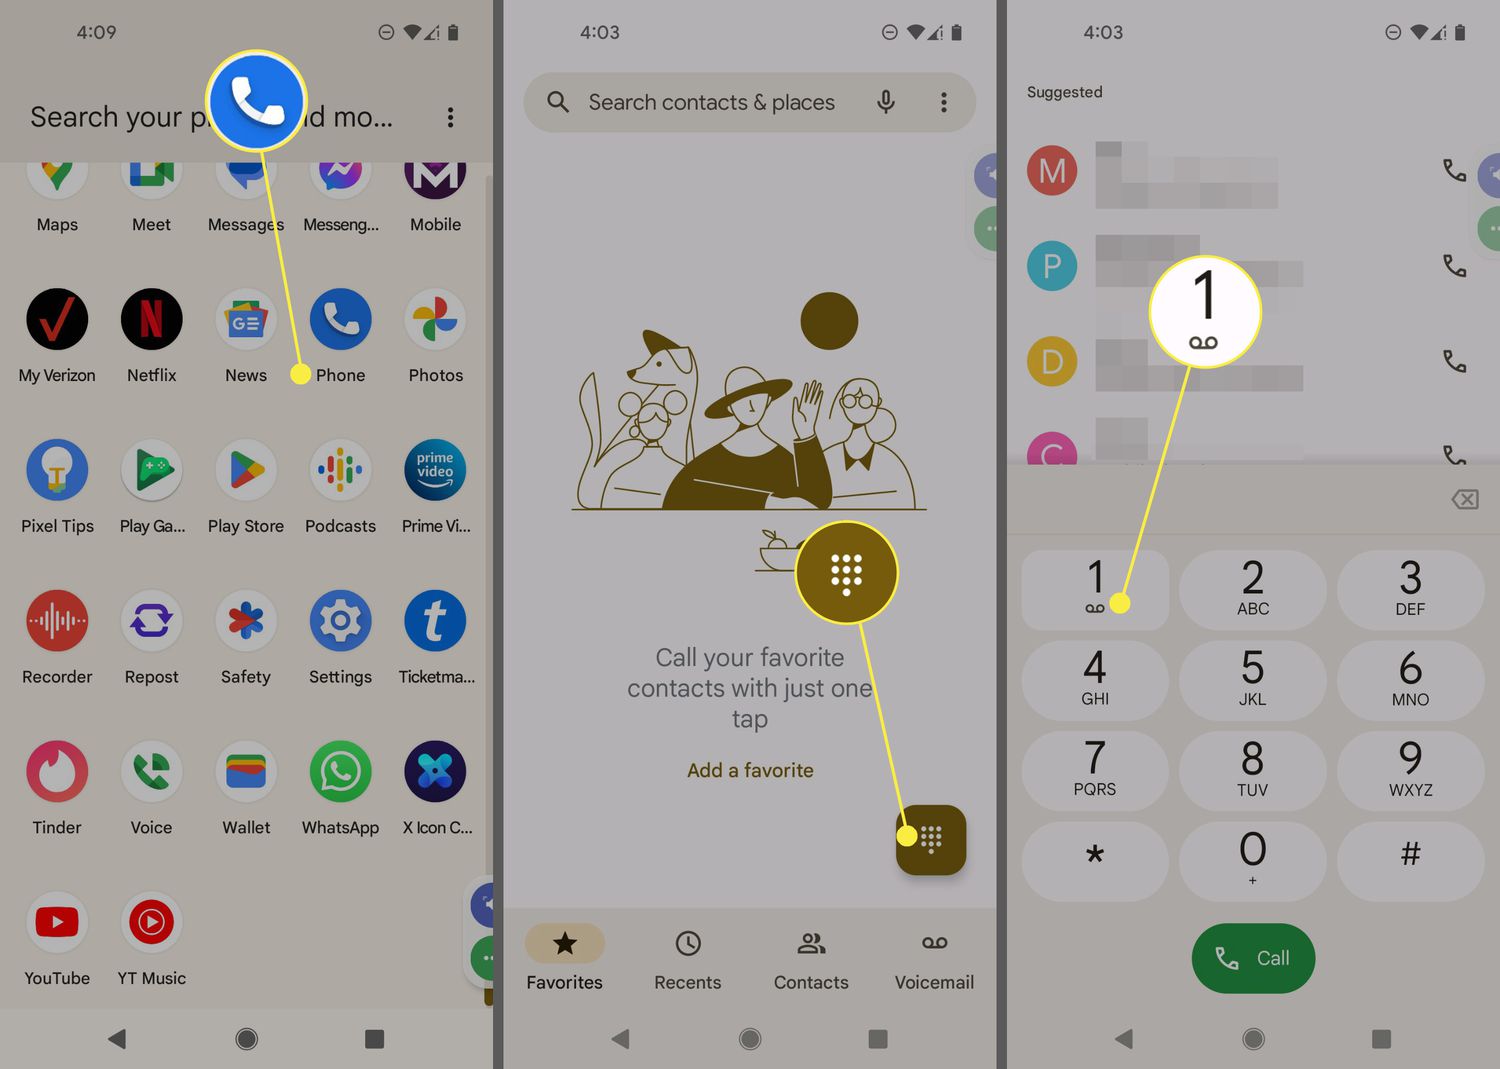
The first step to setting up your voicemail on Android is to open the Phone app, which is typically represented by an icon of a phone receiver. You can find this app on your home screen or within your app drawer.
Once you locate the Phone app, tap on its icon to open it. This will take you to the default screen of the Phone app, which displays your recent calls, contacts, and a keypad for making phone calls.
Note that the exact appearance and layout of the Phone app may vary slightly depending on the make and model of your Android device.
If you cannot find the Phone app on your home screen or app drawer, you can try searching for it using the search bar at the top of your screen. Simply swipe down from the middle of your home screen to reveal the search bar, type in “Phone”, and the app should appear in the search results. Tap on the Phone app to open it.
Alternatively, some Android devices may have a separate Voicemail app where you can access your voicemail settings directly. In such cases, you can skip this step and proceed to the next one.
Now that you have opened the Phone app, you are ready to move on to the next step and access the voicemail settings.
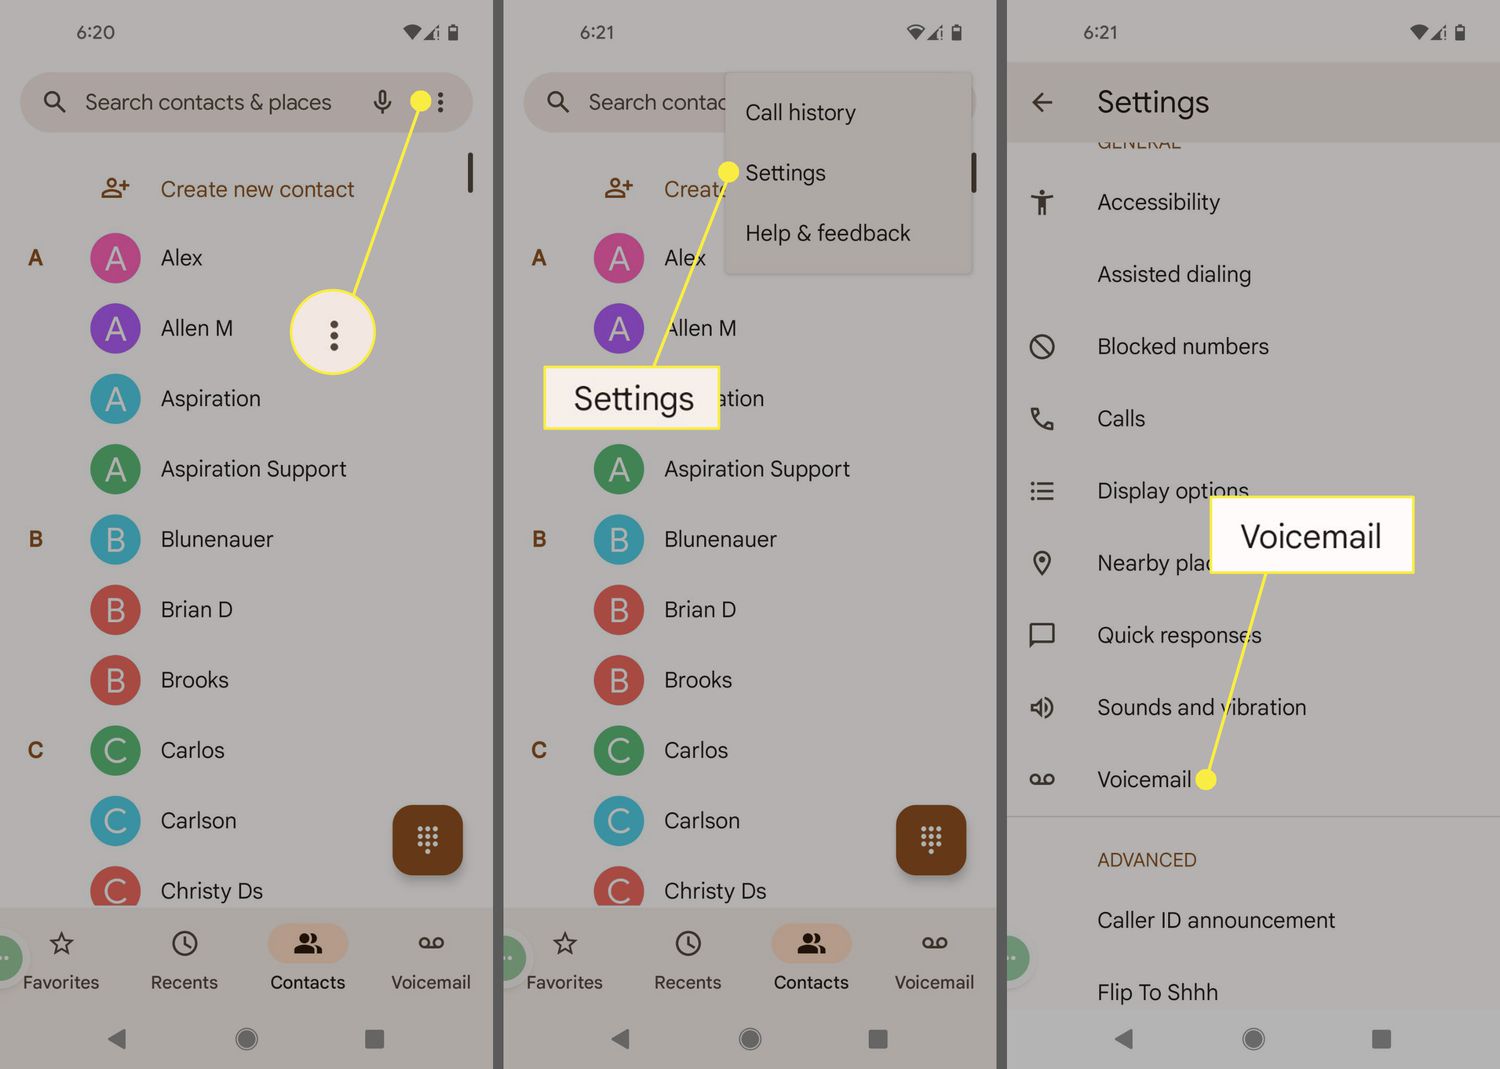
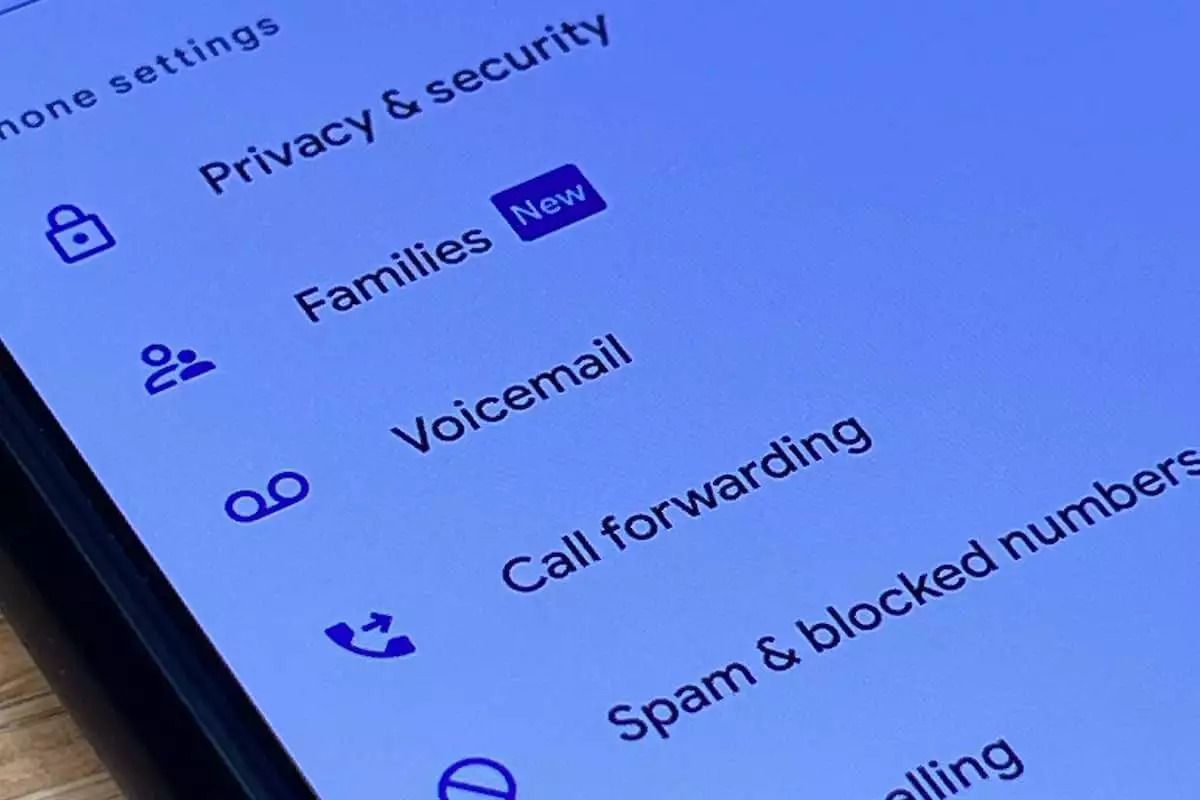
Step 2: Access Voicemail Settings
Once you have opened the Phone app on your Android device, accessing the voicemail settings is the next step towards setting up your voicemail. Follow the instructions below to access the voicemail settings:
- Look for the Menu or More option: Depending on your device, this option is usually represented by three vertical dots, three horizontal lines, or an icon with additional settings. It is typically located in the top-right corner of the Phone app.
- Tap on the Menu or More option to expand a dropdown list of additional options.
- From the dropdown list, look for a specific option that refers to “Settings” or “Call Settings”. This may be labeled differently on various devices, so keep an eye out for any mention of voicemail or call settings.
- Once you locate the appropriate option, tap on it to access the settings menu.
Alternatively, some Android devices may have a direct shortcut to voicemail settings within the Phone app. In such cases, you may find the voicemail settings displayed prominently in the main interface, often with an icon resembling a cassette tape or microphone.
Remember, the steps to access voicemail settings may vary slightly depending on the make and model of your Android device. If you are unable to locate the settings through the Menu or More option, try exploring other options within the Phone app’s interface, such as “Settings” or “Call Settings”.
Now that you have successfully accessed the voicemail settings, you can move on to the next step and set up your personalized voicemail greeting.
Step 3: Set up Your Voicemail Greeting
Now that you have accessed the voicemail settings on your Android device, you are ready to set up your voicemail greeting. The voicemail greeting is what callers will hear when they reach your voicemail inbox. It’s an opportunity for you to leave a personalized message that provides important information or sets the tone for the conversation.
Follow the instructions below to set up your voicemail greeting:
- Within the voicemail settings menu, look for an option specifically labeled “Voicemail Greeting” or “Greeting”. Tap on this option to proceed.
- Next, you’ll see different options for setting up your voicemail greeting. Some devices may offer a default pre-recorded message that you can choose to use, while others allow you to record a custom greeting.
- If you prefer to use a pre-recorded message, select the option that provides a list of available greetings. Choose the one that best suits your needs and proceed to the next step.
- If you want to record a custom greeting, select the option that allows you to record a new greeting.
If you choose to record a custom greeting, follow the on-screen prompts to proceed with the recording. Make sure to speak clearly and provide any necessary information, such as your name, a polite request to leave a message, and any additional instructions or contact details you want to convey.
Be creative with your greeting! You can add a personal touch that reflects your personality or adds a touch of professionalism. However, keep in mind that your greeting should be concise and informative.
After recording your greeting, review it and make any necessary adjustments. Most devices will provide options to listen to your greeting, re-record it if necessary, or save it to use as your voicemail greeting.
Once you are satisfied with your voicemail greeting, proceed to the next step to save and test it.
Step 4: Record Your Voicemail Greeting
After setting up your voicemail greeting in the previous step, it’s time to record your personalized voicemail greeting. This step allows you to add a personal touch to your voicemail and make it more engaging for callers.
Follow the instructions below to record your voicemail greeting:
- If you have selected the option to record a custom greeting in the previous step, you will be prompted to start the recording. Tap on the “Record” button or a similar option to begin.
- When prompted, speak clearly and confidently into your device’s microphone. Make sure to include all the necessary information, such as your name, a polite request to leave a message, and any additional instructions or contact details you want to provide.
- Keep your voicemail greeting concise and to the point. Avoid rambling or including unnecessary information that may confuse callers.
- Once you have finished recording your voicemail greeting, tap on the “Stop” button or a similar option to end the recording.
- Review your recording and listen to ensure it sounds clear and professional. Some devices may offer the option to play back the recording before saving it.
If you are not satisfied with the recorded greeting, most devices allow you to re-record it. Simply follow the on-screen prompts to start the recording process again.
Remember to practice speaking clearly and confidently when recording your voicemail greeting. A well-recorded greeting will make a positive impression on your callers and improve the overall voicemail experience.
Now that you have recorded your voicemail greeting, it’s time to save and test it in the next step.
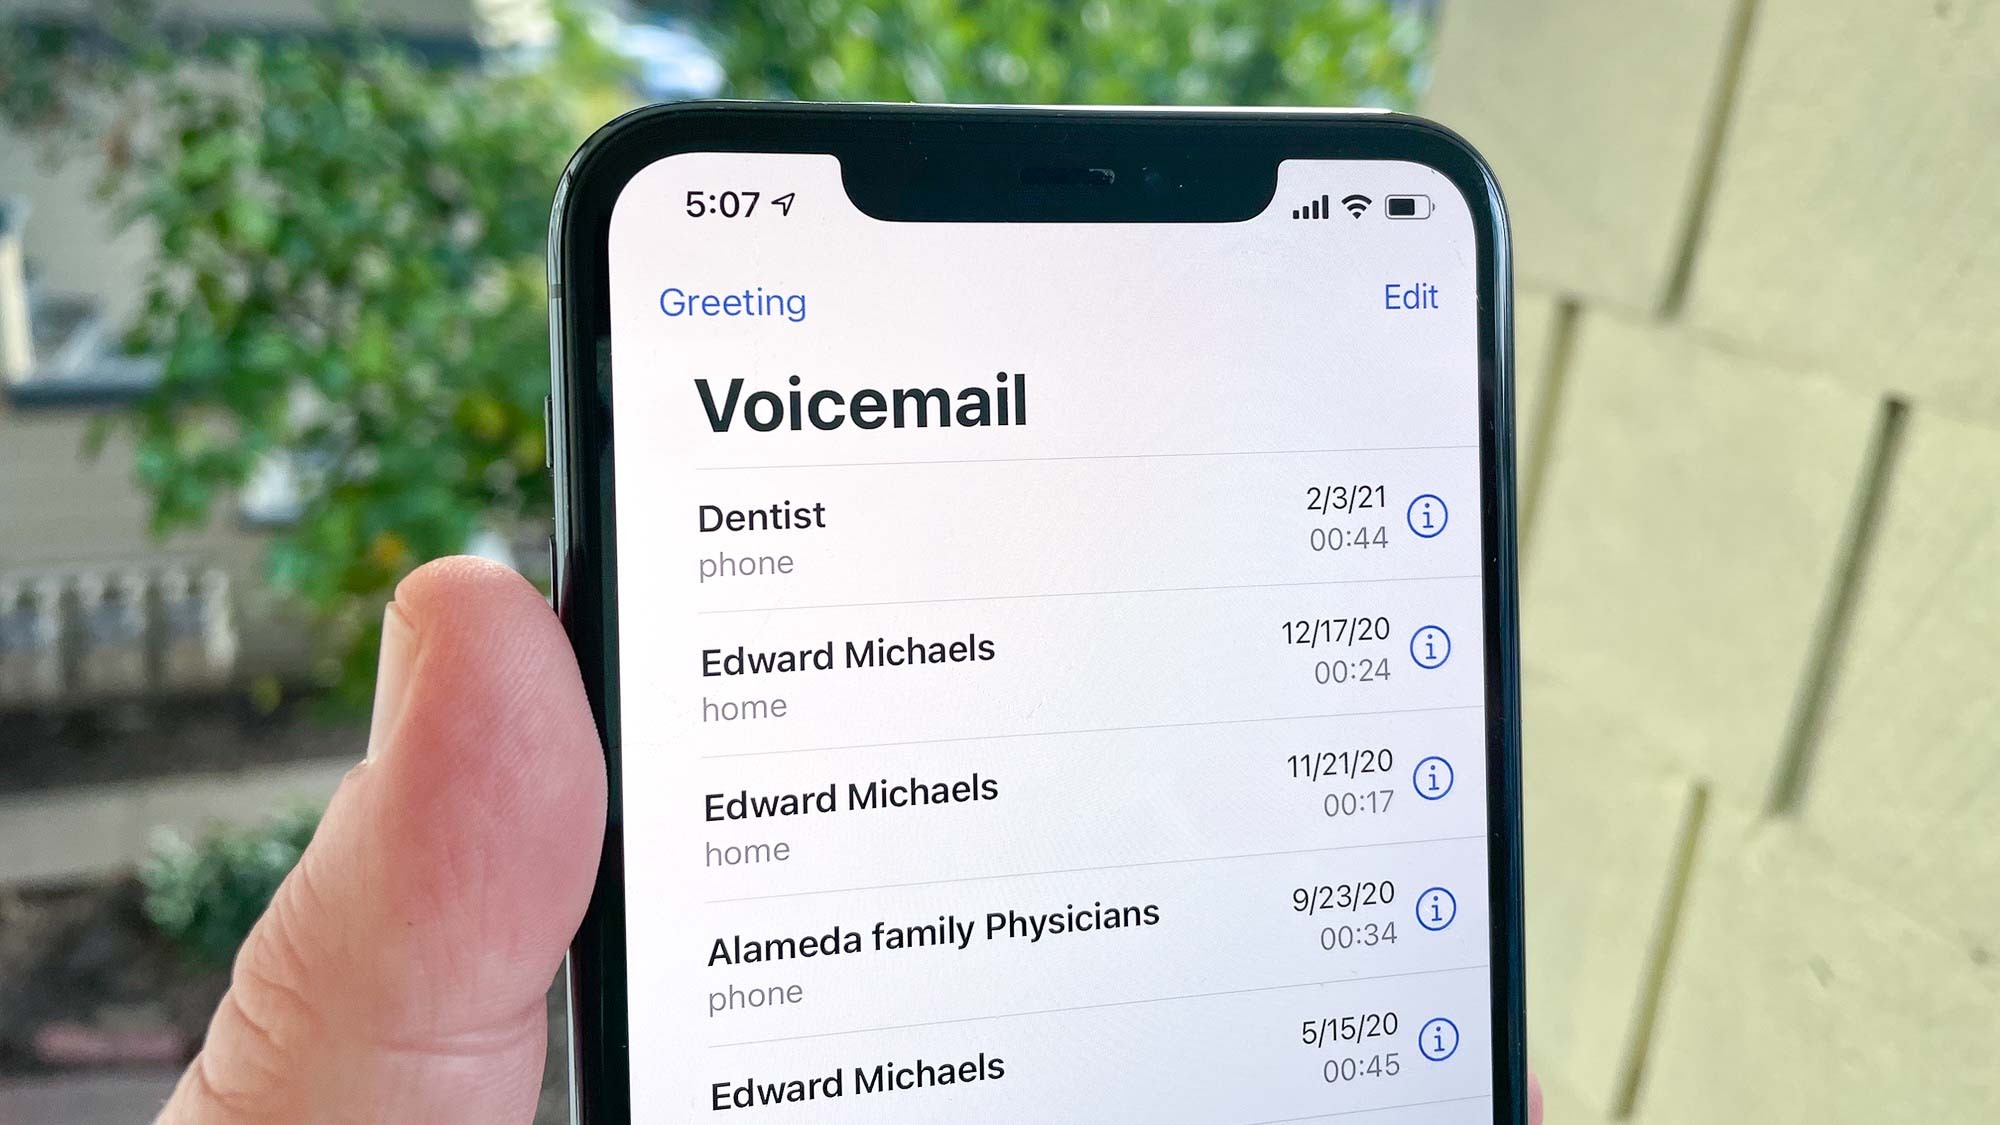
Step 5: Save and Test Your Voicemail Greeting
After recording your voicemail greeting, the final step is to save it and test how it sounds. This step ensures that your greeting is set up correctly and is ready for callers to hear when they reach your voicemail inbox.
Follow the instructions below to save and test your voicemail greeting:
- Once you have finished recording your voicemail greeting, look for an option to save or apply the changes. This option might be labeled as “Save,” “Apply,” or something similar. Tap on it to save your voicemail greeting.
- After saving your voicemail greeting, exit the voicemail settings menu and return to the main interface of the Phone app. This will allow you to access your voicemail inbox and test your greeting.
- To test your voicemail greeting, call your own phone number from a different phone. Let the call go to voicemail and listen to the greeting that plays. Ensure that it sounds clear and includes all the necessary information you want to convey to callers.
- If you are satisfied with your voicemail greeting, congratulations! You have successfully set up your voicemail on Android. If you need to make any further adjustments, simply repeat the previous steps to access the voicemail settings and make the necessary changes.
- Remember to periodically review and update your voicemail greeting as needed. This can be particularly important if there are any changes to your contact information or if you want to personalize the greeting for special occasions or events.
By saving and testing your voicemail greeting, you can ensure that callers receive a professional and informative message when they reach your voicemail inbox.
Now that you have completed all the necessary steps, you are ready to start receiving voicemail messages and stay connected with your contacts even when you are unable to answer the phone.
Conclusion
Setting up your voicemail on Android is a straightforward process that allows you to personalize your communication experience. By following the steps outlined in this article, you can record a professional and engaging voicemail greeting that reflects your personality and provides callers with relevant information.
Remember to access the Phone app on your Android device to begin the setup process. From there, navigate to the voicemail settings to access options for setting up your voicemail greeting. You can choose to use a pre-recorded message or record a custom greeting that suits your needs and style.
Once you have recorded your voicemail greeting, save it and test it by calling your own phone number from another device. This final step ensures that your greeting is clear, informative, and provides a positive experience for callers.
Don’t forget to periodically review and update your voicemail greeting as needed. This allows you to keep your greeting relevant, especially when there are changes to your contact information or if you want to customize the greeting for special occasions.
Now that you have successfully set up your voicemail on Android, you can rest assured that you won’t miss any important messages. Take advantage of this feature to stay connected and provide callers with a professional and personalized voicemail experience.
Thank you for following this guide. We hope you found it helpful in setting up your voicemail on your Android device. Stay connected and enjoy the convenience of having a personalized voicemail greeting!