Introduction
The Apple Watch is a powerful and versatile device that seamlessly integrates with the iPhone to provide a range of useful features and functionalities. However, there might be instances where you need to resync your Apple Watch to your iPhone for various reasons. This could be due to a software update, connectivity issues, or simply to ensure that both devices are working in perfect harmony.
Resyncing your Apple Watch to your iPhone is a straightforward process that can be completed in just a few simple steps. By following the instructions outlined in this guide, you’ll be able to establish a seamless connection between your Apple Watch and iPhone, ensuring that you can enjoy all the features and functionality that the Apple ecosystem has to offer.
Whether you’re experiencing issues with notifications not syncing properly, apps not functioning as expected, or you’ve recently reset your iPhone and need to reconnect your Apple Watch, this step-by-step guide will walk you through the process of resyncing your Apple Watch to your iPhone.
Please note that the specific steps may vary slightly based on the version of iOS and watchOS you’re using. However, the general process remains the same and can be adjusted accordingly.
Step 1: Ensure Bluetooth is enabled on your iPhone and Apple Watch
Before you begin the resyncing process, it’s essential to ensure that Bluetooth is enabled on both your iPhone and Apple Watch. Bluetooth allows for the seamless communication between the two devices and is necessary for them to connect and sync properly.
To enable Bluetooth on your iPhone, navigate to the Control Center by swiping down from the top-right corner of the screen (on iPhone X or later) or swiping up from the bottom of the screen (on older iPhone models). Look for the Bluetooth icon and make sure it is highlighted, indicating that it is turned on.
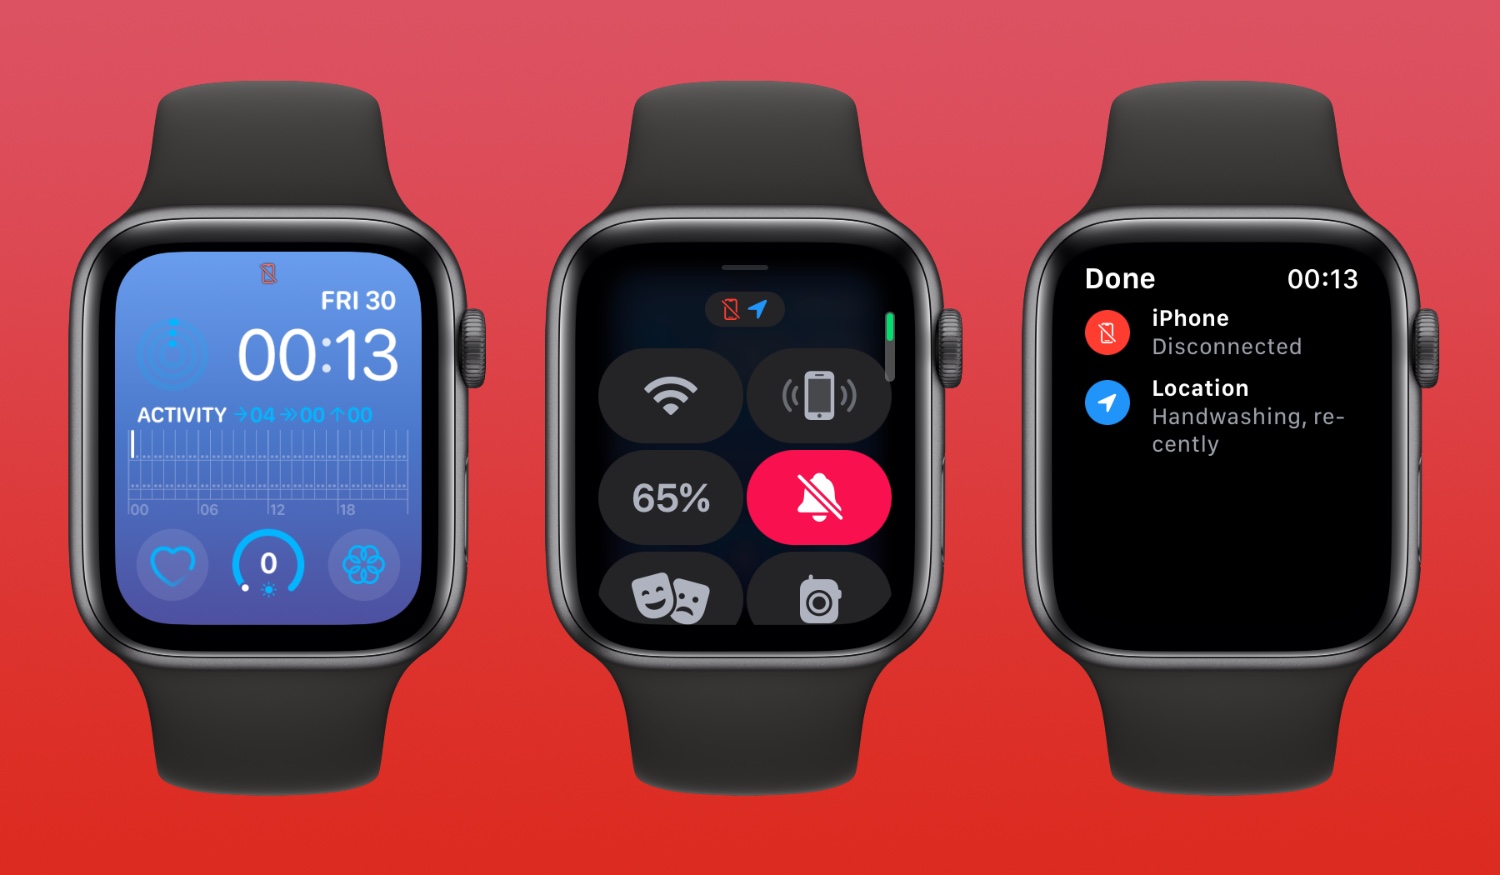
To enable Bluetooth on your Apple Watch, swipe up on the watch face to access the Control Center. Look for the Bluetooth icon and ensure that it is highlighted, indicating that Bluetooth is turned on.
It’s worth noting that your iPhone and Apple Watch should be in close proximity to each other to maintain a strong Bluetooth connection. Ideally, they should be within a few feet of each other to ensure a stable connection during the resyncing process.
Ensuring that Bluetooth is enabled and both devices are within range is the first step in successfully resyncing your Apple Watch to your iPhone. Once you have confirmed that Bluetooth is enabled on both devices, you can proceed to the next step in the resyncing process.
Step 2: Make sure your Apple Watch is within range of your iPhone
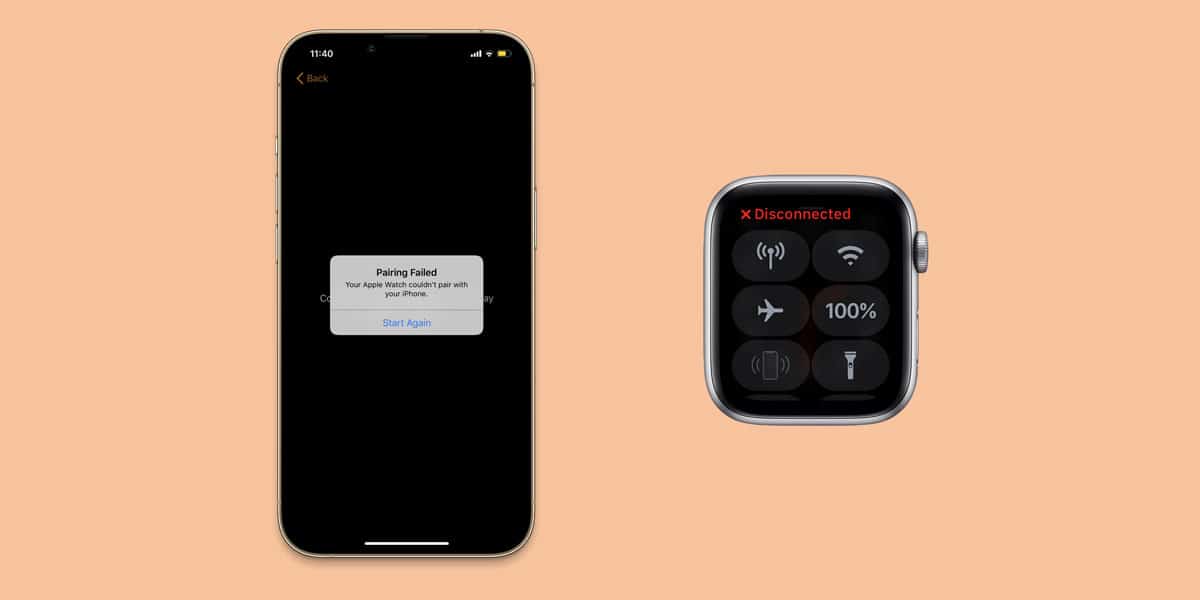
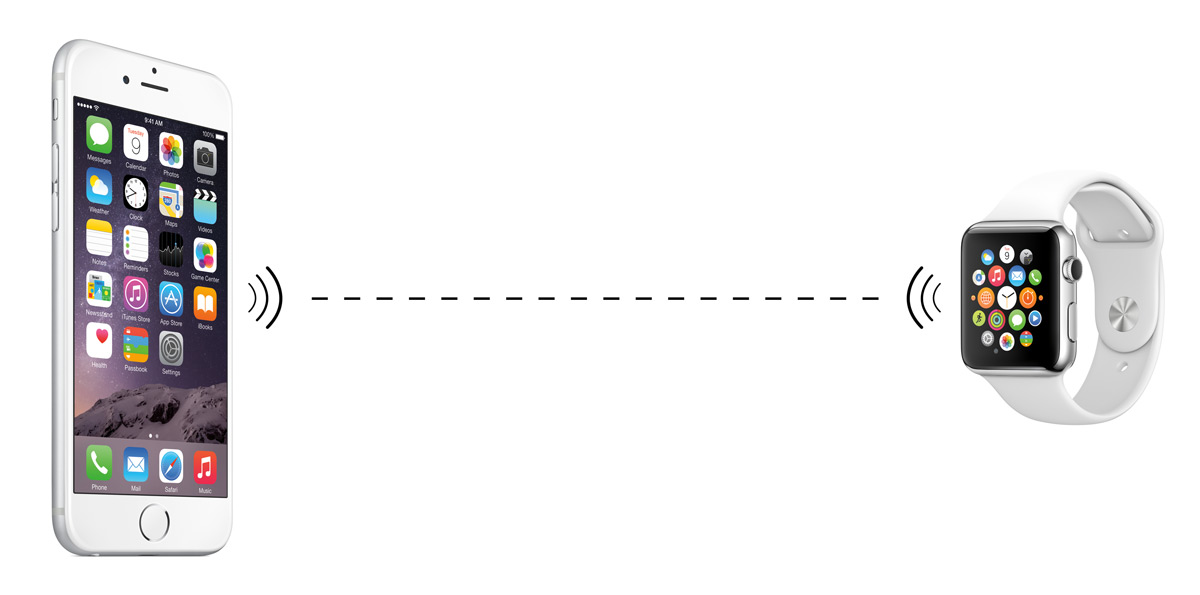
To establish a successful connection between your Apple Watch and iPhone, it’s crucial to ensure that your Apple Watch is within range of your iPhone. This proximity is necessary for the devices to communicate effectively and sync data properly.
Ideally, your Apple Watch should be within a range of about 30 feet from your iPhone. This range allows for a strong and stable Bluetooth connection between the two devices. If your Apple Watch is too far away from your iPhone, the connection may be weaker, leading to syncing issues and interrupted functionality.
To ensure that your Apple Watch is within range of your iPhone, you can do the following:
- Keep your Apple Watch and iPhone in the same room.
- Avoid thick walls, large metal objects, and other potential obstacles that may interfere with the Bluetooth signal.
- Avoid placing your Apple Watch too far away from your iPhone, especially if you’re experiencing syncing problems.
- If you’re using Wi-Fi on your Apple Watch (for Series 3 or later), make sure it is connected to the same Wi-Fi network as your iPhone.
By keeping your Apple Watch within range of your iPhone, you increase the chances of a successful resyncing process. When both devices are in close proximity, the Bluetooth connection is stronger, resulting in a smoother syncing experience.
Once you have confirmed that your Apple Watch is within range of your iPhone, you can proceed to the next step to begin the resyncing process.
Step 3: Open the Apple Watch app on your iPhone
To initiate the resyncing process between your Apple Watch and iPhone, you’ll need to open the Apple Watch app on your iPhone. The Apple Watch app provides a range of settings and options to manage and customize your Apple Watch, including the ability to connect and resync it with your iPhone.
The Apple Watch app is pre-installed on all iPhones and can be easily accessed from the home screen. Look for the icon with the image of an Apple Watch, usually located on one of your main home screen pages or in the “Extras” folder.
If you’re unable to find the Apple Watch app on your iPhone, you can also use the Spotlight search feature by swiping down on the home screen and entering “Apple Watch” in the search bar.
Once you have located the Apple Watch app, tap on it to open it. The app provides a variety of features and options, allowing you to customize different aspects of your Apple Watch’s functionality and appearance.
It’s worth noting that the Apple Watch app requires a Bluetooth connection to communicate with your Apple Watch. Ensure that Bluetooth is enabled on your iPhone, as discussed in the previous step, to establish a successful connection between the two devices.
By opening the Apple Watch app on your iPhone, you’re taking the first step towards resyncing your Apple Watch. In the upcoming steps, you’ll be able to establish the connection between your devices and ensure smooth functionality.
Step 4: Tap on the “My Watch” tab at the bottom of the screen
Once you have opened the Apple Watch app on your iPhone, you’ll be greeted with a navigation bar at the bottom of the screen. Among the various options available, you’ll find a tab labeled “My Watch.” This tab is where you can access and manage the settings and configurations for your Apple Watch.
To proceed with the resyncing process, tap on the “My Watch” tab at the bottom of the screen. This action will take you to a screen that displays detailed information about your Apple Watch, including its connected status, available apps, and various settings.
The “My Watch” tab provides a comprehensive overview of your Apple Watch and acts as a control center for managing its functionalities. From this screen, you can access and modify various settings, such as app notifications, watch faces, and general preferences.
By tapping on the “My Watch” tab, you’re taking a significant step towards initiating the resyncing process between your Apple Watch and iPhone. It will allow you to navigate through the settings and configurations necessary to establish a seamless connection between the two devices.
In the subsequent steps, we’ll explore the specific options within the “My Watch” tab that will enable you to reconnect your Apple Watch to your iPhone successfully.
Step 5: Select your Apple Watch from the list of devices
After tapping on the “My Watch” tab in the Apple Watch app, you will be presented with a list of devices. This list displays all the Apple Watch devices that have been paired or connected to your iPhone. To proceed with the resyncing process, locate and select your Apple Watch from this list.
The list of devices may include multiple Apple Watch models, each identified by its respective name. If you have more than one Apple Watch, make sure to choose the one that you want to resync to your iPhone.
To select your Apple Watch from the list, simply tap on its name. This action will take you to a dedicated screen where you can access and manage various settings specific to your Apple Watch.
By selecting your Apple Watch from the list of devices, you’re indicating that you want to establish a connection between your iPhone and the chosen Apple Watch. This step is crucial in the resyncing process, as it allows you to access the necessary options and configurations for reconnecting the two devices.
Once you have selected your Apple Watch, you can proceed to the next step to continue the resyncing process and ensure a seamless connection between your Apple Watch and iPhone.
Step 6: Tap on the “i” icon next to your Apple Watch name
Once you have selected your Apple Watch from the list of devices in the Apple Watch app, you will be directed to a screen dedicated to managing your specific Apple Watch. On this screen, you have access to various settings and options that allow you to customize and control your device.
To proceed with the resyncing process, locate the “i” icon, typically positioned next to the name of your Apple Watch. The “i” icon represents the information or settings menu for your Apple Watch.
Tap on the “i” icon next to your Apple Watch’s name. This action will take you to a screen where you can view detailed information about your Apple Watch and make necessary configurations.
The information menu displays various details about your Apple Watch, such as software version, storage capacity, and connected iPhone. It also provides options for customizing watch faces, app notifications, and other settings specific to your device.
By tapping on the “i” icon, you’re gaining access to the settings and configurations necessary to reconnect your Apple Watch to your iPhone. This step is instrumental in the resyncing process as it allows you to modify and adjust the necessary parameters for a successful connection.
In the upcoming steps, we’ll explore the specific options within the information menu that will enable you to complete the resyncing process and establish a seamless connection between your Apple Watch and iPhone.
Step 7: Tap on “Unpair Apple Watch”
Once you have accessed the information menu of your Apple Watch by tapping on the “i” icon, you will be presented with a range of settings and options specific to your device. To proceed with the resyncing process, locate and tap on the option that says “Unpair Apple Watch.
The “Unpair Apple Watch” option allows you to disconnect your Apple Watch from your iPhone completely. This step is necessary to ensure a clean and fresh start for the resyncing process.
Upon tapping on “Unpair Apple Watch,” a confirmation message will appear, informing you that unpairing your Apple Watch will erase all data and settings on your device. Make sure to review this message and understand the consequences before proceeding.
If you’re ready to continue with the unpairing process and disconnect your Apple Watch from your iPhone, confirm the action by tapping on “Unpair [Apple Watch name].” This will initiate the unpairing process and erase all data and settings associated with your Apple Watch.
It’s important to note that unpairing your Apple Watch will not affect your iPhone or its data. Only the connection and data stored on the Apple Watch itself will be affected.
By tapping on “Unpair Apple Watch,” you’re taking a significant step towards resyncing your Apple Watch. This action ensures that the connection between your Apple Watch and iPhone is completely terminated, allowing you to proceed with a fresh start in the resyncing process.
In the following steps, we’ll guide you on how to set up your Apple Watch as a new device and reconnect it to your iPhone successfully.
Step 8: Confirm the unpairing process
After tapping on the “Unpair Apple Watch” option in the information menu, a confirmation message will appear, asking you to confirm the unpairing process. This confirmation step is crucial to ensure that you intentionally want to disconnect your Apple Watch from your iPhone and erase all data and settings associated with it.
It’s essential to carefully review the confirmation message and understand its implications before proceeding. Unpairing your Apple Watch will remove all data, including personalized settings, installed apps, and health and fitness data, from the device. Make sure to back up any important data or perform a backup of your Apple Watch before confirming the unpairing process.
If you are certain and ready to proceed with unpairing your Apple Watch, tap on the option to confirm the action. The confirmation message may ask you to enter your Apple ID and password to ensure that the unpairing process is authorized.
Please note that the unpairing process may take a few moments to complete. During this time, your Apple Watch may display a progress icon or a message indicating that it is being unpaired.
By confirming the unpairing process, you are effectively disconnecting your Apple Watch from your iPhone and erasing all data and settings. This step is necessary to create a clean slate for resyncing your Apple Watch and ensuring a successful connection with your iPhone.
In the upcoming steps, we’ll guide you on setting up your Apple Watch as a new device and reestablishing the connection between your Apple Watch and iPhone.
Step 9: Set up your Apple Watch as a new device
After successfully unpairing your Apple Watch from your iPhone, it’s time to set up your watch as a new device. This step allows you to establish a fresh connection between your Apple Watch and iPhone, ensuring a clean start with updated configurations.
To begin the setup process, follow these steps:
- Power on your Apple Watch by pressing and holding the side button until the Apple logo appears.
- Select your language and region preferences on your Apple Watch.
- Follow the on-screen instructions to connect your Apple Watch to your iPhone.
- When prompted to set up your Apple Watch, select “Set Up as New Watch.”
- Proceed with the setup process, including signing in with your Apple ID, agreeing to the terms and conditions, and configuring optional settings like Siri and location services.
- Allow your Apple Watch to sync with your iPhone and wait for the process to complete.
During the setup process, your iPhone will guide you through various steps to personalize and configure your Apple Watch according to your preferences. You’ll have the opportunity to choose watch face styles, install apps, and customize settings such as notifications and app preferences.
It’s important to note that setting up your Apple Watch as a new device means that any previous data and settings will not be restored. However, your compatible apps and data from iCloud or other compatible services can be reinstalled and synced back to your Apple Watch.
Once you have completed the setup process, your Apple Watch will be ready to connect to your iPhone and start syncing data, apps, and settings. By setting up your Apple Watch as a new device, you’re ensuring a fresh and optimized connection between your devices.
In the next step, we’ll guide you on how to reconnect your Apple Watch to your iPhone and establish a seamless connection.
Step 10: Reconnect your Apple Watch to your iPhone
After setting up your Apple Watch as a new device, it’s time to reconnect it to your iPhone. This step will establish a seamless connection between your devices and enable the synchronization of data, apps, and settings.
To reconnect your Apple Watch to your iPhone, follow these steps:
- Ensure that both your Apple Watch and iPhone are powered on and within close proximity to each other.
- On your iPhone, open the Apple Watch app.
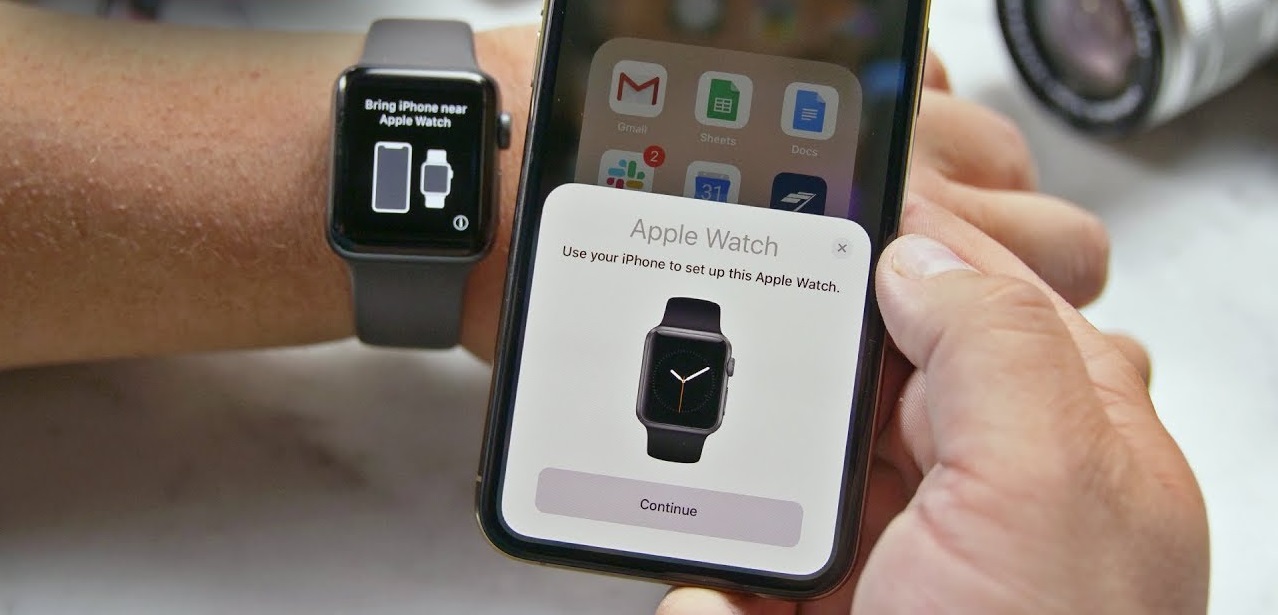
- Tap on the “Start Pairing” button in the app.
- Follow the on-screen instructions and align your Apple Watch’s screen with the viewfinder on your iPhone to pair the devices using the camera.
- Alternatively, you can use the option to manually enter the pairing code displayed on your Apple Watch into the Apple Watch app on your iPhone.
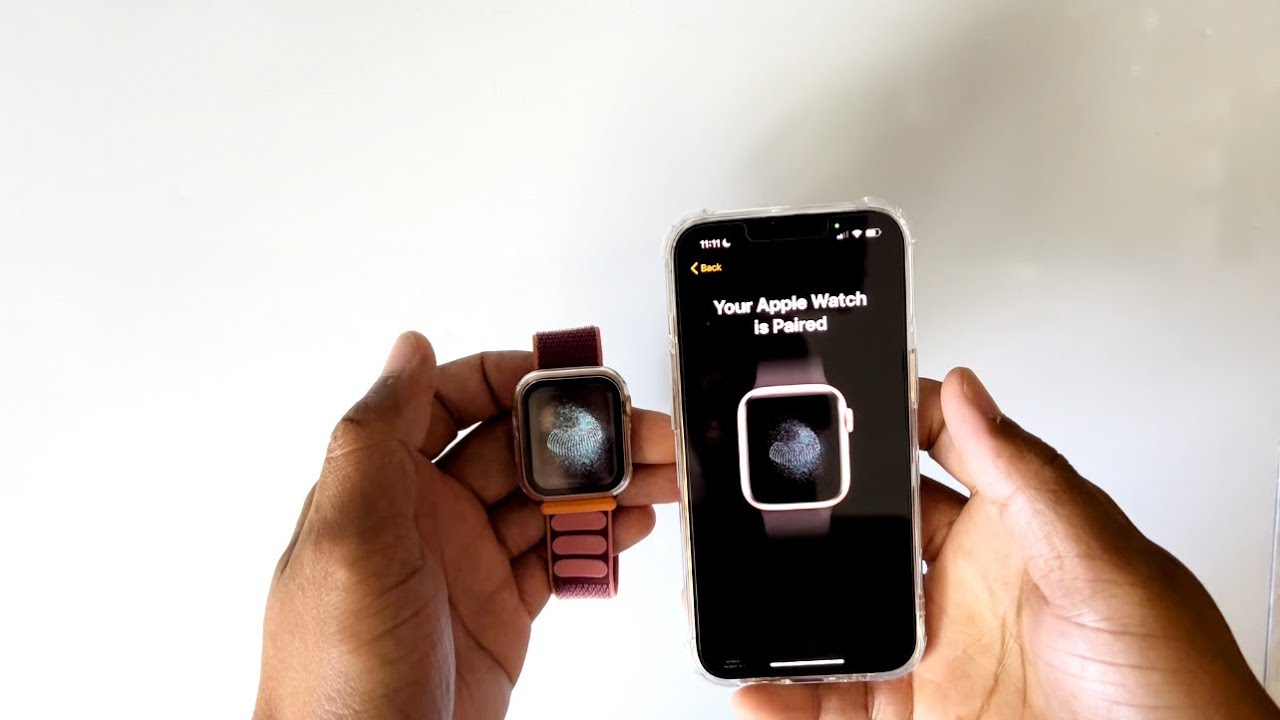
- Once the pairing process is successful, follow the prompts to restore your Apple Watch from your iCloud backup (if available) or set up as new.
- Allow your Apple Watch and iPhone to sync data and settings.
During the reconnection process, you may be asked to enter your Apple ID and password to restore your apps and settings from your iCloud backup. If you choose to set up as new, you can manually reinstall and customize your apps and settings according to your preferences.
Once the reconnection process is complete, your Apple Watch will be successfully synced with your iPhone, and you can enjoy the full range of features and functionalities that the Apple ecosystem has to offer.
By following these steps, you’ve successfully resynced your Apple Watch to your iPhone, ensuring a seamless connection and optimized functionality between the two devices.
Congratulations! You’re now ready to explore the world of possibilities that your Apple Watch and iPhone offer in perfect harmony.
Conclusion
Resyncing your Apple Watch to your iPhone is a simple and essential process to ensure the devices function seamlessly together. By following the step-by-step guide outlined in this article, you can troubleshoot any connectivity issues, update software, or establish a fresh connection between the two devices.
We started by ensuring that Bluetooth is enabled on both your iPhone and Apple Watch, as it plays a vital role in establishing a connection. Next, we confirmed that your Apple Watch is within range of your iPhone to maintain a strong Bluetooth connection.
Then, we guided you through opening the Apple Watch app on your iPhone and selecting your Apple Watch from the list of devices. We proceeded with tapping on the “i” icon to access the information menu and then unpairing your Apple Watch from your iPhone.
Once your Apple Watch was unpaired, we instructed you on setting up your Apple Watch as a new device, customizing settings, and completing the setup process. Lastly, we covered the steps to reconnect your Apple Watch to your iPhone and ensure a seamless and optimal connection.
Remember that these steps may vary slightly based on the iOS and watchOS versions you are using, but the general process remains the same.
By successfully resyncing your Apple Watch to your iPhone, you can enjoy the full range of features and functionalities that enhance your daily life, from receiving notifications and tracking your fitness goals to accessing apps and utilizing the power of Siri right from your wrist.
Keep in mind that maintaining regular updates for both your iPhone and Apple Watch will contribute to their optimal performance. If you encounter any issues during the resyncing process, it is always helpful to refer to official Apple support resources or contact their customer service for further assistance.
Now, armed with the knowledge and steps provided in this guide, you can confidently resync your Apple Watch to your iPhone whenever needed, ensuring a seamless connection and an enhanced user experience.