Introduction
When it comes to keeping your computer running smoothly, one component that is often overlooked is the CPU cooler. As the name suggests, the CPU cooler is responsible for maintaining the temperature of the processor, preventing it from overheating during operation. Over time, the CPU cooler can become loose or incorrectly seated, leading to inadequate cooling and potential damage to your processor.
Reseating the CPU cooler is a simple but crucial maintenance task that can greatly improve the performance and longevity of your computer. By removing and reattaching the cooler to the processor, you ensure a snug fit and proper thermal contact, allowing heat to be efficiently dissipated.
In this article, we will guide you through the process of reseating your CPU cooler to the processor. Whether you are a seasoned computer enthusiast or a beginner, these step-by-step instructions will help you carry out the task safely and effectively. So grab your screwdriver and let’s get started!
Why Reseating CPU Cooler is Important
The CPU is the brain of your computer, and it generates a significant amount of heat during operation. To prevent overheating, a CPU cooler is installed on top of the processor to dissipate the heat and keep it at safe operating temperatures. However, over time, the CPU cooler can become loose or misaligned, compromising its effectiveness in cooling the processor. This is where reseating the CPU cooler becomes important.
By reseating the CPU cooler, you ensure proper thermal contact with the processor. When the cooler is tightly secured and properly aligned, it maximizes the transfer of heat away from the CPU, preventing it from reaching critical temperatures. This is crucial for the stability and performance of your computer, as an overheating processor can throttle its speed or even cause system crashes.
In addition to preventing overheating, reseating the CPU cooler can also address issues such as high idle temperatures, temperature spikes, or uneven cooling. If you notice that your CPU temperatures are consistently higher than usual or if your computer experiences sudden shutdowns due to heat, reseating the cooler can help rectify these issues.
Moreover, reseating the CPU cooler is essential when upgrading or replacing your processor. The dimensions and mounting mechanisms of different CPUs vary, so you need to ensure that the cooler is compatible and properly seated for optimal cooling performance. This is especially important if you are upgrading to a more powerful or energy-intensive processor, as it may generate more heat that needs to be efficiently dissipated.
By taking the time to reseat your CPU cooler, you are investing in the long-term health and performance of your computer. It is a preventive measure that can help extend the lifespan of your processor and keep it running smoothly even under demanding tasks. So before you dismiss the importance of reseating the CPU cooler, consider the potential risks of inadequate cooling and the benefits of a well-performing processor.
Preparing for Reseating
Before you begin the process of reseating the CPU cooler, there are a few important steps you need to take to ensure a smooth and successful operation. These preparations will help minimize the risk of damage to your computer components and ensure that you have all the necessary tools and materials at hand.
First and foremost, make sure to shut down your computer and unplug it from the power source. Working on your computer while it is still connected to the power supply can be dangerous and potentially damage your components. It is always better to err on the side of caution and prioritize your safety during these procedures.
Next, gather the necessary tools for the reseating process. You will typically need a screwdriver, preferably one that matches the screws on your CPU cooler. It is recommended to use a magnetic screwdriver or attach a small magnet to your screwdriver to prevent the screws from falling into hard-to-reach areas. This will save you time and frustration when reinstalling the CPU cooler.
Additionally, prepare a clean and static-free workspace. It is crucial to work in an area with minimal dust and static electricity to prevent any damage to your computer components. Place a soft, clean cloth or an anti-static mat on your work surface to protect the delicate circuitry of your motherboard from electrostatic discharge.
Now that you have gathered the necessary tools and set up a suitable workspace, it is a good practice to familiarize yourself with the installation instructions provided by the CPU cooler manufacturer. Each cooler may have slightly different mounting mechanisms, so it is essential to have a clear understanding of the specific steps involved in reseating your particular CPU cooler model.
Finally, ensure that you have a small amount of high-quality thermal paste on hand. Thermal paste is a heat-conductive compound that helps facilitate the transfer of heat between the processor and the CPU cooler. Over time, the thermal paste can dry out or become less effective, so it is recommended to apply a fresh, thin layer when reseating the cooler. Keeping this in mind, have a tube of thermal paste ready for the reinstallation process.
By taking the time to prepare for the reseating process, you set yourself up for a smoother and more successful experience. These steps may seem small, but they can significantly impact the outcome of the reseating procedure, ensuring the safety of your components and maximizing the effectiveness of your CPU cooler.
Steps to Reseat CPU Cooler to Processor
Now that you have prepared for the reseating process, it’s time to dive into the steps involved in securely and properly attaching your CPU cooler to the processor. Follow these instructions closely to ensure a successful reseating procedure:
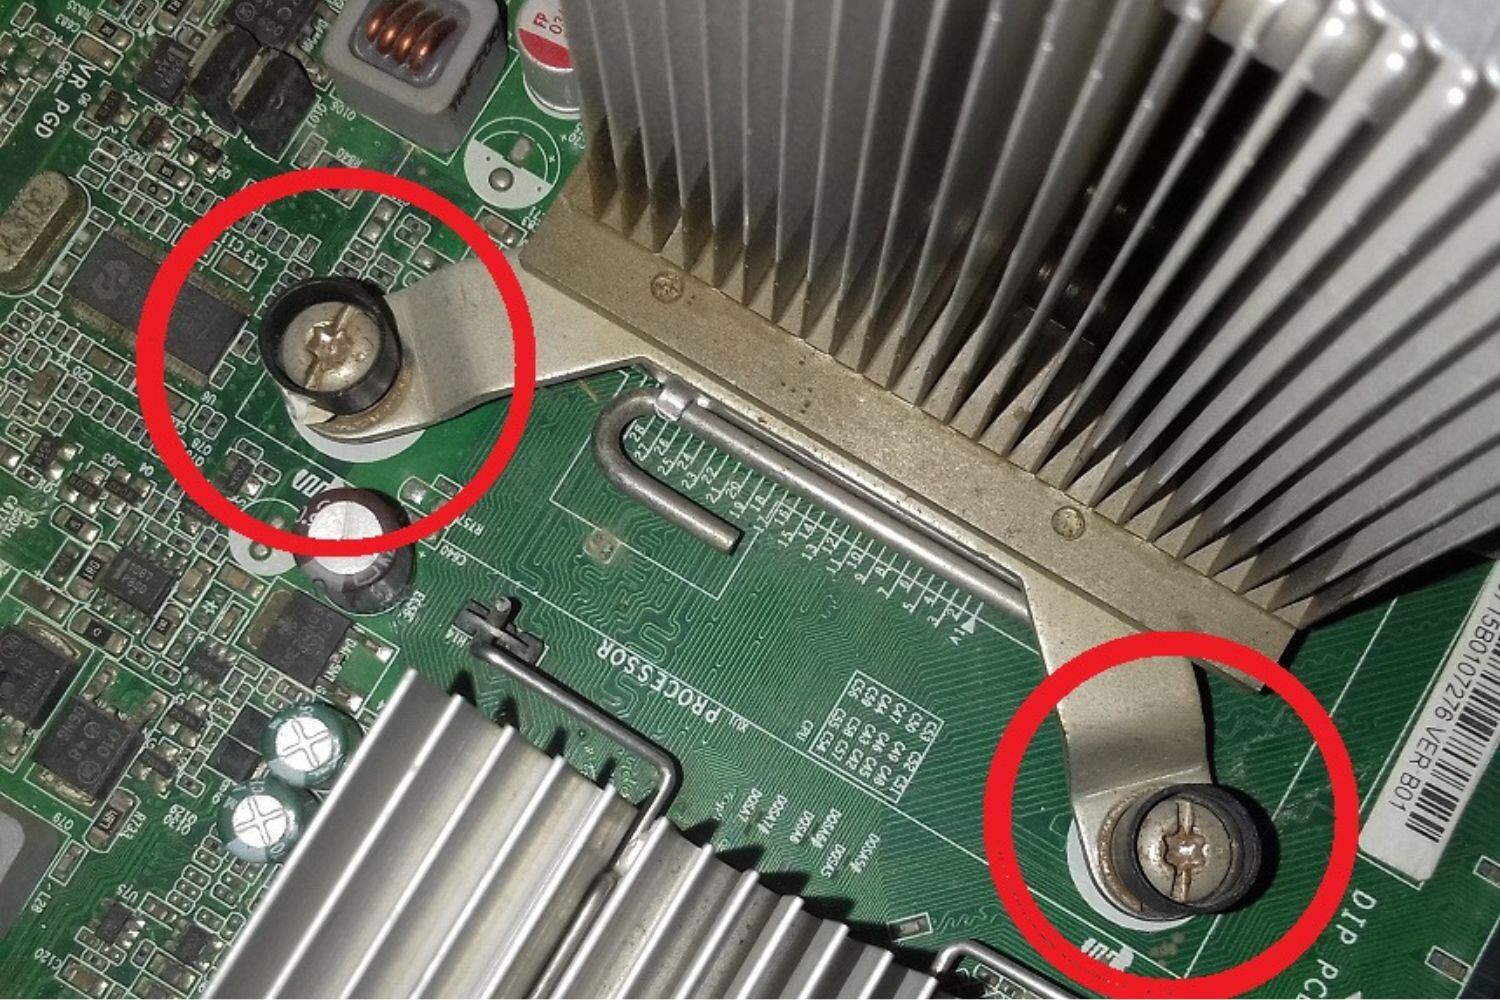
- Start by removing the existing CPU cooler. Carefully unscrew the screws that secure the cooler to the motherboard, taking note of their location and size. Gently lift the cooler off the processor, being cautious not to pull or twist the CPU to prevent any damage.
- Once the cooler is removed, clean off the residual thermal paste from both the CPU and the cooler base plate. You can use isopropyl alcohol and a lint-free cloth to wipe away the old thermal paste. Ensure that both surfaces are clean and free of any debris.
- If your CPU cooler uses a backplate, check if it needs to be repositioned or removed. Refer to the manufacturer’s instructions for your specific cooler model to determine the necessary steps regarding the backplate.
- If you are replacing the thermal paste, apply a small, pea-sized amount in the center of the CPU. Use a plastic card or your finger (protected with a latex glove or plastic bag) to spread the paste into a thin, even layer. Avoid applying too much thermal paste as it can lead to poor heat transfer and potential spills onto the motherboard.
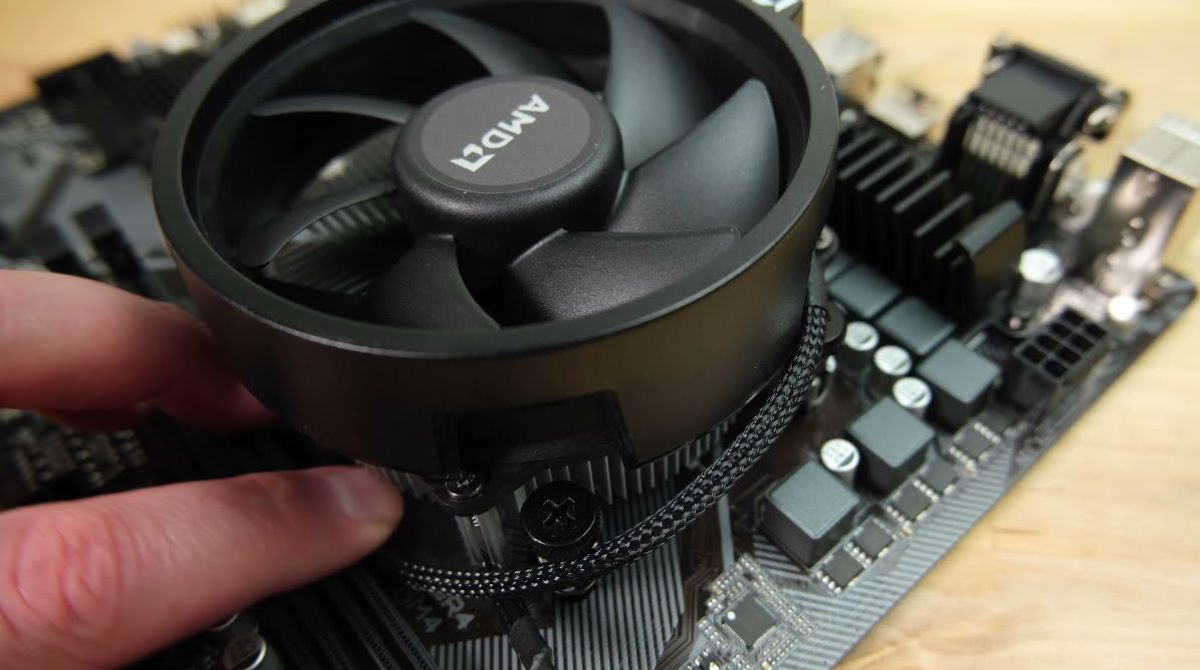
- Align the CPU cooler’s base plate with the mounting holes on the motherboard. Gently place the cooler onto the processor, making sure that the screw holes on the cooler line up with the holes on the mounting brackets or backplate.
- Using a screwdriver, begin screwing the cooler back into place. Start with the screws diagonal to each other to ensure even pressure distribution. Gradually tighten each screw in a diagonal pattern until they are all secure, but be careful not to overtighten as it may damage the motherboard or CPU.
- Double-check that the CPU cooler is properly seated and firmly attached. Ensure that the cooler is level and not wobbling. If necessary, adjust and tighten the screws further until the cooler is securely in place.
- Finally, connect the CPU cooler’s fan header to the appropriate motherboard header, following the instructions provided by the cooler manufacturer. This ensures that the fan is powered and able to cool the processor effectively during operation.
Once you have completed these steps, you have successfully reseated your CPU cooler to the processor. Take a moment to admire your work and pat yourself on the back for a job well done. It’s always a good practice to monitor your CPU temperatures after reseating the cooler to ensure that they stay within safe limits during normal usage.
By following these step-by-step instructions, you can ensure the proper installation and alignment of your CPU cooler, maximizing its cooling efficiency and extending the lifespan of your processor. Now you can enjoy a cooler and more stable computing experience without the worry of overheating.
Conclusion
In today’s technology-driven world, ensuring the proper functioning and longevity of your computer is of utmost importance. The CPU cooler plays a crucial role in maintaining the temperature of your processor and preventing overheating, which can lead to performance issues and potential damage to your components.
By reseating the CPU cooler, you can optimize its thermal contact with the processor, improving heat dissipation and preventing temperature-related problems. Through the simple process of removing and reattaching the cooler, you can address issues such as high idle temperatures, temperature spikes, and uneven cooling.
Throughout this article, we have discussed the importance of reseating the CPU cooler and the step-by-step instructions to carry out the process safely and effectively. Preparing your workspace, gathering the necessary tools, and familiarizing yourself with the installation instructions are essential preparatory steps. Removing the existing cooler, cleaning off the old thermal paste, applying fresh thermal paste, aligning and securing the cooler, and connecting the fan header complete the reseating process.
By following these instructions, you can ensure optimal cooling performance, stability, and longevity for your computer. Reseating the CPU cooler is a preventive maintenance task that goes a long way in protecting your investment and maximizing the performance of your processor. Regularly monitoring your CPU temperatures after reseating the cooler is recommended to ensure that it remains within safe operating limits.
Whether you are a seasoned computer enthusiast or a beginner, reseating the CPU cooler is a manageable task that anyone can undertake. Take the time to perform this maintenance task, and your computer will reward you with improved performance, reduced chance of overheating, and a smoother computing experience overall.
So, grab your screwdriver, gather the necessary tools, and give your computer the care it deserves by reseating the CPU cooler to the processor. Your computer will thank you for it!