Introduction
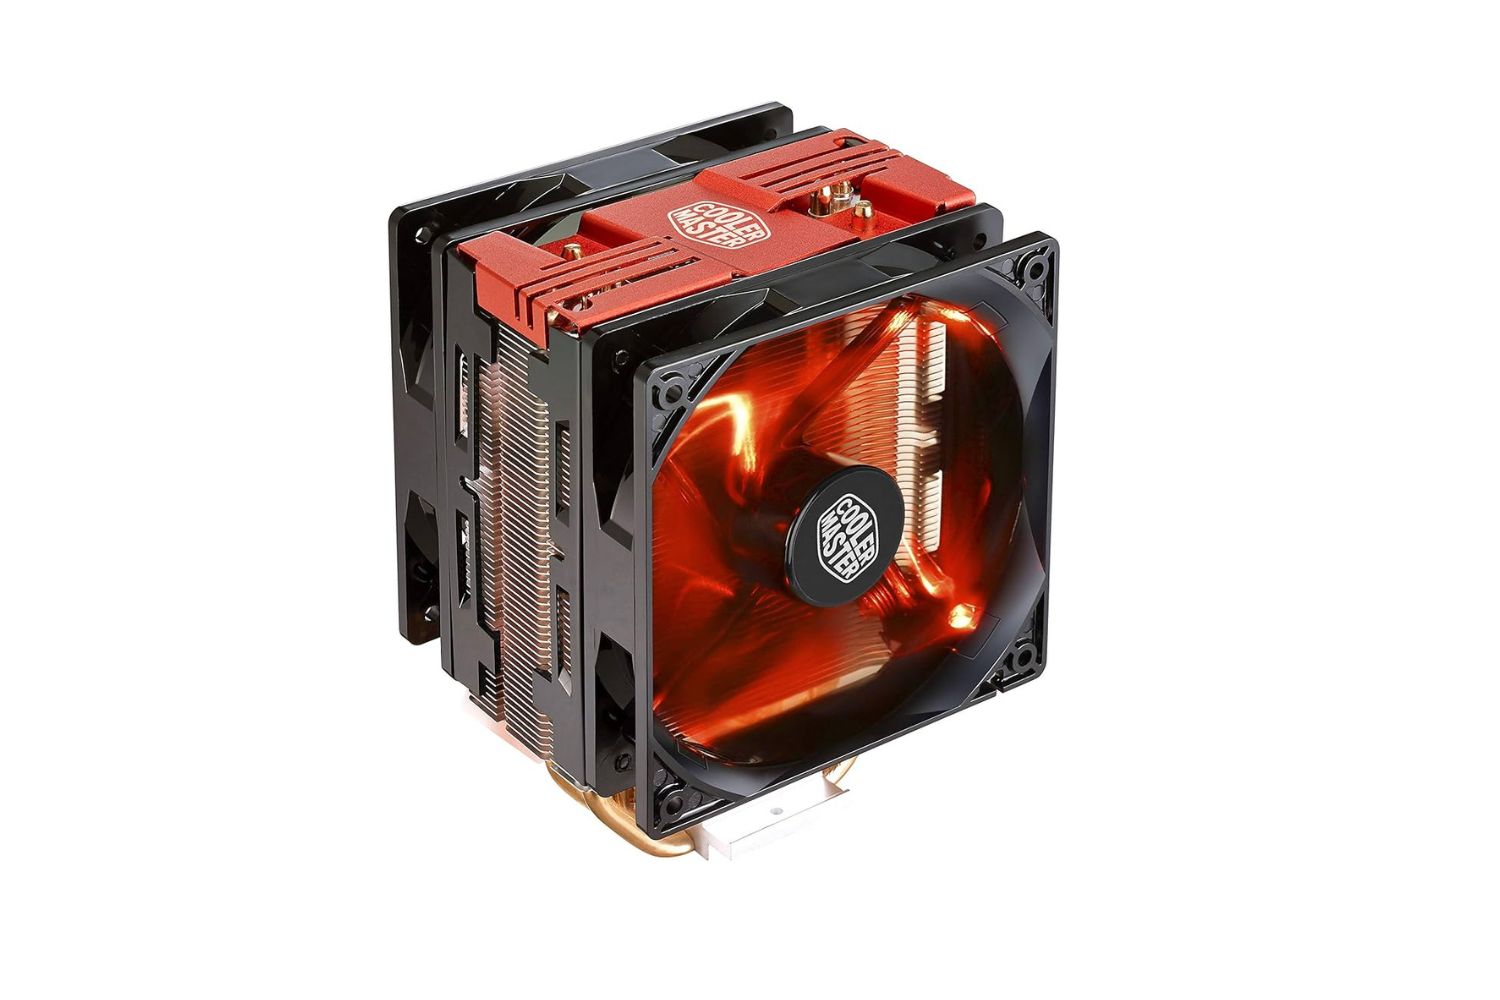
In the world of computer hardware, the cooling system plays a crucial role in maintaining optimal performance and preventing overheating. One key component of this system is the CPU cooler, which helps dissipate the heat generated by the processor.
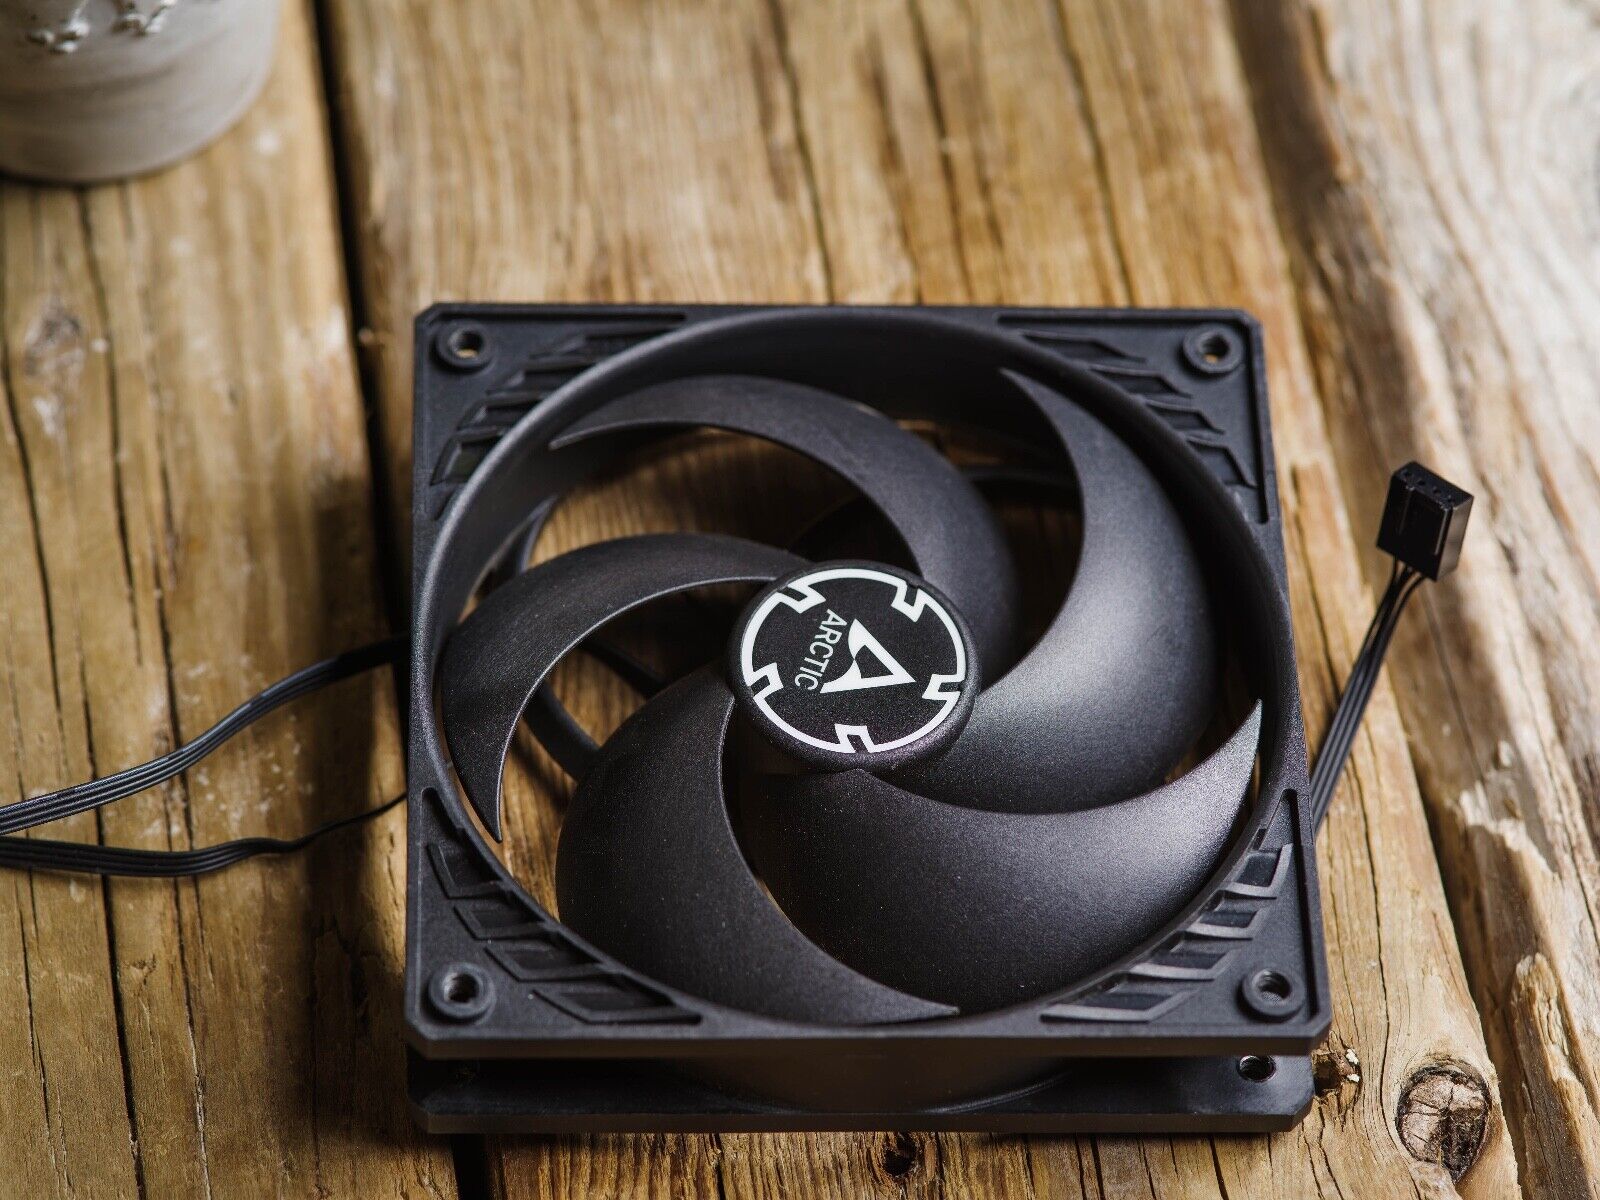
Most CPUs coolers come with either a 4-pin or a 3-pin connector. The connector allows the cooler to be powered and controlled by the motherboard. While both types are commonly used, they have slight differences in their functionality and compatibility.
If you have a 4-pin CPU cooler and a motherboard with a 3-pin connector, you may be wondering how to connect them correctly. In this article, we will guide you through the step-by-step process of connecting a 4-pin CPU cooler to a 3-pin motherboard connector, ensuring efficient cooling and system stability.
Before we dive into the details, it’s essential to mention that this process may vary depending on the specific models and manufacturers of the CPU cooler and motherboard. Be sure to consult the user manuals and documentation provided with your hardware for any specific instructions or differences.
Now let’s gather the necessary tools and equipment and get started with the process of connecting your 4-pin CPU cooler to a 3-pin motherboard connector.
Understanding the Differences between 4-Pin CPU Coolers and 3-Pin Motherboard Connectors
Before we proceed with the practical steps, let’s take a moment to understand the differences between 4-pin CPU coolers and 3-pin motherboard connectors.
4-Pin CPU Coolers:
A 4-pin CPU cooler is equipped with a 4-pin connector that allows for a more advanced level of control over the fan speed. These coolers are often referred to as PWM (Pulse Width Modulation) coolers. The additional pin in the connector is responsible for communication between the cooler and the motherboard. This enables the motherboard to regulate the fan speed based on the system’s temperature, ensuring optimal cooling performance.
3-Pin Motherboard Connectors:
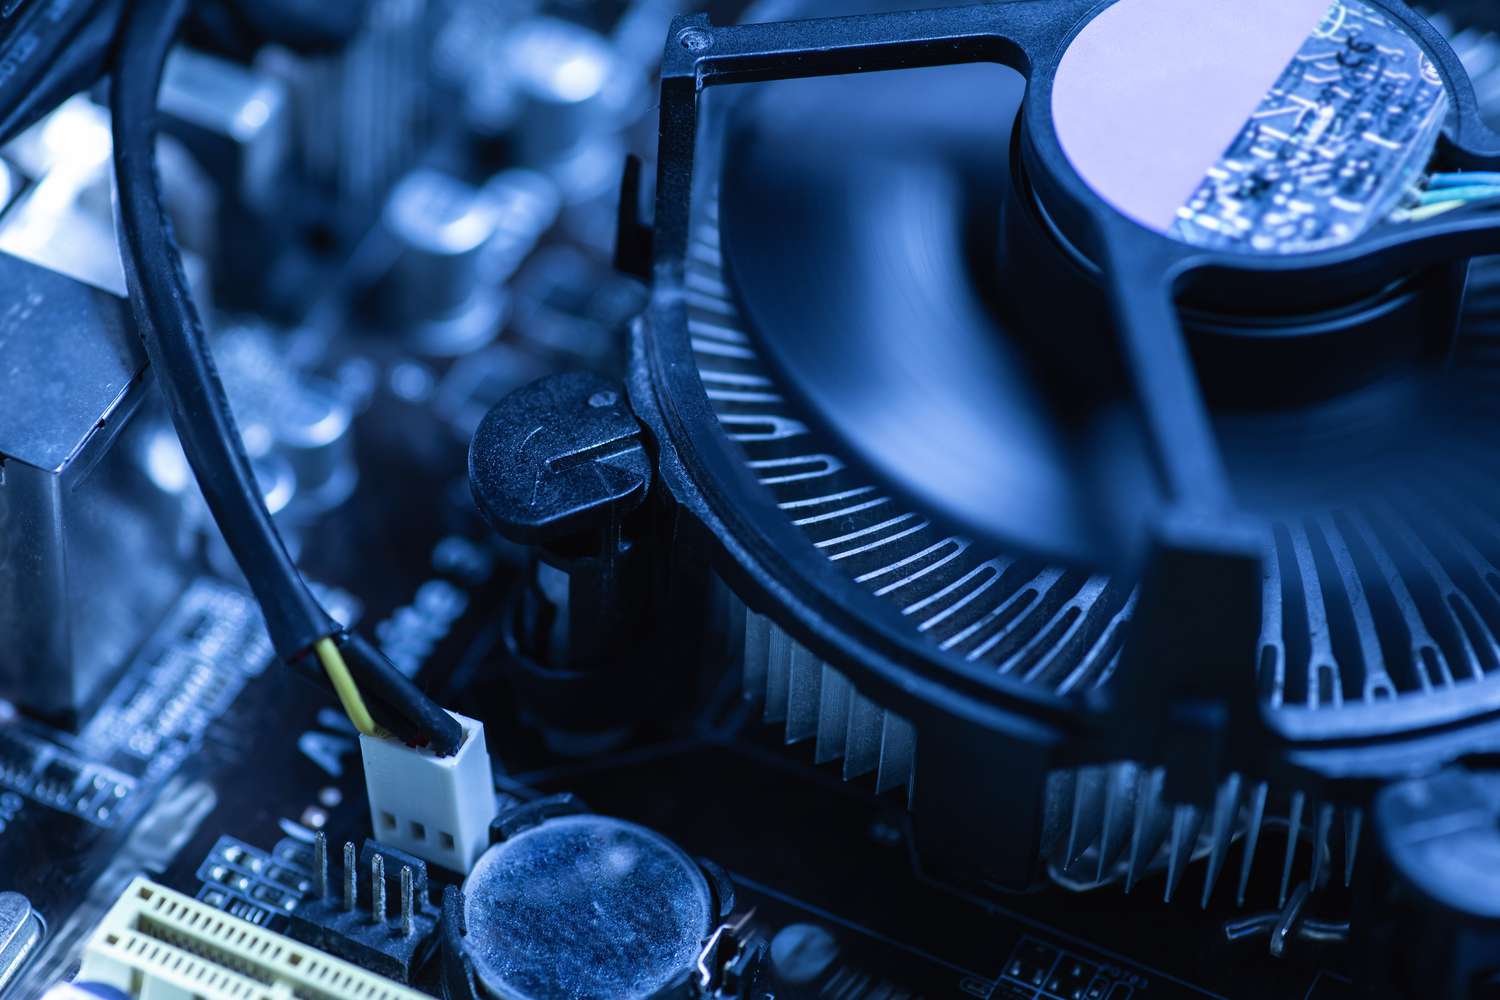
In contrast, a 3-pin motherboard connector is commonly found on older motherboards and has a simpler design compared to the 4-pin connector. These connectors use voltage control to adjust the fan speed. The motherboard supplies a constant voltage, and the fan’s speed is determined by the voltage supplied.
Compatibility and Wiring:
While 4-pin CPU coolers can be connected to 3-pin motherboard connectors, there are a few important factors to consider. Firstly, the 4-pin connector can be plugged into the 3-pin header on the motherboard, but it is essential to align the pins correctly. Make sure to match the corresponding pins to avoid any damage.
Functionality:
When connecting a 4-pin CPU cooler to a 3-pin motherboard connector, it’s important to note that you won’t have the same level of fan speed control as with a 4-pin connection. The fan speed will be determined by the voltage supplied by the motherboard, rather than the advanced PWM control. Despite this limitation, the cooling performance should still be sufficient for most systems.
Now that we have a better understanding of the differences between 4-pin CPU coolers and 3-pin motherboard connectors, let’s move on to the practical steps of connecting them properly.
Tools and Equipment Required
Before you begin connecting your 4-pin CPU cooler to a 3-pin motherboard connector, make sure you have the necessary tools and equipment handy. Here’s a list of what you’ll need:
- A 4-pin CPU cooler: Ensure that the CPU cooler you have is equipped with a 4-pin connector.
- A compatible 3-pin motherboard connector: Check your motherboard to see if it has a 3-pin header available for connecting the CPU cooler.
- A small screwdriver: You may need to unscrew any mounting brackets or screws to access the CPU cooler connector or motherboard header.
- Thermal compound: If you are installing a new CPU cooler or removing the existing one, thermal compound is essential for maintaining proper heat transfer between the CPU and the cooler.
- A grounding strap or anti-static mat: These will help prevent electrostatic discharge that may damage sensitive computer components.
- User manuals and documentation: Consult the user manuals for both the CPU cooler and the motherboard for any specific instructions or differences based on your hardware models.
Make sure to gather all the necessary tools and equipment before you begin the process. Having everything ready in advance will help make the installation process smooth and efficient.
Step-by-Step Guide to Connecting a 4-Pin CPU Cooler to a 3-Pin Motherboard Connector
Connecting a 4-pin CPU cooler to a 3-pin motherboard connector is a straightforward process. Follow these step-by-step instructions to ensure a successful connection:
- Prepare your workstation: Power off your computer and unplug it from the wall outlet. This will ensure your safety and prevent any accidental damage to the components.
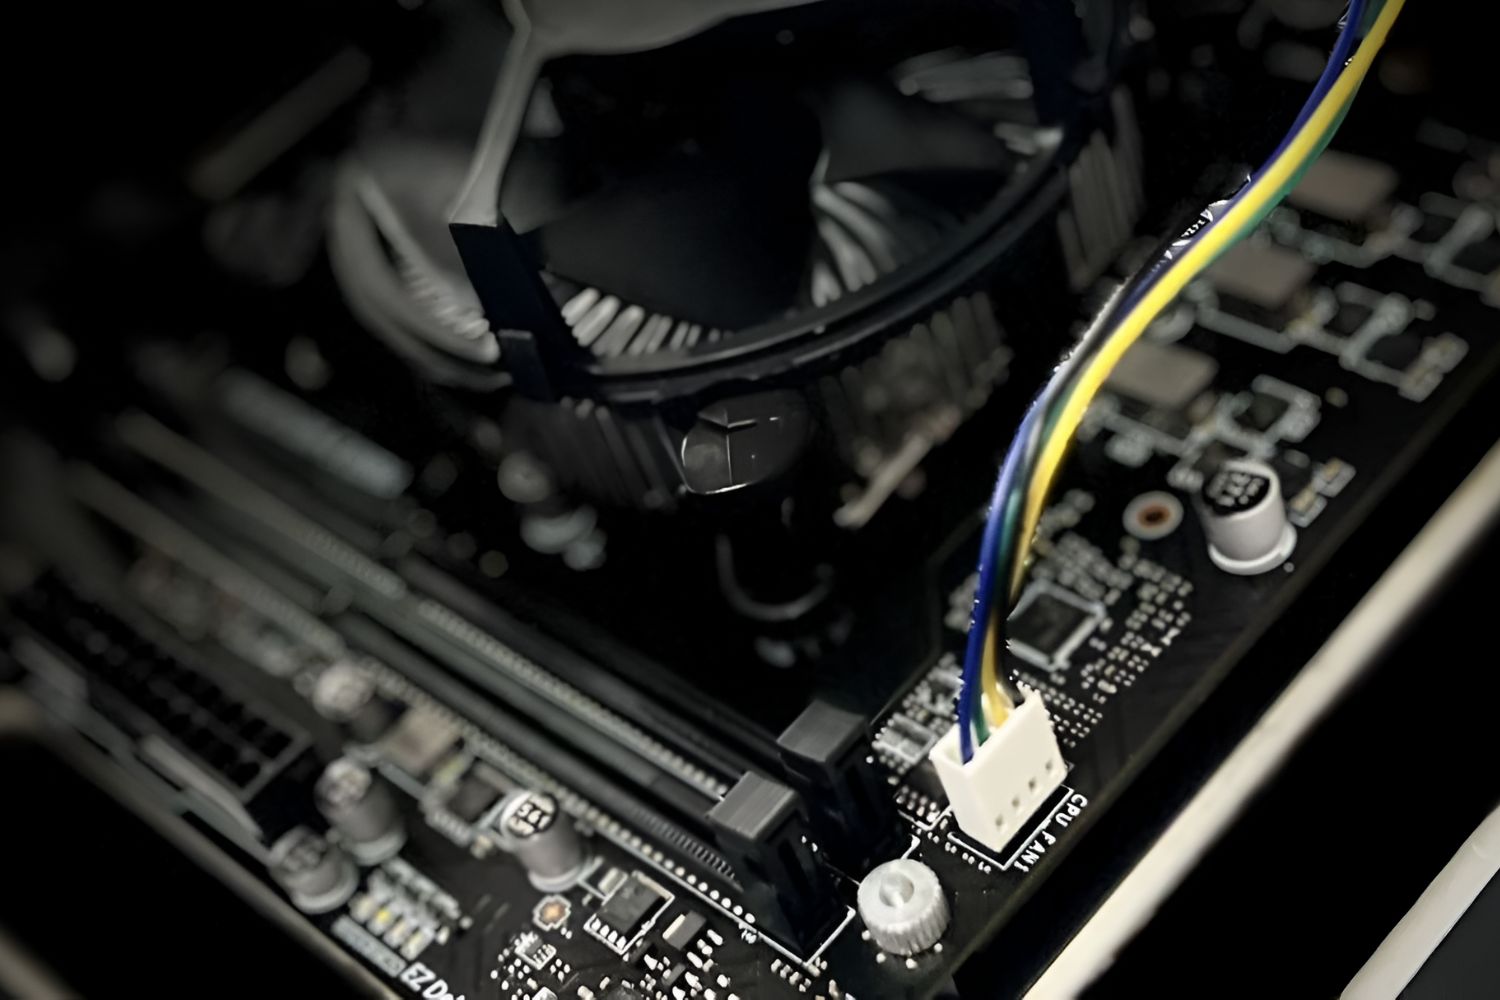
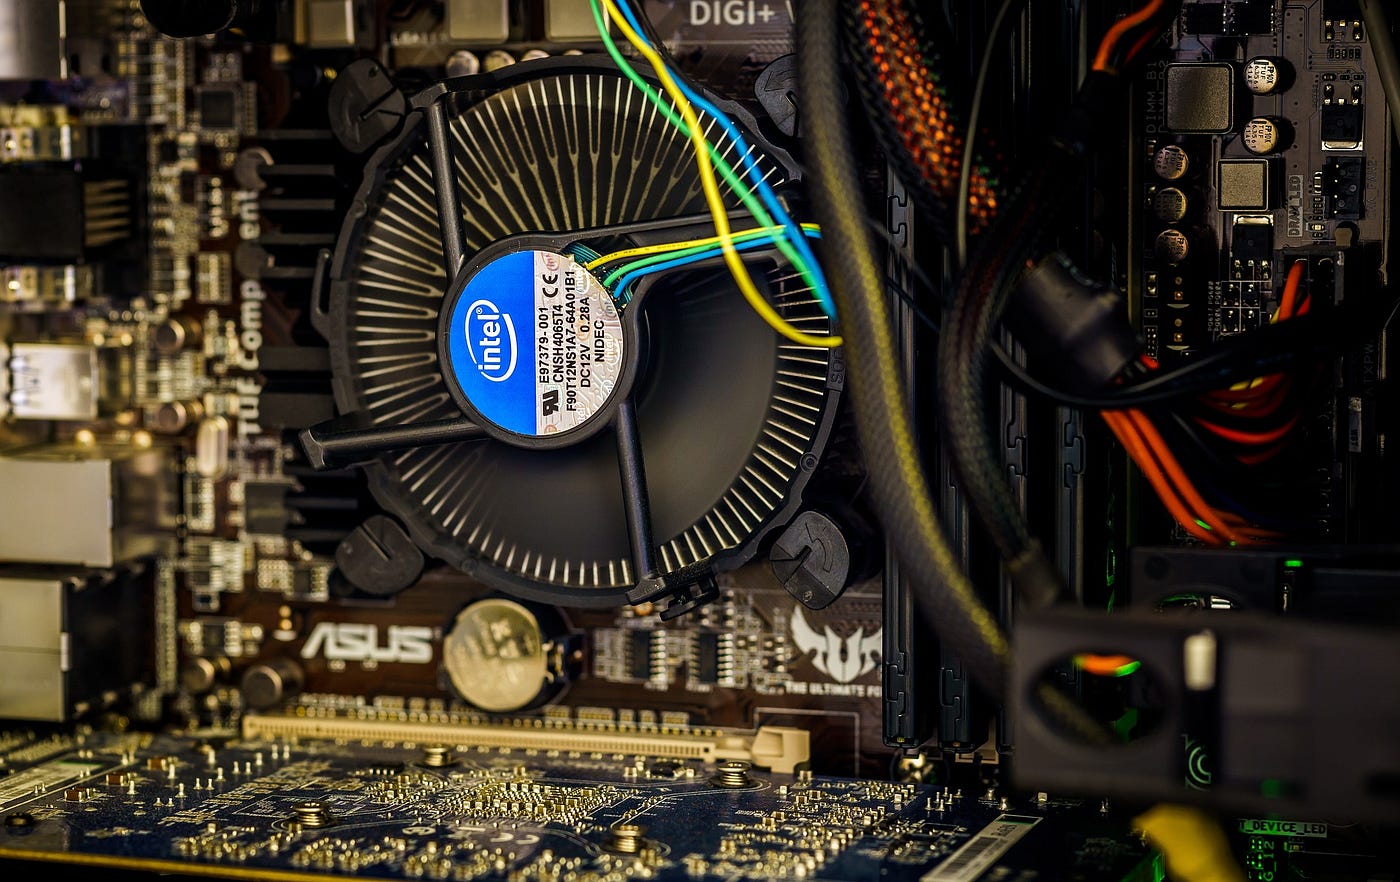
- Locate the CPU cooler and motherboard: Open your computer case and identify the CPU cooler and the motherboard. Take note of the CPU cooler’s 4-pin connector and the available 3-pin header on the motherboard.
- Prepare the CPU cooler: If you have an existing CPU cooler installed, carefully remove it by unscrewing any mounting brackets or screws. Clean off any existing thermal compound from the CPU and cooler using a lint-free cloth and isopropyl alcohol.
- Apply thermal compound: Apply a small amount of thermal compound to the top of your CPU. Spreading it evenly will ensure effective heat transfer between the CPU and the cooler.
- Connect the CPU cooler: Take the 4-pin connector of your CPU cooler and align it with the 3-pin header on the motherboard. Ensure that the pins match correctly, and gently push the connector down until it is firmly seated.
- Secure the CPU cooler: If necessary, use the small screwdriver to fasten any mounting brackets or screws that secure the CPU cooler in place. This will ensure that the cooler remains stable and properly positioned on the CPU.
- Close the computer case: Once the CPU cooler is securely attached, close the computer case and fasten any screws or latches to secure it in place.
- Power on your computer: After closing the case, plug your computer back into the power outlet and power it on. The CPU cooler should start spinning, indicating a successful connection.
Double-check the connection to ensure that it is securely attached. It’s also a good idea to monitor the CPU temperature and fan operation using software utilities or the BIOS to ensure everything is functioning as expected.
Remember, if you encounter any difficulties during the installation process, consult the user manuals for your specific hardware or seek assistance from a professional technician.
Testing the Connection
After connecting the 4-pin CPU cooler to the 3-pin motherboard connector, it’s important to test the connection to ensure everything is functioning correctly. Here’s how you can test the connection:
- Power on your computer: Start by powering on your computer and allowing it to boot up. Make sure all the components, including the CPU cooler, receive power.
- Monitor fan speed: Use software utilities or access the BIOS to monitor the fan speed of the CPU cooler. Verify that the fan is spinning and maintaining an appropriate speed.
- Check CPU temperatures: Keep an eye on the CPU temperatures using software or BIOS monitoring tools. Watch for any abnormal temperature spikes or overheating issues.
- Run stress tests: To further evaluate the effectiveness of the cooling system, consider running stress tests or demanding applications that put a heavy load on the CPU. This will help you determine if the CPU cooler is adequately cooling the processor under high-performance scenarios.
- Observe system stability: While stressing the CPU, pay attention to the overall system stability. If the connection between the CPU cooler and the motherboard is secure, the system should remain stable without crashes or abnormal behavior.
Throughout the testing process, ensure that the fan speed adjusts based on the CPU temperature. Although a 3-pin motherboard connector doesn’t provide the advanced speed control of a 4-pin connection, the fan should still respond to temperature changes to maintain optimal cooling performance.
If you encounter any issues during testing, such as excessive noise, insufficient cooling, or abnormal temperature readings, consider double-checking the connection, reapplying thermal compound, or seeking professional assistance.
Regularly monitor the CPU temperatures and fan performance to ensure ongoing system stability and efficient cooling. By conducting regular checks and testing, you can identify any potential issues early on and take appropriate action to maintain the longevity and performance of your computer.
Troubleshooting Common Issues
While connecting a 4-pin CPU cooler to a 3-pin motherboard connector is a relatively simple process, you may encounter some common issues along the way. Here are a few troubleshooting tips to help you overcome these problems:
1. Wrong Pin Alignment: If the CPU cooler is not working or the fan speed is not being detected, double-check the pin alignment. Make sure that the 4-pin connector is aligned correctly with the 3-pin header on the motherboard. One misaligned pin can cause the connection to fail.
2. Insufficient Cooling or High CPU Temperatures: If you notice that your CPU temperatures are unusually high even with the CPU cooler connected, there may be an issue with the thermal compound or the cooler’s contact with the CPU. Ensure that the thermal compound is properly applied and spread evenly. You may also consider reseating the CPU cooler to improve contact and heat transfer.
3. Fan Speed Control: Since a 3-pin motherboard connector lacks the advanced PWM control of a 4-pin connection, you won’t have the same level of fan speed control. The fan speed will be determined by the voltage supplied by the motherboard. If you are experiencing loud fan noise or inadequate cooling, you may need to explore additional cooling options such as upgrading to a 4-pin CPU cooler or investing in case fans to enhance overall airflow.
4. Inadequate Power Supply: If the CPU cooler is not receiving power or the fan is not spinning at all, check that the motherboard provides sufficient power to the 3-pin header. Some older motherboards may have limited power supply capabilities, resulting in inadequate power to drive the CPU cooler. In such cases, consider using a separate fan controller or a powered fan hub to ensure stable power delivery.
5. Compatibility Issues: Although most 4-pin CPU coolers can be connected to 3-pin motherboard connectors, there may be compatibility limitations due to different hardware models and manufacturers. It’s essential to consult the user manuals and documentation provided with your specific hardware to ensure compatibility and correct installation.
If you are unable to resolve the issues despite troubleshooting, it is recommended to seek guidance from hardware experts or professional technicians to avoid causing further damage to your computer system.
Remember to exercise caution and take necessary safety precautions when troubleshooting or making any changes to your computer components.
Conclusion
Connecting a 4-pin CPU cooler to a 3-pin motherboard connector is a practical solution when compatibility allows. Although the 4-pin connector offers advanced PWM control, the 3-pin connection still provides sufficient cooling performance for most systems.
Throughout this guide, we have discussed the differences between 4-pin CPU coolers and 3-pin motherboard connectors, outlined the necessary tools and equipment, provided a step-by-step installation process, and offered troubleshooting tips for common issues.
Remember to consult the user manuals and documentation provided with your specific hardware for any specific instructions or differences. Take your time and exercise caution during the entire process to ensure a successful connection and prevent damage to your computer components.
By successfully connecting your 4-pin CPU cooler to a 3-pin motherboard connector, you can enhance the cooling performance and stability of your system, ensuring optimal operation even during demanding tasks.
If you encounter any difficulties or uncertainties during the installation process, it is always recommended to seek assistance from professionals or experienced individuals who can provide guidance and support.
Regularly monitor the CPU temperatures and fan performance to ensure proper cooling, and be proactive in addressing any potential issues that may arise. By maintaining an efficient cooling system, you can prolong the lifespan of your CPU and maintain optimal performance for your computer.
With the knowledge and guidance provided in this article, you are now equipped to confidently connect your 4-pin CPU cooler to a 3-pin motherboard connector and enjoy the benefits of effective cooling and stable system operation.