Introduction
Welcome to our guide on connecting the RGB lighting on your CPU cooler to your motherboard! RGB lighting has become a popular feature in PC building, allowing users to customize the look of their setups and create stunning visuals. If you’re using a CPU cooler with RGB lighting, you might be wondering where to connect it on your motherboard. In this article, we will provide you with a comprehensive overview of motherboard layouts, explain RGB headers, and guide you through the process of connecting your CPU cooler’s RGB lighting to your motherboard.
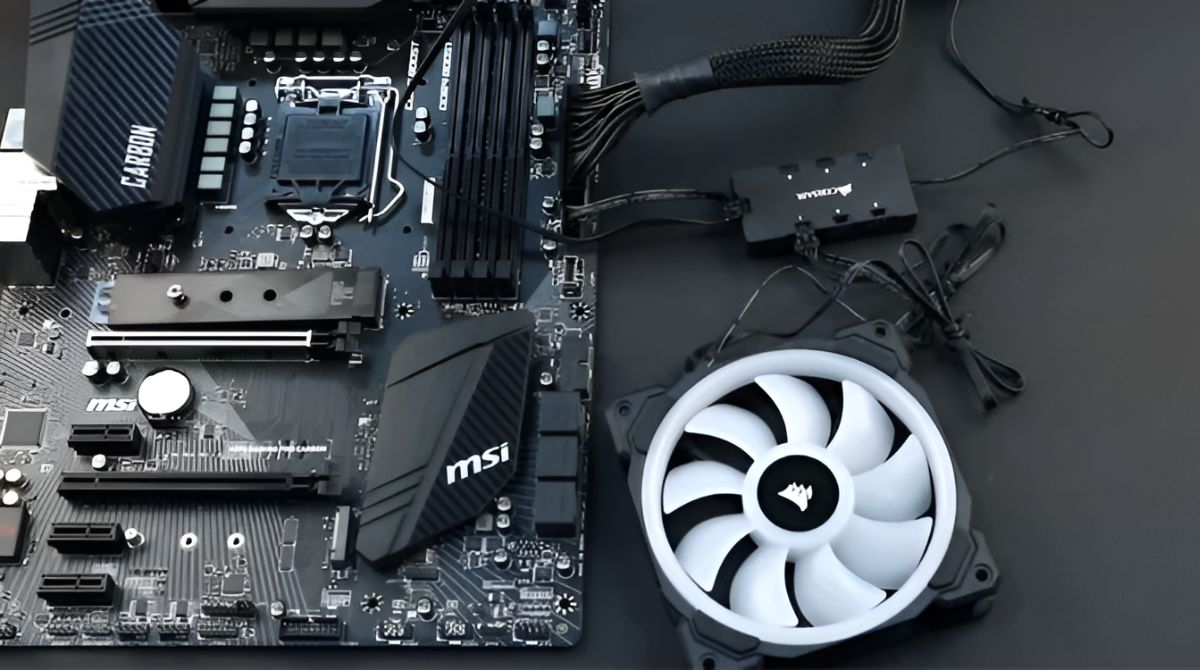
Understanding the layout of your motherboard is crucial before diving into the realm of RGB connections. Motherboards come in various sizes and configurations, but most of them have similar components and connectors. It’s essential to familiarize yourself with the different areas on your motherboard, such as the CPU socket, RAM slots, PCIe slots, and the rear I/O panel. This knowledge will help you locate the RGB headers and other essential connectors.
RGB headers are specific connectors on your motherboard that allow you to connect RGB devices. These headers supply power and control signals to RGB components, enabling you to customize and synchronize their lighting effects. Typically, motherboards have dedicated RGB headers specifically designed for different types of RGB devices, including CPU coolers, fans, and LED strips. Understanding the type of RGB header required for your CPU cooler is vital to ensure compatibility and proper functioning.
Now that we have a basic understanding of motherboard layouts and RGB headers, we can proceed to the main topic: connecting your CPU cooler’s RGB lighting to the motherboard. In the following sections, we will provide you with a step-by-step guide on how to connect your CPU cooler’s RGB cables to the motherboard’s RGB header. We will also discuss some common issues you might encounter during this process and troubleshoot them accordingly. So, without further ado, let’s get started with connecting your CPU cooler’s RGB lighting to your motherboard!
Overview of Motherboard Layout
Before diving into the specifics of connecting your CPU cooler’s RGB lighting to your motherboard, it’s important to have a general understanding of the layout of a typical motherboard. While motherboard designs can vary, they typically share similar components and connectors.
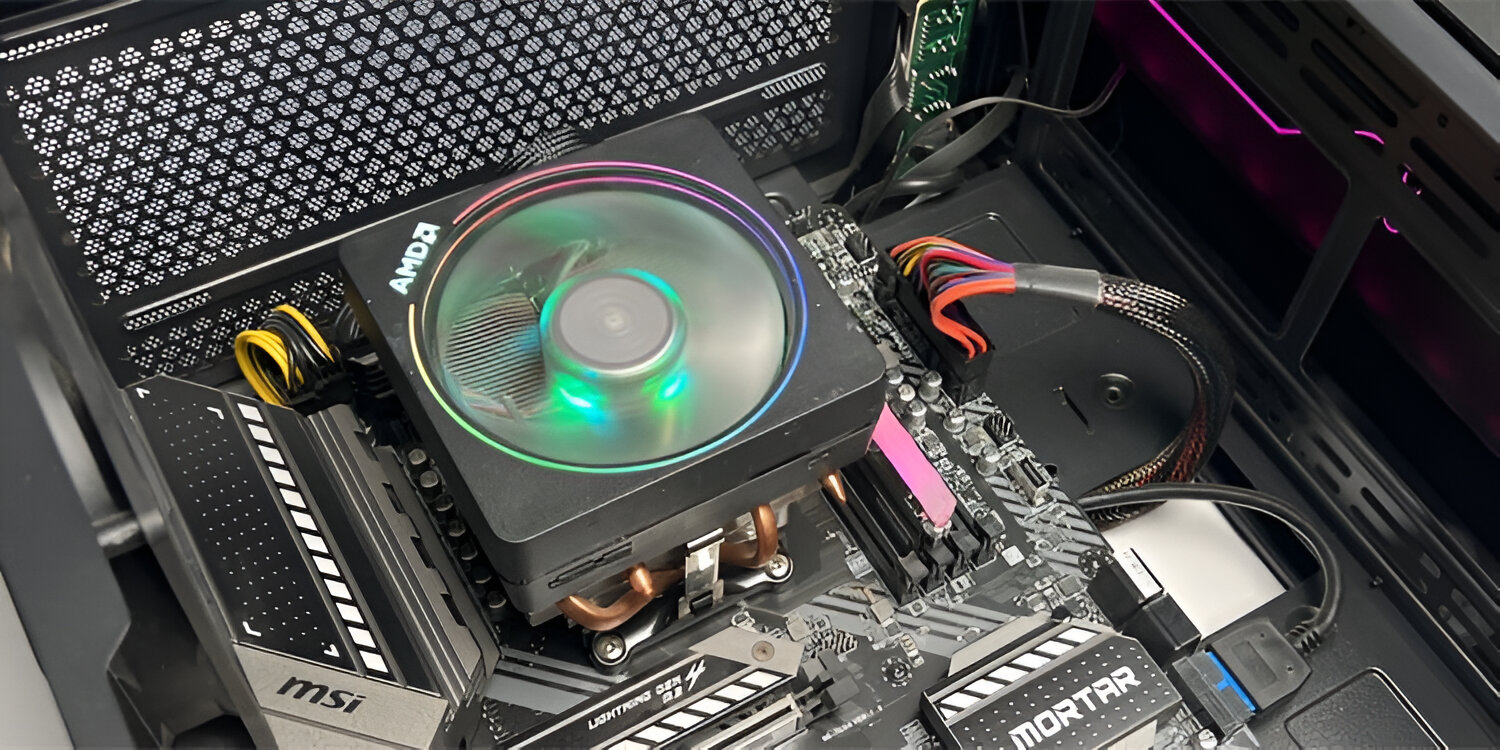
One of the essential components on a motherboard is the CPU socket, where the processor is installed. The CPU socket is usually located toward the center of the motherboard and is surrounded by the VRM (Voltage Regulator Module) area, which provides power to the CPU.
Adjacent to the CPU socket, you will find the RAM slots. These slots are used for installing your computer’s memory modules. Motherboards can support different types of RAM, such as DDR4 or DDR3, so it’s important to ensure compatibility when purchasing new memory modules.
Another crucial component of the motherboard is the PCIe slots. These slots are used for adding expansion cards, such as graphics cards, sound cards, or network cards. PCIe slots are typically located towards the bottom of the motherboard and are connected directly to the CPU.
On the rear side of the motherboard, you will find the I/O panel. This panel houses various ports and connectors, including USB ports, HDMI or DisplayPort outputs, Ethernet ports, audio jacks, and more. The I/O panel allows you to connect external devices and peripherals to your computer.
Now that you have a basic understanding of the layout of a motherboard, let’s move on to the next section, where we will unravel the mysteries of RGB headers and their importance in connecting your CPU cooler’s RGB lighting to your motherboard.
Understanding RGB Headers
RGB headers on a motherboard play a crucial role in connecting and controlling RGB lighting components. These headers are specialized connectors that provide power and control signals to RGB devices, allowing you to customize and synchronize their lighting effects. It’s important to understand the different types of RGB headers and their compatibility with various RGB devices.
The most common types of RGB headers include the 4-pin RGB header and the 3-pin addressable RGB (ARGB) header. The 4-pin RGB header uses a standard RGB signal and can support up to three different color channels: red, green, and blue. This type of header is commonly used for RGB components that display static or basic lighting effects.
The 3-pin ARGB header, also known as a 5V header, is designed to support addressable RGB devices. Unlike the 4-pin RGB header, the ARGB header provides individual control over each LED on a strip, enabling more advanced lighting effects, such as gradients and animations. It’s important to note that ARGB headers are not backward compatible with 4-pin RGB devices, so make sure to check the compatibility of your RGB components before connecting them to your motherboard.
When it comes to connecting your CPU cooler’s RGB lighting, you need to ensure compatibility between the RGB header on your motherboard and the RGB cables on your CPU cooler. Some CPU coolers come with their own RGB controller, allowing you to bypass the motherboard’s RGB header altogether. In such cases, you can connect the CPU cooler’s RGB cables directly to the RGB controller and customize the lighting effects through the controller’s software.
If you want to connect your CPU cooler’s RGB cables to the motherboard, locate the RGB header that matches the type of RGB connector on your cooler. It’s essential to consult the motherboard’s manual or the manufacturer’s website to identify the specific locations and types of RGB headers on your motherboard. Once you have identified the correct header, you can connect the CPU cooler’s RGB cables to it using the provided connectors.
Now that you have a better understanding of RGB headers and their compatibility with different RGB devices, let’s move on to the practical steps of connecting your CPU cooler’s RGB lighting to the motherboard.
Connecting CPU Cooler RGB to the Motherboard
Connecting the RGB lighting on your CPU cooler to the motherboard is a straightforward process, but it requires careful attention to detail. By following the steps below, you’ll be able to successfully connect your CPU cooler’s RGB cables to the motherboard and enjoy the stunning lighting effects.
- Start by identifying the RGB header on your motherboard that matches the type of RGB connector on your CPU cooler. Refer to your motherboard’s manual or the manufacturer’s website for specific information on the location and type of RGB headers available.
- Ensure that your computer is powered off and disconnected from the power source. This will minimize the risk of electrical damage.
- Locate the RGB cable coming from your CPU cooler. It will typically have a connector at the end, either a 4-pin RGB connector or a 3-pin ARGB connector.
- Take the cable and align the connector with the corresponding RGB header on the motherboard. Make sure the pins on the connector match the slots on the header.
- Gently push the connector onto the header, ensuring that it is firmly seated and properly aligned. Take care not to force it or bend any pins on the header.
- Once the connector is securely connected, you can route the RGB cable along the motherboard’s cable management channels if available. This will help keep the cables organized and prevent them from obstructing other components.
- If your motherboard has multiple RGB headers, and you have additional RGB components like fans or LED strips, you can connect them in a daisy-chain configuration. This means connecting the RGB cable from one component to the next, using the RGB headers on the motherboard.
- Once all the connections are made, double-check that everything is securely connected. Then, you can proceed to power on your computer and customize the RGB lighting effects using the motherboard’s software or any compatible RGB control software provided by the CPU cooler’s manufacturer.
Now that you’ve successfully connected your CPU cooler’s RGB lighting to the motherboard, you can enjoy the dazzling lighting effects and personalize your PC setup to your preferences.
Step-by-Step Guide: Connecting CPU Cooler RGB
Connecting the RGB lighting on your CPU cooler to your motherboard can be done with ease by following these step-by-step instructions. Ensure that you have read the motherboard manual and identified the correct RGB header before proceeding. Let’s get started!
- Start by shutting down your computer and disconnecting it from the power source. This is crucial to avoid any electrical mishaps during the installation process.
- Locate the CPU cooler’s RGB cable. It is usually a separate cable from the power cables and may be labeled as “RGB,” “LED,” or similarly.
- Identify the RGB header on your motherboard that matches the connector on the CPU cooler’s RGB cable. Refer to the motherboard manual or the manufacturer’s website for specific details.
- Align the connector on the CPU cooler’s RGB cable with the corresponding RGB header on the motherboard.
- Gently push the connector onto the RGB header, ensuring that it is fully seated and aligned properly. Be careful not to force it or bend any pins.
- Once the connection is secure, you can tidy up the cable by routing it along the motherboard’s cable management channels if available. This will help keep your system organized and prevent cables from obstructing other components.
- If your motherboard has multiple RGB headers and you have additional RGB components, such as fans or LED strips, you can connect them in a daisy-chain configuration. Simply connect the RGB cable from one component to the next using the available RGB headers.
- Finally, double-check that all connections are secure. Then, you can reconnect your computer to the power source and power it on.
- To customize the CPU cooler’s RGB lighting, you can utilize the software provided by the motherboard manufacturer or the specific software provided by the CPU cooler’s manufacturer. This software will allow you to adjust colors, effects, and synchronization with other RGB components in your system.
Following these step-by-step instructions will ensure a successful connection between your CPU cooler’s RGB lighting and the motherboard, allowing you to showcase your unique style and enhance the visual appeal of your PC setup.
Troubleshooting Common Issues
While connecting your CPU cooler’s RGB lighting to the motherboard is generally a straightforward process, you may encounter some common issues along the way. Here are a few troubleshooting tips to help you resolve any potential problems:
- Incorrect RGB header: Ensure that you have connected the CPU cooler’s RGB cable to the correct RGB header on the motherboard. Consult the motherboard manual or the manufacturer’s website for the precise location and type of RGB headers.
- Loose connections: Check that the RGB cable is securely connected to both the CPU cooler and the motherboard. Make sure the connector is properly seated on the header without any loose connections.
- Mismatched RGB standards: Verify that your CPU cooler’s RGB cable and the motherboard’s RGB header are compatible. Some manufacturers may use proprietary RGB standards that require specific software or connectors.
- Incompatible RGB software: If you are using RGB software from different manufacturers, conflicts may occur. Ensure that you are using the recommended software provided by the motherboard or CPU cooler manufacturer for optimal compatibility.
- Software compatibility: Update the motherboard’s BIOS and RGB software to the latest versions available. This can resolve any compatibility issues and ensure proper functioning of the CPU cooler’s RGB lighting.
- Firmware updates: Occasionally, manufacturers release firmware updates for their RGB components. Check the manufacturer’s website for firmware updates for both the CPU cooler and the motherboard. Updating the firmware can address any known issues and improve performance.
- Inspect the RGB cable: Examine the CPU cooler’s RGB cable for any signs of damage, such as fraying or exposed wires. If the cable is damaged, contact the manufacturer for a replacement.
- Consult technical support: If you have followed all the steps correctly and are still experiencing issues, reach out to the manufacturer’s technical support for further assistance. They can provide specific troubleshooting guidance based on the components you are using.
By addressing these common issues and following the troubleshooting tips provided, you can overcome any obstacles that may arise during the process of connecting your CPU cooler’s RGB lighting to the motherboard.
Conclusion
Connecting the RGB lighting on your CPU cooler to your motherboard is a great way to add a vibrant and personalized touch to your PC setup. By understanding the layout of your motherboard and the different types of RGB headers, you can successfully connect and control the RGB lighting effects of your CPU cooler.
In this guide, we provided an overview of motherboard layouts, explaining the essential components and connectors you need to be familiar with. We then delved into the world of RGB headers, discussing their types and compatibility with various RGB devices.
We walked you through a step-by-step guide on how to connect your CPU cooler’s RGB cables to the motherboard. The instructions provided a clear and concise overview, ensuring a proper and secure connection.
Additionally, we offered troubleshooting tips for common issues that may arise during the process. By following these troubleshooting steps, you can address any potential problems and ensure the smooth operation of your CPU cooler’s RGB lighting.
Remember to consult your motherboard manual or the manufacturer’s website for specific information about the layout and RGB headers on your particular motherboard. This will ensure that you make the correct connections and avoid any compatibility issues.
Now that you have successfully connected the RGB lighting on your CPU cooler to your motherboard, you can enjoy the stunning lighting effects, personalize your system’s aesthetics, and create a visually stunning PC setup that reflects your unique style.
Have fun experimenting with different colors and lighting effects, and make your PC setup truly stand out!


