Introduction
When it comes to working with PC cases, there may be situations where you need to remove rivets. Whether you’re upgrading components, modifying the case, or troubleshooting, knowing how to remove rivets is an essential skill for any DIY enthusiast or computer technician.
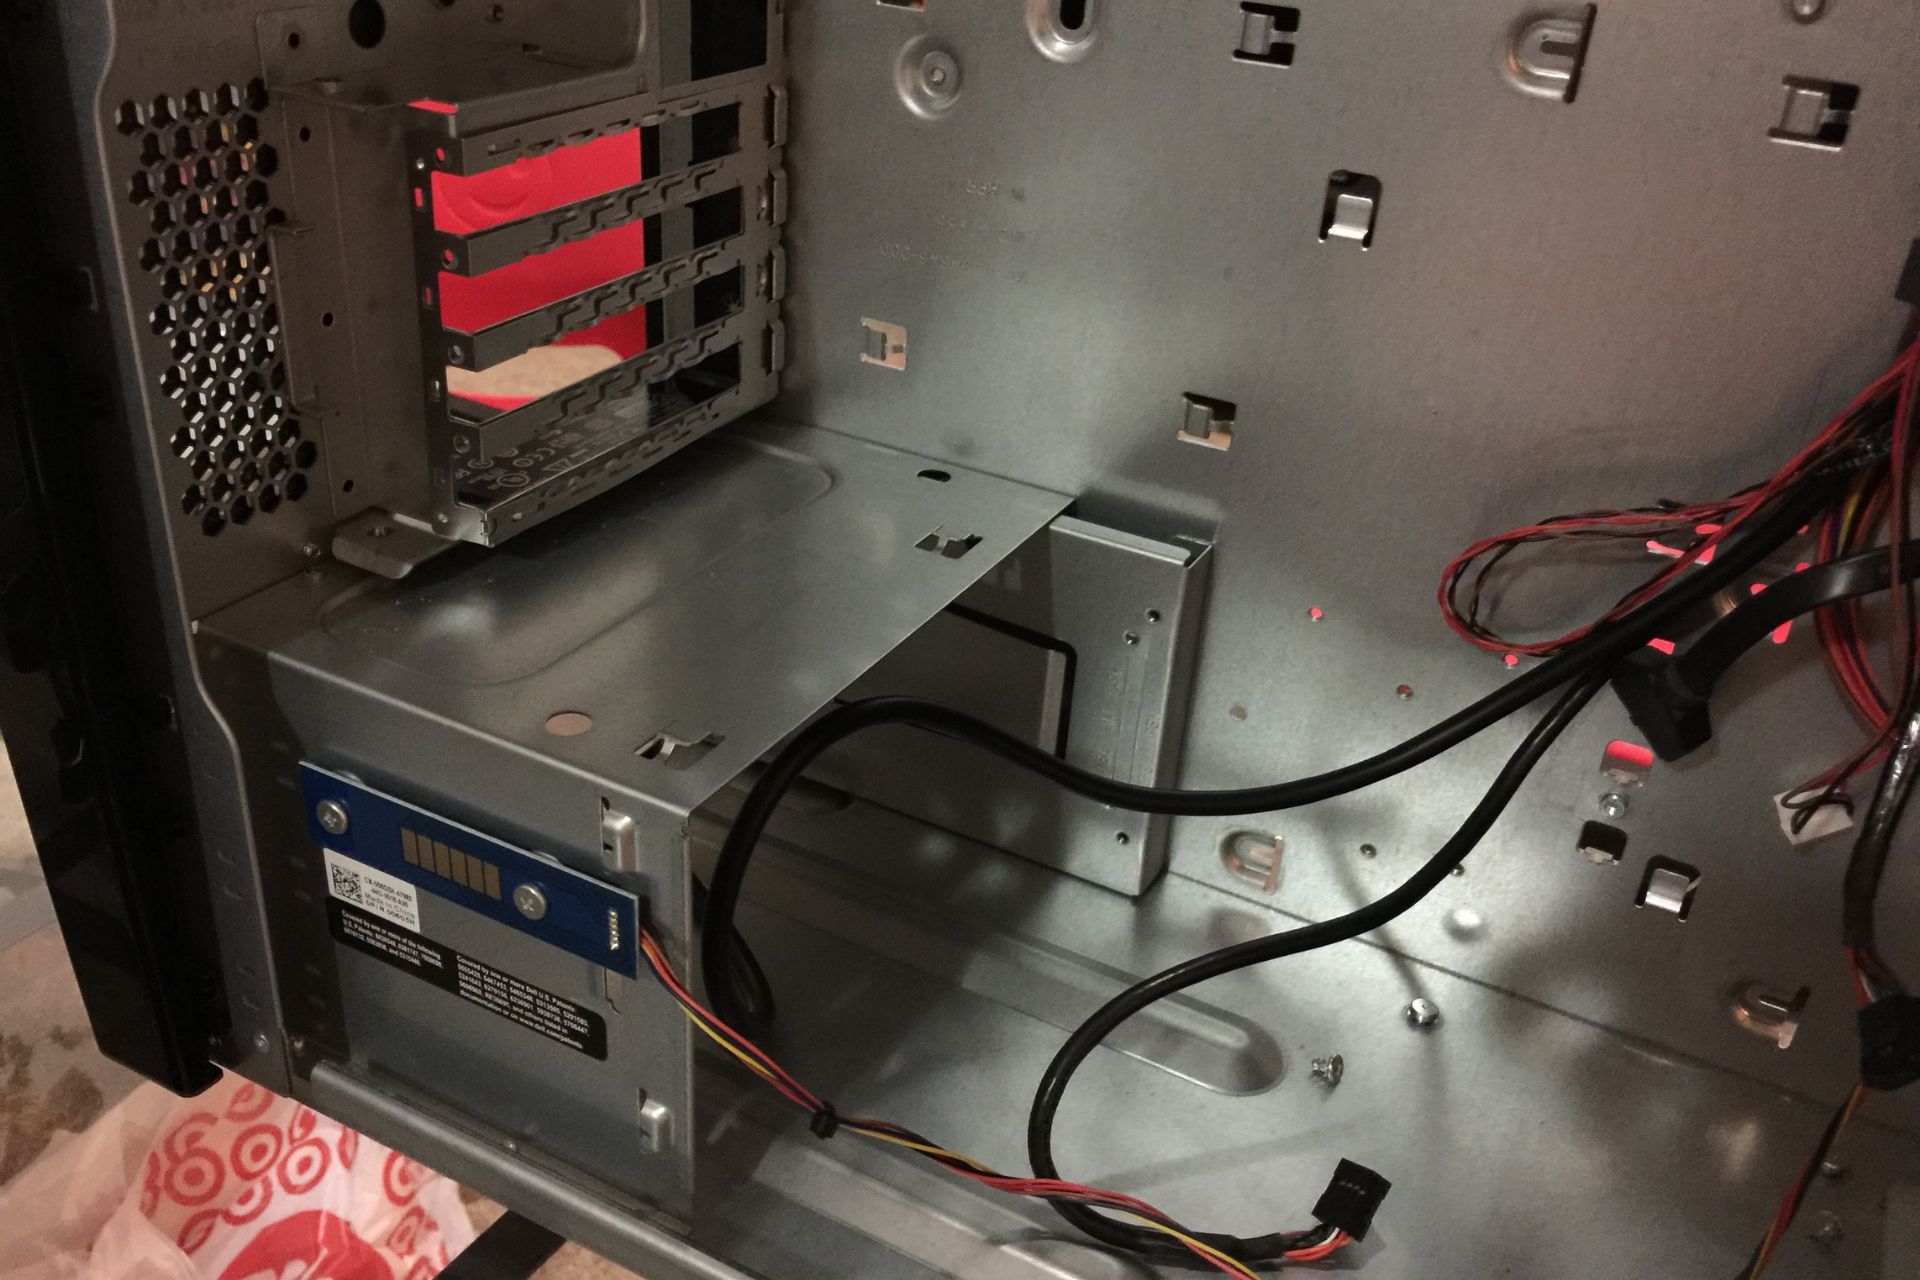
Rivets are often used in PC cases to hold various parts together securely. They can be found on panels, drive cages, and other components. However, accessing the internals or making modifications often requires removing these rivets.
In this guide, we’ll walk you through the steps to remove rivets from a PC case without a popper tool. Whether you don’t have a dedicated rivet removal tool or simply prefer a DIY approach, these steps will help you get the job done.
Please note that removing rivets may void the warranty of your PC case, so proceed at your own risk. Additionally, make sure to wear appropriate safety gear, such as safety glasses and gloves, to protect yourself from any potential hazards.
Now, let’s gather the necessary tools and materials to remove rivets from your PC case.
Tools and Materials Needed
Before you begin removing rivets from your PC case, it’s important to gather the necessary tools and materials. Here’s what you’ll need:
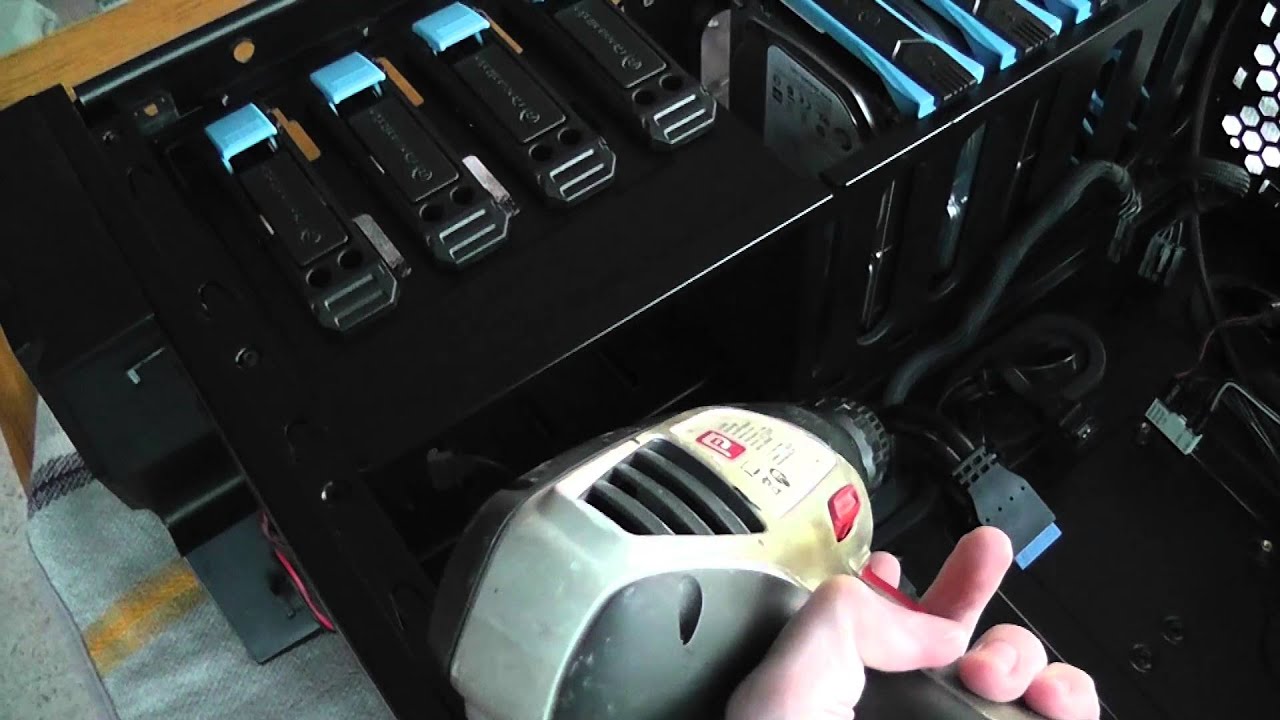
- Drill: A power drill with various drill bits, including a drill bit slightly larger than the rivet head.
- Drill Chuck Key: If your drill requires a chuck key to change bits, make sure to have it handy.
- Screwdriver: A flathead or Phillips screwdriver, depending on the type of screws used in your PC case.
- Pliers: A pair of pliers will come in handy for gripping and manipulating the rivets.
- Protective Gear: Safety glasses and gloves will help protect your eyes and hands during the process.
- Marker or Pen: Use a marker or pen to mark any areas where you plan to drill.
- Optional: Replacement Rivets: If you plan to replace the original rivets, make sure you have the appropriate size and type on hand.
Having these tools and materials ready beforehand will ensure a smooth and efficient rivet removal process. Now that you’re equipped, let’s move on to assessing the rivets in your PC case.
Step 1: Assess the Rivets
Before you start removing the rivets from your PC case, it’s important to assess the type and location of the rivets. This will help you determine the best approach for their removal. Here’s what you need to do:
- Inspect the PC case: Take a close look at the different parts of your PC case where rivets are present. Identify the panels, drive cages, or any other components held together by rivets.
- Examine the rivets: Pay attention to the type of rivets used. Common types include solid rivets, pop rivets, and blind rivets. Solid rivets are the most challenging to remove, while pop rivets and blind rivets are relatively easier to work with.
- Consider the access points: Look for any obstructions that might make it difficult to reach the rivets. Sometimes, other components or cables may be in the way, requiring careful disassembly or repositioning.
- Assess the condition of the rivets: Check whether the rivets are in good condition, or if they are damaged, rusted, or corroded. This information will help you decide if removing and replacing them is necessary.
By assessing the rivets and understanding their characteristics, you’ll be better prepared to choose the appropriate removal method and ensure the successful extraction of the rivets.
Now that you’ve assessed the rivets, it’s time to gather the necessary tools and get ready to remove them. Continue reading to learn about the tools and materials you’ll need for the task.
Step 2: Gather the Necessary Tools
Now that you’ve assessed the rivets in your PC case, it’s time to gather the necessary tools and materials to remove them effectively. Here’s what you’ll need:
- Drill: A power drill will be your primary tool for removing the rivets. Choose a drill with adjustable speed settings and ensure that it’s in good working condition.
- Drill Bits: Select a drill bit size that is slightly larger than the diameter of the rivet head. This will allow you to drill through the rivet head without damaging the surrounding area.
- Drill Chuck Key: If your drill requires a chuck key to change bits, make sure you have it handy to ensure a quick and easy bit swap.
- Screwdriver: In some cases, you may need a screwdriver to remove certain screws or components that are obstructing access to the rivets.
- Pliers: Pliers will be useful for gripping and manipulating the rivets during the removal process. Choose a pair of pliers that provide a firm grip and are comfortable to handle.
- Marker or Pen: It’s a good idea to have a marker or pen on hand to mark the areas where you plan to drill. This will help you create precise holes and avoid any accidental damage.
- Protective Gear: Ensure that you have appropriate protective gear, such as safety glasses and gloves, to safeguard yourself from any potential hazards during the rivet removal process.
- Optional: Replacement Rivets: If you intend to replace the rivets after removing them, make sure you have the appropriate size and type of rivets ready to be installed.
Having these tools readily available will make the rivet removal process smoother and more efficient. Once you have gathered everything you need, you’re ready to move on to the next step: drilling out the rivets.
Step 3: Drill Out the Rivets
With the necessary tools assembled, it’s time to proceed with drilling out the rivets from your PC case. Follow these steps to safely and effectively remove the rivets:
- Identify the rivet heads: Determine the locations of the rivet heads that need to be drilled out. Mark them with a pen or marker for easy reference.
- Select the appropriate drill bit: Choose a drill bit that is slightly larger than the diameter of the rivet head. This will allow you to drill through the rivet head without damaging the surrounding area.
- Secure the PC case: Place your PC case on a stable surface and make sure it is securely held in place. This will prevent any unwanted movements or vibrations during the drilling process.
- Attach the drill bit to the drill: Insert the selected drill bit into the drill chuck and tighten it securely using the drill chuck key, if necessary.
- Position the drill: Position the drill bit directly on the center of the marked rivet head, ensuring the drill is perpendicular to the PC case surface.
- Begin drilling: Start the drill at a slow speed and gradually increase the speed as you drill into the rivet head. Apply gentle pressure and let the drill do the work. Avoid excessive force, as it may cause damage.
- Drill through the rivet head: Continue drilling until the drill bit penetrates completely through the rivet head, separating it from the PC case panel or component. Take care not to drill too deep into the material behind the rivet head.
- Repeat for other rivet heads: Repeat the drilling process for each marked rivet head, focusing on one rivet at a time. Take breaks as needed to allow the drill bit and PC case to cool down.
By carefully drilling out the rivet heads, you will effectively detach them from the PC case. However, keep in mind that the rivet bodies will still be attached. We will address their removal in the next step.
Now that you have successfully removed the rivet heads, it’s time to move on to the next step: removing the rivet bodies.
Step 4: Remove the Rivet Heads
With the rivet heads drilled out, it’s time to tackle the next phase of removing rivets from your PC case: taking off the rivet bodies. Follow these steps to ensure a smooth and successful removal process:
- Inspect the drilled rivet heads: Examine the drilled rivet heads to ensure that they are fully detached from the PC case panel or component. If any parts of the rivet heads are still attached, use pliers to gently pry them off.
- Position the pliers: Use the pliers to grip the remaining portion of the rivet heads firmly. Make sure to position the pliers as close to the PC case surface as possible to provide a strong grip.
- Apply pressure and twist: Apply steady pressure on the pliers and twist in a counterclockwise direction. This twisting motion will help loosen the rivet bodies from their secure positions.
- Gently pull the rivet bodies: With the pliers still gripping the rivet bodies, slowly pull them out of the holes in the PC case. Use a combination of pulling and twisting motions if necessary to remove them completely.
- Repeat for all rivets: Repeat the process for each drilled rivet head until all the rivet bodies have been successfully removed from the PC case. Take your time and be patient, ensuring that each rivet is fully detached before moving on to the next one.
- Inspect the holes: After removing the rivet bodies, inspect the holes in the PC case to ensure they are clean and free of any debris or remaining rivet fragments. Use compressed air or a small brush to clean out any stubborn particles.
By carefully following these steps, you will effectively remove the rivet heads and bodies, allowing you to proceed with any necessary modifications or repairs to your PC case. However, remember to exercise caution to prevent any damage to the PC case itself.
Now that you’ve successfully removed the rivet heads and bodies, it’s time to move on to the next step: cleaning up the PC case.
Step 5: Pry Off the Rivet Bodies
With the rivet heads removed, the next step in removing rivets from your PC case is to pry off the remaining rivet bodies. Here’s how you can do it:
- Assess the rivet bodies: Take a close look at the remaining rivet bodies to determine the best approach for prying them off. Note their position and how they are attached to the PC case.
- Choose a prying tool: Select an appropriate prying tool that can fit between the rivet bodies and the PC case surface. Options include a small flathead screwdriver, a thin metal spatula, or a specialized rivet removal tool.
- Position the tool: Carefully position the prying tool under the edge of a rivet body, ensuring it is securely wedged in place.
- Apply pressure: Apply gentle and controlled pressure on the prying tool, gradually loosening the rivet body from the PC case. Be cautious to avoid slipping and damaging the PC case surface.
- Pry off the rivet body: Once you have successfully loosened the rivet body, continue to pry it off using the prying tool. Apply additional pressure if necessary, always being mindful of the PC case’s integrity.
- Repeat for all rivet bodies: Repeat the prying process for all remaining rivet bodies, one at a time. Take your time to ensure that each rivet body is fully detached and removed from the PC case.
- Clean the PC case: After removing all the rivet bodies, wipe down the PC case surface with a clean cloth to remove any debris or residue left behind. This will prepare the PC case for any further modifications or repairs.
By following these steps, you will effectively pry off the rivet bodies and leave the PC case free of any remaining rivets. However, take care to avoid any damage to the PC case during the prying process.
Now that the rivet bodies have been removed, you can proceed to the next step: cleaning up the PC case to ensure a pristine finish.
Step 6: Clean Up the PC Case
Now that you have successfully removed the rivets from your PC case, it’s time to clean up and prepare the case for any further modifications or repairs. Follow these steps to ensure a neat and tidy PC case:
- Remove any debris: Use a soft brush or compressed air to remove any loose debris or dust that may have accumulated during the rivet removal process. Pay close attention to crevices and hard-to-reach areas.
- Clean with a gentle solution: Dampen a clean cloth or sponge with a mild cleaning solution. This can be a mixture of water and gentle dish soap or a specialized PC case cleaner. Gently wipe down the surfaces of the case to remove any dirt or stains.
- Pay attention to details: Use cotton swabs or a small brush to clean any intricate or hard-to-reach areas. Be careful not to apply excessive force or moisture that could damage sensitive components or circuits.
- Dry thoroughly: After cleaning, ensure that the PC case is completely dry before proceeding. You can use a clean, dry cloth or allow it to air dry naturally. Avoid using heat sources or fans to expedite the process, as this may cause damage.
- Inspect for any damage: Take a close look at the PC case to identify any signs of damage or wear. This includes scratches, dents, or loose components. Address any necessary repairs or replacements before continuing with the case modifications.
- Prepare for modifications: Now that the PC case is clean and in good condition, you can proceed with any desired modifications or installations. This could include adding new components, rearranging the internal layout, or customizing the case’s appearance.
By following these steps, you will ensure that your PC case is clean and ready for any further modifications or repairs. Taking the time to clean and inspect the case will help maintain its appearance and functionality.
With the PC case cleaned up, it’s now time to move on to the final step: replacing the rivets if necessary.
Step 7: Replace Rivets if Necessary
After removing and cleaning up the rivets from your PC case, you need to assess whether replacement rivets are necessary. Depending on the condition of the original rivets or your specific needs, you may choose to replace them. Follow these steps to replace the rivets:
- Check the condition of the original rivets: Examine the original rivets you removed from the PC case. If they are still in good condition and can be reused, you may not need to replace them. However, if they are damaged, rusted, or you desire a different type of rivet, proceed with replacing them.
- Select the appropriate replacement rivets: Determine the size, type, and material of the replacement rivets needed for your PC case. Consider the specific requirements of the case and its components. You can find replacement rivets at hardware stores or online retailers.
- Prepare the PC case for rivet installation: If necessary, use a drill or other tools to create holes in the PC case where the new rivets will be installed. Make sure the holes are aligned with the appropriate components and provide a secure fit.
- Insert the replacement rivets: Take one replacement rivet and insert it into the corresponding hole in the PC case. Ensure it is seated properly and aligned with the component that requires fastening.
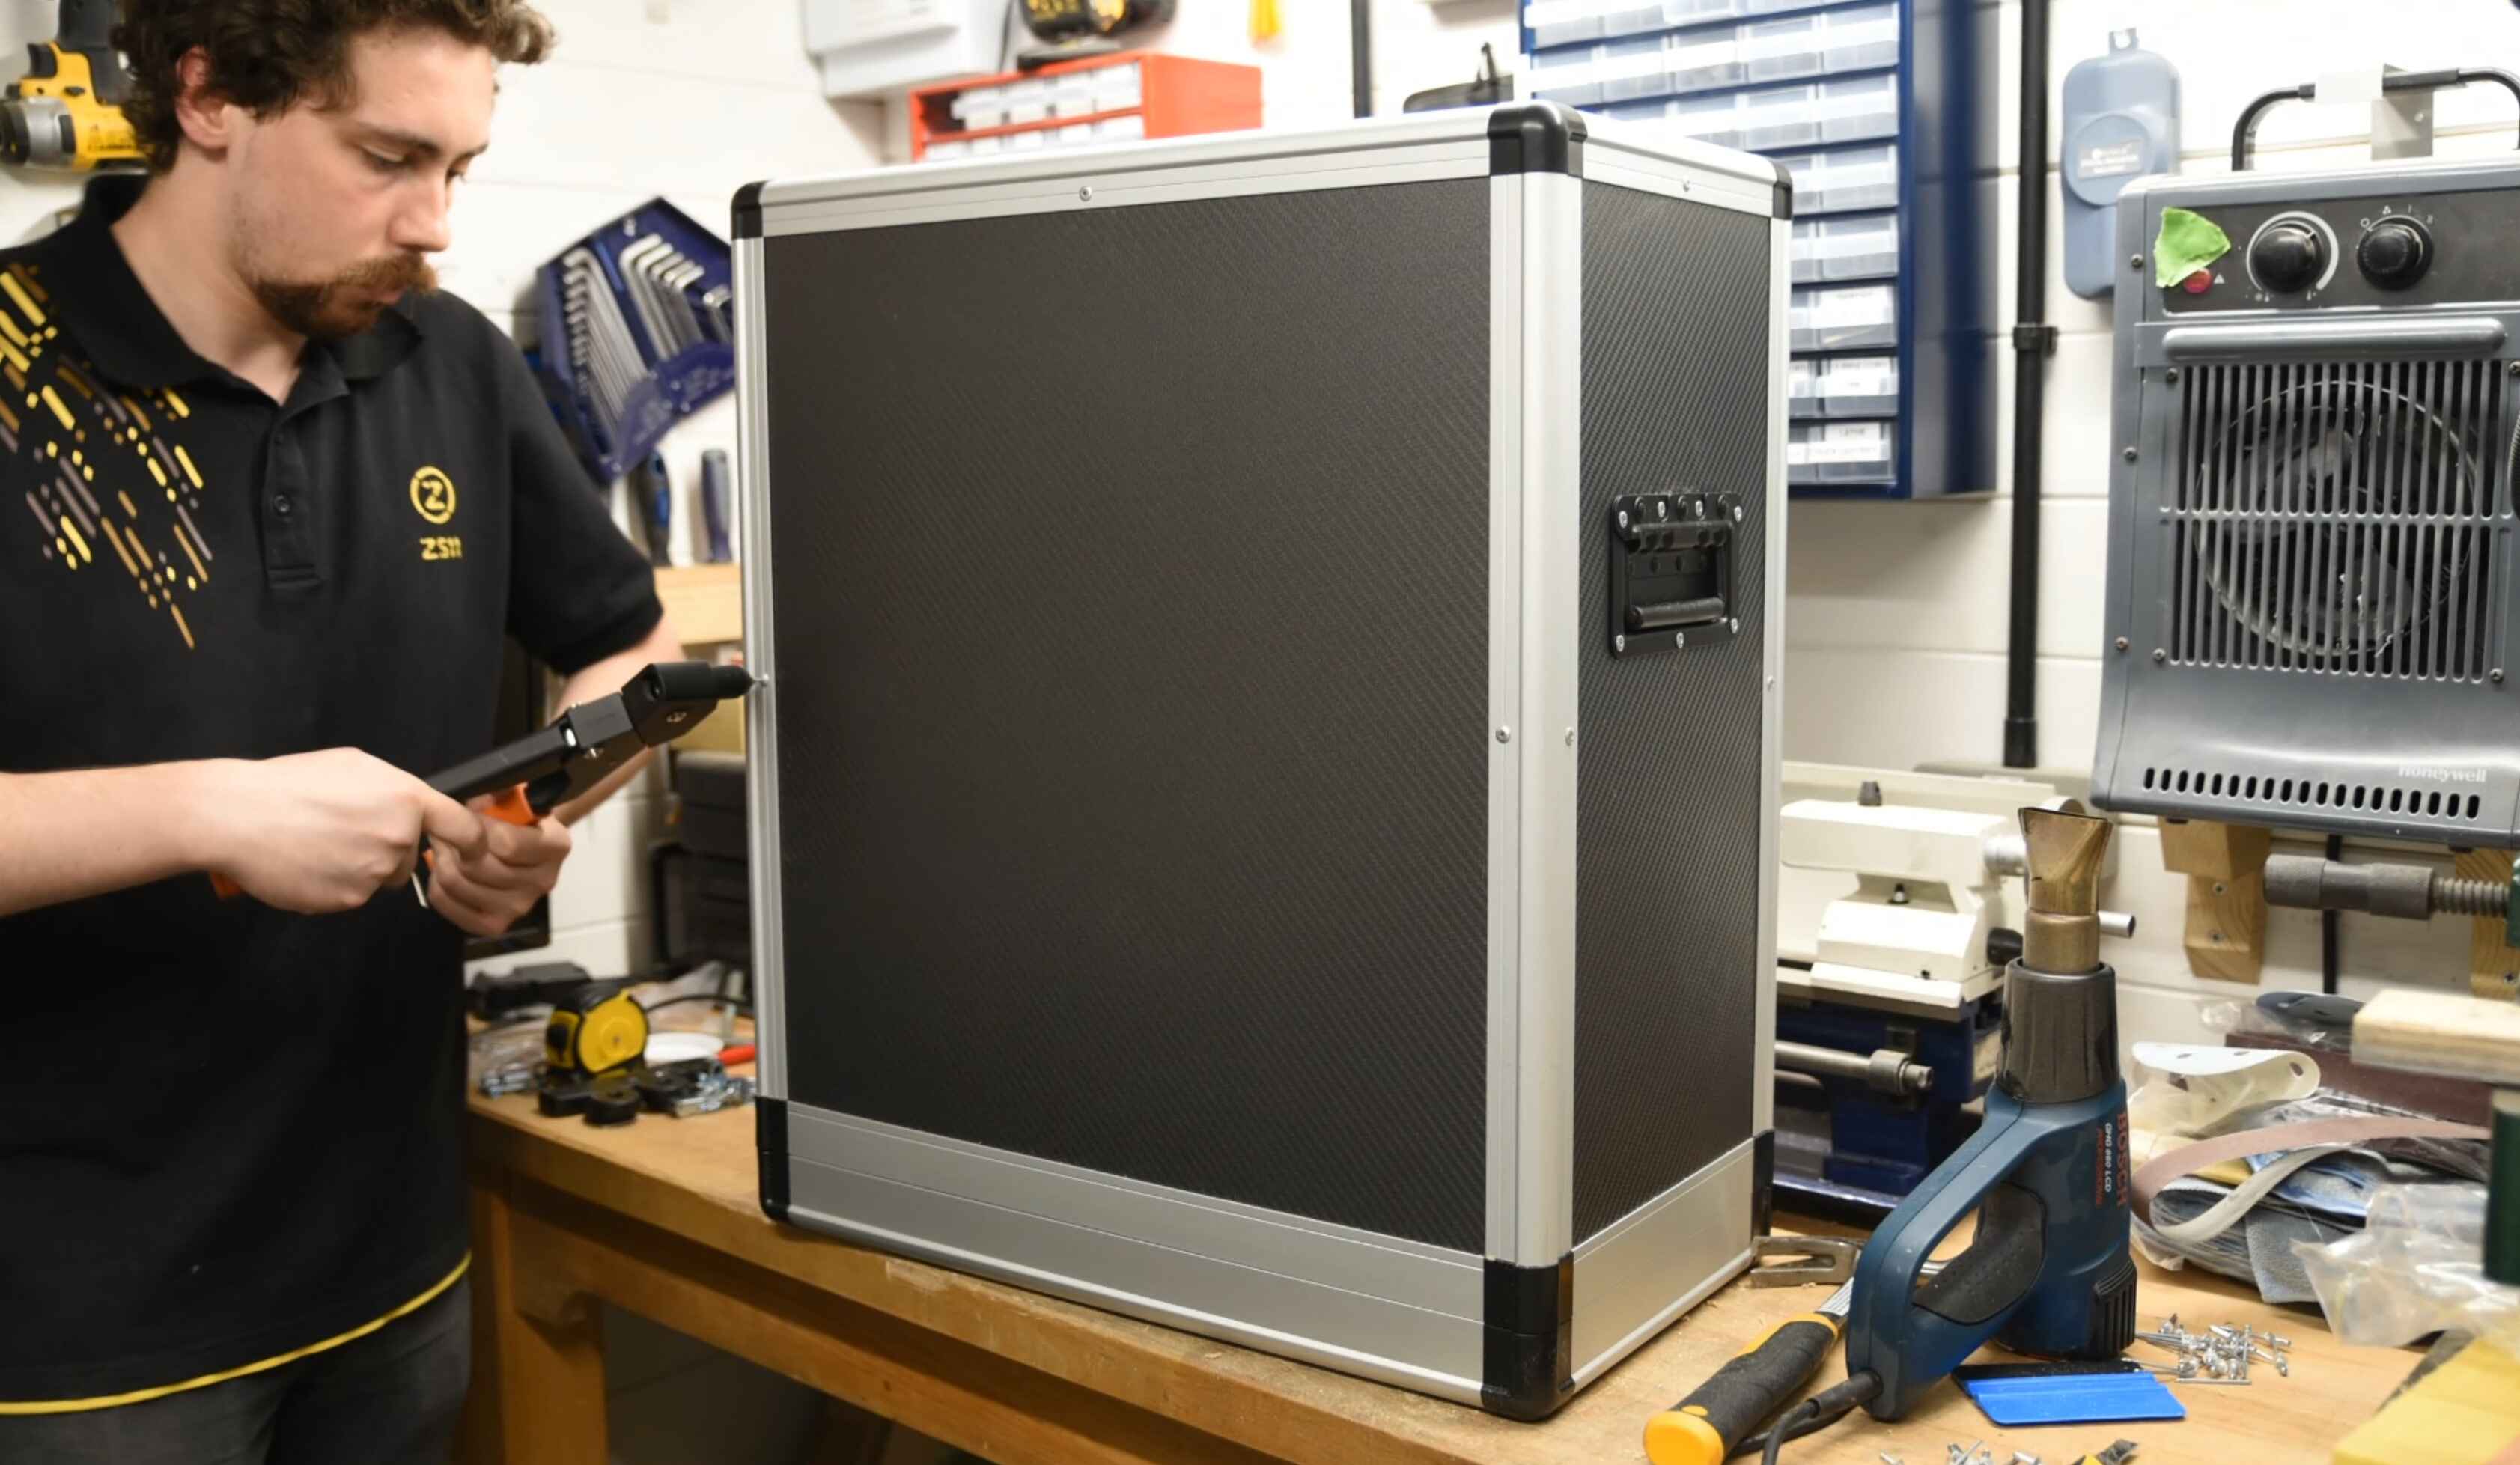
- Secure the replacement rivets: Using a rivet gun or appropriate tool, tighten the replacement rivets. Follow the manufacturer’s instructions to ensure a secure and properly fastened connection. Be careful not to overtighten and risk damaging the PC case or its components.
- Repeat for all necessary rivets: Repeat the process for each replacement rivet needed in the PC case. Take your time to ensure each rivet is installed correctly and provides a secure connection.
- Test the fastenings: Once all replacement rivets are installed, test the fastenings by gently applying pressure or manipulating the components. Ensure that they are securely held in place and that there is no unnecessary movement or looseness.
By following these steps, you can replace the rivets in your PC case, if necessary. It is important to ensure the proper selection and installation of replacement rivets to maintain the structural integrity of the PC case.
With the rivets either replaced or confirmed to be in good condition, you have successfully completed the process of removing, cleaning, and potentially replacing rivets from your PC case. Your case is now ready for use or further modifications.
Conclusion
Removing rivets from a PC case can seem like a daunting task, but with the right tools and techniques, it can be a straightforward process. By following the steps outlined in this guide, you can safely and effectively remove rivets without the need for a specialized popper tool.
Remember to assess the rivets, gather the necessary tools, drill out the rivet heads, and then pry off the rivet bodies. Take care to clean the PC case thoroughly and inspect for any damage that may need to be addressed. If required, you can replace the rivets to ensure a secure and stable connection for the various components of the PC case.
It is important to note that removing rivets may void the warranty of your PC case, so proceed with caution and at your own risk. Always wear appropriate safety gear and exercise proper technique to prevent any accidents or damage to the PC case or its components.
Whether you’re upgrading your PC, modifying your case, or troubleshooting, knowing how to remove rivets is an invaluable skill. By following the steps outlined in this guide, you can confidently tackle any rivet removal task and achieve the desired results.
Now that you have the knowledge and skills to remove rivets from a PC case, you’re ready to take on DIY projects and enhance your computer setup. Enjoy the process of customizing and personalizing your PC case to meet your unique needs and style.
Remember, practice makes perfect, so don’t hesitate to apply what you’ve learned and continue exploring the world of PC case modifications. Happy rivet removal and PC customization!


