Introduction
Welcome to our comprehensive guide on how to remove the previous owner from AirPods Pro! If you’ve recently acquired a pair of AirPods Pro but find that they are still connected to another user’s Apple ID or Bluetooth settings, don’t worry – we’ve got you covered. In this article, we will walk you through the step-by-step process of resetting your AirPods Pro and removing any trace of the previous owner.
When purchasing used or refurbished AirPods Pro, it’s important to ensure that they are completely disassociated from the previous owner’s accounts and settings. By following the simple instructions provided in this guide, you can successfully disconnect the AirPods Pro from the previous owner’s Apple ID and Bluetooth connections, allowing you to set them up as your own.
Removing the previous owner’s information from your AirPods Pro is not only crucial for security and privacy reasons, but it also ensures that you can fully enjoy the features and functions of your device without any limitations. Whether you plan to use your AirPods Pro with an iPhone, iPad, Mac, or any other Bluetooth-enabled device, this guide will help you start afresh and make the AirPods Pro truly yours.
Before we dive into the step-by-step process, let’s go over the list of items you’ll need to successfully remove the previous owner from your AirPods Pro.
What You’ll Need
Before you begin the process of removing the previous owner from your AirPods Pro, make sure you have the following items ready:
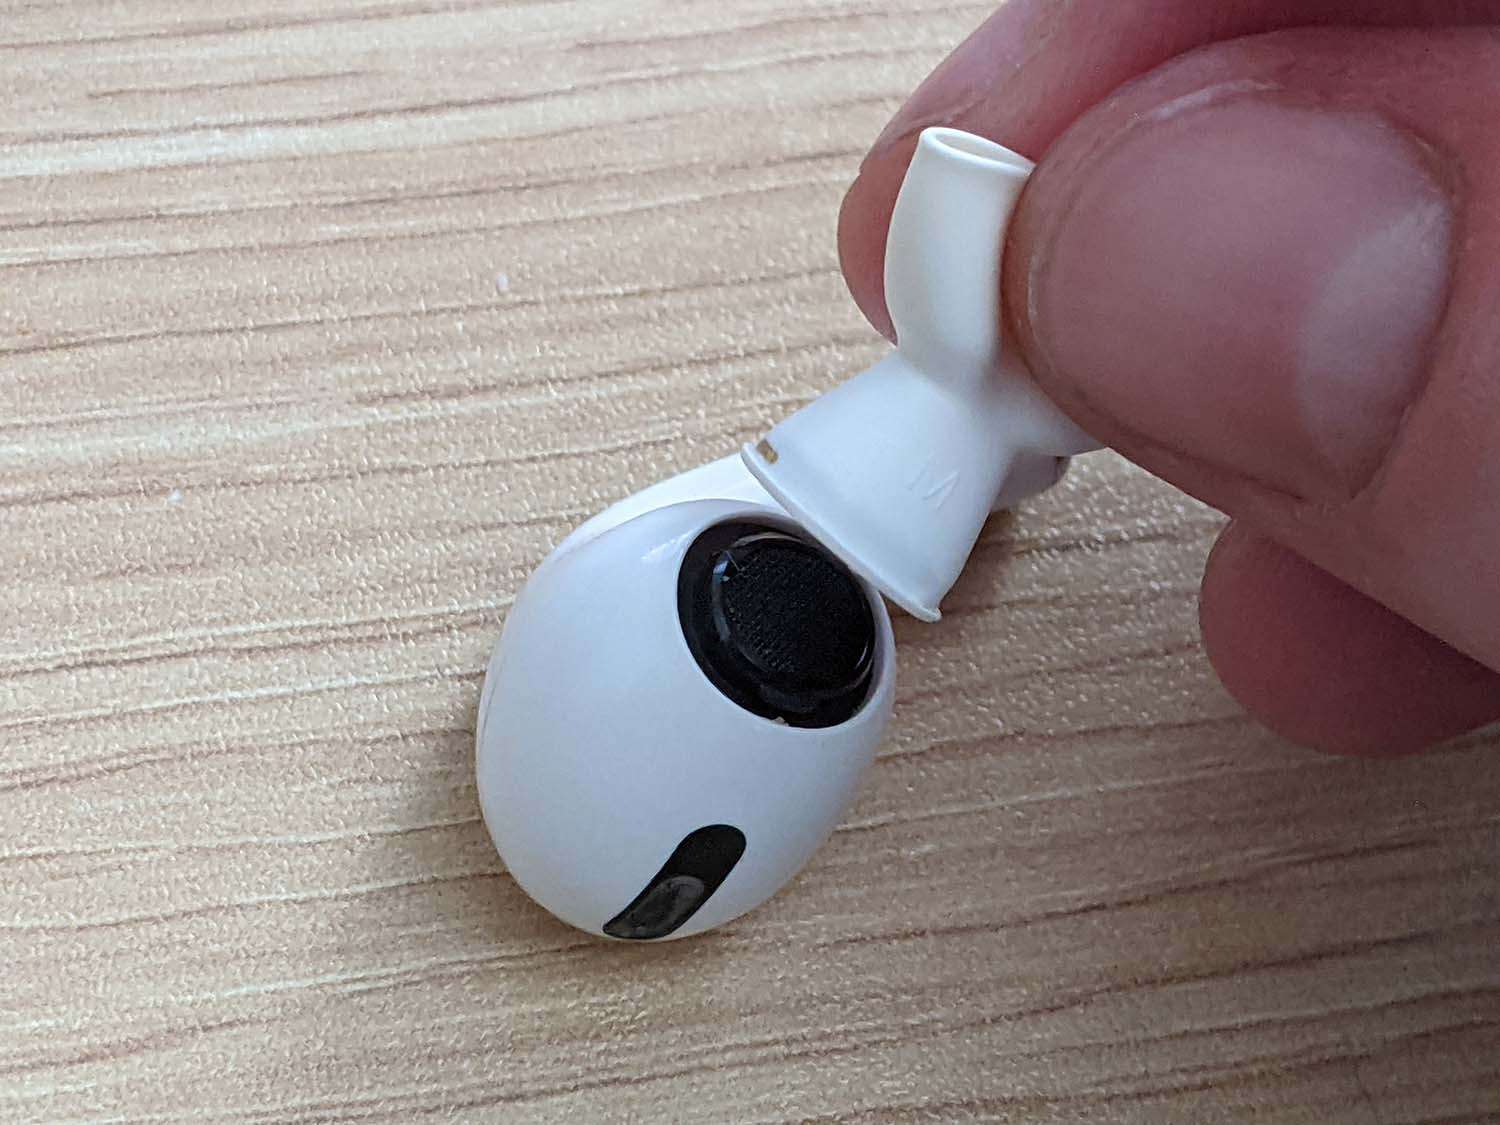
- AirPods Pro: Ensure that you have the AirPods Pro in your possession and that they are charged.
- A compatible device: You’ll need an iPhone, iPad, Mac, or any other Bluetooth-enabled device to perform the necessary steps.
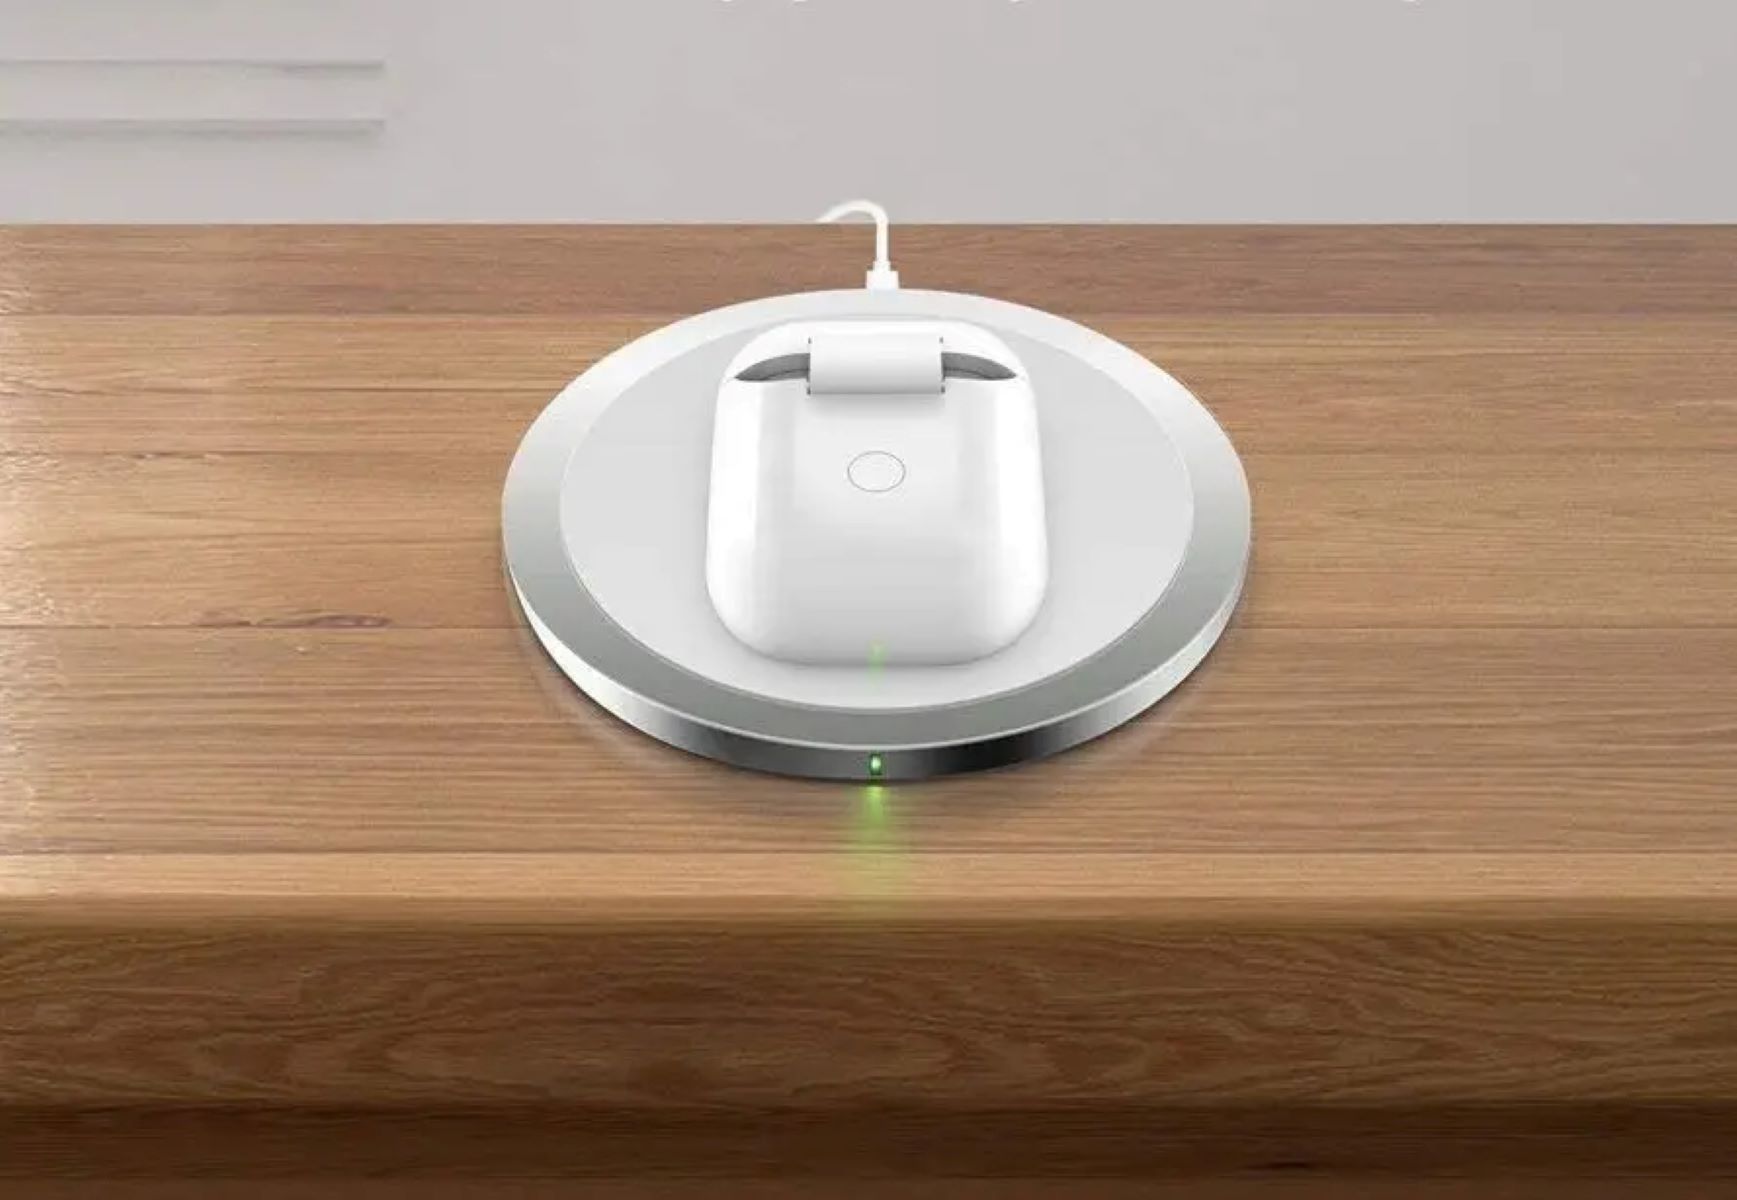
- Access to a Wi-Fi network: A stable internet connection is essential for updating the firmware of your AirPods Pro.
- Apple ID and Password: Make sure you have the Apple ID and password for the device you’ll be using to remove the previous owner from the AirPods Pro.
Gathering these essential items beforehand will save you time and ensure a smooth and successful process.
Step 1: Resetting AirPods Pro
To remove the previous owner from your AirPods Pro, you’ll need to perform a reset. This will erase all existing settings and information, allowing you to start fresh. Follow these simple steps to reset your AirPods Pro:
- Place both of your AirPods Pro into the charging case.
- Close the lid of the charging case and wait for about 30 seconds.
- Open the lid of the charging case.
- On your device, go to the “Settings” app and navigate to the “Bluetooth” section.
- Locate your AirPods Pro in the list of available devices and tap on the (i) icon next to them.
- In the AirPods Pro settings, scroll down and select “Forget This Device” or “Disconnect” option.
- Confirm your selection and wait for the AirPods Pro to disconnect from the device.
- Now, go back to the home screen of your device and open the lid of the charging case with the AirPods Pro inside.
- Hold down the setup button located on the back of the charging case until the LED light on the front flashes white.
- Release the setup button and wait for the AirPods Pro to reset. The LED light will eventually turn amber, indicating that the reset process is complete.
By following these steps, you have successfully reset your AirPods Pro, removing any association with the previous owner’s devices and settings. The next step is to update the firmware on your AirPods Pro to ensure optimal performance and compatibility.
Step 2: Updating Firmware
Updating the firmware of your AirPods Pro is essential to ensure that you have the latest features, bug fixes, and performance enhancements. Follow these steps to update the firmware:
- Make sure both of your AirPods Pro are in the charging case and that the case is open.
- Ensure that your iPhone or iPad is connected to a stable Wi-Fi network.
- On your device, go to the “Settings” app and navigate to the “General” section.
- Select “About” and scroll down to find your AirPods Pro listed.
- If an update is available, you will see a prompt to install it. Tap on “Install” to begin the firmware update process.
- Keep your AirPods Pro in the charging case and ensure that they remain connected to your device throughout the update.
- Wait for the firmware update to complete. This may take several minutes, so be patient.
- Once the update is finished, you will receive a notification on your device. You can then close the Settings app.
Updating the firmware of your AirPods Pro ensures that you are benefiting from the latest improvements and optimizations. It is recommended to regularly check for updates to keep your AirPods Pro in top shape.
Now that you’ve successfully updated the firmware of your AirPods Pro, it’s time to remove them from the previous owner’s iCloud account.
Step 3: Removing AirPods from iCloud
To ensure that your AirPods Pro are not linked to the previous owner’s iCloud account, you need to remove them from iCloud. Follow these steps:
- On your iPhone or iPad, go to the “Settings” app and tap on your Apple ID profile at the top.
- Select “iCloud” and scroll down to find “Find My iPhone” or “Find My iPad”. Tap on it.
- Under the “Find My” section, select “Find My iPhone” or “Find My iPad” (depending on your device).
- Tap on “All Devices” and look for your AirPods Pro in the list.
- If your AirPods Pro appear in the list, tap on them.
- In the AirPods Pro settings, tap on “Remove from Account” or “Remove” (depending on your device).
- Confirm your selection and wait for the AirPods Pro to be removed from iCloud.
By following these steps, you have successfully removed your AirPods Pro from the previous owner’s iCloud account. This ensures that they are no longer associated with the previous owner’s devices and settings, giving you full control over their usage.
Now, let’s move on to the next step of removing the AirPods Pro from your Bluetooth settings.
Step 4: Removing AirPods from Bluetooth Settings
After removing your AirPods Pro from iCloud, the next step is to remove them from the Bluetooth settings on your device. This will ensure that they are no longer paired with any devices associated with the previous owner. Follow these steps to remove your AirPods Pro from Bluetooth settings:
- On your iPhone or iPad, go to the “Settings” app and navigate to the “Bluetooth” section.
- Under the “My Devices” or “My Devices & Connections” section, you will find a list of previously paired devices.
- Locate your AirPods Pro in the list and tap on the (i) icon next to them.
- In the AirPods Pro settings, tap on “Forget This Device” or “Disconnect” option.
- Confirm your selection and wait for the AirPods Pro to be disconnected from your device.
By following these steps, you have successfully removed your AirPods Pro from the Bluetooth settings on your device. They are now completely disassociated from any devices that were previously paired with them, ensuring a clean slate for the pairing process.
Now that your AirPods Pro are no longer connected to any devices, it’s time to pair them with your own device and make them yours.
Step 5: Pairing with a New Device
Now that you’ve successfully removed the previous owner’s information from your AirPods Pro, it’s time to pair them with your own device and make them truly yours. Follow these steps to pair your AirPods Pro with a new device:
- Place your AirPods Pro inside the charging case and keep the lid open.
- On the device you want to pair with, go to the “Settings” app and navigate to the “Bluetooth” section.
- Make sure that Bluetooth is turned on.
- Locate the AirPods Pro in the list of available devices. They should appear as “AirPods Pro” or a customized name if you have previously set one.
- Tap on the AirPods Pro in the list to initiate the pairing process.
- Follow the on-screen instructions to complete the pairing process. This may involve confirming a pairing code or pressing the setup button on the AirPods Pro charging case.
- Once the pairing is complete, you will receive a notification on your device, indicating that your AirPods Pro are successfully connected.
After completing these steps, your AirPods Pro are now paired with your new device and ready for use. You can now enjoy the full functionality and convenience of your AirPods Pro without any connection to the previous owner.
Congratulations! You have successfully removed the previous owner from your AirPods Pro and paired them with your own device. Enjoy your wireless listening experience!
Conclusion
Congratulations! You have successfully removed the previous owner from your AirPods Pro and set them up as your own. By following the step-by-step process outlined in this guide, you have ensured the privacy, security, and functionality of your AirPods Pro.
Start off by resetting your AirPods Pro, erasing any existing settings and information. Then, update the firmware to enjoy the latest features and enhancements. Removing your AirPods Pro from the previous owner’s iCloud account and Bluetooth settings further dissociates them from their previous association.
Finally, pair your AirPods Pro with your own device and enjoy the wire-free convenience and high-quality audio that they have to offer. With these steps, you can confidently use your AirPods Pro without any limitations or worries about the previous owner’s information.
Remember, it is always important to ensure that any used or refurbished electronic devices are fully disassociated from the previous owner’s accounts and settings before using them as your own. Following these steps not only guarantees a seamless experience but also protects your privacy and security.
We hope this guide has assisted you in the process of removing the previous owner from your AirPods Pro. If you ever face any difficulties or have further questions, consult the official Apple support or reach out to our knowledgeable team for assistance.
Enjoy your personalized and uninterrupted audio experience with your newly set up AirPods Pro!