Introduction
Welcome to our guide on how to remove Face ID for Hidden Photos. In this digital age, privacy has become a growing concern for many individuals. With the rise of smartphones and their advanced features, including the ability to hide sensitive photos, it is important to have control over who can access these hidden files.
The Face ID for Hidden Photos feature is a convenient way to secure your private images. It allows you to restrict unauthorized access by linking the viewing of hidden photos to your facial recognition data. However, there might be situations where you no longer want Face ID to be tied to your hidden photos. This can arise from various reasons, such as the need to share your device with others or simply wanting to change the access method.
In this article, we’ll provide you with a step-by-step guide to remove Face ID for Hidden Photos, allowing you to regain control over your hidden files. We’ll walk you through the process, ensuring that you can safely and efficiently remove Face ID from your hidden photos. Whether you’re an iPhone or iPad user, this guide is applicable to both devices and will help you achieve your privacy goals.
Before we proceed, it’s important to note that removing Face ID for Hidden Photos will require you to have administrative access to your device. Additionally, we recommend backing up your hidden photos before making any changes to ensure you don’t lose any valuable data. With that said, let’s dive into the steps required to remove Face ID for Hidden Photos and regain control over your privacy.
What is Face ID for Hidden Photos?
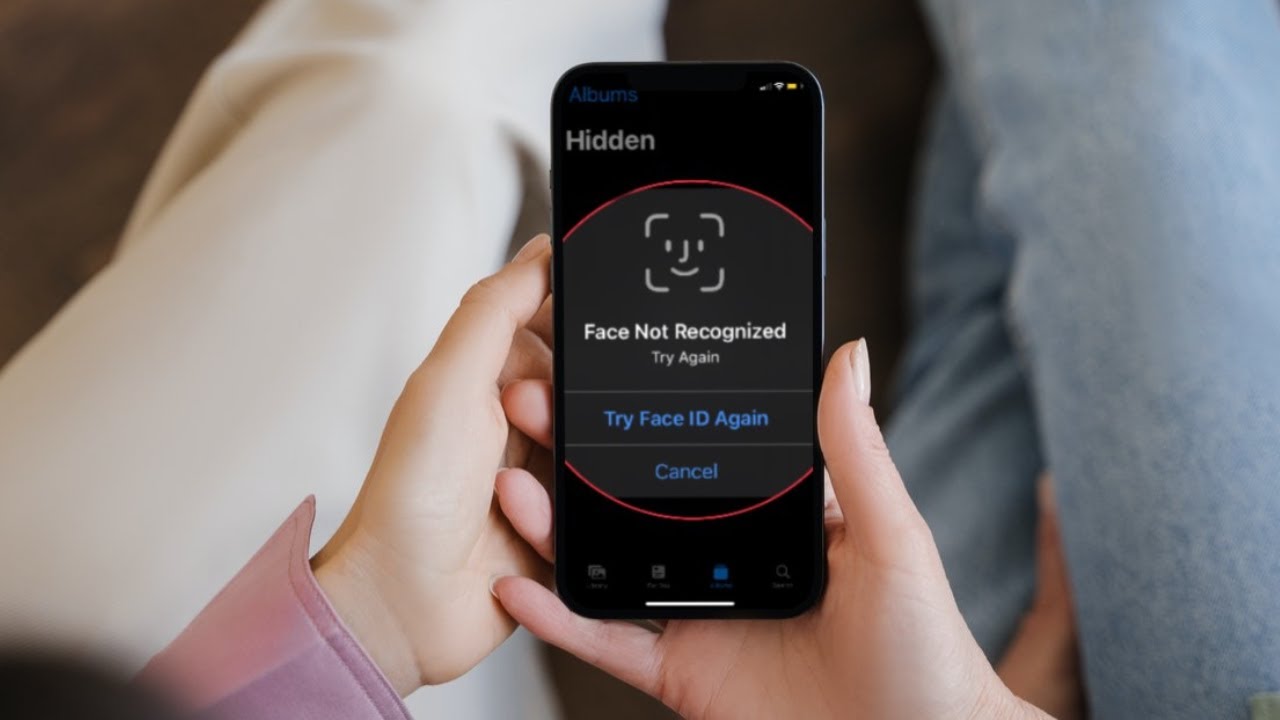
Face ID for Hidden Photos is a unique feature available on iOS devices, such as iPhones and iPads, that adds an extra layer of security to your private images. With Face ID, you can use your facial recognition data to unlock and view hidden photos that have been securely stored on your device.
This feature is particularly useful for individuals who value their privacy and want to ensure that only authorized users can access their hidden photos. By linking Face ID to your hidden photos, you can prevent unauthorized users from viewing or stumbling upon your sensitive images.
Face ID utilizes advanced facial recognition technology to scan and analyze your facial features, creating a unique biometric profile that is securely stored on your device. When you engage the Face ID for Hidden Photos feature, it matches your current appearance with the stored facial profile to grant you access to your hidden images.
The integration of Face ID with hidden photos provides a seamless and convenient way to protect your sensitive images. You no longer have to rely on passcodes or patterns to secure your private photos, as Face ID offers a more personalized and secure approach.
It’s worth noting that Face ID for Hidden Photos is only available on devices that support Face ID technology. If you have Touch ID-enabled devices, the feature may be labeled as Touch ID for Hidden Photos instead.
In the next section, we’ll explore the reasons why you might want to remove Face ID for Hidden Photos and the benefits of doing so.
Why would you want to remove Face ID for Hidden Photos?
While Face ID for Hidden Photos provides an excellent way to secure your private images, there can be various situations where you might want to remove this feature. Here are a few reasons why you might consider removing Face ID for Hidden Photos:
- Sharing your device: If you frequently share your iPhone or iPad with others, you may find it inconvenient to rely on Face ID every time you want to access your hidden photos. Removing Face ID for Hidden Photos allows you to easily share your device without the need for facial recognition.
- Changing your access method: Over time, you may decide to switch to a different access method for your hidden photos. Whether it’s a passcode or a different biometric authentication, removing Face ID for Hidden Photos will enable you to alter your access preferences to suit your needs.
- Privacy concerns: Some users may have concerns about the storage and use of their facial recognition data. If you have reservations about storing your facial profile for photo access, removing Face ID for Hidden Photos can alleviate those concerns.
- Device compatibility: In certain cases, you might upgrade to a new device that does not support Face ID technology. When transitioning to a device without this feature, you’ll need to remove Face ID for Hidden Photos to regain access to your hidden images.
- Flexibility: Removing Face ID for Hidden Photos offers increased flexibility in how you secure your private photos. You can explore alternative methods that better align with your preferences and level of comfort.
By removing Face ID for Hidden Photos, you gain more control over how you want to protect your sensitive images. Whether it’s for convenience, privacy concerns, or the need to adapt to a different device, removing Face ID provides the flexibility and peace of mind you desire.
Next, let’s delve into the step-by-step guide on how to remove Face ID for Hidden Photos.
Step-by-step guide to remove Face ID for Hidden Photos
If you’ve decided to remove Face ID for Hidden Photos and want to regain control over your privacy, follow these simple steps:
- Open Settings: Unlock your iPhone or iPad and navigate to the Settings app. It is represented by a gear icon and is typically found on your device’s home screen.
- Select “Face ID & Passcode”: In the Settings menu, scroll down and tap on “Face ID & Passcode” to access the Face ID settings.
- Authenticate: You will be prompted to enter your passcode to proceed. Enter the passcode associated with your device to gain access to the Face ID settings.
- Find “Hidden Photos”: Once you’re in the Face ID settings, scroll down until you find the “Hidden Photos” section. This is where you can manage the access method to your hidden photos.
- Disable Face ID for Hidden Photos: In the “Hidden Photos” section, toggle off the switch next to “Hidden Photos” labeled “Use Face ID”. This will remove Face ID as the access method for your hidden photos.
- Confirm the changes: A confirmation message will appear asking if you want to confirm the disablement of Face ID for Hidden Photos. Tap “Disable” to proceed.
- Verify access: After disabling Face ID for Hidden Photos, you will now need to use an alternative access method, such as a passcode or another biometric authentication, to view your hidden photos.
- Test the changes: Verify that the changes were successfully implemented by attempting to access your hidden photos using the newly selected access method. Ensure that you can view your hidden images without Face ID authentication.
By following these steps, you can easily remove Face ID for Hidden Photos and choose an alternate access method that suits your preferences.
It’s important to note that removing Face ID for Hidden Photos only affects the access method to your hidden images. Your photos themselves will remain on your device securely, and you can continue to manage them as before. You can always re-enable Face ID for Hidden Photos in the future if you decide to switch back to facial recognition as an access method.
With that, you have successfully removed Face ID for Hidden Photos and have reclaimed control over the privacy of your hidden images.
Conclusion
In this guide, we have explored the process of removing Face ID for Hidden Photos, allowing you to regain control over your privacy and customize the access method to your sensitive images. By following the step-by-step instructions provided, you can easily disable Face ID for Hidden Photos on your iPhone or iPad and choose an alternative authentication method.
Whether you want the flexibility of sharing your device, prefer a different access method, or have privacy concerns regarding facial recognition data, removing Face ID for Hidden Photos empowers you to adapt your privacy settings to suit your needs.
Remember to always back up your hidden photos before making any changes to ensure that your valuable images are securely stored. Additionally, be sure to test the new access method to verify that you can successfully access your hidden photos without relying on Face ID authentication.
We hope this guide has been helpful in assisting you with removing Face ID for Hidden Photos. By taking control of your privacy settings, you can enjoy peace of mind knowing that your sensitive images are protected in the way that best suits you.
If you ever decide to re-enable Face ID for Hidden Photos or explore other privacy features on your device, refer back to this guide for a quick and easy reference.
Thank you for reading, and we wish you a seamless and secure experience with your hidden photos!