Introduction
Are you an avid gamer who wants to share your epic gaming moments with the world? Recording gameplay on Xbox One can help you capture those incredible victories, jaw-dropping stunts, or funny moments that you want to share with your friends or online community.
However, you might think that recording your Xbox One gameplay requires expensive equipment or technical expertise. The good news is that you don’t necessarily need a capture card to record your gameplay. Xbox One offers built-in recording features, as well as alternative methods that can help you record and share your gaming experiences without breaking the bank.
In this guide, we will explore various options for recording your Xbox One gameplay without the need for a capture card. Whether you want to save videos for your own archive, create content for a YouTube channel, or stream your gaming sessions live, we have you covered.
We will discuss the built-in Game DVR feature on Xbox One, show you how to use Twitch to stream and capture gameplay, introduce external capture devices, and delve into the Windows 10 Game Bar. By the end of this article, you’ll have the knowledge to choose the method that suits your needs and start recording your Xbox One gameplay like a pro.
So, if you’re ready to become the next gaming sensation or simply want to relive your favorite gaming moments, let’s dive into the exciting world of Xbox One recording options.
Understanding Xbox One Recording Options
Before we dive into the various methods of recording on Xbox One, it’s important to understand the different recording options that are available to you. Each option comes with its own set of features, advantages, and limitations, so let’s take a closer look:
- Built-in Game DVR Feature: Xbox One comes equipped with a built-in Game DVR feature that allows you to record gameplay clips of up to five minutes. This feature enables you to capture those memorable moments without the need for any additional equipment.
- Twitch Streaming: Twitch is a popular live streaming platform that allows gamers to broadcast their gameplay to an audience. Xbox One integrates Twitch streaming directly into the console, allowing you to not only live stream your gameplay but also save your broadcasts for later viewing.
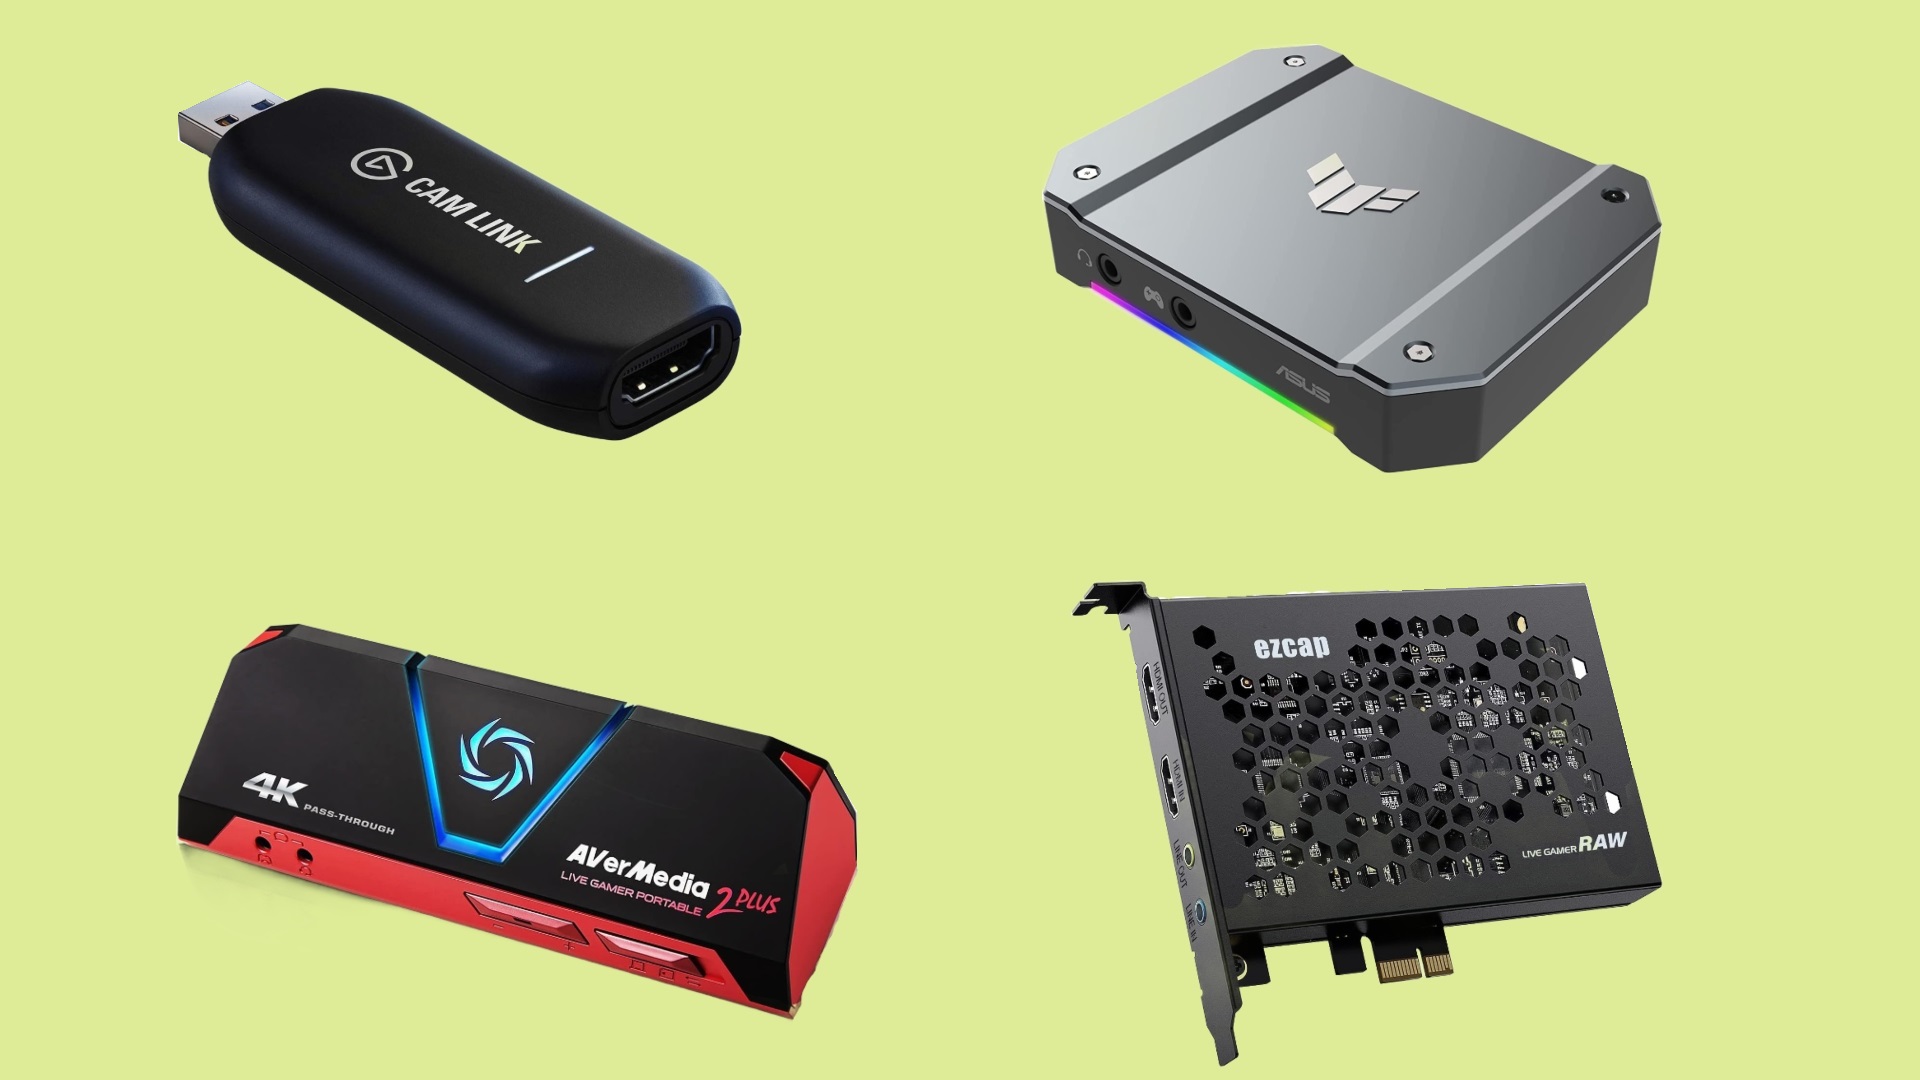
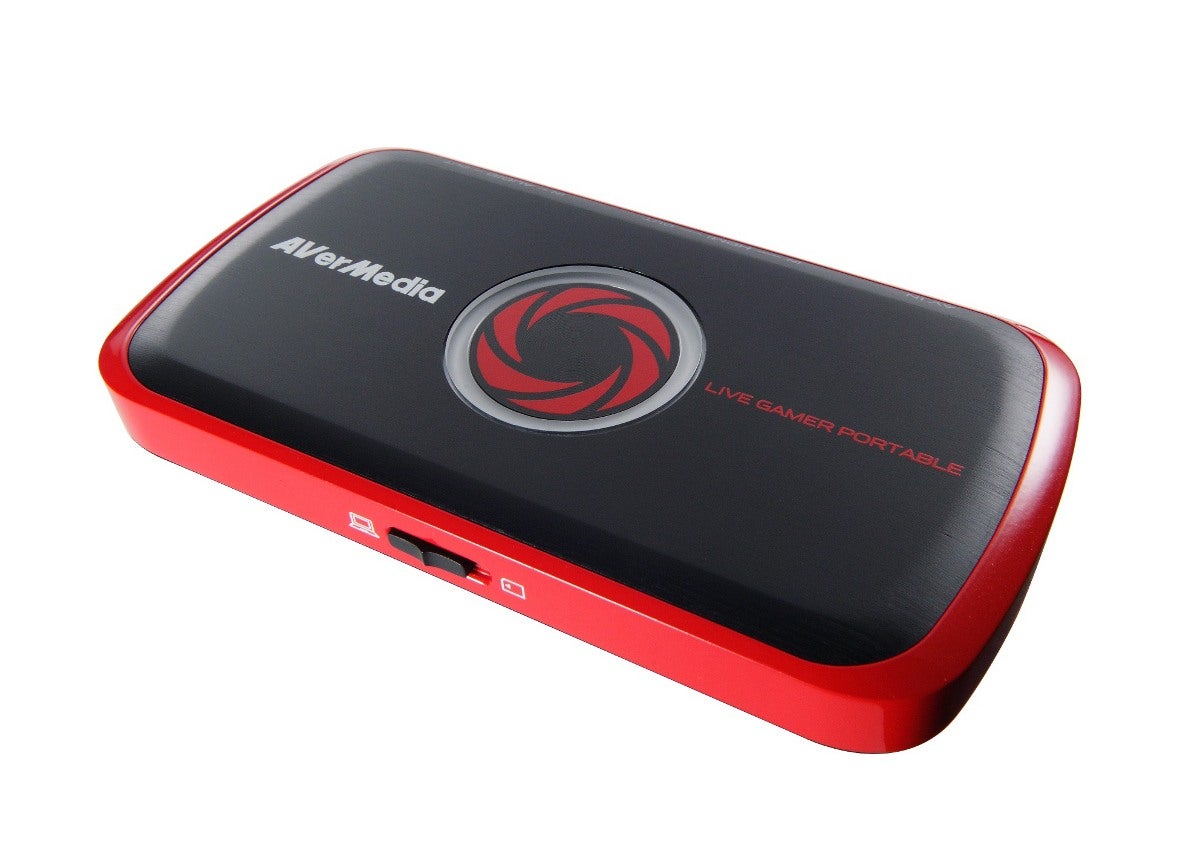
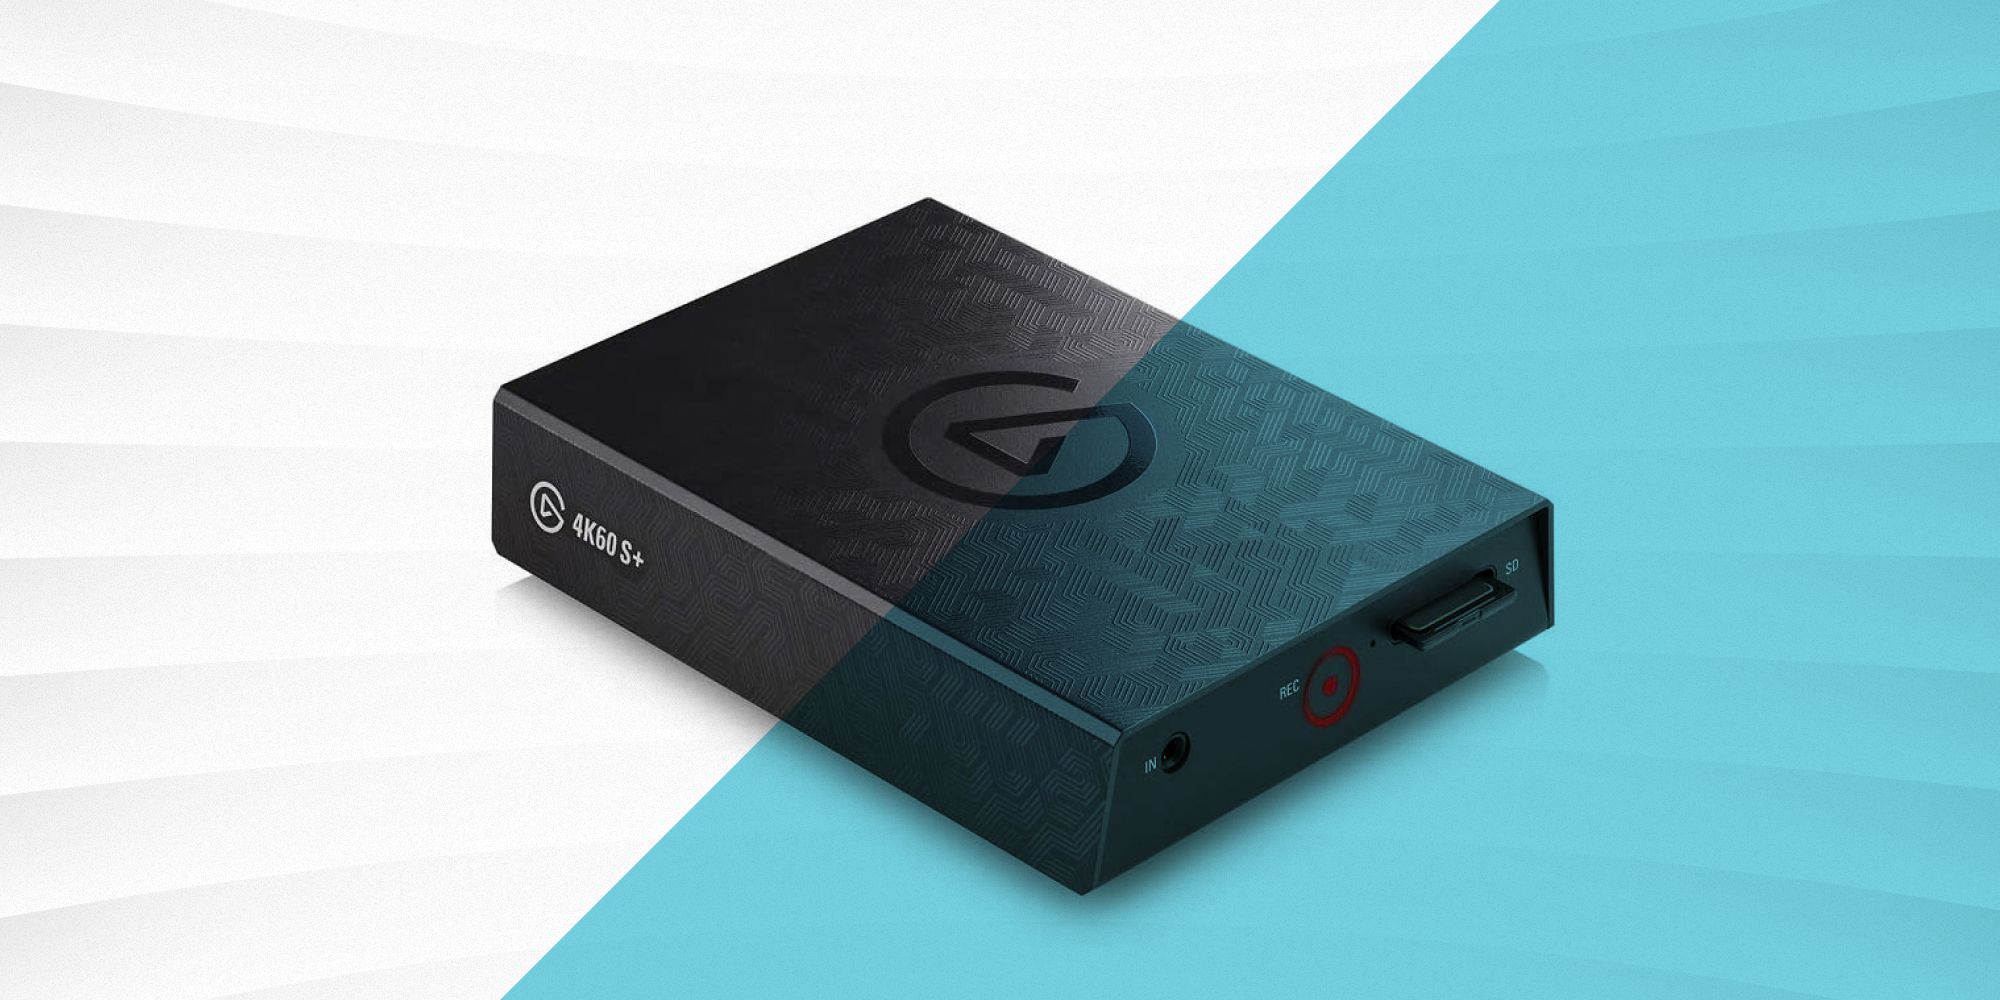
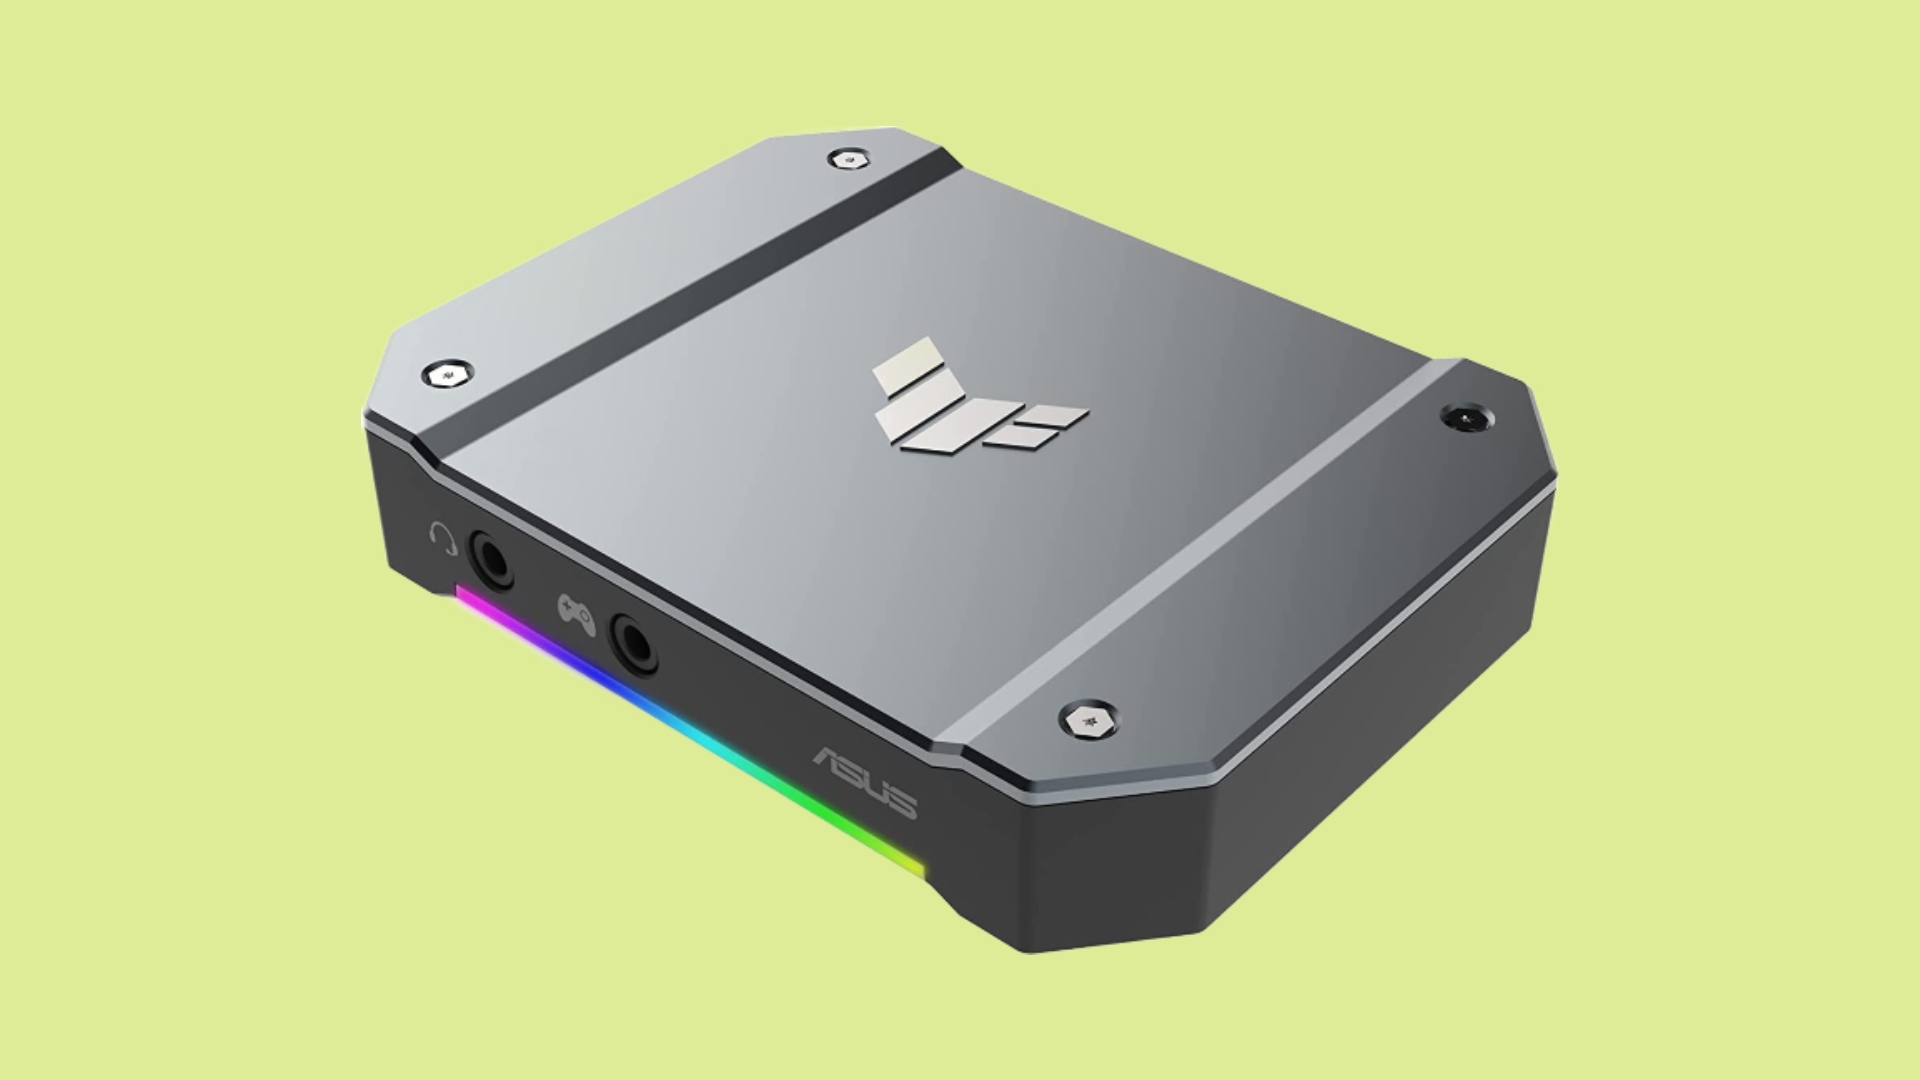
- External Capture Devices: If you’re looking for more advanced recording options such as capturing longer gameplay sessions or achieving higher video quality, external capture devices can be a viable solution. These devices, like Elgato Game Capture HD, connect to your Xbox One and serve as a bridge between your console and your computer, enabling you to record gameplay footage.
- Windows 10 Game Bar: Windows 10 users have access to the Game Bar, a built-in feature that allows you to capture screenshots, record gameplay, and even broadcast your gameplay to platforms like Xbox Live or Mixer.
Each of these options offers its own unique set of features and benefits. Depending on your specific recording needs and preferences, you can choose the method that best suits you. Now, let’s delve into each option in more detail to help you make an informed decision on how to record your Xbox One gameplay.
Option 1: Using the Built-in Game DVR Feature
One of the easiest ways to record your Xbox One gameplay is by utilizing the built-in Game DVR feature. This feature allows you to capture gameplay clips of up to five minutes in length without the need for any additional equipment.
To start recording with Game DVR, simply press the Xbox button on your controller to open the guide, navigate to the “Capture & Share” tab, and select the “Start Recording” option. Alternatively, you can use the voice command “Xbox, record that” if you have a Kinect or a compatible headset connected to your Xbox One.
By default, Game DVR records the last five minutes of your gameplay. However, you can adjust the recording time in the settings to capture shorter or longer clips based on your preferences. This is especially useful when you want to capture specific moments or highlights during your gaming sessions.
Once you’ve finished recording, you can access your captured clips by going to the “Capture & Share” tab in the guide. From there, you can view, trim, and share your recorded clips directly to platforms like Xbox Live, Twitter, or OneDrive.
It’s worth noting that Game DVR also allows you to take screenshots of your gameplay by pressing the Xbox button and the Y button simultaneously, or by using the voice command “Xbox, take a screenshot.” This feature is handy for capturing still images of memorable moments in your games.
While Game DVR is a convenient and accessible option for recording gameplay on Xbox One, it does have its limitations. The maximum recording time of five minutes may restrict capturing longer gameplay sessions, and the video quality might not be as high as what can be achieved with external capture devices. However, for quick and straightforward recording, Game DVR is a solid choice.
Now that you’re acquainted with the Game DVR feature, let’s move on to the next option for recording on Xbox One: streaming and capturing gameplay with Twitch.
Option 2: Streaming and Capturing Gameplay with Twitch
If you’re interested in not only recording but also streaming your gameplay live, Twitch is the perfect platform for you. With Xbox One’s seamless integration with Twitch, you can broadcast your gaming sessions to a global audience while also saving your broadcasts for later viewing.
To get started with Twitch streaming on Xbox One, you’ll first need to set up a Twitch account. Once you have an account, open the Twitch app on your Xbox One, sign in, and configure your stream settings, such as the title, category, and video quality.
To start streaming, simply launch the game you want to play, press the Xbox button, and navigate to the “Broadcast & Capture” tab. From there, select the “Broadcast” option and choose Twitch as your streaming platform. You can customize your stream by adding a microphone commentary, webcam feed, and even interact with your viewers through the chat.
While streaming on Twitch, your gameplay is automatically recorded and saved as a past broadcast on your Twitch channel. This means that even if you don’t have a capture card or external recording device, you can still have access to your past streams and download those videos for further editing or sharing.
Twitch also allows you to create clips during your live stream to capture specific moments that stand out. These clips can be shared directly on Twitch or downloaded for later use. Additionally, you can enable the option to automatically save your streams as videos on your Twitch profile, giving you the ability to revisit and edit them at any time.
With Twitch, you have the opportunity to interact with a vibrant gaming community, build an audience, and even monetize your content through subscriptions and donations. It’s a fantastic option for those who want to engage with viewers in real-time while sharing their gaming experiences.
However, it’s worth noting that streaming gameplay on Twitch requires a stable internet connection and may impact your gaming performance, especially if you have limited bandwidth. Additionally, if you’re looking for more advanced recording features or higher video quality, you might want to explore external capture devices, which we’ll discuss in the next section.
Now that you know how to leverage Twitch for streaming and capturing gameplay on Xbox One, let’s move on to the next option: utilizing external capture devices.
Option 3: Utilizing External Capture Devices
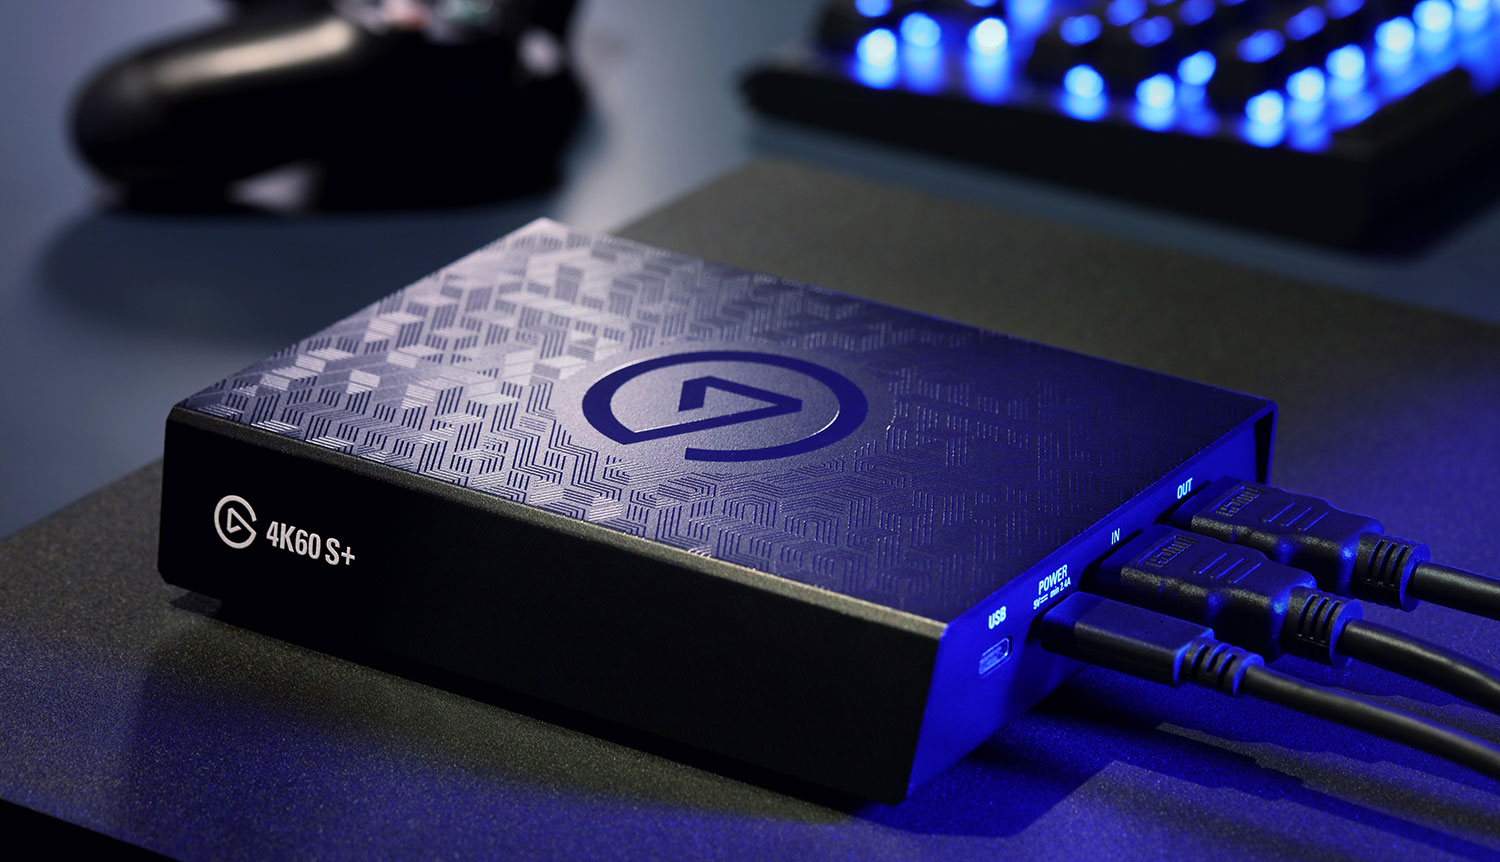
If you’re looking to take your Xbox One recording to the next level in terms of video quality and advanced features, utilizing external capture devices is the way to go. These devices, such as the Elgato Game Capture HD, connect your Xbox One to your computer, giving you more control over your recording and editing capabilities.
The first step in utilizing an external capture device is to connect it to your Xbox One and your computer or laptop. Most capture devices connect via HDMI, allowing you to pass the audio and video signals from your console to your computer for recording purposes.
Once your device is set up, you’ll be able to capture gameplay footage with higher quality settings and even record longer gameplay sessions. Many external capture devices offer features like live commentary, video editing, and the ability to stream to platforms like Twitch and YouTube.
One of the primary advantages of using an external capture device is the ability to record gameplay in formats other than the default Xbox One format. This allows for more flexibility when it comes to editing and sharing your recordings, as well as achieving higher video quality.
Additionally, external capture devices often come with their own software that provides more control over the recording process. This allows you to adjust settings such as video resolution, frame rate, and audio levels to capture your gameplay exactly as you desire.
It’s important to note that external capture devices may require more technical expertise and a higher investment compared to the previous options discussed. However, the added flexibility and capabilities they offer make them a preferred choice for professional content creators and gamers aiming for top-notch recording quality.
Now that you’re familiar with the option of utilizing external capture devices, let’s move on to the next method for recording gameplay on Xbox One: utilizing the Windows 10 Game Bar.
Option 4: Utilizing Windows 10 Game Bar
If you’re a Windows 10 user, you have access to a powerful built-in feature called the Game Bar. This feature allows you to capture gameplay, take screenshots, and even broadcast your gameplay to platforms like Xbox Live or Mixer directly from your PC.
To access the Game Bar, press the Windows key and G simultaneously while playing a game. This will open the Game Bar overlay, which provides various options for recording and capturing your gameplay.
With the Game Bar, you can choose to start recording with a simple click of the “Record” button. By default, the Game Bar will record your gameplay at a standard quality and frame rate. However, you can customize these settings by going to the Game DVR settings in the Xbox app on your Windows 10 PC.
The Game Bar also allows you to take screenshots of your gameplay by clicking the camera icon in the overlay. These screenshots are saved to your designated folder, making them easy to find and share.
If you’re interested in live streaming your gameplay, the Game Bar offers that functionality as well. By selecting the “Broadcast” option in the overlay, you can choose your preferred platform, such as Xbox Live or Mixer, and start streaming your gameplay with just a few clicks.
One of the advantages of utilizing the Game Bar is its tight integration with Windows 10. This means you can easily access your recorded gameplay and screenshots from the Xbox app on your PC, where you can edit and share them with your friends or upload them to social media platforms.
While the Game Bar is a convenient option for recording and capturing gameplay on Xbox One, it does have some limitations. The recording time is typically limited to shorter durations compared to external capture devices, and the video quality may not be on par with dedicated capture devices.
Despite these limitations, the Game Bar is a valuable tool for Windows 10 users who want to record and share their Xbox One gameplay without the need for additional hardware or software.
Now that we’ve explored all four options for recording on Xbox One, you have a comprehensive understanding of the available methods. With Game DVR, Twitch streaming, external capture devices, and the Windows 10 Game Bar at your disposal, you can choose the method that best suits your recording needs and begin capturing and sharing your gaming adventures with the world.
Conclusion
Recording gameplay on Xbox One without a capture card is not only possible but also offers a range of options to suit your recording needs. Whether you prefer the convenience of the built-in Game DVR feature, the interactive experience of Twitch streaming, the advanced capabilities of external capture devices, or the seamless integration of the Windows 10 Game Bar, there’s a method for everyone.
The built-in Game DVR feature is a straightforward option that allows you to record gameplay clips directly on your Xbox One. With the ability to adjust the recording time and capture memorable moments, Game DVR offers a simple and accessible way to record and share your gaming experiences.
If you’re interested in live streaming and want to engage with viewers in real-time, Twitch is an excellent platform to consider. With its integration into Xbox One, you can easily stream your gameplay while simultaneously saving your broadcasts for later viewing or downloading them for editing purposes.
For those who seek higher video quality and advanced recording features, external capture devices like the Elgato Game Capture HD provide more control over your recording process. These devices offer the ability to record longer gameplay sessions, adjust video settings, and even stream to various platforms.
If you’re a Windows 10 user, the Windows 10 Game Bar is a powerful tool that allows you to record gameplay, take screenshots, and even broadcast your gameplay directly from your PC. The tight integration with the operating system makes it a convenient option for recording and sharing your Xbox One gameplay.
Regardless of which method you choose, it’s important to consider your recording needs, technical expertise, and budget. Each option offers its own set of advantages and considerations. Whether you’re an aspiring content creator looking to build an audience or simply want to capture and share memorable gaming moments, there’s a recording method that will suit your goals.
Now that you have a comprehensive understanding of the different options available, it’s time to grab your controller, set up your recording preferences, and start capturing those epic gaming moments on your Xbox One.


