Introduction
Tablets have become an integral part of our lives, providing portability and convenience for various tasks. While most tablets come preloaded with operating systems like iOS or Android, there is an increasingly popular trend of putting Linux on tablets. The flexibility and versatility of Linux make it an attractive option for those who want to customize their tablet experience and have more control over their device.
In this article, we will guide you through the process of putting Linux on a tablet. Whether you have an old tablet lying around or want to give your current tablet a new lease on life, installing Linux can open up a world of possibilities. From running your favorite Linux applications to accessing a wide range of open-source software, a Linux tablet can empower you to do more with your device.
Before we dive into the steps, it’s important to note that putting Linux on a tablet requires some technical knowledge and may void your warranty. Make sure to back up your data and proceed at your own risk. With that in mind, let’s explore the steps involved in putting Linux on a tablet.
Step 1: Check Compatibility
Before you begin the process of putting Linux on your tablet, it is crucial to check the compatibility of your device. Not all tablets are compatible with Linux, as hardware components and specifications may vary. Here are the key factors to consider:
- Processor: Linux distributions usually work best with x86 and ARM processors. Check if your tablet has a compatible processor before proceeding.
- Storage: Ensure that your tablet has enough free storage space to accommodate the Linux operating system and any additional software you may want to install. Ideally, you should have at least 16GB of storage available.
- RAM: Linux requires a certain amount of RAM to function properly. Make sure your tablet meets the minimum RAM requirement specified by the Linux distribution you plan to install.
- Graphics: Some Linux distributions require specific graphics capabilities. Verify if your tablet’s graphics card is supported by the Linux distribution you intend to use.
- Wireless and Networking: Check if your tablet’s wireless and networking capabilities are supported by Linux. This is especially important if you rely on Wi-Fi or Bluetooth for connectivity.
Reading online forums or consulting with Linux experts can provide valuable insights into the compatibility of your tablet model with various Linux distributions. Once you have confirmed that your tablet is compatible, it’s time to move on to the next step: choosing a Linux distribution.
Step 2: Choose a Linux Distribution
With the compatibility of your tablet confirmed, the next step is to choose a Linux distribution that best suits your needs. Linux distributions, also known as distros, come in various flavors, each with its own set of features, desktop environments, and software repositories. Here are a few popular options to consider:
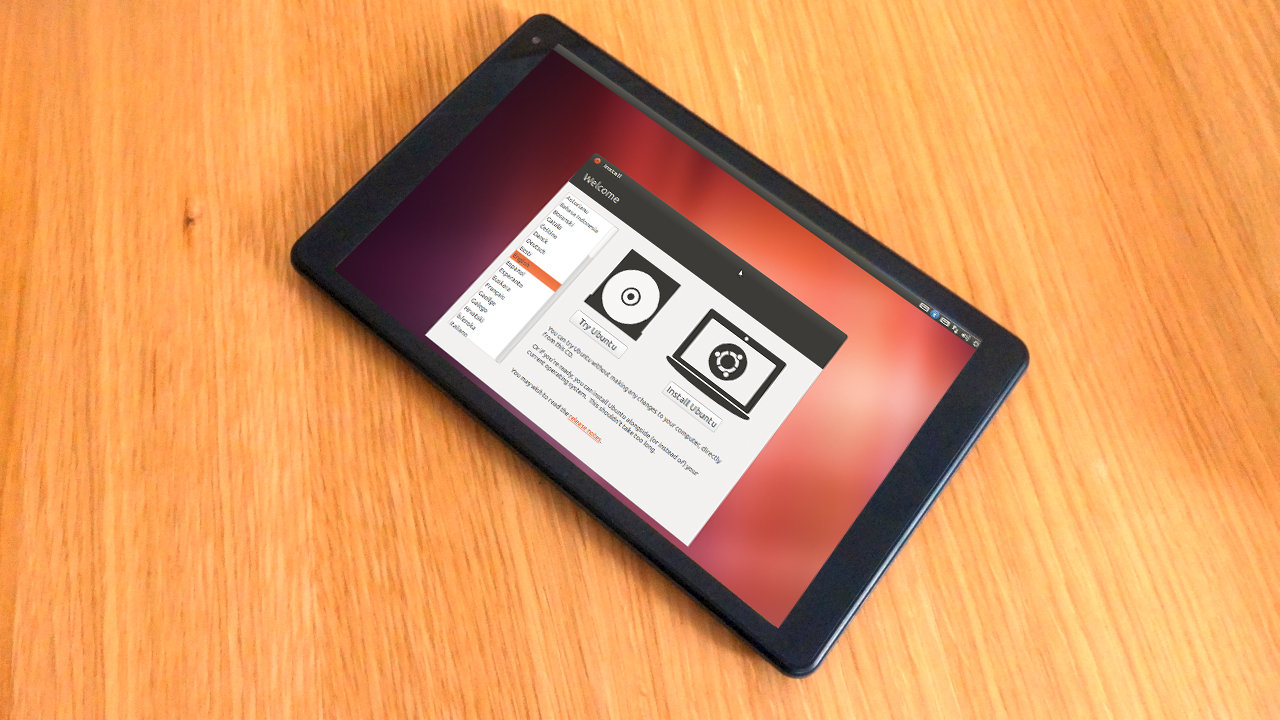
- Ubuntu: Ubuntu is one of the most popular Linux distributions, known for its user-friendly interface and extensive software library. It’s a great choice for beginners and those looking for a stable and well-supported distro.
- Fedora: Fedora is a community-driven distribution that focuses on providing the latest open-source software. It’s often favored by developers and enthusiasts due to its cutting-edge features and emphasis on security.
- Linux Mint: Based on Ubuntu, Linux Mint offers a polished and intuitive user experience. It includes several desktop environments, such as Cinnamon and Mate, allowing you to customize the look and feel of your tablet.
- Debian: Debian is known for its stability and reliability. It’s a versatile distribution that offers a wide range of software packages and supports multiple architectures, making it suitable for both desktop and server use.
- Arch Linux: Arch Linux appeals to users who prefer a hands-on approach and enjoy building their system from the ground up. It provides a lightweight and highly customizable environment.
Consider your familiarity with Linux, your desired level of customization, and the specific requirements of your tablet when choosing a distribution. It’s also worth exploring the available desktop environments, such as GNOME, KDE, or XFCE, as these can significantly impact the user experience on a tablet.
Once you have selected a Linux distribution, proceed to the next step to prepare your tablet for the installation process.
Step 3: Prepare the Tablet
Before you can install Linux on your tablet, it’s important to prepare the device for the installation process. Here are the essential steps to follow:
- Backup Your Data: Take the time to back up any important data or files stored on your tablet. The installation process may involve partitioning the storage or formatting the device, which can result in data loss if not done correctly.
- Charge your Tablet: Ensure that your tablet has a sufficient battery charge or connect it to a power source. The installation process can take time, and you don’t want your tablet to run out of battery in the middle of the installation.
- Unlock Bootloader: Check if your tablet requires an unlocked bootloader to install Linux. Unlocking the bootloader allows you to install custom operating systems and is necessary for many devices. Refer to the manufacturer’s instructions or online resources to learn how to unlock the bootloader for your specific tablet model.
- Enable Developer Options: On most tablets, you need to enable the developer options to proceed with the installation. Go to the Settings menu, locate the About tablet section, and tap on the build number 7 times to enable developer options. Then, navigate to Developer options and enable USB debugging.
- Install ADB and Fastboot: The Android Debug Bridge (ADB) and Fastboot are essential tools for installing Linux on your tablet. Install the ADB and Fastboot tools on your computer by downloading the Android SDK platform tools or using a third-party package like Minimal ADB and Fastboot. These tools allow you to communicate with your tablet and execute commands during the installation process.
Once you have completed these preparation steps, your tablet is ready for the Linux installation process. In the next step, we will guide you through the actual installation of Linux on your tablet.
Step 4: Install Linux on the Tablet
Now that your tablet is prepared, it’s time to install Linux. The process may slightly vary depending on the Linux distribution you chose, but the general steps are as follows:
- Download the Linux Distribution: Visit the official website of the Linux distribution you selected and download the appropriate image for your tablet. Make sure to choose the version compatible with your tablet’s architecture, such as ARM or x86.
- Connect your Tablet to the Computer: Use a USB cable to connect your tablet to your computer. Ensure that USB debugging is enabled on your tablet.
- Boot your Tablet into Fastboot Mode: Turn off your tablet and then press and hold the specific key combination to enter Fastboot Mode. The key combination may vary depending on your tablet model.
- Open a Terminal or Command Prompt: Open a terminal window on your computer and navigate to the location where you downloaded the Linux distribution image.
- Flash the Linux Image: Use the fastboot command to flash the Linux image onto your tablet. The command will vary depending on your tablet model and the specific Linux distribution. Refer to the documentation or online resources for the correct command syntax.
- Reboot your Tablet: After the flashing process is complete, reboot your tablet and enter the boot menu. Select the option to boot from the newly installed Linux system.
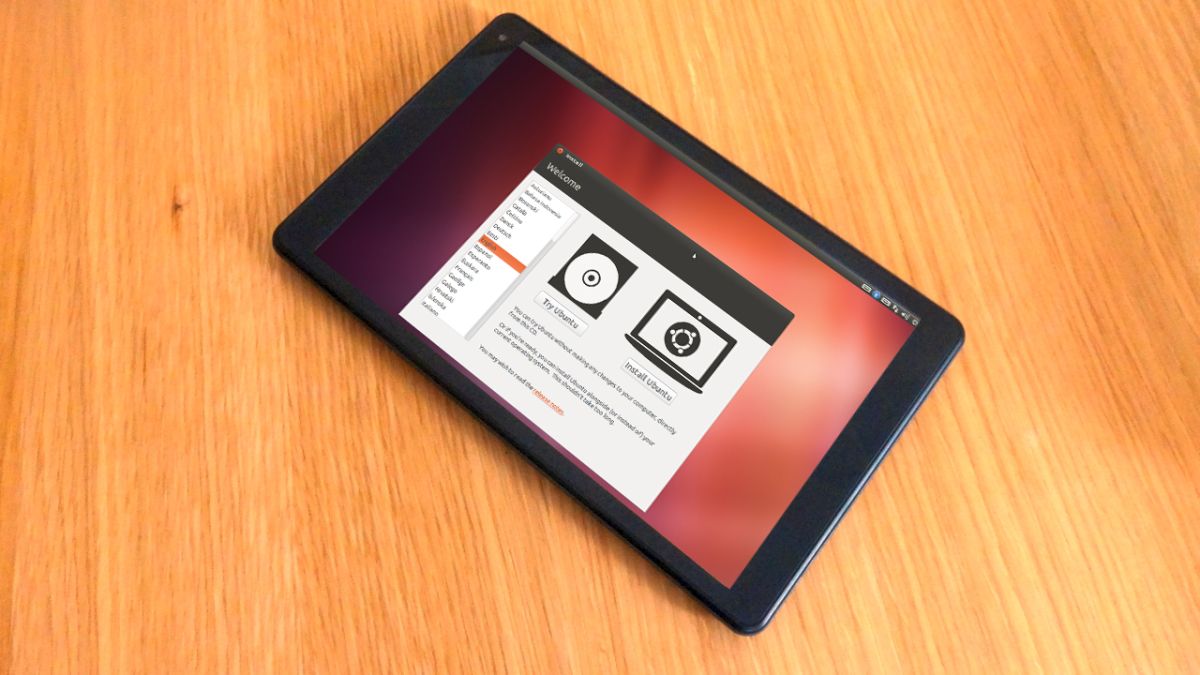
- Follow the Installation Wizard: The Linux distribution will guide you through the initial setup process. Follow the on-screen instructions to configure language, time zone, user account, and other settings.
- Complete the Installation: Once the installation is finished, your tablet will boot into the Linux desktop environment. Take some time to explore the system, customize settings, and familiarize yourself with the Linux interface.
Congratulations! You have successfully installed Linux on your tablet. In the next step, we will cover the configuration of Linux on your tablet to ensure optimal performance and functionality.
Step 5: Configure Linux on the Tablet
After installing Linux on your tablet, it’s important to configure the system to suit your preferences and optimize its performance. Here are some key steps to consider:
- Update and Upgrade: Begin by updating the system and installing any available updates. This ensures that your tablet is running the latest software versions and receives important security patches.
- Customize the Desktop Environment: Depending on the Linux distribution and desktop environment you chose, you can customize the look and feel of your tablet’s desktop. Adjust the wallpaper, theme, icons, and other visual elements to personalize your experience.
- Configure Power Settings: Optimize the power settings to conserve battery life and adjust the behavior of your tablet when it is idle or running on battery power. This can be done through the power management settings in your desktop environment.
- Set Up User Accounts: Create user accounts for yourself and any other users who will be using the tablet. Assign appropriate privileges and passwords to ensure security and privacy.
- Install Essential Software: Identify the essential software applications that you need on your tablet and install them. This may include web browsers, office suites, media players, image editors, and other tools that align with your needs and preferences.
- Configure Network Connectivity: Set up Wi-Fi, Bluetooth, and other network connections on your tablet. Ensure that your tablet can connect to the internet and access any necessary network resources.
- Personalize System Settings: Customize system settings such as date and time, language and region, accessibility options, and keyboard shortcuts. Adjust these settings to enhance your productivity and ease of use.
- Backup Your Linux Installation: Take regular backups of your Linux installation to prevent any potential data loss. Use tools like rsync or cloud-based backup services to safeguard your important files and settings.
By configuring Linux on your tablet according to your preferences, you can optimize its performance, enhance your productivity, and enjoy a more tailored user experience. In the next step, we will cover the installation of necessary drivers to ensure hardware compatibility.
Step 6: Install Necessary Drivers
After configuring Linux on your tablet, the next step is to install necessary drivers to ensure proper hardware compatibility and optimal performance. While many Linux distributions come with generic drivers, installing specific drivers for your tablet can enhance functionality and improve the user experience. Here’s how to install necessary drivers:
- Identify Your Tablet’s Hardware: Determine the specific hardware components of your tablet, such as the graphics card, touch screen, sound card, and wireless adapter. This information can usually be found in the tablet’s specifications or by searching for your tablet model online.
- Search for Linux-compatible Drivers: Search online for Linux-compatible drivers for each of the hardware components you identified. Check the manufacturer’s website, forums, and community resources for drivers and installation instructions.
- Add Third-party Repositories: Some drivers may not be available in the official repositories of your Linux distribution. In such cases, you may need to add third-party repositories that provide the necessary drivers. Make sure to research the reputation and reliability of the repositories before adding them to your software sources.
- Install Drivers: Use the package manager of your Linux distribution to install the necessary drivers. Use the specific names of the packages you found during your search for Linux-compatible drivers. Depending on the drivers, you may need to manually download and install them using the provided installation instructions.
- Restart the System: Restart your tablet after installing the necessary drivers. This allows the changes to take effect and ensures that the drivers are fully functional.
- Test Hardware Functionality: After installing the drivers, test the functionality of each hardware component. Check if the graphics display properly, the touch screen works accurately, the sound plays correctly, and the wireless connectivity functions as expected.
- Resolve Driver Issues: In case you encounter any driver-related issues, such as malfunctioning hardware or compatibility problems, refer to the documentation or online resources specific to the drivers you installed. Troubleshooting guides and community support can assist you in resolving driver-related issues.
By installing the necessary drivers, you ensure that your tablet’s hardware is fully utilized and that you enjoy a smooth and seamless user experience. In the next step, we will guide you on how to customize the desktop environment of your Linux tablet.
Step 7: Customize Desktop Environment
Customizing the desktop environment of your Linux tablet allows you to personalize the look and feel of your device, making it more intuitive and tailored to your preferences. Here are some ways to customize the desktop environment:
- Choose a Theme: Select a theme that suits your style and enhances the visual appeal of your desktop environment. Linux distributions often provide various pre-installed themes, or you can download additional themes from online repositories.
- Configure Desktop Wallpaper: Set a desktop wallpaper that reflects your personality or creates a calming ambiance. You can choose from pre-installed wallpapers or download custom wallpapers from websites or image repositories.
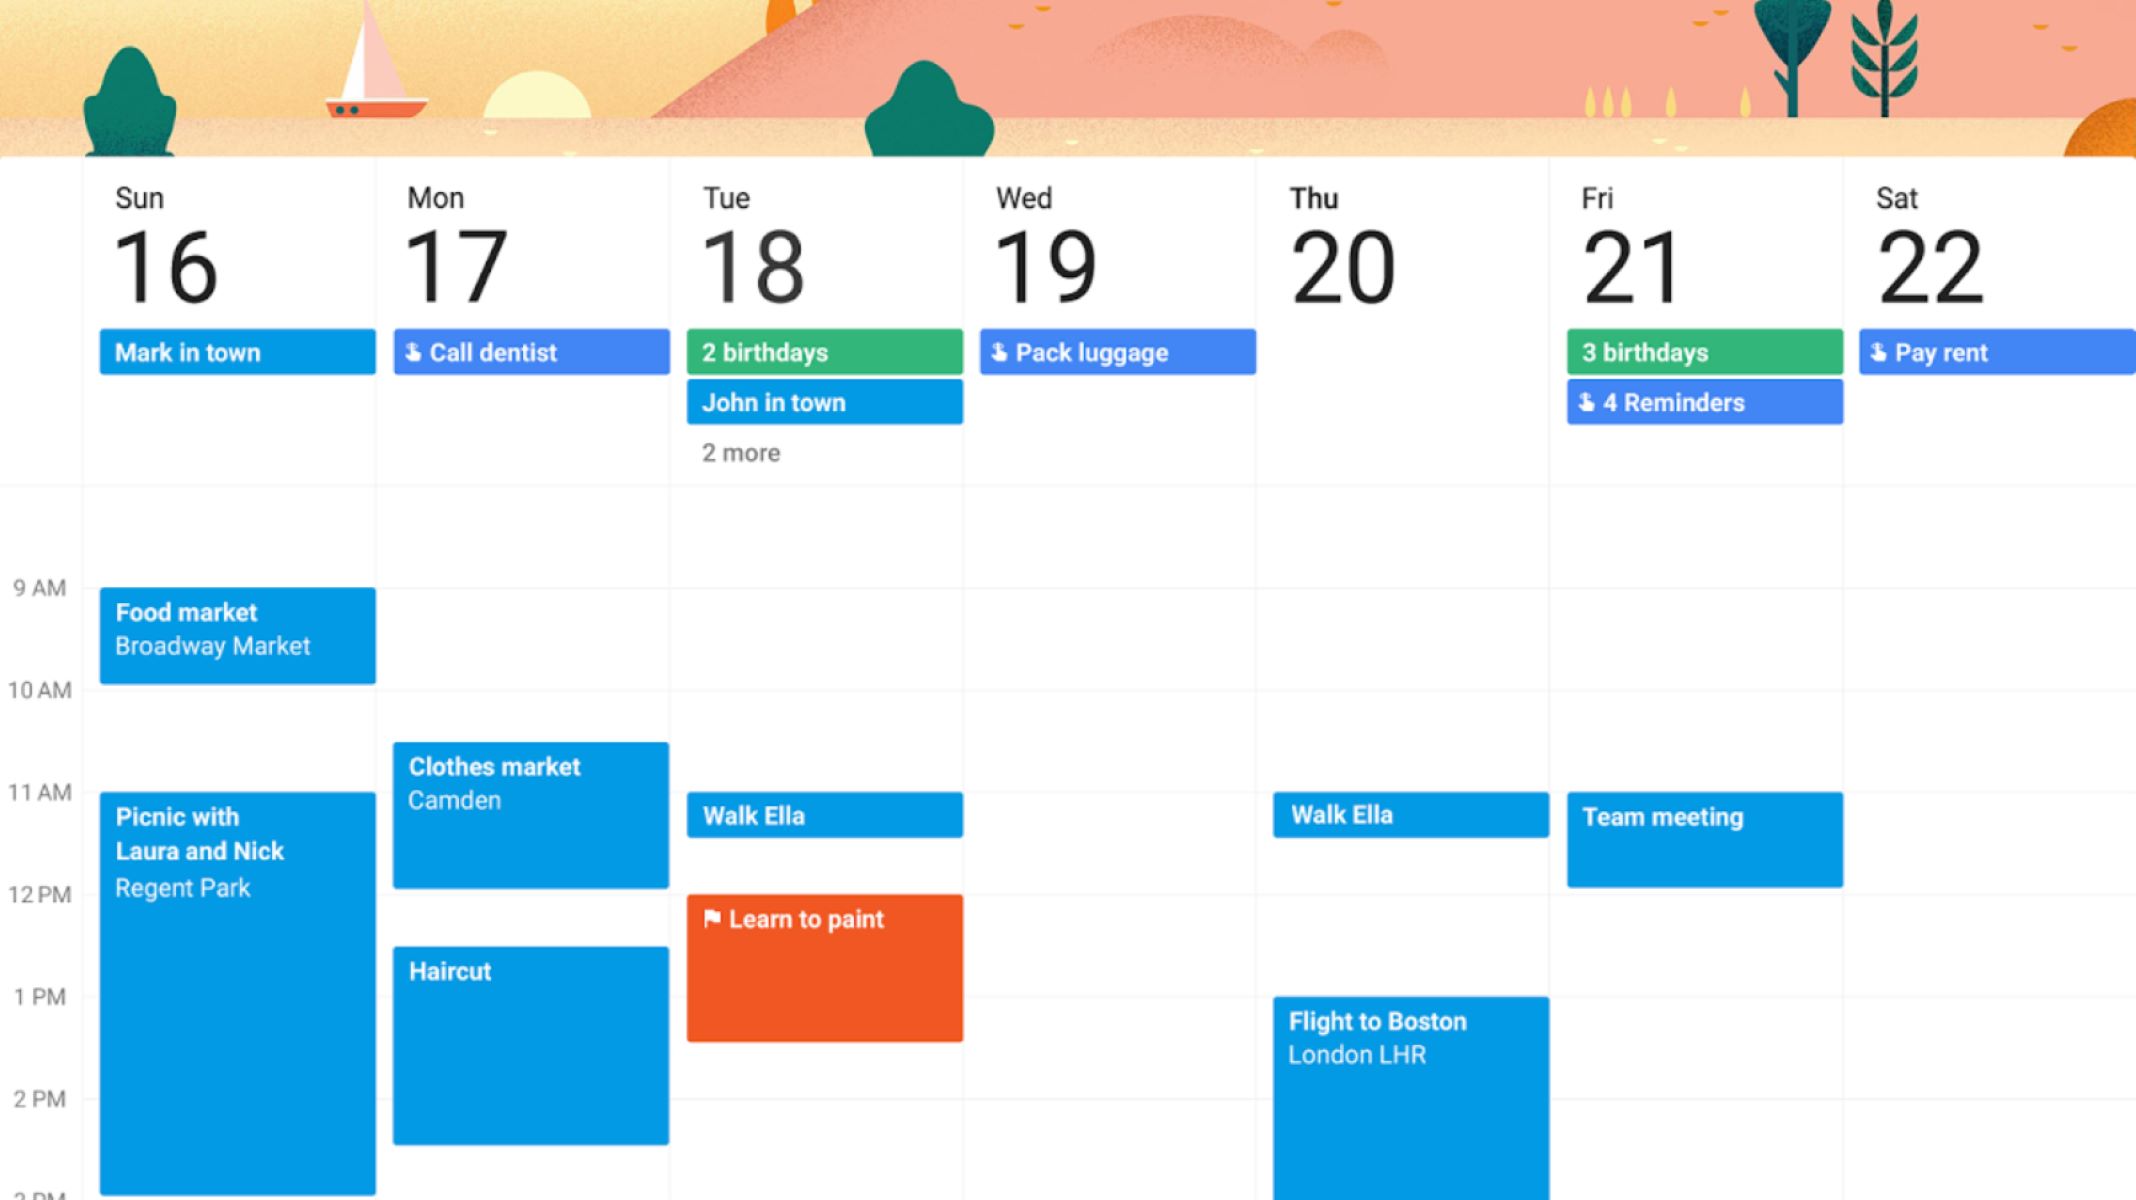
- Create Shortcuts and Widgets: Organize your desktop by creating shortcuts to frequently used applications or files. You can also add helpful widgets, such as weather information, system monitors, or calendar events, to your desktop.
- Customize Desktop Icons: Arrange and customize the appearance of your desktop icons to improve accessibility and aesthetics. Resize or change the icon themes to match your personal preferences.
- Modify Taskbar and Panel: Customize the taskbar and panel settings to optimize multitasking and improve workflow. Adjust the position, size, and behavior of the taskbar, add app launchers, or include a system tray for quick access to important system utilities.
- Configure Keyboard Shortcuts: Take advantage of keyboard shortcuts to enhance productivity and streamline your workflow. Assign custom keystrokes to launch applications or perform specific actions for a more efficient computing experience.
- Enable Desktop Effects: Many desktop environments offer eye-catching visual effects such as window animations, translucency, or workspace switching effects. Explore the desktop settings to enable or customize these effects to add a touch of elegance to your Linux tablet.
- Install Additional Software: Customize your tablet’s desktop environment by installing additional software that extends its functionality. This can include productivity tools, media players, or specialized applications that cater to your specific needs and interests.
Remember, customization is a personal preference, and you can experiment with various options to find what works best for you. Find a balance between a visually pleasing desktop environment and maintaining a functional and productive workspace.
Once you have customized your desktop environment, it’s time to explore the wide range of applications available for Linux tablets. This will be covered in the next step.
Step 8: Explore Linux Tablet Applications
Now that you have set up and customized your Linux tablet, it’s time to explore the wide range of applications available for Linux. From productivity tools to entertainment apps, Linux offers a plethora of software options that can enhance your tablet experience. Here are some key categories of applications to explore:
- Productivity Applications: Linux provides a variety of productivity applications, including office suites like LibreOffice or OnlyOffice for document editing, spreadsheets, and presentations. Task managers, note-taking apps, and project management tools are also available to keep you organized and efficient.
- Web Browsers: Browse the internet using popular Linux web browsers such as Mozilla Firefox, Google Chrome, or Chromium. These browsers provide a seamless browsing experience and support a wide range of extensions and web applications.
- Media Players: Enjoy your favorite music and videos using native Linux media players like VLC, Rhythmbox, or Banshee. These applications support various audio and video formats and offer features like playlist creation and media library management.
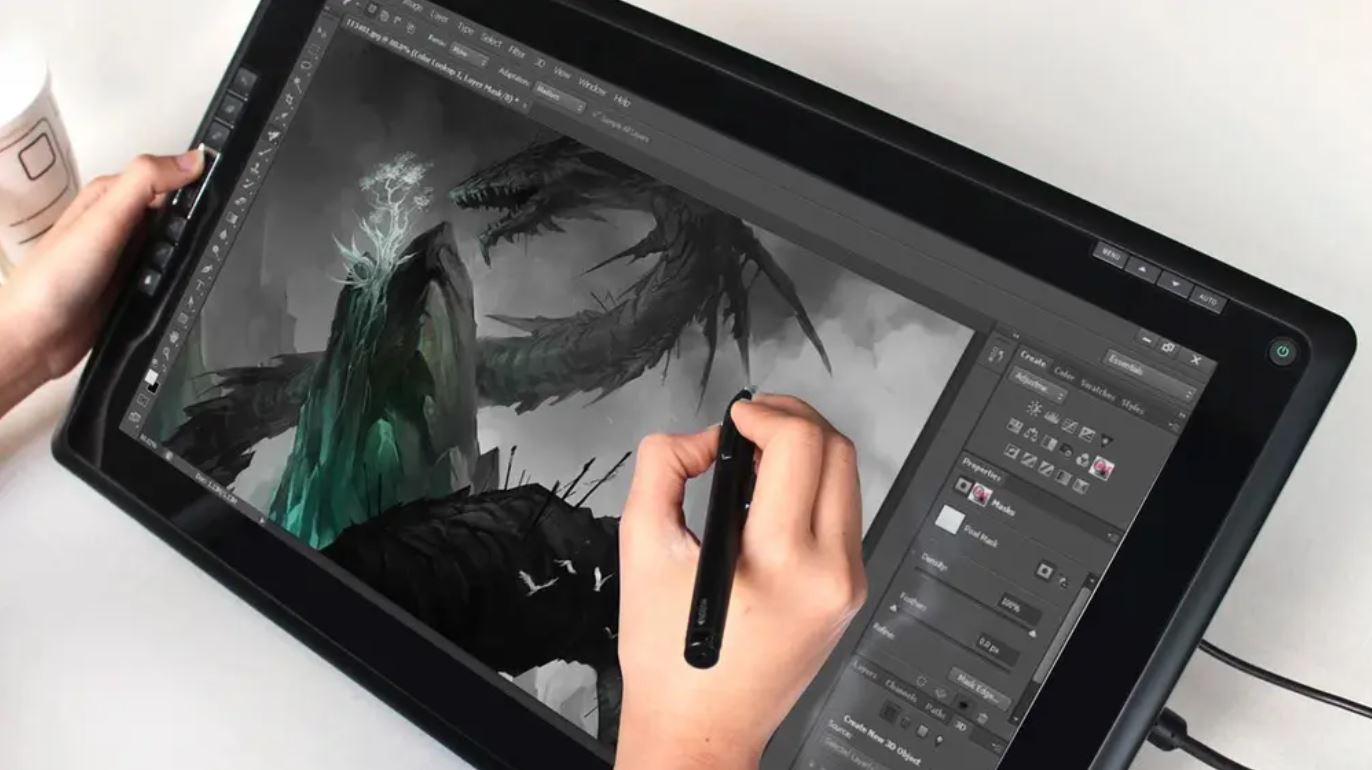
- Graphics and Image Editing: Linux offers powerful graphics and image editing software like GIMP and Inkscape. These applications are ideal for editing photos, creating graphics, or designing digital artwork.
- Security and Privacy: Install security and privacy applications like ClamAV or Wireshark to protect your tablet from malware or monitor network activity. VPN clients, password managers, and encryption tools are also available to enhance your online security and privacy.
- Entertainment and Gaming: Linux provides a wide variety of entertainment options, including music streaming apps like Spotify, media centers like Kodi, and gaming platforms like Steam. Explore the rich selection of Linux games and entertainment applications to keep yourself entertained.
- Education and Learning: Discover educational tools and learning platforms designed for Linux tablets. These applications cover a wide range of subjects, including language learning, mathematics, coding, and science, allowing you to expand your knowledge and skills.
Explore the Linux software repositories of your chosen distribution to discover additional applications specific to your tablet’s needs and your personal interests. Keep your software updated regularly to benefit from the latest features and security fixes.
As you explore the world of Linux tablet applications, you’ll find a vast array of possibilities to enhance your tablet experience. Don’t hesitate to try out different applications and discover new tools that cater to your unique needs and interests.
Congratulations on successfully exploring the world of Linux on your tablet. With a customized desktop environment and a collection of useful applications, you are now ready to make the most of your Linux tablet experience!
Conclusion
Putting Linux on a tablet opens up a world of possibilities, allowing you to customize your device, access a wide range of applications, and take control of your tablet experience. Throughout this guide, we have explored the step-by-step process of installing Linux on a tablet, from checking compatibility to customizing the desktop environment and exploring Linux tablet applications.
By checking the compatibility of your tablet, choosing a Linux distribution, and preparing your tablet for installation, you lay the foundation for a successful Linux tablet experience. Installing necessary drivers ensures optimal hardware compatibility and performance. Customizing the desktop environment allows you to personalize and tailor the look and feel of your tablet to suit your preferences. Exploring the vast selection of Linux tablet applications enables you to expand your tablet’s capabilities for productivity, entertainment, and more.
It is important to note that the process of putting Linux on a tablet requires technical knowledge and may void your warranty. Proceed at your own risk and ensure you back up your data before proceeding. Additionally, consult online resources, forums, and documentation specific to your tablet and Linux distribution for further guidance and troubleshooting.
With Linux on your tablet, you have the opportunity to unlock its full potential and tailor it to your needs. Whether you repurpose an old tablet or bring new life to your current one, Linux offers a flexible and versatile platform that empowers you to do more with your device. Embrace the power of Linux on your tablet and enjoy the freedom and customization it brings!


