Introduction
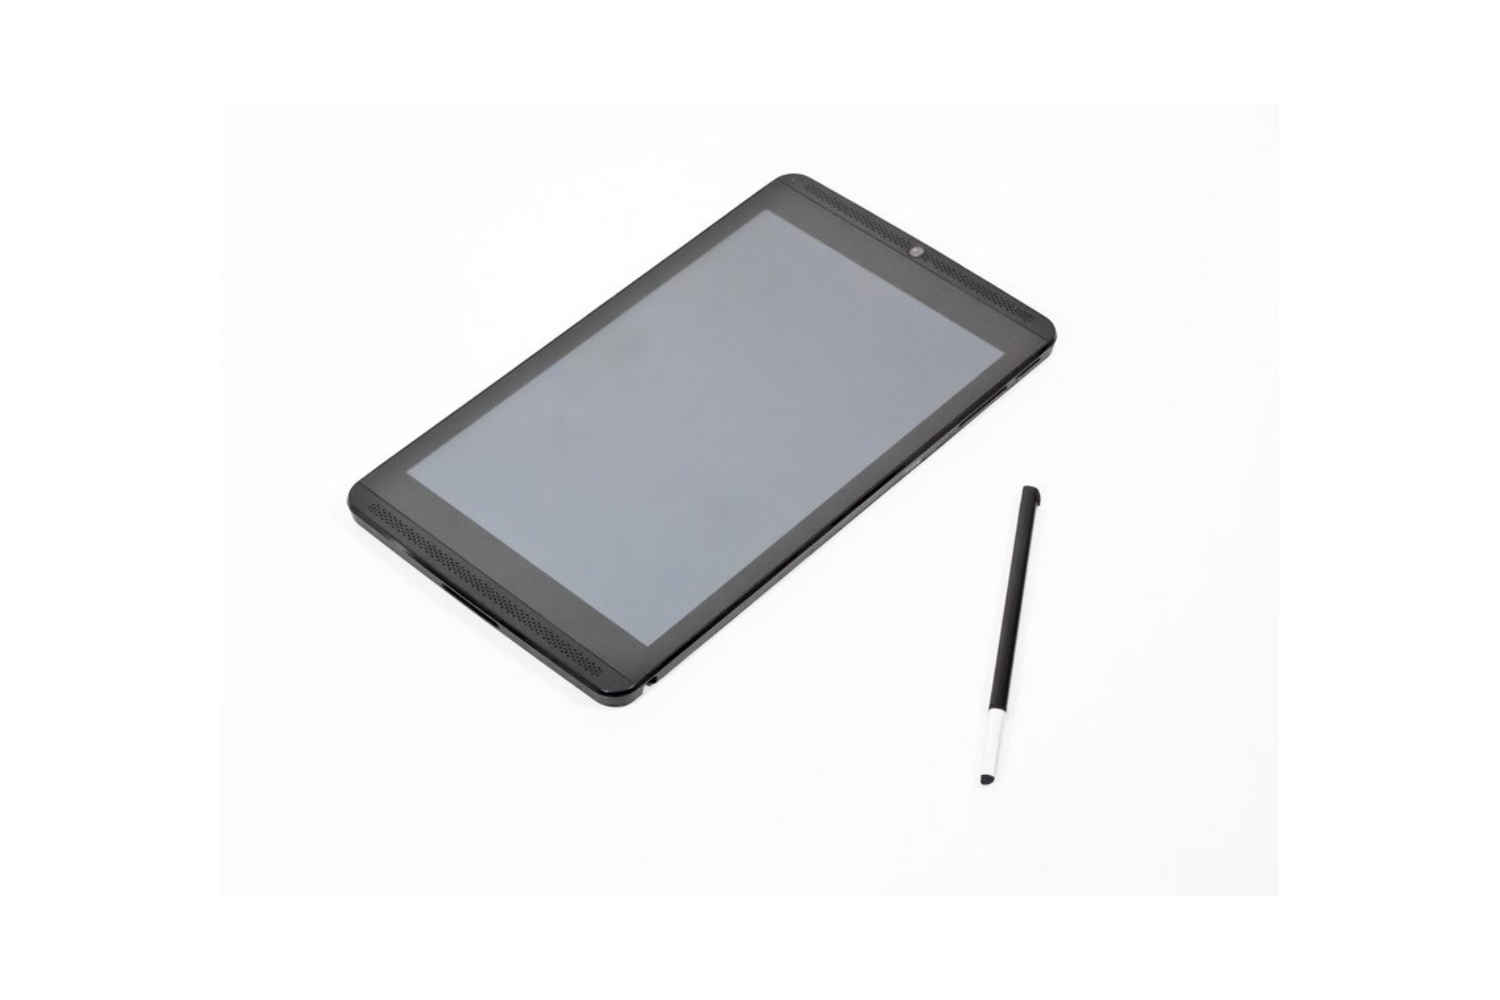
Welcome to the world of tablets! These portable devices have revolutionized the way we browse the internet, stay connected, and consume media on the go. Tablets typically come with a pre-installed operating system, but did you know that you can install Linux on your tablet? Whether you want to experiment with a different operating system or harness the power and flexibility of Linux, this guide will show you how to install Linux on your tablet.
Linux is an open-source operating system known for its stability, security, and versatility. It offers a wide range of distributions, each with its own features and user interface. By installing Linux on your tablet, you can enjoy a customized computing experience and access a vast array of open-source software.
Before you dive into the installation process, it’s important to note that installing Linux on a tablet may void your warranty and could potentially lead to data loss if not done carefully. It’s crucial to research your tablet’s compatibility, back up your data, and follow the steps outlined in this guide.
In this guide, we will walk you through the step-by-step process of installing Linux on your tablet. We will cover topics such as researching tablet compatibility, checking system requirements, choosing a Linux distribution, creating a bootable USB drive, and configuring your Linux tablet. By the end of this guide, you will have a functional Linux tablet that you can customize to suit your needs.
Now, without further ado, let’s begin our journey into the world of Linux tablets. Follow each step carefully, and soon you’ll be enjoying the freedom and power that Linux has to offer on your tablet!
Step 1: Researching tablet compatibility
Before diving into the installation process, it’s crucial to research whether your tablet is compatible with Linux. While some tablets have excellent compatibility, others may not have the necessary hardware or drivers to support Linux. Here are a few steps to help you determine if your tablet is compatible:
- Check the manufacturer’s website: Visit the manufacturer’s website or support page to see if they provide any information regarding Linux compatibility. Some manufacturers offer official support for Linux, while others may have community forums where users share their experiences with installing Linux on their tablets.
- Search online forums and communities: Look for forums or communities that discuss Linux installations on tablets. Users often share their success stories or troubleshoot issues they encounter during the installation process. These forums can give you valuable insights into which tablets are compatible with Linux and any potential challenges you may face.
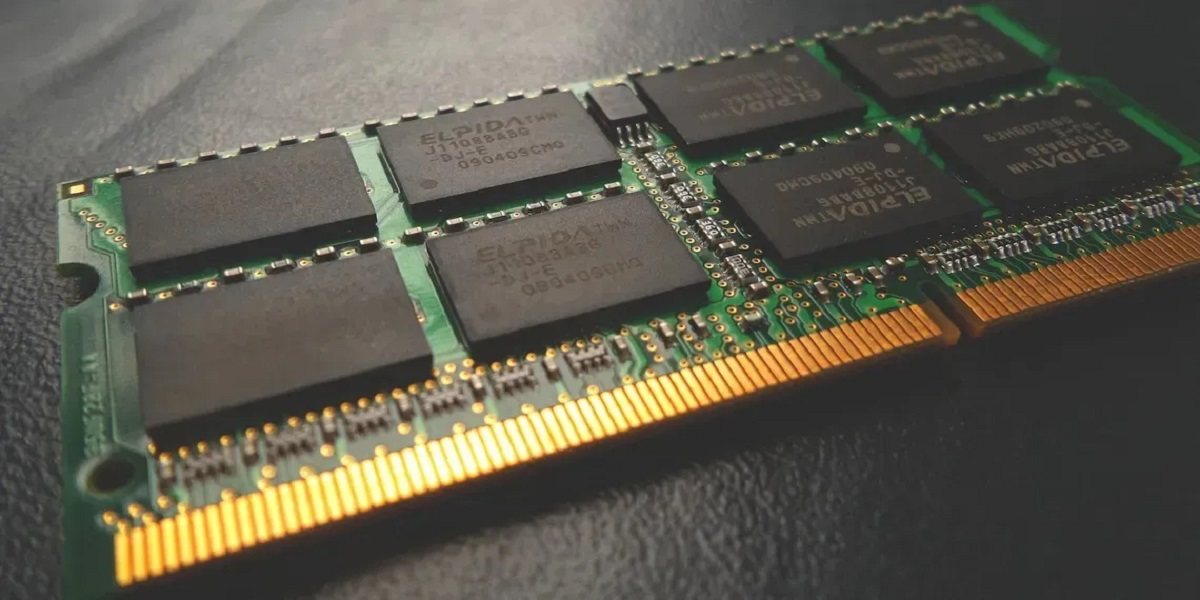
- Examine hardware specifications: Linux requires specific hardware components to function optimally. Check your tablet’s hardware specifications, paying attention to the processor, RAM, storage, and graphics capabilities. Compare these specifications to the recommended requirements of the Linux distribution you plan to install. If your tablet’s specifications meet or exceed the requirements, it is more likely to be compatible.
- Research Linux distributions: Different Linux distributions may have varying levels of compatibility with different tablets. Some distributions are specifically designed for mobile devices and have better support for touchscreens and other tablet-specific features. Research and choose a Linux distribution that is known to work well with tablets similar to yours.
By thoroughly researching tablet compatibility, you can determine if your tablet is compatible with Linux and select the best Linux distribution for your device. Remember, compatibility can vary, so it’s essential to gather as much information as possible to ensure a smooth installation process. Once you’ve confirmed compatibility, it’s time to move on to the next step: backing up your tablet.
Step 2: Backing up your tablet
Before proceeding with any installation or modification, it’s crucial to back up your tablet’s data. This step ensures that you have a copy of all your important files, settings, and applications in case anything goes wrong during the installation process. Here are the essential steps to back up your tablet:
- Connect to a computer: Use a USB cable to connect your tablet to a computer. Make sure your computer recognizes the tablet and establishes a stable connection.
- Select files and folders: Navigate through your tablet’s storage and select the files and folders that you want to back up. This includes photos, videos, documents, music, and any other personal files that you want to preserve.
- Transfer data to the computer: Copy the selected files and folders from your tablet to a safe location on your computer. This can be a designated folder or an external storage device such as a USB drive or an external hard drive.
- Export application data: Depending on the apps installed on your tablet, you might have the option to export application data. Check the settings within individual apps to see if you can export and save any relevant data or settings.
- Note down settings and preferences: Take note of any customized settings, preferences, or configurations on your tablet. This includes Wi-Fi network passwords, email account settings, app preferences, and any other personalized configurations that you would like to restore after the installation.
By diligently backing up your tablet’s data, you can safeguard yourself against the risk of data loss and ensure that you have a backup of all your important files. In case anything goes wrong during the Linux installation process, you can easily restore your tablet to its previous state using the backup you created.
With your tablet’s data securely backed up, you can proceed with confidence to the next step: checking tablet system requirements. This step will help you ensure that your tablet meets the necessary criteria for installing Linux.
Step 3: Checking tablet system requirements
Before proceeding with the installation of Linux on your tablet, it’s crucial to ensure that your tablet meets the system requirements specified by the Linux distribution you plan to install. Each Linux distribution has its own set of minimum requirements to ensure optimal performance. Here’s how you can check if your tablet meets the necessary system requirements:
- Visit the distribution’s website: Go to the official website of the Linux distribution you have chosen for your tablet installation. Look for the system requirements section, usually found in the download or installation guide.
- Check CPU and RAM requirements: Take note of the minimum and recommended CPU (Central Processing Unit) requirements specified by the distribution. Check if your tablet’s processor meets or exceeds the minimum requirements. Similarly, compare the RAM (Random Access Memory) requirements to the available RAM on your tablet.
- Assess storage space: Linux distributions generally require a certain amount of free storage space for installation and system functionality. Check if your tablet has enough free space to accommodate the Linux distribution without compromising other important files or applications.
- Ensure hardware compatibility: Some Linux distributions may require specific hardware components, such as graphics cards or touchscreens, to function properly. Verify that your tablet’s hardware components are compatible with the distribution you plan to install. Refer to the distribution’s website for specific hardware compatibility information.
- Consider power management: Tablets have limited power capacity compared to desktop computers or laptops. Check if the chosen Linux distribution offers power management features that are compatible with your tablet. Efficient power management can help prolong your tablet’s battery life.
Checking the system requirements of your tablet before installing Linux is essential to avoid potential compatibility issues or performance limitations. Ensuring that your tablet meets the specified system requirements will help create a smoother installation and optimal functioning experience with Linux.
Once you’ve confirmed that your tablet meets the necessary system requirements, you can proceed to the next step: choosing a Linux distribution that suits your needs. This step will allow you to select the distribution that aligns with your preferences and requirements.
Step 4: Choosing a Linux distribution
With a wide range of Linux distributions available, choosing the right one for your tablet can seem overwhelming. Each distribution has its own unique features, user interface, and software compatibility. To help you make an informed decision, consider the following factors when selecting a Linux distribution for your tablet:
- Tablet-specific distributions: Some Linux distributions are specifically designed for tablets and offer touch-friendly interfaces and optimized performance for mobile devices. Consider distributions like Ubuntu Touch, Plasma Mobile, or postmarketOS, which are tailored for tablets.
- Hardware compatibility: Check if the Linux distribution you are considering has good compatibility with your tablet’s hardware components. Look for reliable documentation or user reviews that mention successful installations on tablets with similar specifications.
- User interface: Linux distributions offer various desktop environments and user interfaces. Research and try out different distributions to find a user interface that suits your preferences and tablet usage. Options like GNOME, KDE Plasma, or Xfce provide different layouts and functionality.
- Software availability: Consider the availability of software and applications in the distribution’s software repositories. Ensure that the Linux distribution you choose has the software and applications you need for your tablet. Look for distributions with a wide range of supported software or the ability to install additional packages easily.
- Developer and community support: Evaluate the level of developer support and community involvement for the distribution you are interested in. Active developer teams and thriving user communities can provide ongoing updates, bug fixes, and support to enhance your tablet experience.
By considering these factors, you can narrow down your options and choose a Linux distribution that suits your tablet and your specific needs. Remember, different distributions have varying levels of complexity and customization options, so choose one that aligns with your level of expertise and desired level of control.
Once you have chosen a Linux distribution, you are one step closer to installing it on your tablet. The next step is to create a bootable USB drive, which will allow you to boot your tablet from the USB drive and begin the installation process.
Step 5: Creating a bootable USB drive
Creating a bootable USB drive is an essential step in installing Linux on your tablet. It allows you to run the operating system from the USB drive and begin the installation process. To create a bootable USB drive, follow these steps:
- Choose a USB drive: Select a USB drive with sufficient storage capacity to hold the Linux distribution and any additional files required for the installation. Ensure that the USB drive is empty or backup its contents before proceeding.
- Download the Linux distribution: Go to the official website of the Linux distribution you have chosen and download the ISO file for the tablet version. The ISO file contains the necessary files for the installation.
- Install a USB imaging tool: Install a USB imaging tool that allows you to write the ISO file to the USB drive. Popular tools include Etcher, Rufus, and UNetbootin. Choose a tool that is compatible with your operating system.
- Open the USB imaging tool: Run the USB imaging tool and select the downloaded ISO file as the source. Choose the USB drive you want to use as the destination. Make sure to double-check that you have selected the correct USB drive to avoid accidentally overwriting any important data.
- Create the bootable USB drive: Start the USB imaging process by following the instructions provided by the tool. The process may take a few minutes depending on the size and speed of the USB drive. Once complete, you will have a bootable USB drive containing the Linux distribution.
With the bootable USB drive ready, you can now proceed to the next step: booting your tablet from the USB drive. This will initiate the Linux installation process on your tablet.
Note that booting from a USB drive may require specific key combinations or settings on your tablet. Consult the user manual or the manufacturer’s support website for instructions on how to boot from a USB drive on your specific tablet model.
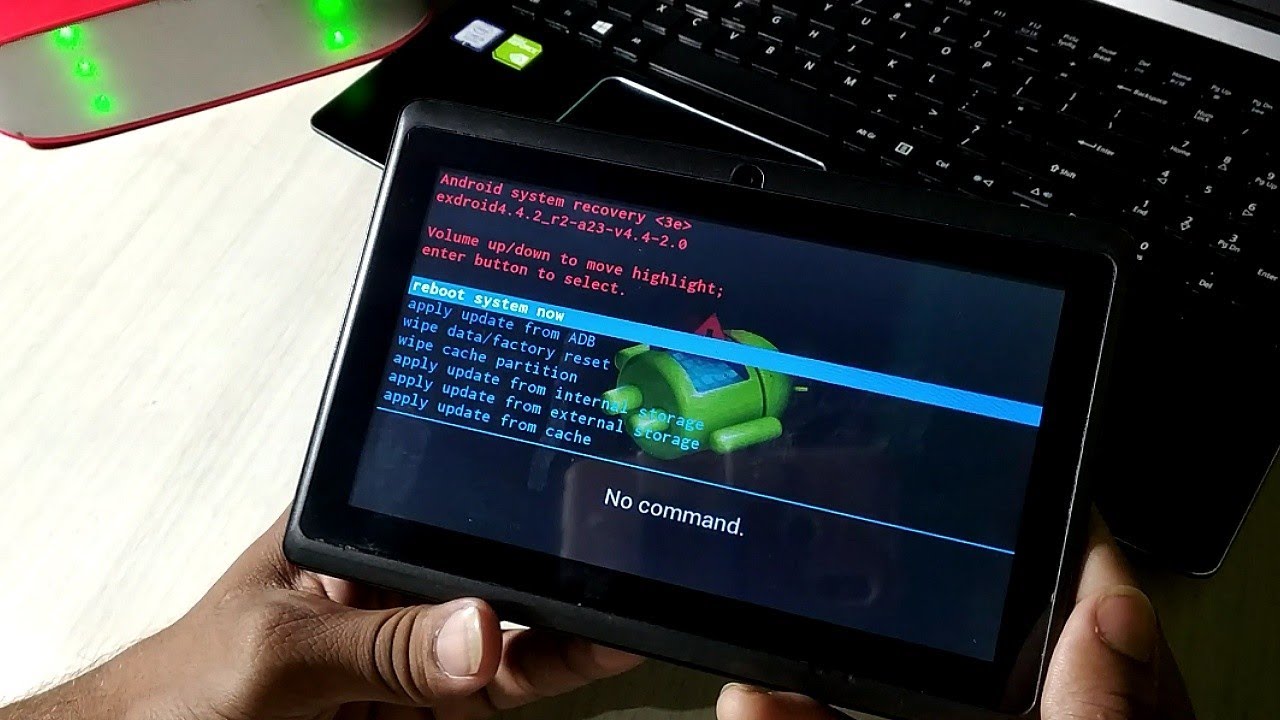
Step 6: Booting your tablet from the USB drive
In order to install Linux on your tablet, you need to boot it from the USB drive that contains the Linux distribution. Follow these steps to boot your tablet from the USB drive:
- Connect the USB drive: Insert the USB drive into an available USB port on your tablet. Ensure a secure and proper connection.
- Restart or power on your tablet: Depending on your tablet’s operating system, either restart it or power it on if it is turned off.
- Access the boot menu: During the start-up sequence, press the key or key combination specified by your tablet’s manufacturer to access the boot menu. Common keys include F2, F12, Escape, or Delete.
- Select the USB drive: Use the arrow keys to navigate through the boot menu options and select the USB drive from the available devices. Confirm your selection to proceed.
- Boot from the USB drive: Once you have selected the USB drive as the boot device, press the Enter key to initiate the boot process. Your tablet will now boot from the USB drive, and you will see the Linux distribution’s installation screen.
It’s important to note that the key combination to access the boot menu may vary depending on your tablet’s make and model. If you are unsure, consult the tablet’s user manual or the manufacturer’s support website for specific instructions.
Booting your tablet from the USB drive allows you to launch the Linux installation process. The next step is to follow the on-screen instructions provided by the Linux distribution’s installer to install Linux on your tablet.
Depending on the Linux distribution you have chosen, the installation process may involve partitioning the storage, selecting installation options, setting up user accounts, and configuring the system. Follow the prompts carefully, and make any necessary choices to tailor the installation to your preferences.
Once the installation is complete, you will have a tablet running the Linux operating system. The next step is to configure your Linux tablet according to your needs and preferences.
Step 7: Installing Linux on your tablet
Now that you have booted your tablet from the USB drive, you are ready to install Linux on your tablet. The installation process may vary depending on the Linux distribution you have chosen, but here are some general steps to follow:
- Select installation options: The installation process typically offers various options, such as language selection, time zone settings, and keyboard layout. Choose the appropriate options for your location and preferences.
- Partition the storage: If required, you will be prompted to partition the tablet’s storage. You may choose to allocate a separate partition for the Linux operating system or use the entire storage for Linux, depending on your preference.
- Choose installation type: Select the installation type based on your needs. You can choose a standard installation that includes a set of default packages or a custom installation where you can manually select the packages you want to install.
- Create user account: Set up a username and password for your Linux account. This account will be used to log into the Linux system and manage your tablet.
- Wait for the installation: The installation process may take some time to complete, depending on your tablet’s specifications and the Linux distribution you are installing. Be patient and wait for the installation to finish.
- Restart your tablet: Once the installation is complete, you will be prompted to restart your tablet. Remove the USB drive and follow the instructions to restart your tablet.
After the tablet restarts, it should boot directly into your newly installed Linux operating system. You can now enjoy the features and capabilities of Linux on your tablet. However, keep in mind that some additional configuration may be required to optimize your Linux tablet experience.
It’s worth noting that during the installation process, you may encounter some specific configuration steps or prompts that are unique to the Linux distribution you have chosen. Follow the on-screen instructions carefully to ensure a successful installation.
With Linux installed on your tablet, you have taken a significant step towards customizing your computing experience and exploring the rich open-source software ecosystem. The final step is to configure your Linux tablet based on your preferences and requirements.
Step 8: Configuring your Linux tablet
After installing Linux on your tablet, it’s time to configure and personalize your new operating system according to your needs and preferences. Here are some important steps to consider while configuring your Linux tablet:
- Update system packages: Begin by updating the system packages to ensure you have the latest security patches and software updates. Open the terminal and run the appropriate package manager command, such as “sudo apt update” for Ubuntu-based distributions, to update the system.
- Install additional software: Install any additional software or applications that you require for your tablet. Linux distributions usually come with a software center or package manager that provides a wide range of applications. Search for and install the software you need to enhance your tablet experience.
- Customize desktop environment: Modify the appearance and functionality of your tablet’s desktop environment. Adjust the wallpaper, themes, icons, and fonts to your liking. Explore the settings and preferences of the desktop environment to fine-tune it to your requirements.
- Set up user accounts: If there are other users who will be using your Linux tablet, set up separate user accounts for them. This allows each user to have their own personalized settings and files, ensuring privacy and personalization.
- Configure power management: Optimize power management settings to maximize the battery life of your tablet. Adjust screen brightness, sleep settings, and other power-related options to strike a balance between performance and battery consumption.
- Connect to networks: Configure network settings, including Wi-Fi and Bluetooth connections, to ensure seamless internet connectivity and device pairing. Set up Wi-Fi networks, connect to Bluetooth devices, and configure network-related preferences as needed.
- Backup and restore data: Implement a backup strategy to protect your important files and data. Set up automatic backups or use backup software to regularly create backups of your tablet’s data. This will help you restore your files in case of any unforeseen issues or data loss.
Remember that configuring your Linux tablet involves exploring the wide range of customization options available and tailoring the system to meet your specific requirements. Experiment with different settings, applications, and features to personalize your tablet and make it work best for you.
Additionally, keep in mind that the configuration process may vary based on the Linux distribution and desktop environment you have chosen. Refer to the distribution’s documentation or online resources for more specific instructions and recommendations.
With your Linux tablet now configured, you can fully enjoy the power, flexibility, and customization options that Linux has to offer. Embrace the open-source community, explore new software, and discover the endless possibilities that come with running Linux on your tablet.
Conclusion
Congratulations! You have successfully installed Linux on your tablet and customized it to meet your needs and preferences. By following the step-by-step guide, you have ventured into the world of open-source operating systems, unlocking the power and flexibility that Linux offers.
Installing Linux on your tablet allows you to experience a different computing environment, enjoy a wide range of software options, and tap into the extensive open-source community. Linux provides stability, security, and versatility, giving you the freedom to tailor your tablet to your liking.
Throughout the installation process, you learned the importance of researching tablet compatibility to ensure a smooth installation. Backing up your tablet’s data provided a safety net in case of any issues, and checking the system requirements ensured that your tablet meets the necessary criteria for Linux installation.
By choosing a Linux distribution that aligns with your tablet’s hardware and your preferences, creating a bootable USB drive, and booting your tablet from it, you paved the way for installing Linux. Following the installation prompts and configuring your tablet allowed you to personalize it and optimize the settings according to your requirements.
Remember to regularly update your system, install additional software as needed, and back up your data to safeguard against any potential issues. As you explore the vast world of Linux, make use of the open-source community, online resources, and forums to further enhance your Linux tablet experience.
Enjoy the freedom, security, and endless possibilities that Linux provides on your tablet. Embrace the journey of customization and flexible computing that Linux enables. Use your Linux tablet to its full potential and continue to learn and grow within the Linux ecosystem.
Now, it’s time to immerse yourself in the exciting world of Linux on your tablet. Tailor it to your preferences, experiment with new software, and enjoy the benefits of the Linux operating system. Happy exploring!