Introduction
Welcome to this comprehensive guide on how to root your Motorola Xoom tablet. Rooting your device gives you greater control and access to the system files, allowing you to customize your tablet, install custom ROMs, and utilize powerful root-only apps. While rooting your device can offer many benefits, it is essential to understand the process and potential risks involved.
In this step-by-step tutorial, we will walk you through the process of rooting your Motorola Xoom tablet, ensuring that you have all the necessary tools and knowledge to successfully complete the process. By following these instructions carefully, you can unlock the full potential of your device and take customization to the next level.
Before proceeding, it is crucial to note that rooting your device may void the warranty, and there is a risk of potentially damaging your tablet if the process is not followed correctly. Therefore, it is recommended to proceed with caution and take full responsibility for any consequences that may arise.
That being said, if you are ready to proceed and eager to explore the endless possibilities that await you after rooting your Motorola Xoom tablet, let’s dive into the steps required to unlock your device’s full potential!
Before You Begin
Before diving into the rooting process, there are a few important things you need to take care of to ensure a smooth and successful journey. This section will guide you through the essential prerequisites and precautions to consider before proceeding with rooting your Motorola Xoom tablet.
1. Charge Your Device: Make sure your Motorola Xoom tablet is adequately charged or connected to a power source before starting the rooting process. This will prevent any unexpected shutdowns during the procedure, which could potentially corrupt your device.
2. Backup Your Data: Rooting your tablet involves modifying system files, which can lead to data loss. It is crucial to back up all important files, such as photos, videos, contacts, and documents, to a safe location before proceeding with rooting. This way, you can restore your data in case anything goes wrong during the process.
3. Enable USB Debugging: To establish a connection between your Motorola Xoom tablet and your computer, you need to enable USB debugging. Navigate to the “Developer Options” in your tablet’s settings and enable the USB debugging option. This allows your computer to communicate with your device effectively.
4. Ensure Compatibility: Before proceeding, ensure that the rooting method you plan to use is compatible with your specific Motorola Xoom tablet model and Android version. Using an incompatible rooting method can result in undesirable outcomes or even damage your device. Double-check the requirements and compatibility of the method you choose.
5. Research and Understand: Rooting your device involves taking control over the operating system, which comes with its own set of risks and benefits. It is crucial to research and understand the advantages and disadvantages of rooting to make an informed decision. Familiarize yourself with the rooting process, the potential benefits it offers, and the limitations and risks involved.
By following these precautions and preparatory measures, you set the foundation for a successful rooting process. Taking the time to complete these steps ensures that your device is ready and protected before proceeding to the next stages. Once you have fulfilled these requirements, you can move on to the next steps, starting with installing the necessary ADB drivers.
Step 1: Enable USB Debugging
Before you can begin rooting your Motorola Xoom tablet, you need to enable USB debugging mode. USB debugging allows your tablet to communicate with your computer through the Android Debug Bridge (ADB) interface, which is essential for the rooting process.
Enabling USB debugging is a straightforward process. Follow these steps:
- Open the Settings app on your Motorola Xoom tablet.
- Scroll down and tap on “About tablet.”
- Find the “Build number” entry and tap on it seven times. This will enable Developer Mode on your device.
- Go back to the main settings menu and scroll down to find the newly enabled “Developer options.”
- Tap on “Developer options” and toggle the switch to enable them.
- Scroll down to find “USB debugging” and toggle the switch to enable it.
Once you have successfully enabled USB debugging, you will be able to establish a connection between your Motorola Xoom tablet and your computer, allowing for the execution of ADB commands necessary for the rooting process.
It’s important to note that the steps mentioned above are general guidelines and may differ slightly depending on your specific Android version or device model. If you encounter any difficulties finding the Developer options or USB debugging, refer to the user manual provided with your tablet or search online for specific instructions related to your device.
With USB debugging enabled, you are now ready to move on to the next step, which involves installing the ADB drivers necessary for communication between your Motorola Xoom tablet and your computer.
Step 2: Install ADB Drivers
To establish a successful connection between your Motorola Xoom tablet and your computer, you need to install the ADB (Android Debug Bridge) drivers. These drivers allow your computer to recognize and communicate with your device during the rooting process.
Follow these steps to install the ADB drivers:
- Connect your Motorola Xoom tablet to your computer using a USB cable.
- On your computer, open a web browser and navigate to the official Android SDK Platform Tools website.
- Download the appropriate ADB drivers for your operating system (Windows, macOS, or Linux).
- Extract the downloaded ZIP file to a location on your computer.
- On your Motorola Xoom tablet, navigate to the Settings app, then tap on “About tablet” and locate the “Build number”. Tap on it seven times to enable Developer Mode.
- Go back to the main settings menu and scroll down to find the newly enabled “Developer options”. Tap on it.
- Scroll down to find “USB debugging” and toggle the switch to enable it.
- Return to your computer and open the extracted ADB folder.
Now, you need to open a command prompt or terminal window in the ADB folder.
For Windows users:
- Hold down the Shift key on your keyboard, then right-click inside the ADB folder.
- Select “Open command window here” from the context menu that appears.
For macOS and Linux users:
- Open the Terminal application.
- Change to the ADB folder directory using the ‘cd’ command.
With the command prompt or terminal window open, enter the following command to confirm that your device is properly recognized:
adb devices
If your device is listed, it means that the ADB drivers are successfully installed, and your device is ready for the rooting process. If your device is not listed, make sure you have properly enabled USB debugging and installed the correct ADB drivers.
Now that the ADB drivers are installed and your device is recognized, you are ready to proceed to the next step: unlocking the bootloader of your Motorola Xoom tablet.
Step 3: Unlock Bootloader
Unlocking the bootloader is a crucial step in the rooting process, as it allows you to gain full access to the system files on your Motorola Xoom tablet. By unlocking the bootloader, you remove the restrictions imposed by the manufacturer, enabling you to install custom recoveries and custom ROMs.
Please note that unlocking the bootloader can void your device’s warranty and may cause certain security risks. Proceed with caution and understand the consequences before proceeding.
Before you begin, ensure that you have enabled USB debugging and installed the ADB drivers as outlined in the previous steps. Once you have done that, follow these steps to unlock the bootloader:
- Make sure your Motorola Xoom tablet is connected to your computer via USB.
- Open a command prompt or terminal window in the ADB folder (the same folder where you ran the adb devices command).
- Enter the following command to boot your device into bootloader mode:
- Your device will now reboot into bootloader mode. Use the volume buttons to navigate and the power button to select.
- Once you are in bootloader mode, enter the following command to unlock the bootloader:
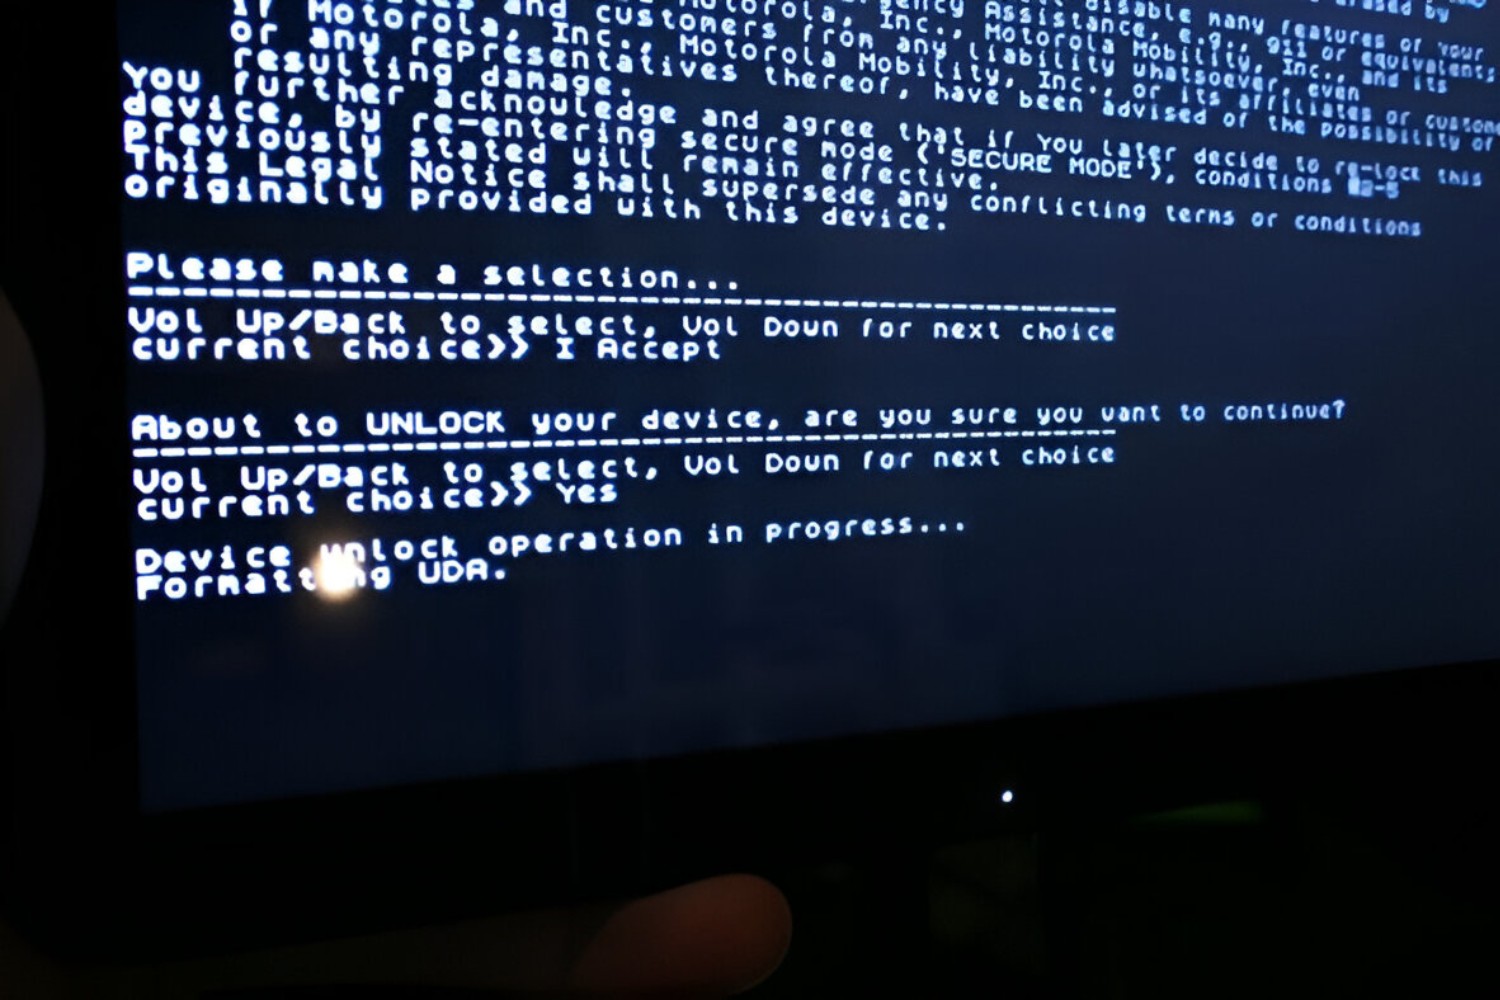
- On your Motorola Xoom tablet, a warning message will appear. Read the warning carefully as it explains the risks involved. Use the volume buttons to navigate and the power button to confirm your decision to unlock the bootloader.
- The bootloader unlocking process will start, and your device will automatically reboot.
- Once the bootloader is unlocked, you can verify the status by rebooting your device into bootloader mode again using the adb reboot bootloader command. The status should display “Device Unlocked: true”.
adb reboot bootloader
fastboot oem unlock
With the bootloader unlocked, you have cleared a significant barrier on your path to rooting your Motorola Xoom tablet. You can now proceed to the next step, which involves backing up your data to prevent any potential loss during the rooting process.
Step 4: Backup Data
Before proceeding with the rooting process, it is crucial to back up your data to avoid any potential loss or corruption. Rooting your Motorola Xoom tablet involves modifying system files, which could result in the loss of personal files, such as photos, videos, contacts, and documents. By taking the time to back up your data, you can ensure that your important information is safe and can be easily restored if needed.
Follow these steps to back up your data:
- Connect your Motorola Xoom tablet to your computer using a USB cable.
- On your computer, open the file explorer and navigate to your device’s storage.
- Copy and paste all the important files, such as photos, videos, music, documents, and any other files you wish to back up, onto your computer’s hard drive or an external storage device.
- Alternatively, you can use backup and sync apps available on the Google Play Store to automatically back up your data to the cloud.
- If you have contacts or important data stored locally on your device, consider exporting them to a vCard or CSV file to ensure easy access and restoration.
By taking the time to back up your data, you can proceed with peace of mind, knowing that your important files are safely stored. In the event that anything goes wrong during the rooting process, you can easily restore your data and continue without losing any valuable information.
Once you have completed the data backup process, you are now ready to move on to the next step: downloading the required files for rooting your Motorola Xoom tablet.
Step 5: Download Required Files
Before you can proceed with rooting your Motorola Xoom tablet, you need to download the necessary files that will be used in the process. These files include the custom recovery image and the rooting package.
Follow these steps to download the required files:
- Open a web browser on your computer and search for a trusted website or forum that offers custom recovery images and rooting packages for Motorola Xoom tablets.
- Once you find a reliable source, navigate to the appropriate section or thread for your specific device model and Android version.
- Download the custom recovery image suitable for your device model. The most commonly used custom recovery for Motorola Xoom tablets is TWRP (Team Win Recovery Project).
- Make sure to download the latest stable version of TWRP or any other custom recovery that is compatible with your device. This ensures that you have access to the most up-to-date features and bug fixes.
- Next, download the rooting package specific to your Motorola Xoom tablet. This package usually includes the necessary files and scripts to root your device.
- Scan the downloaded files using reliable antivirus software to ensure they are free of any malicious code or malware.
It is essential to download these files from trustworthy sources to minimize the risk of downloading infected or incompatible files. Always verify the integrity of the files and check for user reviews or recommendations from reputable communities before proceeding with the download.
Once you have successfully downloaded the custom recovery image and the rooting package, you are ready to move on to the next step: installing the custom recovery on your Motorola Xoom tablet.
Step 6: Install Custom Recovery
Installing a custom recovery is a crucial step in the rooting process as it allows you to perform advanced operations on your Motorola Xoom tablet such as flashing custom ROMs, creating backups, and installing system-level modifications. The most popular custom recovery for Motorola Xoom tablets is TWRP (Team Win Recovery Project). Follow the steps below to install TWRP custom recovery on your device:
- Ensure that you have enabled USB debugging and installed ADB drivers as mentioned in the earlier steps of this guide.
- Copy the downloaded TWRP image file to the ADB folder on your computer.
- Open a command prompt or terminal window in the ADB folder.
- Boot your Motorola Xoom tablet into bootloader mode by executing the following command:
- Once in bootloader mode, flash the TWRP recovery image to your device using the following command:
- Replace “twrp.img” with the actual name of the TWRP image file.
- After the flashing process is complete, reboot your device by executing the following command:
adb reboot bootloader
fastboot flash recovery twrp.img
fastboot reboot
Your Motorola Xoom tablet will now reboot with the newly installed TWRP custom recovery. To access the recovery mode, power off your tablet and then press and hold the Volume Down button along with the Power button until the TWRP recovery screen appears.
It is worth noting that installing a custom recovery modifies the system partition on your device, which could potentially void the warranty. However, it is an essential step for advanced customization and rooting. With the custom recovery installed, you are now ready to proceed to the next step: rooting your Motorola Xoom tablet.
Step 7: Root Your Motorola Xoom
Now that you have installed the custom recovery, it’s time to root your Motorola Xoom tablet. Rooting your device will grant you full administrative access to the system files, allowing you to customize and optimize your tablet’s performance. Follow the steps below to root your device:
- Power off your Motorola Xoom tablet.
- Boot your device into recovery mode by pressing and holding the Volume Down button along with the Power button until the TWRP recovery screen appears.
- In the TWRP recovery menu, select “Install” and navigate to the location where you saved the rooting package earlier.
- Select the rooting package and swipe the “Swipe to Confirm Flash” button to initiate the rooting process.
- Wait for the rooting package to be installed. This may take a few minutes.
- Once the installation is complete, go back to the main menu and select “Reboot” followed by “System” to reboot your Motorola Xoom tablet.
After the reboot, your Motorola Xoom tablet should be rooted, giving you full control over the device’s system files and enabling you to customize it according to your preferences. This unlocks a whole new range of possibilities, including the ability to install custom ROMs, use root-only apps, and modify system-level settings.
It is important to note that the rooting process can vary depending on your device model and Android version. Make sure to follow the instructions provided with the rooting package specific to your Motorola Xoom tablet.
With your Motorola Xoom tablet successfully rooted, you can now proceed to the final step: verifying root access.
Step 8: Verify Root Access
After rooting your Motorola Xoom tablet, it is essential to verify whether the rooting process was successful. Verifying root access confirms that you have successfully gained superuser privileges on your device, giving you the ability to perform advanced operations that are restricted to rooted devices. Follow the steps below to verify root access:
- Ensure that your Motorola Xoom tablet is powered on and functioning normally.
- Download and install a root-checking app from the Google Play Store. Some popular root-checking apps include Root Checker, Magisk Manager, or SuperSU.
- Launch the root-checking app on your device.
- The app will detect whether your device has root access and display the status on the screen.
- If the app confirms that your device has root access, congratulations! You have successfully rooted your Motorola Xoom tablet.
- In case the app indicates that you do not have root access, double-check your rooting process, ensuring that you followed all the steps correctly.
- If you are unsuccessful in verifying root access, you may need to repeat the rooting process from the beginning or seek assistance from the rooting community or forums to troubleshoot the issue.
It is important to note that rooting your device may void the warranty, and certain apps or services may not function correctly on rooted devices. Proceed with caution and understand the risks involved.
With root access verified, you can now fully enjoy the benefits of rooting your Motorola Xoom tablet. You have gained control over your device’s system files, allowing for advanced customization and optimization. Explore the vast world of custom ROMs, root-only apps, and unleash the full potential of your Motorola Xoom tablet!
Conclusion
Congratulations! You have successfully rooted your Motorola Xoom tablet, unlocking a new level of control and customization possibilities. By following the step-by-step guide outlined in this tutorial, you have gained full administrative access to your device’s system files, allowing you to optimize performance, install custom ROMs, and use root-only apps.
Throughout this process, it is important to remember that rooting your device may void the warranty and carries certain risks. Be sure to proceed with caution, follow the instructions carefully, and understand the consequences. It is recommended to research and familiarize yourself with the advantages and risks associated with rooting.
With your Motorola Xoom tablet rooted, you now have the ability to fine-tune your device to your liking, customize the user interface, and experience the benefits of increased control over system settings. Rooting also opens up possibilities for advanced features and options that were previously unavailable.
Remember to regularly backup your data and exercise caution when making system-level changes or modifications. Stay informed about software updates and new rooting methods to ensure compatibility and to take advantage of the latest features and security patches.
If you ever decide to unroot your Motorola Xoom tablet or return it to its original state, you can follow a similar process but instead of installing the custom recovery and rooting package, you will need to flash the stock firmware or ROM for your device.
Thank you for following this comprehensive guide on how to root your Motorola Xoom tablet. We hope that this tutorial has empowered you to explore the full potential of your device and enhance your overall Android experience. Enjoy the newfound freedom and customization options that rooting brings!