Introduction
Welcome to the world of wireless projection! Gone are the days of messy cables and limited mobility when it comes to connecting your laptop to a projector. With the advancements in technology, now you can effortlessly project your laptop screen wirelessly, freeing you from the constraints of physical connections.
Whether you are giving a presentation in the boardroom, sharing multimedia content at a conference, or simply enjoying a movie night with friends, wireless projection offers convenience and flexibility like never before. No more tripping over cords or struggling to find the right adapter – all you need is a compatible laptop and a wireless projector, and you’re good to go.
In this guide, we will walk you through the process of wirelessly connecting your laptop to a projector. We’ll explore the different options available for wireless projection and provide a step-by-step guide to help you get started. Additionally, we’ll address common troubleshooting issues you may encounter along the way.
Whether you’re a seasoned tech whiz or a novice user, this guide will equip you with the knowledge and skills to project your laptop to a projector wirelessly, ensuring a smooth and hassle-free experience.
Connecting Laptop and Projector
Before we delve into the realm of wireless projection, it’s important to understand the basic connection options between your laptop and projector. While wireless projection offers convenience and flexibility, it’s always good to have a backup plan in case wireless connectivity is not available or does not meet your specific requirements.
There are primarily two methods for connecting your laptop to a projector: through a physical cable or wirelessly via a wireless display adapter. Let’s explore both options:
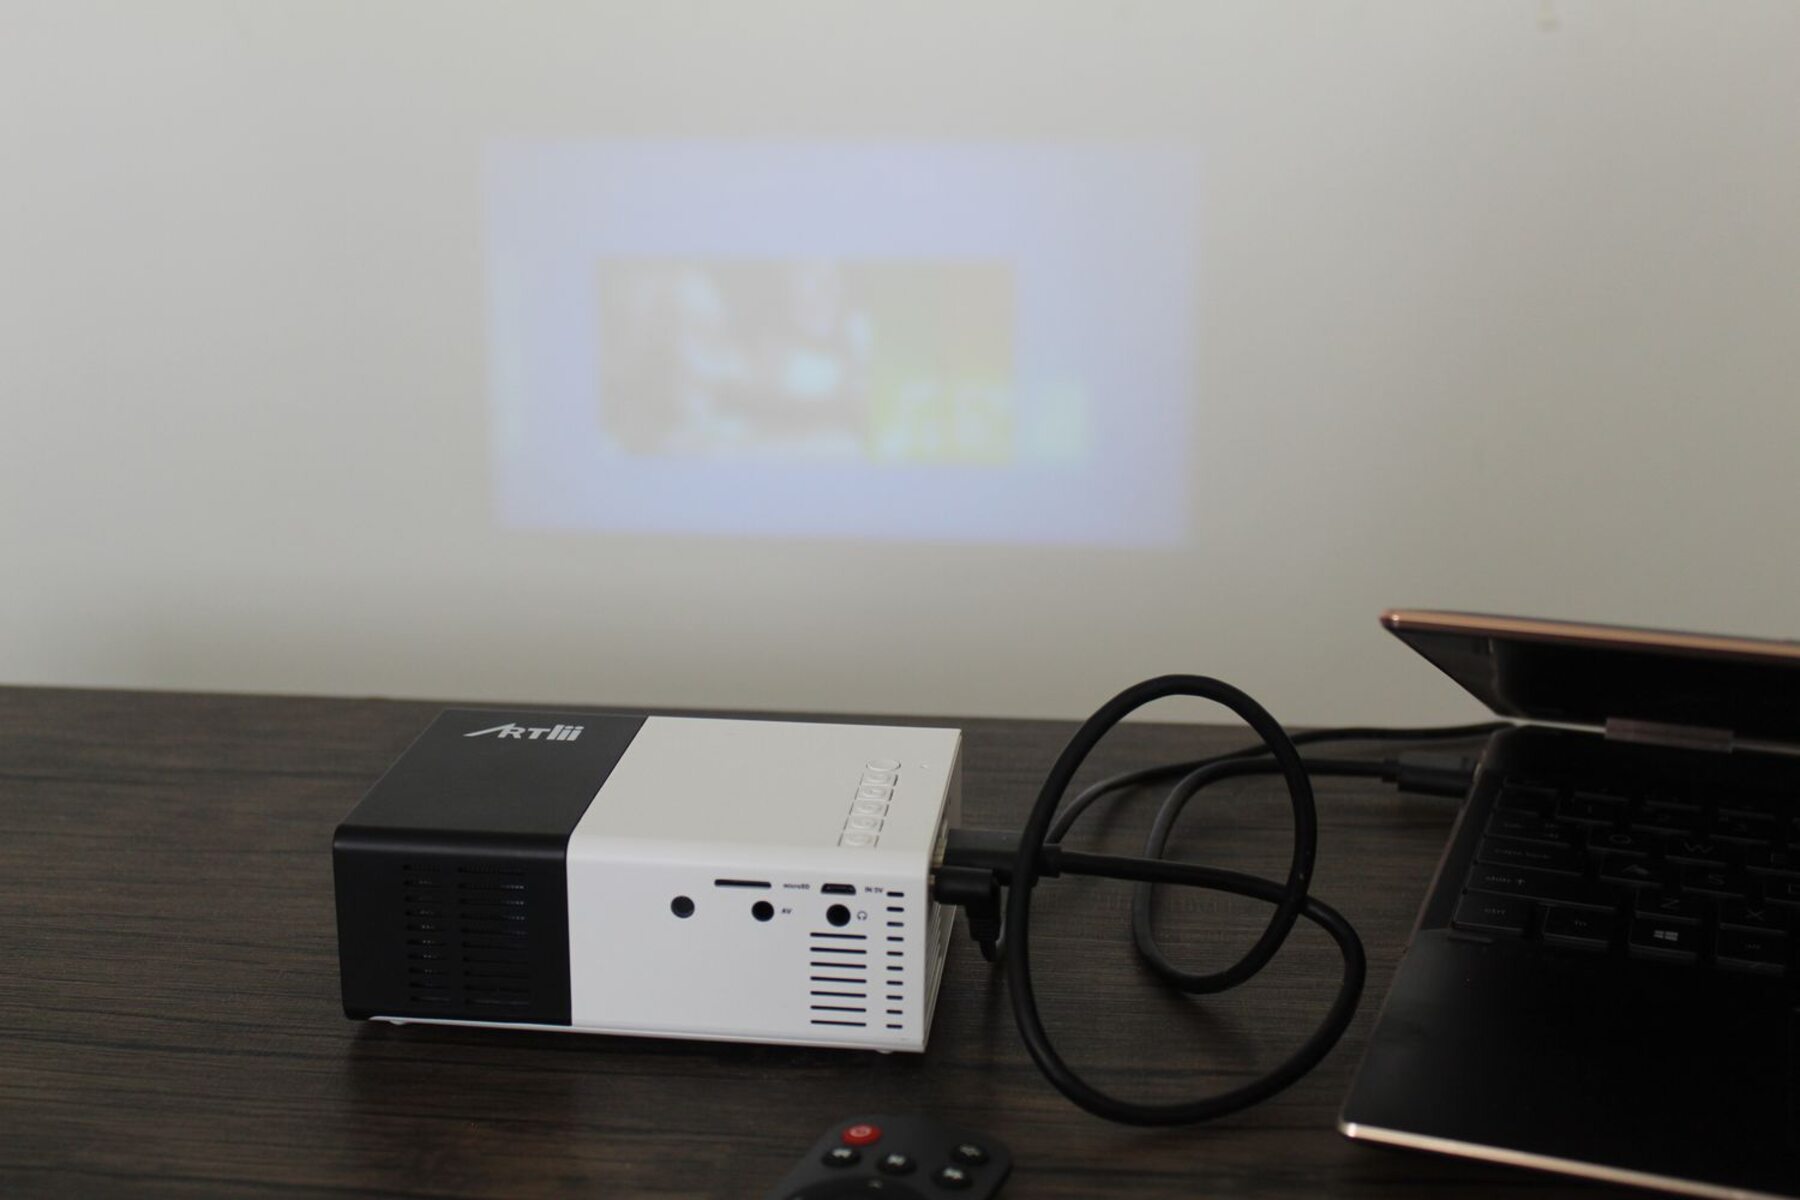
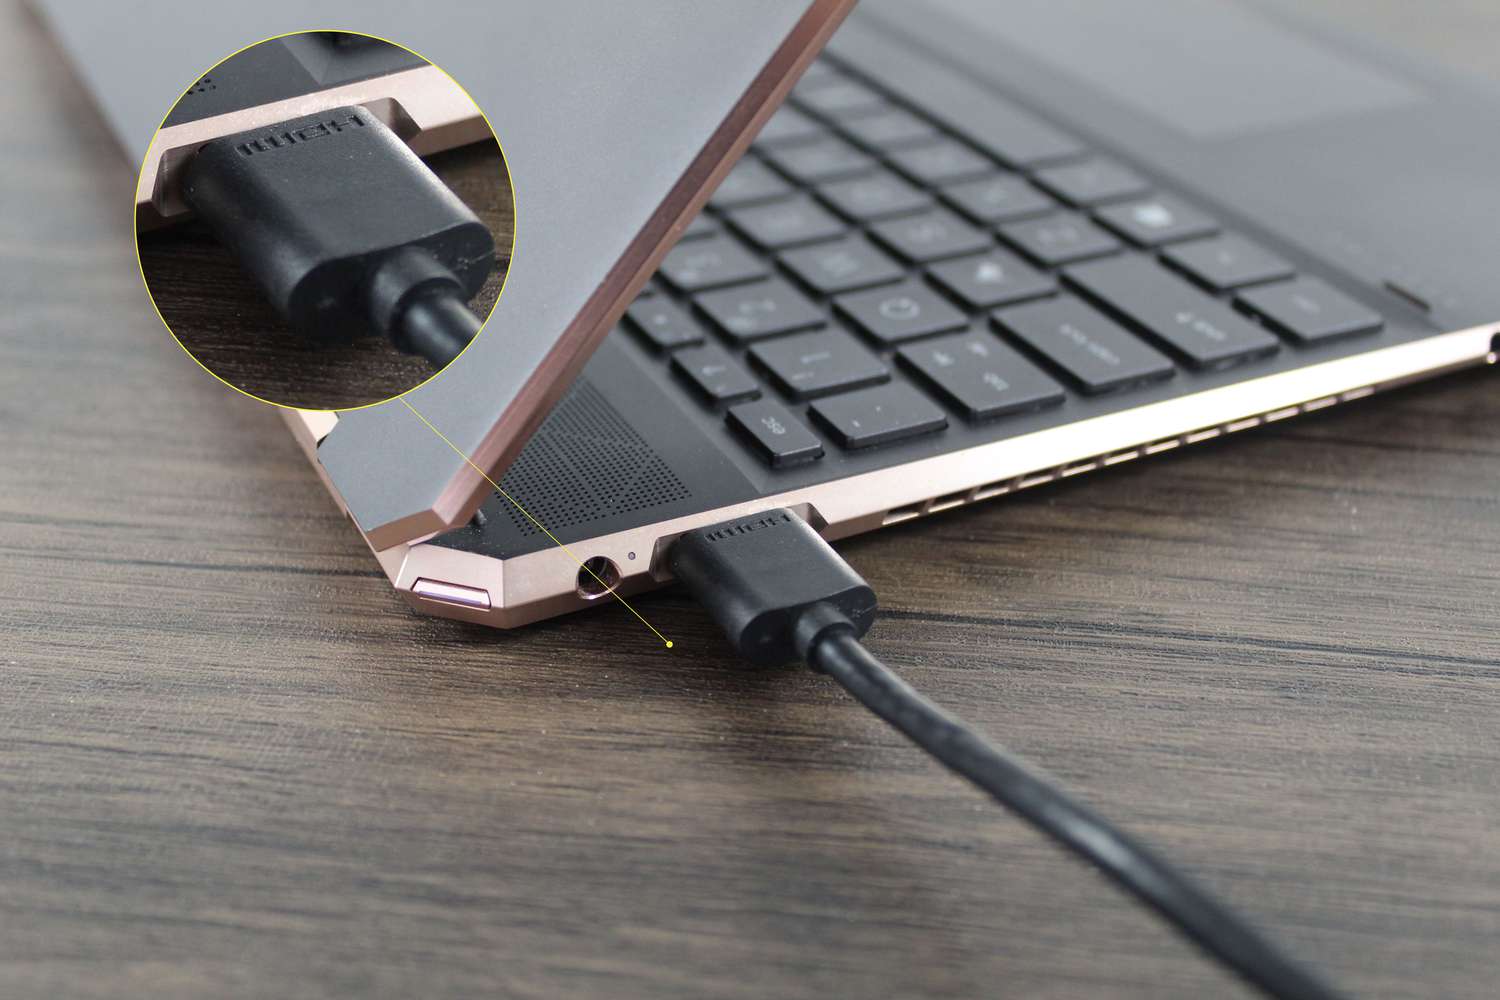
1. Physical Cable Connection: This traditional method involves connecting your laptop to the projector using a physical cable. Most modern laptops are equipped with an HDMI or VGA port, while projectors usually have multiple input ports. To establish a physical connection, simply plug one end of the HDMI or VGA cable into your laptop’s port and the other end into the projector’s corresponding input port. Make sure to select the correct input source on the projector to see the laptop display.
2. Wireless Display Adapter: To embrace the wireless world, you can opt for a wireless display adapter. This small device connects to the HDMI or VGA port of the projector and allows you to wirelessly transmit the content from your laptop. The adapter needs to be paired with your laptop through Wi-Fi or Bluetooth connectivity. Once connected, you can project your laptop screen to the projector without any physical cables. This method provides more flexibility and freedom of movement, making it ideal for presentations or sharing multimedia content.
When choosing a wireless display adapter, ensure compatibility with your laptop and projector. Some popular wireless display adapters include Chromecast, Microsoft Wireless Display Adapter, and AirPlay for Apple devices. These adapters often require specific software or apps to be installed on your laptop for seamless connectivity.
Now that you are familiar with the connection options, let’s dive into the exciting world of wireless projection and explore how to project your laptop screen to a projector without the hassle of physical cables.
Wireless Projection
Wireless projection is a game-changer when it comes to connecting your laptop to a projector. It allows for a seamless and hassle-free experience, eliminating the need for cables and providing greater flexibility in terms of mobility.
Wireless projection works by establishing a wireless connection between your laptop and the projector, enabling you to mirror or extend your laptop’s display onto the larger projector screen. This technology utilizes Wi-Fi or Bluetooth connectivity to transmit the video and audio signals wirelessly.
One of the key benefits of wireless projection is the freedom it provides. You can move around the room, interact with your audience, or comfortably present from any angle without being tied down by cables. It makes presentations more engaging and interactive, allowing you to focus on delivering your message rather than navigating through cables.
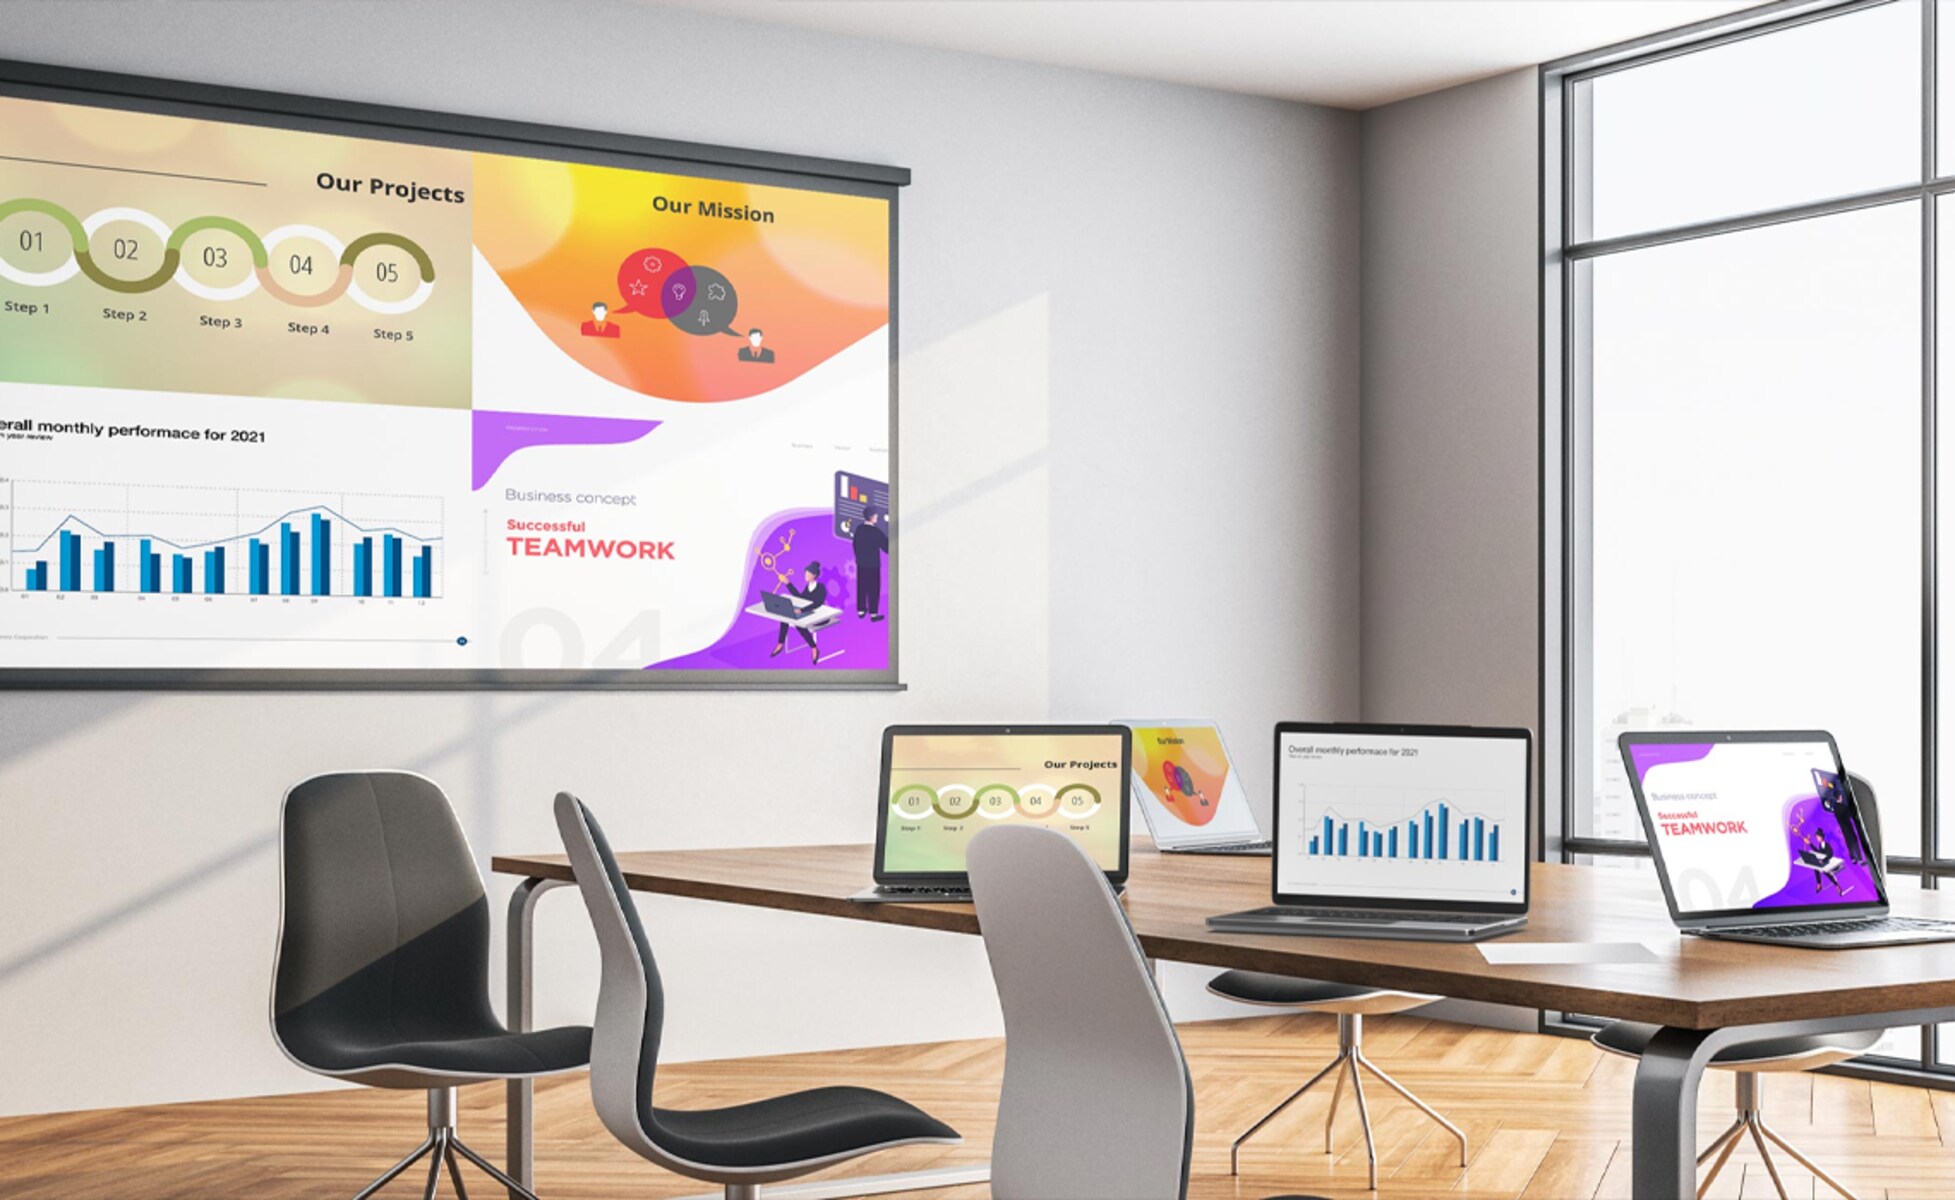
Wireless projection also offers convenience, especially in situations where multiple laptops need to be connected to the same projector. With wireless capabilities, you can seamlessly switch between different laptops without the hassle of reconnecting cables or swapping adapters.
Additionally, wireless projection opens up possibilities for collaboration. Multiple users can connect their laptops to the projector simultaneously, allowing for real-time collaboration, brainstorming, and content sharing. This is particularly advantageous in educational settings, team meetings, or creative workshops.
It’s worth noting that the effectiveness and range of wireless projection can vary depending on various factors such as the distance between the laptop and the projector, the strength of the wireless signal, and potential interference from other devices. To ensure a smooth wireless projection experience, it’s recommended to be within the recommended distance range and minimize any potential sources of interference.
Now that we understand the benefits and advantages of wireless projection, let’s dive into a step-by-step guide on how to project your laptop to a projector wirelessly.
Step-by-Step Guide to Projecting Laptop to Projector Wirelessly
Wirelessly projecting your laptop to a projector may seem like a complex task, but it is actually quite straightforward. Follow these step-by-step instructions to ensure a successful wireless connection:
- Check compatibility: Ensure that your laptop and projector are both compatible with wireless projection. Some projectors may have built-in wireless capabilities, while others may require a separate wireless display adapter.
- Connect the wireless display adapter: If your projector requires a wireless display adapter, connect it to the HDMI or VGA port of the projector. Ensure that the adapter is powered on.
- Connect the wireless display adapter to your laptop: Use Wi-Fi or Bluetooth to connect the wireless display adapter to your laptop. Follow the instructions provided with the adapter for the specific pairing process.
- Adjust display settings: On your laptop, go to the display settings and select the option to project the screen. The exact steps may vary depending on your operating system (Windows, macOS, etc.). Select the appropriate display mode, such as “Duplicate” to mirror your laptop screen or “Extend” to use the projector as an extended display.
- Select the wireless display adapter: Once the display settings are updated, select the wireless display adapter from the list of available devices. Your laptop will establish a connection with the projector through the adapter.
- Test the connection: After connecting to the wireless display adapter, ensure that the projector is displaying your laptop screen. You may need to adjust the input source on the projector to match the connection from the adapter.
- Optimize the display: Fine-tune the display settings on your laptop and projector to achieve the desired picture quality and aspect ratio. Adjust brightness, contrast, resolution, and other settings as needed.
- Start projecting wirelessly: Once everything is set up and the connection is established, you are ready to start wirelessly projecting your laptop screen onto the projector. Open your presentation or media content and begin projecting for your audience to see.
Remember to test the wireless connection and familiarize yourself with the process before any important presentation or event to ensure a smooth experience. Each wireless display adapter may have its own specific instructions and features, so refer to the user manual or manufacturer’s guidelines for any additional details or troubleshooting.
Now you’re equipped with the knowledge and steps to project your laptop to a projector wirelessly. Embrace the freedom, flexibility, and convenience of wireless projection in your presentations, meetings, and entertainment activities.
Troubleshooting Common Issues
While wireless projection offers convenience and flexibility, there may be instances where you encounter issues or experience connectivity problems. Here are some common troubleshooting tips to help you overcome these obstacles:
- Check wireless signal strength: Ensure that your laptop and projector are within the recommended range for wireless connectivity. Walls, furniture, and other obstacles can weaken the signal, so try to be in close proximity to the projector for a stronger connection.
- Restart devices: Sometimes a simple restart can resolve connectivity issues. Restart your laptop, wireless display adapter, and projector to refresh the connections and clear any temporary glitches.
- Verify Wi-Fi or Bluetooth settings: Ensure that the Wi-Fi or Bluetooth settings on your laptop and wireless display adapter are enabled and properly configured. Check for any conflicting settings or mismatched configurations that may hinder the wireless connection.
- Update drivers and software: Make sure that your laptop’s drivers and software, including the wireless display adapter’s software, are up to date. Outdated drivers can cause compatibility issues and impact the performance of the wireless projection.
- Restart wireless display adapter: If the connection to the wireless display adapter becomes unstable, try restarting the adapter. Disconnect it from the projector and laptop, wait for a few seconds, and then reconnect to establish a fresh connection.
- Change wireless frequency: If you are experiencing interference or a weak signal, try changing the wireless frequency settings on your laptop or wireless display adapter. Switching to a less congested frequency band can improve the connection quality.
- Disable other wireless devices: If you have other wireless devices connected to your laptop, such as Bluetooth speakers or wireless keyboards, temporarily disable them to reduce potential interference that could affect the wireless projection.
- Try alternative connection method: If the wireless projection is not working, you can switch to a physical cable connection as a backup. Use an HDMI or VGA cable to directly connect your laptop to the projector and ensure a reliable display connection.
- Consult user manuals and support: If all else fails, refer to the user manuals for your laptop, wireless display adapter, and projector for specific troubleshooting guidance. You can also reach out to the manufacturer’s support team for further assistance and technical support.
Remember to remain patient and persistent while troubleshooting connectivity issues. With some troubleshooting steps and adjustments, you should be able to overcome most common problems and enjoy a seamless wireless projection experience.
Now that you are equipped with troubleshooting tips, you can tackle any challenges that may arise during your wireless projection endeavors.
Conclusion
Congratulations! You have now learned how to project your laptop to a projector wirelessly. By embracing the world of wireless projection, you can experience the convenience, flexibility, and freedom that it offers. No more tangled cables or limited mobility – you can now effortlessly share your laptop screen on a larger projector display without any physical connections.
In this guide, we explored the different connection options available, including physical cable connections and wireless display adapters. We also provided a step-by-step guide to help you successfully project your laptop screen wirelessly. Additionally, we discussed common troubleshooting tips to overcome connectivity issues that may arise during the wireless projection process.
Wireless projection opens up new possibilities for presentations, collaborations, and sharing multimedia content. It allows you to engage with your audience, seamlessly switch between laptops, and enjoy the convenience of a cable-free environment.
Remember to check compatibility and follow the recommended guidelines for wireless projection. Be aware of the recommended wireless signal range and minimize potential sources of interference to ensure a smooth and reliable connection. Don’t hesitate to update drivers, consult user manuals, and reach out to customer support if you encounter any issues along the way.
Now, armed with the knowledge and skills gained from this guide, go ahead and embrace the world of wireless projection. Use your laptop and projector to their fullest potential, captivate your audience, and enjoy the freedom and convenience of wireless connectivity.
Happy projecting!