Introduction
Welcome to this step-by-step guide on how to project your iPad to a Smart TV. With the rise of streaming services and the abundance of multimedia content available on iPads, it’s no wonder that many people want to enjoy their favorite movies, videos, and photos on a bigger screen. Luckily, projecting your iPad to a Smart TV can turn that desire into a reality.
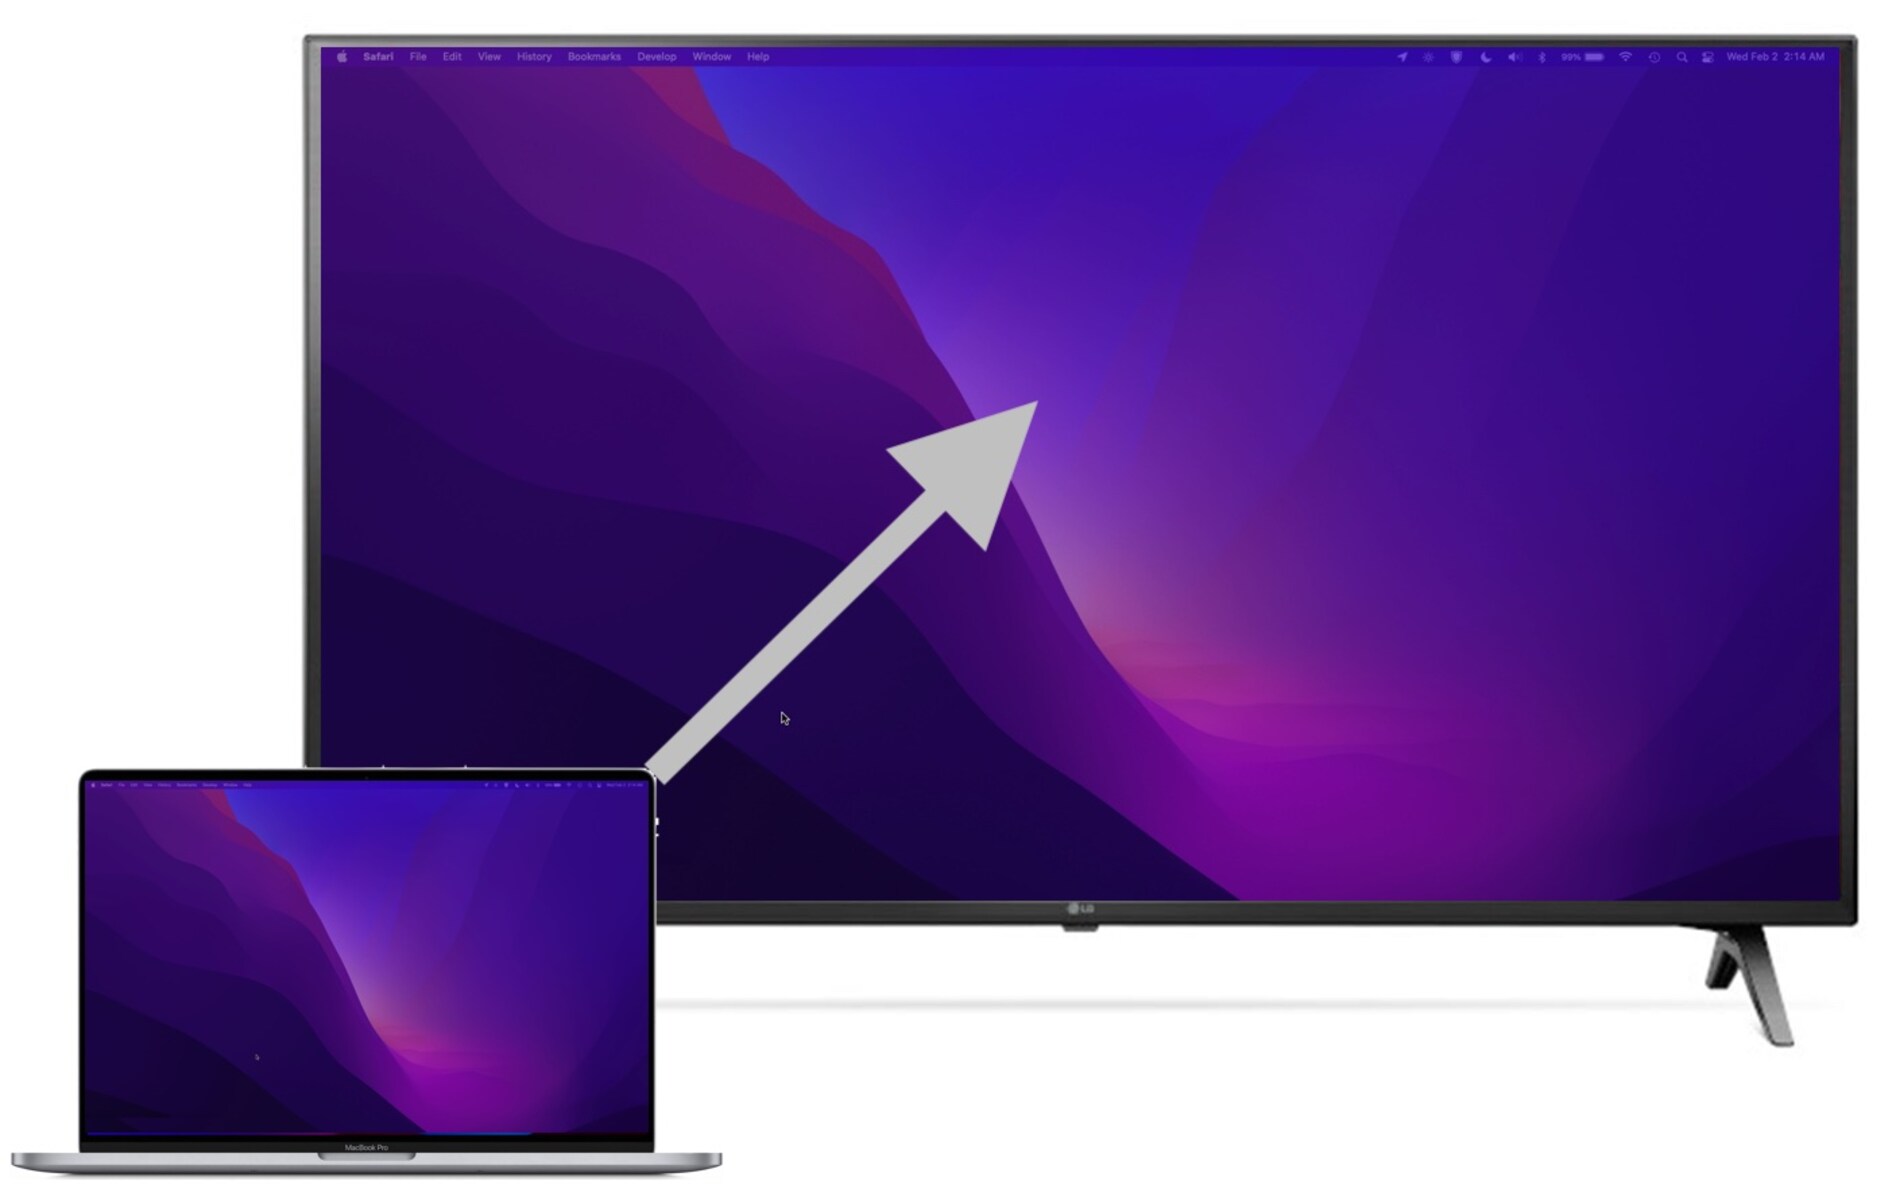
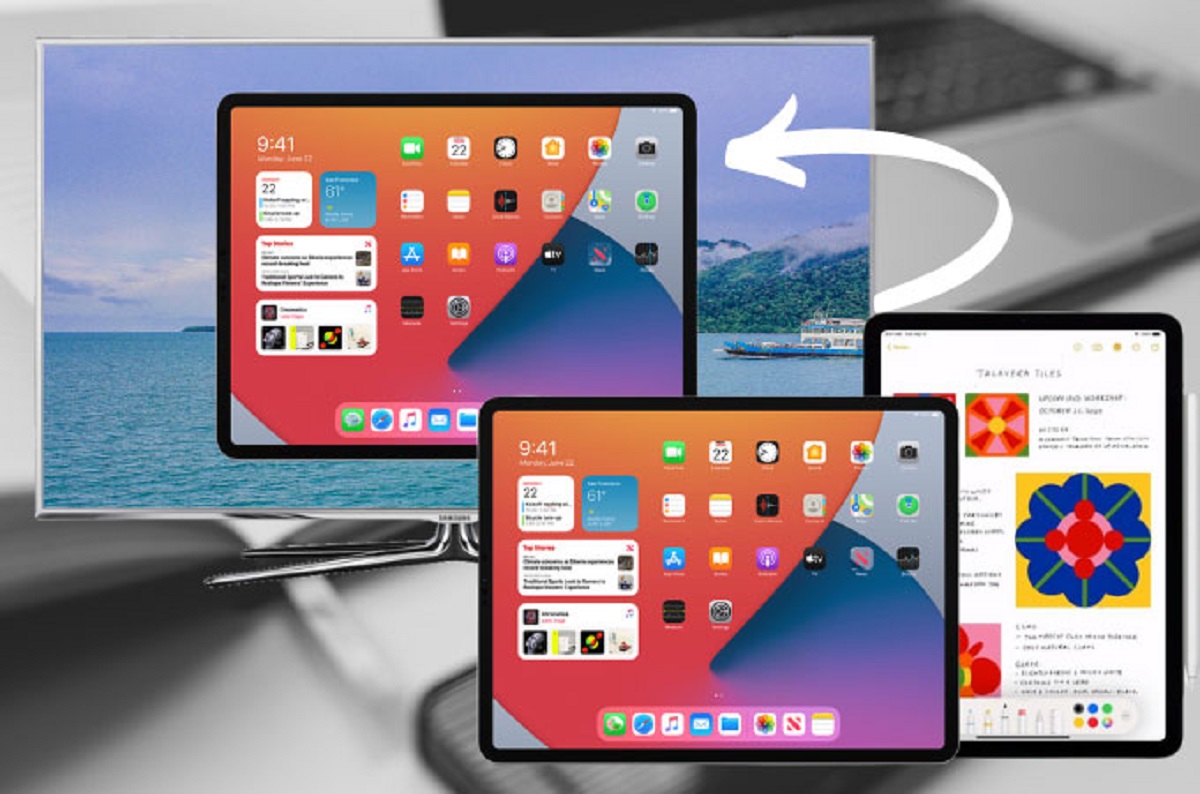
By connecting your iPad to a Smart TV, you can effortlessly mirror the contents of your iPad’s screen, allowing you to enjoy videos, games, and apps on a larger display. Whether you want to share a slideshow of vacation photos with your friends and family or simply relax and watch a movie with a bigger screen and better sound, this guide will help you navigate the process.
Before we dive into the steps, it’s important to note that the specific method for projecting your iPad to a Smart TV may vary depending on the make and model of both your iPad and Smart TV. However, the general principles outlined in this guide should apply to most devices.
In the following sections, we will provide you with a detailed walkthrough of the steps involved in projecting your iPad to a Smart TV. We will discuss how to check the compatibility of your devices, connect them together, and enable screen mirroring. Additionally, we will explore various settings and troubleshooting tips that may come in handy.
So, let’s get started and transform your iPad viewing experience by projecting it to a Smart TV!
Step 1: Check the compatibility of your iPad and Smart TV
Before you begin the process of projecting your iPad to a Smart TV, it’s essential to check the compatibility of your devices. This step ensures that your iPad and Smart TV can communicate with each other effectively.
First, identify the model of your iPad. You can do this by going to the “Settings” app on your iPad and tapping on “General.” From there, select “About” and look for the “Model” or “Model Number” section. Make a note of this information as it will be useful later.
Next, determine the make and model of your Smart TV. This information can usually be found on the back of the TV or in the user manual. Take note of the brand and model number.
Once you have the model information for both your iPad and Smart TV, it’s time to check their compatibility. Start by referring to the user manuals or official websites of both devices. Look for any information regarding screen mirroring or compatibility with external devices.
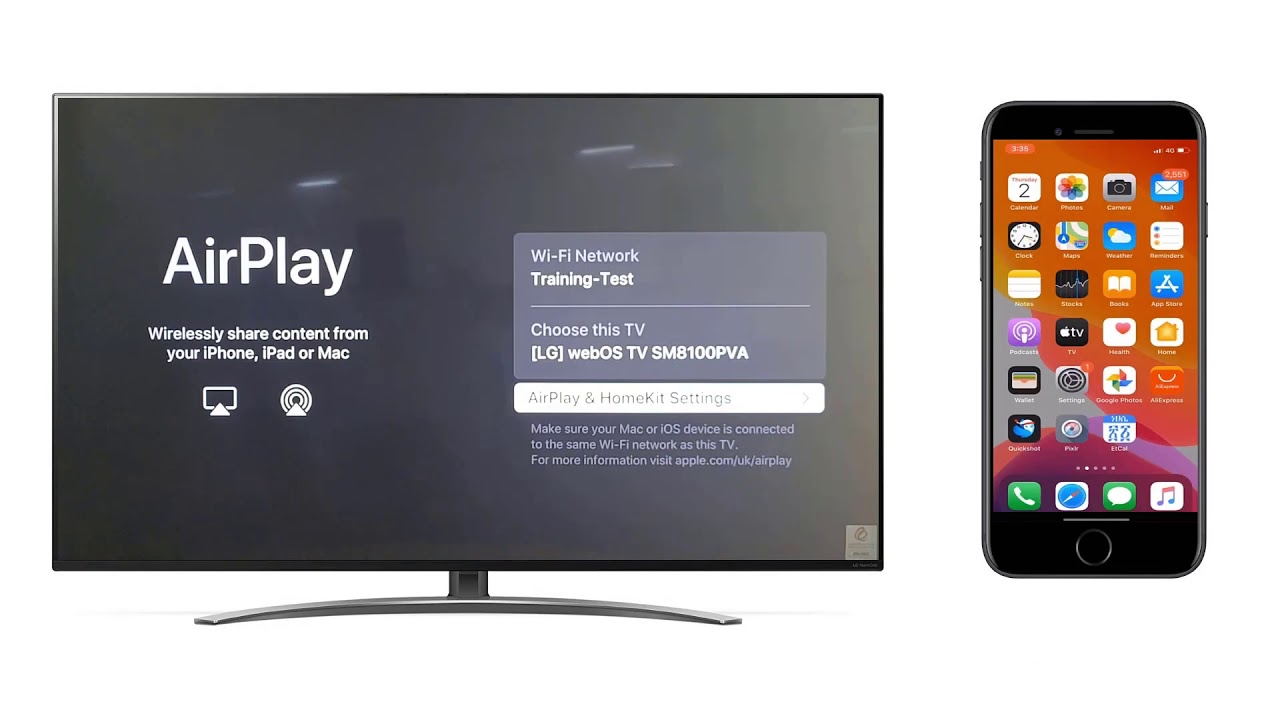
If your devices are from the same manufacturer, such as Apple, there is a higher chance of compatibility. For example, iPads often have built-in screen mirroring features like AirPlay, which can seamlessly connect with Apple TV or compatible Smart TVs.
If you have a non-Apple Smart TV, don’t worry. Many Smart TVs today come with built-in screen mirroring capabilities that can work with various devices, including iPads. Look for terms like “screen mirroring,” “cast,” or “mirror display” in the specifications or features list of your Smart TV.
In some cases, you might need additional hardware or apps to enable screen mirroring. For example, if your Smart TV does not support screen mirroring, you can explore options like using a device-specific adapter (e.g., HDMI adapter for iPads) or third-party apps that facilitate screen mirroring between devices.
By ensuring the compatibility of your iPad and Smart TV, you can proceed confidently to the next steps, knowing that your devices are capable of working together.
Step 2: Connect your iPad and Smart TV
Now that you have confirmed the compatibility of your iPad and Smart TV, it’s time to connect the two devices. Depending on the model of your iPad and Smart TV, there are a few different methods you can use to establish a connection.
One of the most common ways to connect an iPad to a Smart TV is through an HDMI cable. If your Smart TV has an HDMI input port and your iPad supports video output through an HDMI connection, you can purchase an HDMI adapter that is compatible with your iPad model. Connect one end of the HDMI cable to the adapter and the other end to the HDMI input on your Smart TV. Make sure to select the correct HDMI input source on your TV to see the content from your iPad.
If your Smart TV and iPad are both connected to the same Wi-Fi network, another option is to use wireless connectivity to establish the connection. Look for the screen mirroring or casting feature on your Smart TV and enable it. On your iPad, open the Control Center by swiping down from the top-right corner (or up from the bottom if you have an earlier iPad model). Tap the “Screen Mirroring” option and select your Smart TV from the list of available devices.
If you have an Apple TV or a compatible streaming device connected to your Smart TV, you can also use it to mirror your iPad’s screen. Simply connect your iPad and Apple TV to the same Wi-Fi network, and then open the Control Center on your iPad. Tap the “Screen Mirroring” option and choose your Apple TV from the list of available devices.
Some Smart TVs also support wireless mirroring using specific protocols like Chromecast or Miracast. If your Smart TV has support for these protocols, you can follow the instructions provided by the manufacturer to connect your iPad wirelessly.
Once you’ve established the connection between your iPad and Smart TV, you should see your iPad’s content appearing on the bigger screen. You can now enjoy your favorite videos, photos, apps, and games with a more immersive experience.
Remember to refer to the user manuals or online resources for your specific devices if you encounter any issues during the connection process. Troubleshooting steps and additional information may be available.
Step 3: Select the correct input source on your Smart TV
Once you have successfully connected your iPad to your Smart TV, the next step is to select the correct input source on your Smart TV. This ensures that the content from your iPad is displayed on the screen.
First, grab your TV remote and locate the “Input” or “Source” button. Press this button to access the list of input sources available on your Smart TV. Different TV models may have different terminology, so look for terms such as “HDMI,” “Screen Mirroring,” “Cast,” or any specific input related to your iPad.
Scroll through the available input sources and select the one that corresponds to the HDMI port or screen mirroring feature you used to connect your iPad. For example, if you connected your iPad to the HDMI 1 port, select “HDMI 1” as the input source. If you used the screen mirroring feature, look for the option that mentions “Screen Mirroring,” “Cast,” or the name of your iPad device.
As you select the appropriate input source, your Smart TV will switch over to display the content coming from your iPad. It may take a few moments for the connection to establish and the iPad’s screen to appear on the TV. Be patient and wait for the screen mirroring process to complete.
Make sure your iPad is not locked or in sleep mode while attempting to project it to your Smart TV. Keeping the iPad active and unlocked will ensure a smooth connection and uninterrupted display on the TV.
If the content from your iPad doesn’t appear on the Smart TV even after selecting the correct input source, double-check the connection between your iPad and the TV. Ensure that the HDMI cable is securely plugged in or that the wireless connection is stable. You may also want to verify that your iPad’s screen mirroring or casting option is enabled.
By carefully selecting the correct input source on your Smart TV, you can enjoy the content from your iPad on a larger screen, allowing for a more immersive and enjoyable viewing experience.
Step 4: Enable screen mirroring on the iPad
After connecting your iPad to your Smart TV and selecting the correct input source, the next step is to enable screen mirroring on your iPad. This step allows the iPad’s screen to be mirrored and displayed on the Smart TV.
To enable screen mirroring on your iPad, start by opening the Control Center. On newer iPad models without a home button, swipe down from the top-right corner of the screen. On older iPad models with a home button, swipe up from the bottom of the screen.
Once the Control Center is open, you should see a range of options and controls. Look for the “Screen Mirroring” or “AirPlay” button, which resembles a rectangle with a triangle at the bottom. Tap on this button to access the screen mirroring settings.
If your iPad is connected to the same Wi-Fi network as your Smart TV, you should see your Smart TV listed as an available device for screen mirroring. Tap on the name of your Smart TV to establish the connection.
Depending on your iPad and Smart TV, you may be prompted to enter a code or password to verify the connection. Follow the on-screen instructions and enter the necessary information to complete the pairing process.
Once the connection is established, your iPad’s screen should now be mirrored on your Smart TV. Any action you take on your iPad, such as opening apps, playing videos, or browsing the internet, will be visible on the TV screen in real-time.
It’s important to note that some apps or content may not be compatible with screen mirroring due to copyright or licensing restrictions. In such cases, you may encounter a black screen or see an error message on your TV. Additionally, certain apps may have specific requirements or limitations when it comes to screen mirroring. If you encounter any issues with a specific app, refer to the app’s documentation or support resources for more information.
By enabling screen mirroring on your iPad, you can enjoy a seamless and synchronized viewing experience on your Smart TV, making it easier to share and enjoy content with friends, family, or for personal entertainment.
Step 5: Start projecting your iPad to the Smart TV
Now that you have successfully enabled screen mirroring on your iPad and established the connection with your Smart TV, it’s time to start projecting your iPad to the TV screen. This step allows you to enjoy your favorite content on a larger display.
Begin by selecting the app or content you want to project on your iPad. It can be a video streaming app, a photo gallery, a game, or any other multimedia content that you wish to share with the audience on the Smart TV.
Once you have selected the content, it should automatically appear on your Smart TV screen in real-time as you interact with your iPad. For example, if you’re watching a video, you will see it playing on the TV with synchronized sound.
It’s important to note that the content will be projected exactly as it appears on your iPad’s screen. This means that any notifications, status bars, or other elements visible on your iPad will also be visible on the TV. To ensure a distraction-free viewing experience, you may want to adjust the settings on your iPad, such as enabling Do Not Disturb mode or hiding notifications.
While projecting your iPad to the Smart TV, you can also continue to use your iPad’s touchscreen and controls to navigate and interact with the content. Any actions you take on your iPad, such as pausing a video or scrolling through a photo gallery, will be reflected on the TV screen.
If you want to project a different app or content, simply navigate to the desired app or open a different file on your iPad. The new content will seamlessly replace the previously projected content on the Smart TV.
Keep in mind that the quality of the projected image and video may depend on factors such as your internet connection speed, the resolution of the content, and the capabilities of your Smart TV. For the best possible experience, ensure that you have a stable internet connection and try to use high-quality content whenever possible.
By starting to project your iPad to the Smart TV, you can enjoy a more immersive and engaging viewing experience, whether you’re watching movies, sharing photos, playing games, or showing presentations.
Step 6: Adjust settings and screen size on the Smart TV
Once you have started projecting your iPad to the Smart TV, you may want to adjust some settings on the TV to optimize the viewing experience and ensure that the content is displayed correctly. Additionally, you might need to adjust the screen size to fit your preferences or the content being projected.
First, let’s explore the settings options on your Smart TV. Using the TV remote, navigate to the settings menu, which is typically accessible through an icon resembling a gear or a series of horizontal lines.
Within the settings menu, you may find a range of options that allow you to modify the picture and display settings. These settings can include brightness, contrast, color saturation, sharpness, and more. Consider adjusting these settings to your liking and the requirements of the content being projected. Making these adjustments can enhance the visual quality and ensure that the colors and overall display are accurate.
If you find that the projected content is not perfectly aligned or correctly fitting on the TV screen, you may need to adjust the screen size and aspect ratio. In the settings menu or with the remote control, look for options such as “Picture Size,” “Aspect Ratio,” or “Zoom.” Experiment with different settings until you find the one that best fits the content without cutting off any important information or distorting the image.
Sometimes, the aspect ratio of the projected content may not match the aspect ratio of your TV screen. This can result in black bars appearing around the content or a stretched image. In such cases, you may need to adjust the aspect ratio settings on your Smart TV to maintain the correct proportions.
Additionally, some Smart TVs offer advanced features like motion smoothing or motion interpolation. These features can enhance the clarity of fast-moving scenes but may also introduce a soap opera effect or other visual artifacts. If you find the projected content appearing unnaturally smooth or artificial, consider disabling or adjusting these features in the TV settings.
Remember that the available settings and options may vary depending on your Smart TV model. Refer to the user manual or online resources provided by the manufacturer for more information on specific settings and adjustments.
By adjusting the settings and screen size on your Smart TV, you can tailor the projected content to your preferences and ensure the best possible viewing experience for yourself and your audience.
Step 7: Troubleshooting common issues
While projecting your iPad to the Smart TV can be a seamless and enjoyable experience, you may encounter some common issues along the way. In this step, we will explore a few troubleshooting tips to help you resolve these issues and ensure a smooth projection.
1. Poor connectivity or lag: If you notice that the projected content is lagging or experiencing interruptions, make sure that both your iPad and Smart TV are connected to a stable Wi-Fi network. You can try moving closer to the Wi-Fi router or reducing any potential interference from other devices. Additionally, closing unnecessary apps and refreshing the Wi-Fi connection on both devices might improve the connectivity.
2. No sound on the Smart TV: If you can see the content on your Smart TV, but there is no sound, check the audio settings on your iPad. Ensure that the volume is turned up and that the audio is not muted. You can also try adjusting the volume on both the iPad and Smart TV to ensure they are not conflicting. If the issue persists, consider checking the audio settings on the Smart TV, including making sure that the correct audio input is selected.
3. Screen mirroring disconnection: If the screen mirroring connection between your iPad and Smart TV gets disconnected frequently, check for any software updates available for both devices. Updating to the latest software versions can often resolve compatibility issues and improve the stability of the connection.
4. Black screen or distorted image: If you encounter a black screen or notice a distorted image on the Smart TV, double-check the HDMI or wireless connection between your iPad and the TV. Ensure that the cables are securely plugged in or that the wireless connection is stable. In some cases, trying a different HDMI cable or restarting both devices can resolve the issue.
5. Incompatible apps: Not all apps may be compatible with screen mirroring or casting features. If you encounter black screens or error messages when trying to project a specific app, it is likely that the app does not support screen mirroring. In such cases, consider exploring alternative methods or apps specifically designed for mirroring or casting content.
If these troubleshooting tips do not resolve the issue you are facing, consult the user manuals for your iPad and Smart TV, and reach out to the respective customer support or technical assistance teams for further guidance.
By being aware of these common issues and having the tools to troubleshoot them, you can overcome any obstacles that may arise during the process of projecting your iPad to the Smart TV, ensuring a seamless and enjoyable viewing experience.
Conclusion
Projecting your iPad to a Smart TV opens up a world of possibilities, allowing you to enjoy your favorite videos, photos, games, and apps on a larger screen. By following the steps outlined in this guide, you can easily connect your iPad to a Smart TV and start enjoying a more immersive viewing experience.
By checking the compatibility of your devices, connecting them correctly, and enabling screen mirroring, you can seamlessly project your iPad’s screen onto the Smart TV. Adjusting settings on both your iPad and Smart TV ensures optimal picture quality and screen size for an enhanced viewing experience.
If you encounter any issues along the way, refer to the troubleshooting tips provided to address common connectivity, audio, and display problems. Remember to consult the user manuals or contact customer support for your specific devices for further assistance.
With the power of screen mirroring, you can gather friends and family for a movie night, share memorable vacation photos, or showcase your favorite apps and games on a big screen. The possibilities are endless, and it’s all within your reach by leveraging the capabilities of your iPad and Smart TV.
Now it’s time to grab your iPad, connect it to your Smart TV, and immerse yourself in a whole new level of entertainment and enjoyment. Sit back, relax, and let your iPad take center stage on the big screen!


