Introduction
Welcome to this comprehensive guide on how to program the Logitech M510 mouse. The Logitech M510 is a popular wireless mouse that offers a range of customization options to enhance your productivity and browsing experience. Whether you’re a gamer looking to assign macros to the mouse buttons or just a regular user wanting to personalize the scrolling and pointer speed, this guide has got you covered.
Setting up and programming the Logitech M510 mouse is a straightforward process that can be done by following a few simple steps. In this article, we will walk you through each step, from unboxing the mouse to customizing its advanced features. By the end of this guide, you’ll have a fully optimized Logitech M510 mouse that caters to your specific needs and preferences.
The Logitech M510 mouse is compatible with various operating systems, including Windows, macOS, Chrome OS, and Linux. Whether you’re using a desktop computer, laptop, or tablet, you’ll be able to enjoy the benefits of this versatile and ergonomic mouse. From browsing the web and navigating documents to gaming and editing, the Logitech M510 offers a comfortable and responsive experience.
Before we dive into the step-by-step instructions, it’s essential to ensure that you have all the necessary resources handy. Make sure you have the Logitech M510 mouse, the Logitech Options software, and a USB port or Bluetooth connectivity on your device. Once you have everything ready, let’s proceed with unboxing the Logitech M510 mouse and getting started with the programming process.
Step 1: Unboxing the Logitech M510 Mouse
Before you can start programming and customizing your Logitech M510 mouse, the first step is to unbox it. The Logitech M510 comes neatly packaged in a cardboard box, and inside you’ll find the mouse, a USB receiver (if it’s the wireless version), and the required batteries.
Begin by opening the box carefully, ensuring that you don’t damage any of the contents. You may find some packaging material inside, such as cardboard inserts or plastic wrapping, which can be safely removed and discarded.
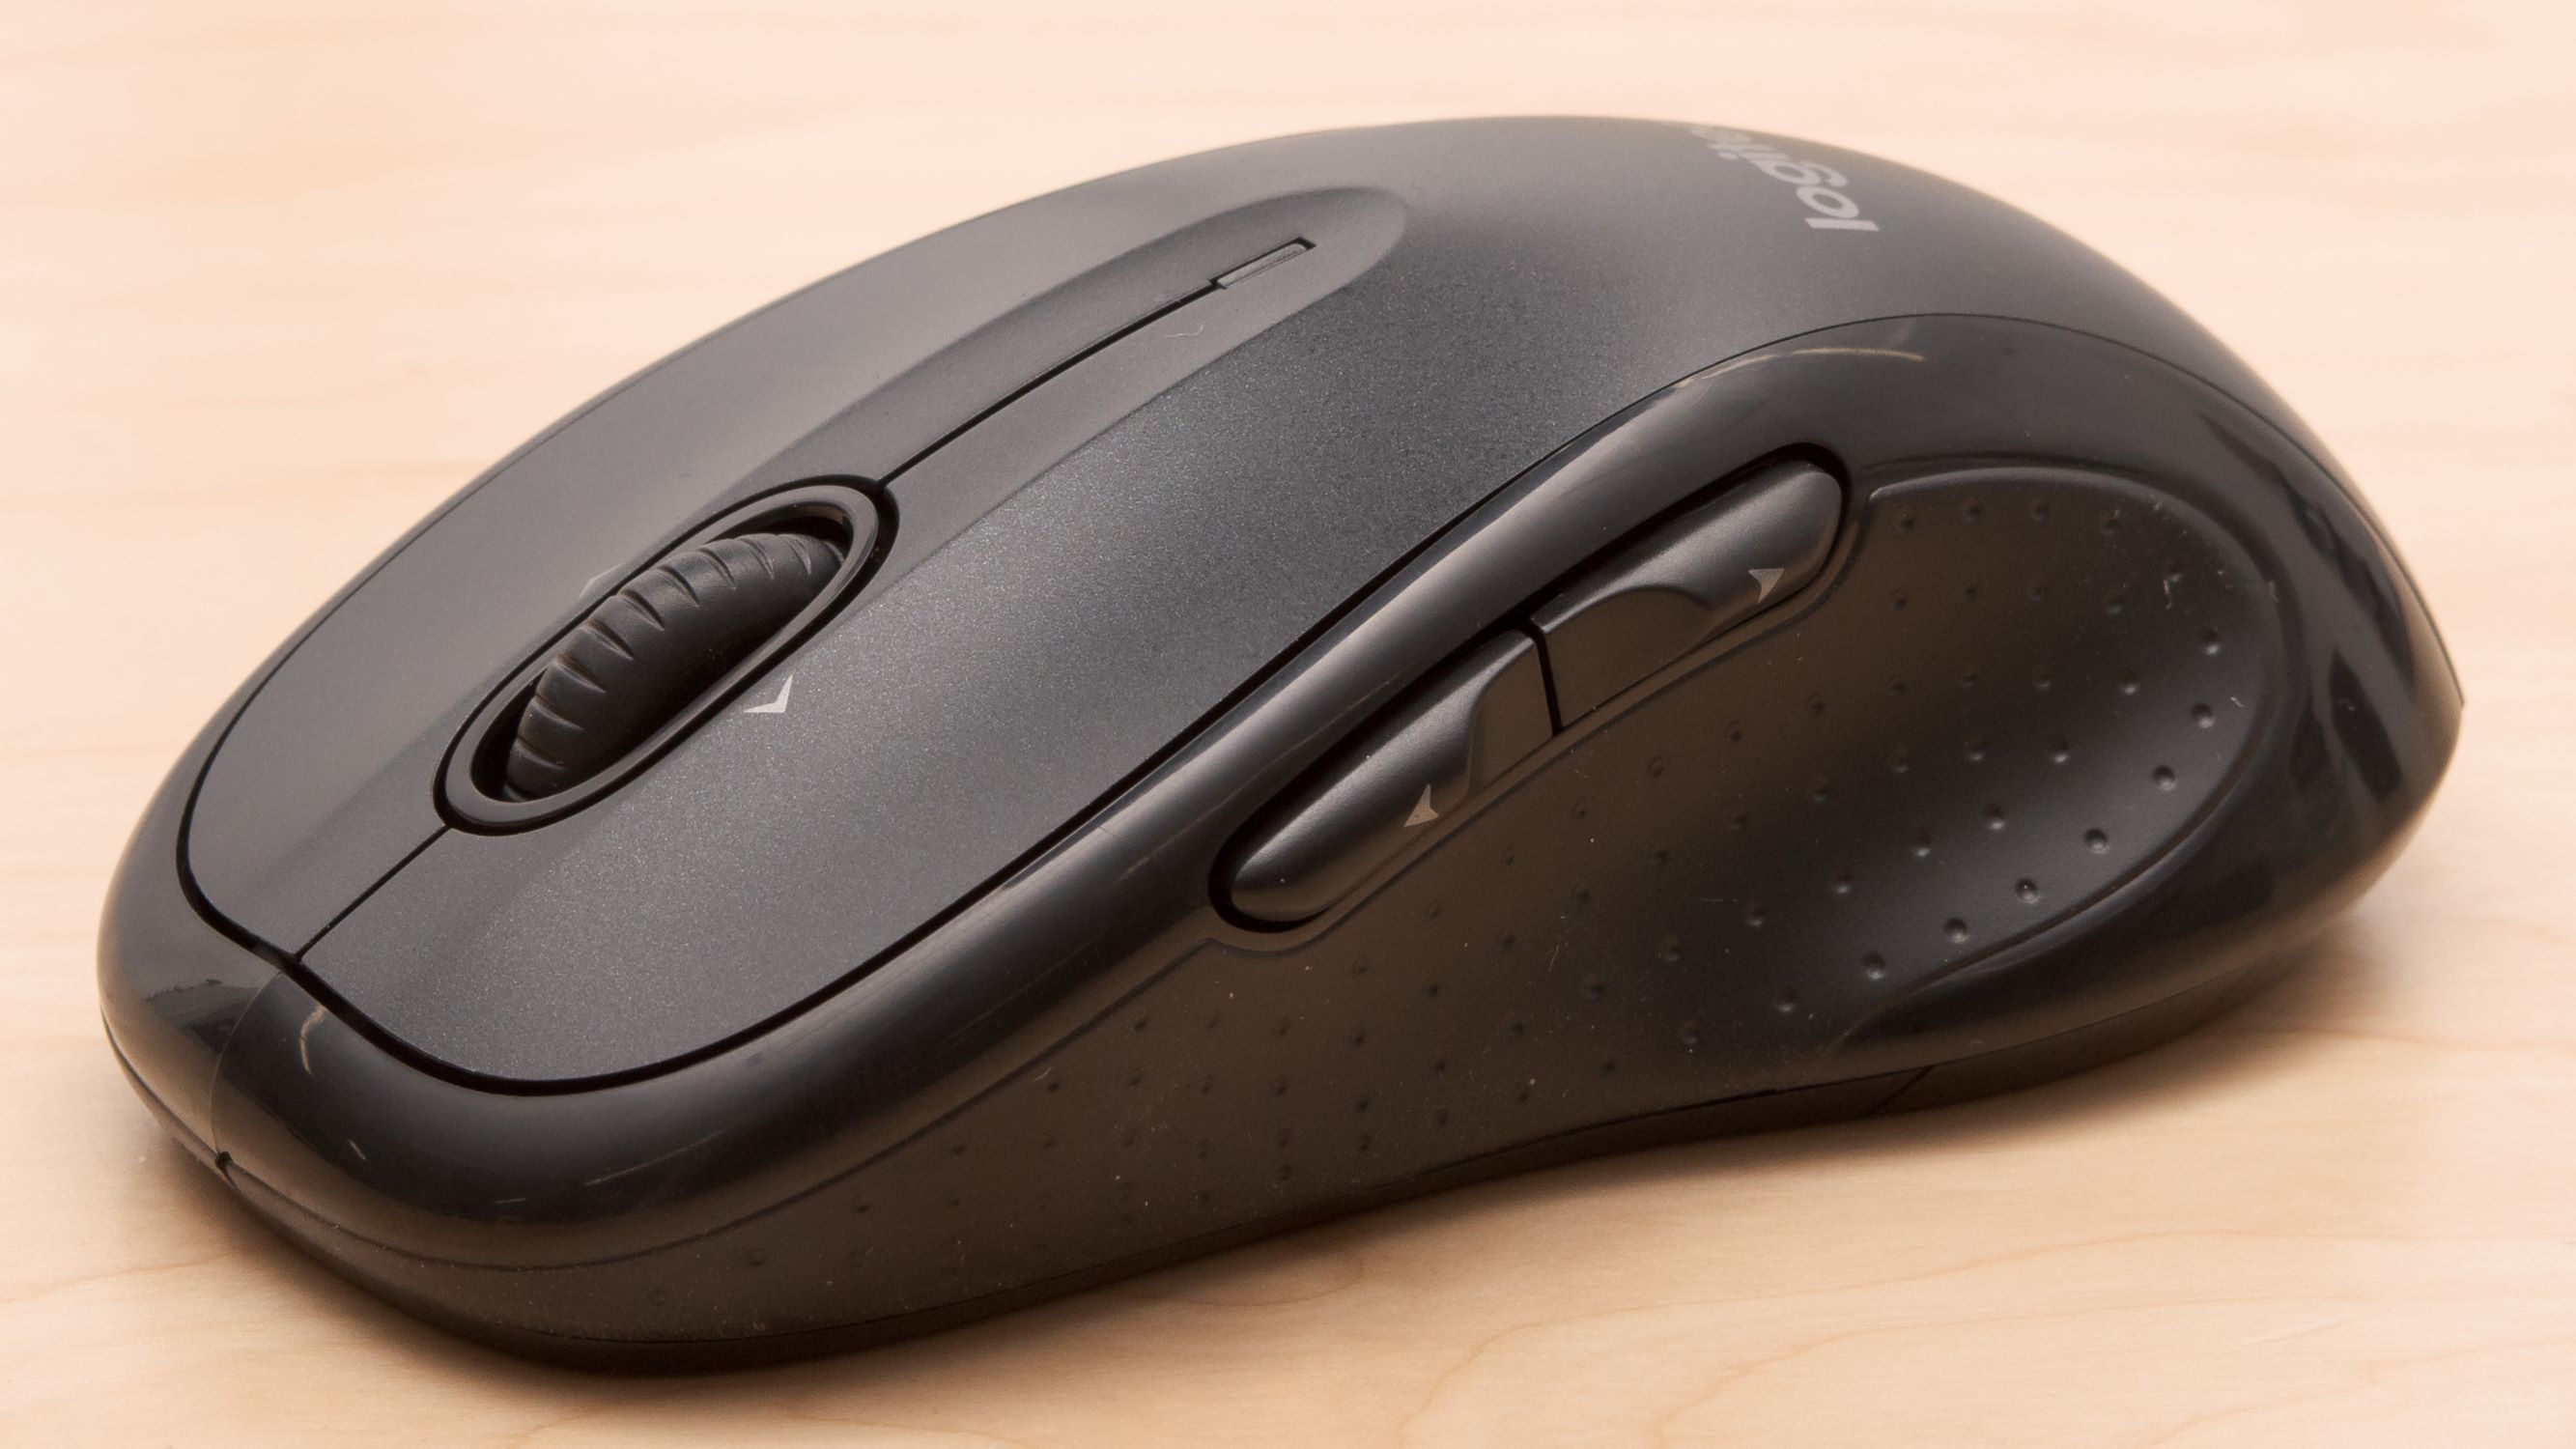
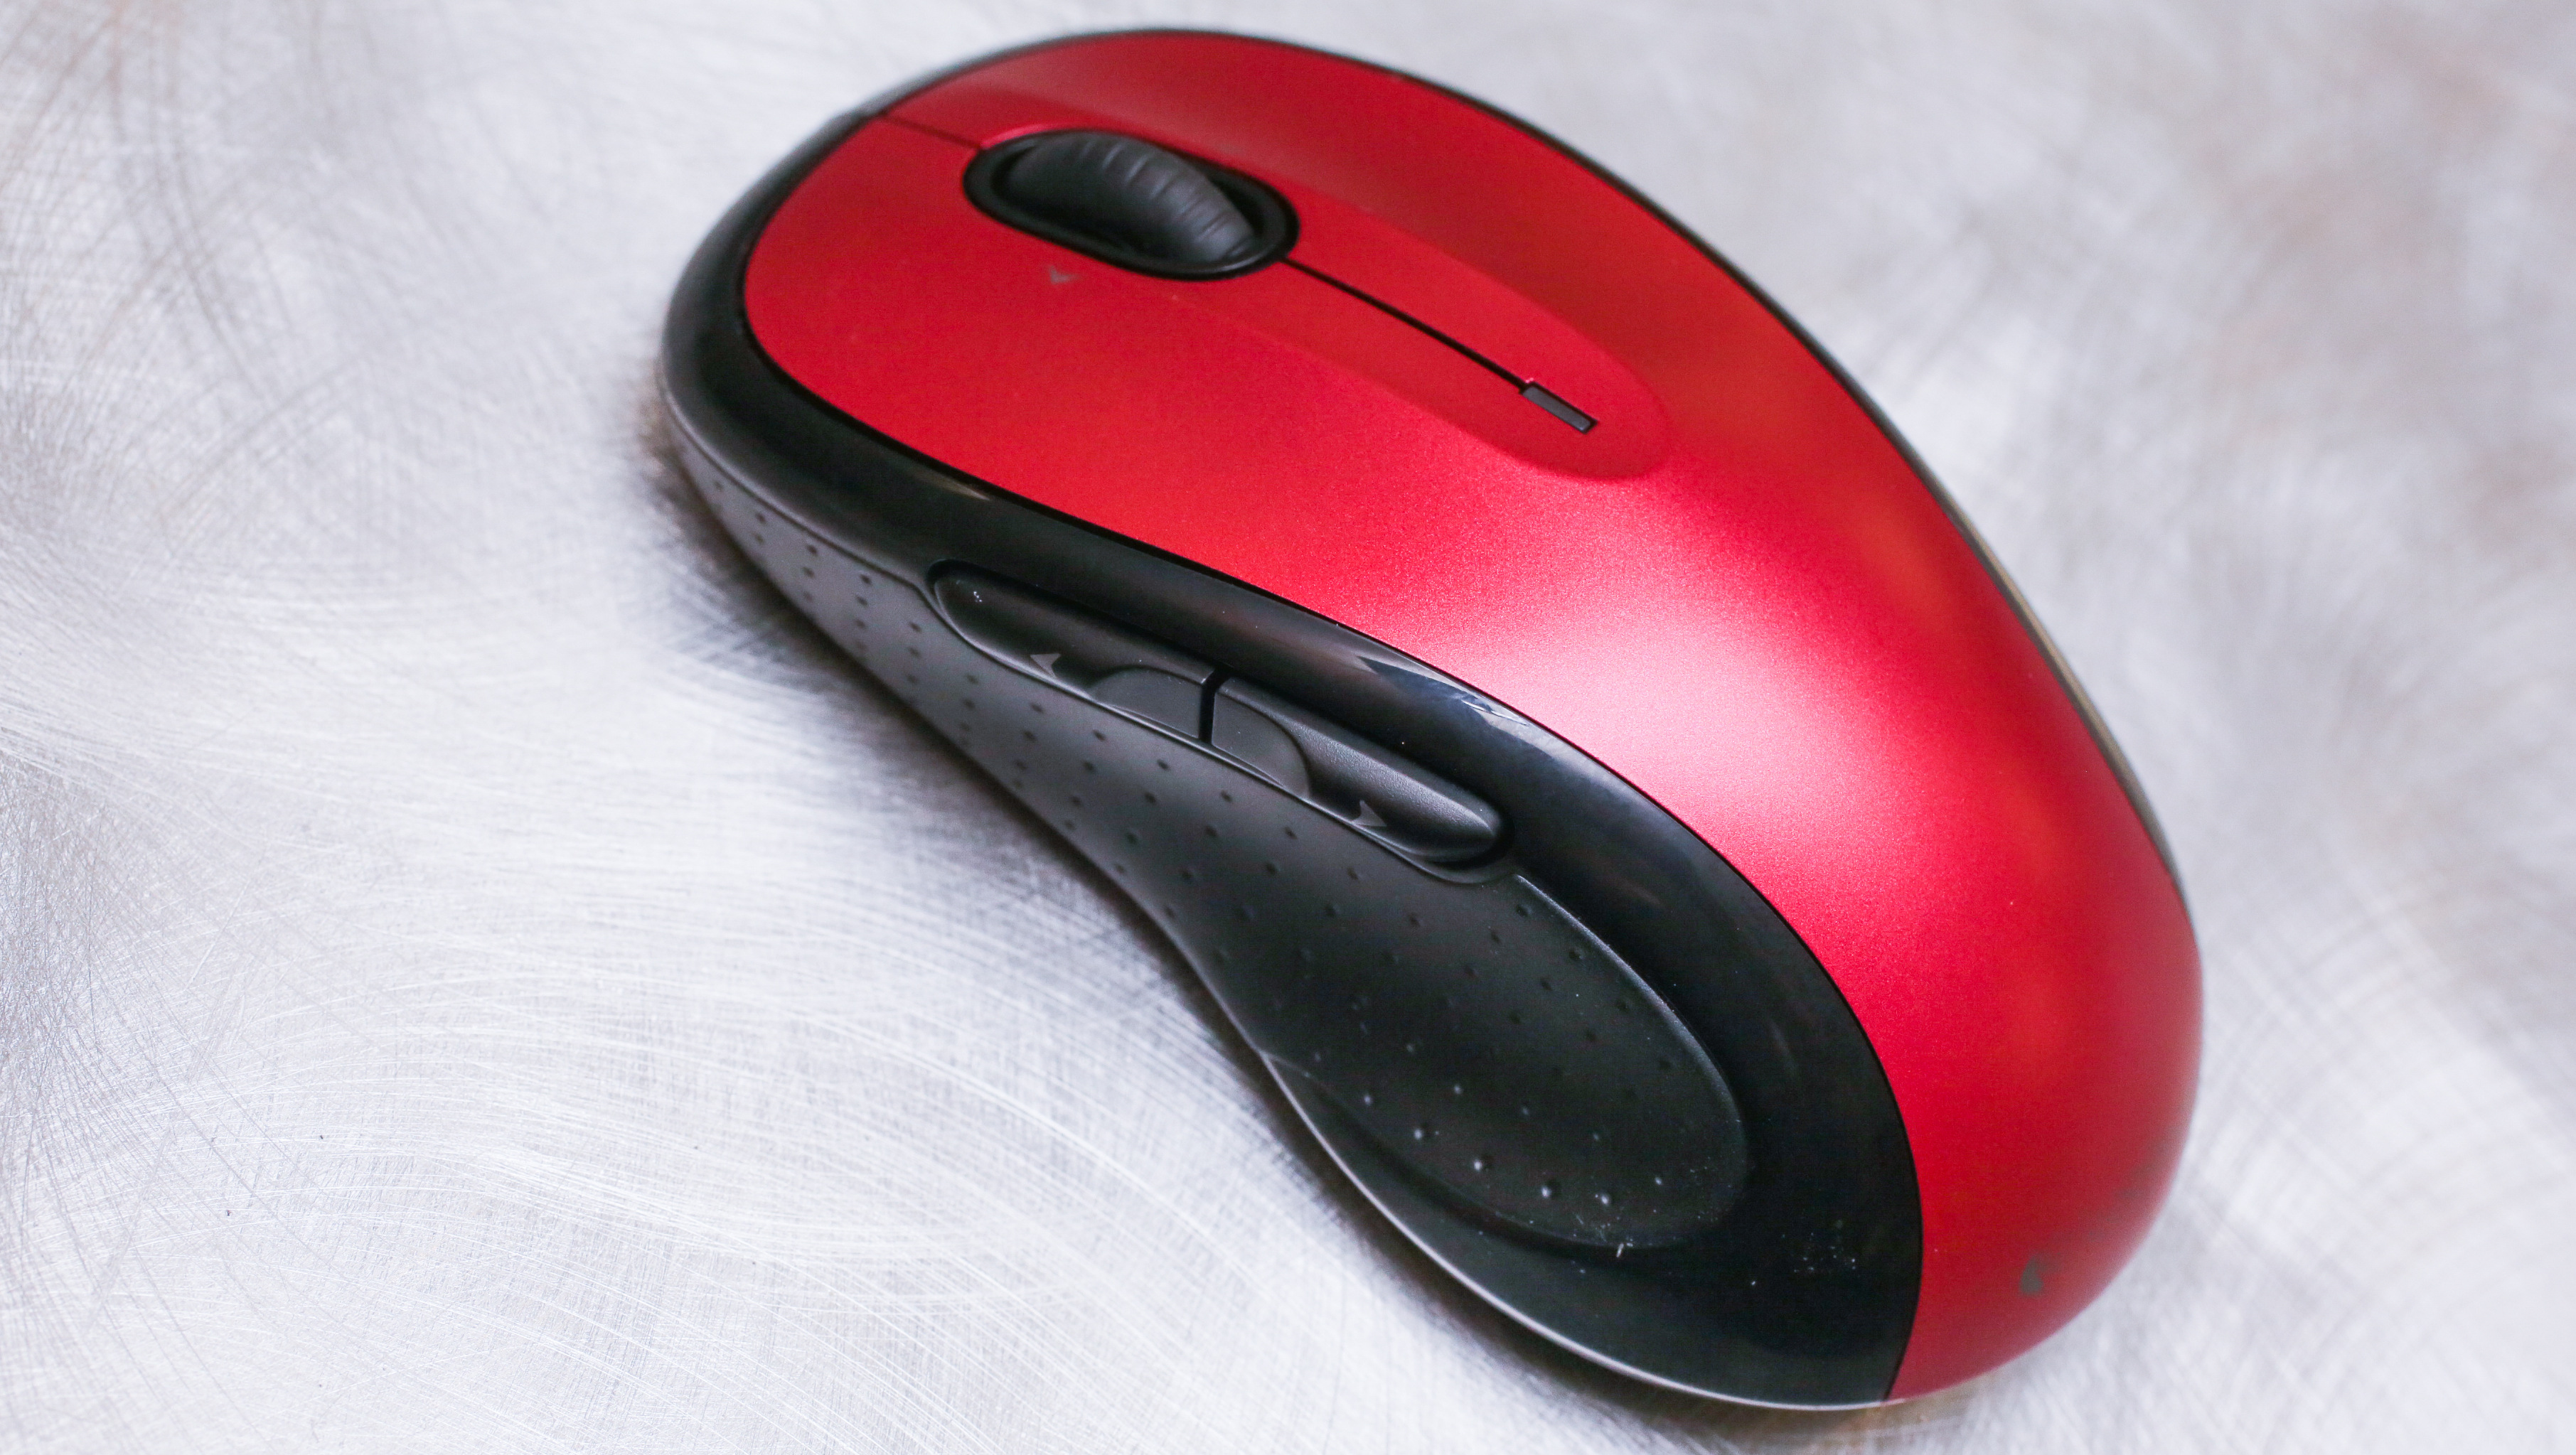
Next, take out the Logitech M510 mouse from the box. Take a moment to appreciate its sleek design and ergonomic shape. The mouse is designed to fit comfortably in your hand, providing a natural grip and reducing strain during extended use.
If your Logitech M510 mouse is the wireless version, you’ll find a USB receiver included in the packaging. This receiver allows you to connect the mouse wirelessly to your device. Remove the receiver from its protective covering and set it aside for now.
Additionally, check for the batteries that are required to power the Logitech M510 mouse. The mouse typically uses two AA batteries. If the batteries are included, great! Otherwise, you’ll need to provide your own. We recommend using high-quality batteries for optimal performance.
Now that you have unboxed the Logitech M510 mouse and gathered all the necessary components, you’re ready to move on to the next step: installing the Logitech Options software.
Step 2: Installing Logitech Options Software
In order to fully unleash the customization potential of your Logitech M510 mouse, you need to install the Logitech Options software. This software allows you to personalize and program the mouse buttons, adjust settings, and access advanced features.
To begin the installation process, visit the Logitech website and navigate to the official Logitech M510 product page. Look for the “Support” or “Downloads” section, where you’ll find the Logitech Options software specifically designed for the M510 mouse. Click on the download link to start the installation.
Once the download is complete, locate the installer file on your computer and double-click to run it. Follow the on-screen instructions provided by the installer, and make sure to read and accept the terms and conditions before proceeding.
During the installation, you may be prompted to connect your Logitech M510 mouse to your computer. If it’s a wireless mouse, insert the USB receiver into an available USB port on your device. The receiver will automatically establish a connection with the mouse. If your M510 mouse is connected via Bluetooth, ensure that your computer has Bluetooth capabilities and follow the pairing instructions provided by the software.
Once the installation is complete, you can launch the Logitech Options software. You may find a shortcut on your desktop or in the Start menu, or you can search for it using the Windows search function. On macOS, the software can be found in the Applications folder.
Upon launching the Logitech Options software, it should automatically detect your connected Logitech M510 mouse and display it in the software’s interface. If you have multiple Logitech devices connected, make sure to select the M510 mouse from the list.
Congratulations! You have successfully installed the Logitech Options software, paving the way for customizing and programming your Logitech M510 mouse to suit your preferences and needs. Now, let’s move on to the next step: connecting the mouse to your device.
Step 3: Connecting the Mouse to Your Device
Now that you have installed the Logitech Options software, it’s time to connect your Logitech M510 mouse to your device. The process of connecting the mouse will depend on whether you are using the wireless or Bluetooth version.
Wireless Version:
If you have the wireless version of the Logitech M510 mouse, start by ensuring that the USB receiver is properly inserted into an available USB port on your device. The receiver is small and can be plugged directly into a USB port. Once inserted, your computer should automatically recognize the receiver and establish a connection with the mouse.
Bluetooth Version:
If you are using the Bluetooth version of the Logitech M510 mouse, make sure that Bluetooth is enabled on your device. Consult the user manual or the manufacturer’s website for instructions specific to your device on how to enable Bluetooth.
Next, put your Logitech M510 mouse in pairing mode. The exact method will vary depending on the model, so refer to the user manual for specific instructions. In general, you’ll usually need to press and hold the Bluetooth button on the underside of the mouse until the LED light starts flashing, indicating that it’s ready for pairing.
On your device, navigate to the Bluetooth settings and select the option to add a new device. It should start scanning for available Bluetooth devices. Once your Logitech M510 appears in the list, select it to initiate the pairing process. Follow the on-screen instructions to complete the pairing.
Once the connection is established, your Logitech M510 mouse is ready to use.
Now that you have successfully connected the Logitech M510 mouse to your device, it’s time to move on to the next step: customizing the mouse buttons and scrolling.
Step 4: Customizing the Mouse Buttons and Scrolling
One of the great features of the Logitech M510 mouse is the ability to customize the buttons and scrolling to suit your personal preferences and workflow. With the Logitech Options software installed and the mouse connected to your device, you can now begin customizing the mouse buttons and scrolling.
To start customizing, launch the Logitech Options software and make sure that your Logitech M510 mouse is selected. The interface will display the available customization options for your mouse.
First, let’s customize the mouse buttons. The Logitech M510 mouse typically has programmable buttons on the side, which can be assigned various functions. These buttons can be configured to perform specific actions, such as navigating forward and backward in web browsers, launching applications, or executing macros.
In the Logitech Options software, locate the section for button customization. You’ll be presented with a visual representation of your Logitech M510 mouse, where you can click on the desired buttons to assign functions. Choose from the available options or create custom shortcuts by selecting “Add Application” or “Add Keystroke.” Experiment with different configurations to find what works best for you.
Next, let’s customize the scrolling. The Logitech M510 mouse features a scroll wheel that allows you to navigate through documents and websites. With the Logitech Options software, you can adjust the scrolling speed and direction according to your preference.
In the Logitech Options software, find the scrolling section. You’ll have the option to choose between smooth scrolling and stepped scrolling. Smooth scrolling provides a seamless scrolling experience, while stepped scrolling offers defined increments for more precise navigation. Adjust the scrolling speed using the slider provided.
Additionally, if your Logitech M510 mouse has side-to-side scrolling capability, you can enable or disable this feature in the software as well.
Once you are satisfied with your button and scrolling customizations, click “Apply” or “OK” to save the settings. Your Logitech M510 mouse is now tailored to your specific preferences and workflows.
Now that you have customized the mouse buttons and scrolling, it’s time to move on to the next step: adjusting pointer speed and sensitivity.
Step 5: Adjusting Pointer Speed and Sensitivity
Having precise control over the pointer speed and sensitivity of your Logitech M510 mouse is crucial for a comfortable and responsive user experience. In this step, we will guide you through the process of adjusting the pointer speed and sensitivity to your liking.
To begin, make sure you have the Logitech Options software running and your Logitech M510 mouse selected. Locate the pointer settings section, where you’ll find options to modify the pointer speed and sensitivity.
The pointer speed determines how quickly the cursor moves across the screen when you move the mouse. You can increase or decrease the speed based on your preference and the desired level of cursor movement. Use the slider provided in the Logitech Options software to adjust the pointer speed. You can test the new speed by moving your mouse and observing the cursor’s movement on the screen.
In addition to pointer speed, the sensitivity of the Logitech M510 mouse controls how much movement is required to register a cursor movement on the screen. Adjusting the sensitivity allows you to fine-tune the responsiveness of the mouse to better match your hand movement. Again, use the slider provided in the Logitech Options software to modify the sensitivity. Experiment with different sensitivity levels until you find the one that feels most comfortable and accurate for your use.
As you make changes to the pointer speed and sensitivity, the Logitech Options software may offer additional options to enhance precision. These options might include adjusting the acceleration or enabling a precision mode, which slows down the cursor movement for more precise selections. Explore these settings to further refine your pointer control.
Once you are satisfied with your adjustments, click “Apply” or “OK” to save the settings. Your Logitech M510 mouse now offers a customized pointer speed and sensitivity to improve your overall navigation and productivity.
Now that you have adjusted the pointer speed and sensitivity, let’s move on to the next step: configuring advanced features of your Logitech M510 mouse.
Step 6: Configuring Advanced Features
The Logitech M510 mouse offers a range of advanced features that can further enhance your productivity and user experience. In this step, we will explore how to configure these advanced features using the Logitech Options software.
Open the Logitech Options software and make sure that your Logitech M510 mouse is selected. Navigate to the section that provides access to the advanced features of the mouse.
One of the advanced features of the Logitech M510 mouse is the ability to configure scrolling modes. With the Logitech Options software, you can customize the scroll wheel to operate in either a smooth or ratchet mode. Smooth scrolling allows for continuous, fluid scrolling, while ratchet scrolling provides more defined increments.
Another advanced feature is the ability to set gestures on the Logitech M510 mouse. Gestures allow you to perform specific actions by swiping or tapping on the mouse surface. For example, you can set up a gesture to open a specific application or perform a certain function. Explore the Logitech Options software to configure and enable gestures that align with your workflow.
If your Logitech M510 mouse has additional buttons or features, such as a back or forward button or horizontal scrolling, you can customize these functionalities as well. Use the Logitech Options software to assign specific actions or shortcuts to these buttons, tailoring them to your needs.
Some Logitech M510 mice also offer support for Logitech Flow, a feature that allows you to seamlessly control multiple computers with a single mouse. If you have multiple computers in your setup, check the Logitech Options software to see if your M510 mouse is compatible with Logitech Flow. If it is, configure the settings to enable this powerful functionality.
Take some time to explore and experiment with the advanced features provided by the Logitech M510 mouse and the Logitech Options software. Customize the mouse to suit your workflow and make your daily tasks more efficient and enjoyable.
Once you have finished configuring the advanced features, it’s time to move on to the next step: updating and troubleshooting your Logitech M510 mouse.
Step 7: Updating and Troubleshooting the Mouse
Regularly updating the firmware of your Logitech M510 mouse is essential to ensure optimal performance and compatibility with the latest software updates. Additionally, if you encounter any issues or difficulties with your mouse, troubleshooting steps can help resolve them. In this step, we will cover how to update and troubleshoot your Logitech M510 mouse.
To update the firmware of your Logitech M510 mouse, start by launching the Logitech Options software. If there is an available firmware update for your mouse, you will be notified within the software. Follow the on-screen instructions to initiate the update process. Ensure that your mouse is connected to your computer during the update, and avoid interrupting the process to prevent any complications.
If you experience any issues with your Logitech M510 mouse, troubleshooting can help identify and resolve the problem. Start by checking the battery levels of your mouse if it’s wireless. Low battery levels can cause connectivity problems and erratic behavior. Replace the batteries if necessary, and ensure they are correctly inserted in the battery compartment.
Next, try reconnecting the mouse to your device. If you are using the wireless version, remove the USB receiver and reinsert it into a different USB port. If you are using the Bluetooth version, ensure that Bluetooth is enabled on your device and follow the pairing instructions provided earlier.
If the mouse continues to experience issues, try using it on a different surface. Optical mice like the Logitech M510 can sometimes struggle on certain surfaces, such as glass or uneven textures. Use a mouse pad or try a different desk surface to see if it improves the mouse’s performance.
In some cases, resetting the mouse to its default settings can resolve minor issues. Look for the option to reset or restore defaults within the Logitech Options software and follow the instructions provided.
If none of the troubleshooting steps above solve the problem, visit the Logitech support website or contact Logitech customer support for further assistance. They will be able to provide you with more specific troubleshooting steps or guide you through any potential hardware issues.
Remember to regularly update the Logitech Options software to ensure compatibility with your operating system and any new features or improvements.
With these troubleshooting steps, you can keep your Logitech M510 mouse running smoothly and address any issues you encounter along the way.
Congratulations! You have completed the steps to program and customize your Logitech M510 mouse. By unboxing, installing software, customizing buttons and scrolling, adjusting pointer speed and sensitivity, configuring advanced features, and updating and troubleshooting, you have unlocked the full potential of your Logitech M510 mouse.
Conclusion
Congratulations on successfully programming and customizing your Logitech M510 mouse! By following the steps outlined in this guide, you have transformed your mouse into a personalized tool that caters to your specific needs and preferences. Let’s recap the key points covered throughout this process.
First, we unboxed the Logitech M510 mouse, taking care to remove any packaging materials and familiarizing ourselves with its ergonomic design. Then, we proceeded to install the Logitech Options software, which unlocked a wide range of customization options.
Next, we connected the mouse to our device either through a USB receiver or via Bluetooth, ensuring a secure and reliable connection. With the mouse successfully connected, we moved on to customizing the mouse buttons and scrolling. By assigning specific functions to the programmable buttons and adjusting the scrolling speed and direction, we tailored the mouse to suit our unique workflow.
Furthermore, we fine-tuned the pointer speed and sensitivity to achieve precise and responsive cursor movement. This adjustment enhanced our overall navigation and productivity.
In the next step, we explored the advanced features of the Logitech M510 mouse. Configuring scrolling modes, setting up gestures, and customizing additional buttons allowed us to further optimize our mouse experience.
Once our customization was complete, we moved on to ensuring the firmware of our mouse was up to date, and we troubleshooted any issues that may have arisen. We checked battery levels, reconnected the mouse, tested different surfaces, and performed a reset if necessary. If the issues persisted, we sought assistance from Logitech support for further guidance.
By completing these steps, you have unlocked the full potential of your Logitech M510 mouse. Its personalized settings and advanced features are now ready to serve you in your daily tasks, whether it’s navigating documents, browsing the web, or gaming.
Remember to periodically check for software updates and explore new features that Logitech may release for your mouse model. Regular maintenance and care will ensure the long-lasting performance of your Logitech M510 mouse.
Thank you for following this guide, and we hope you enjoy your customized Logitech M510 mouse experience!