Introduction
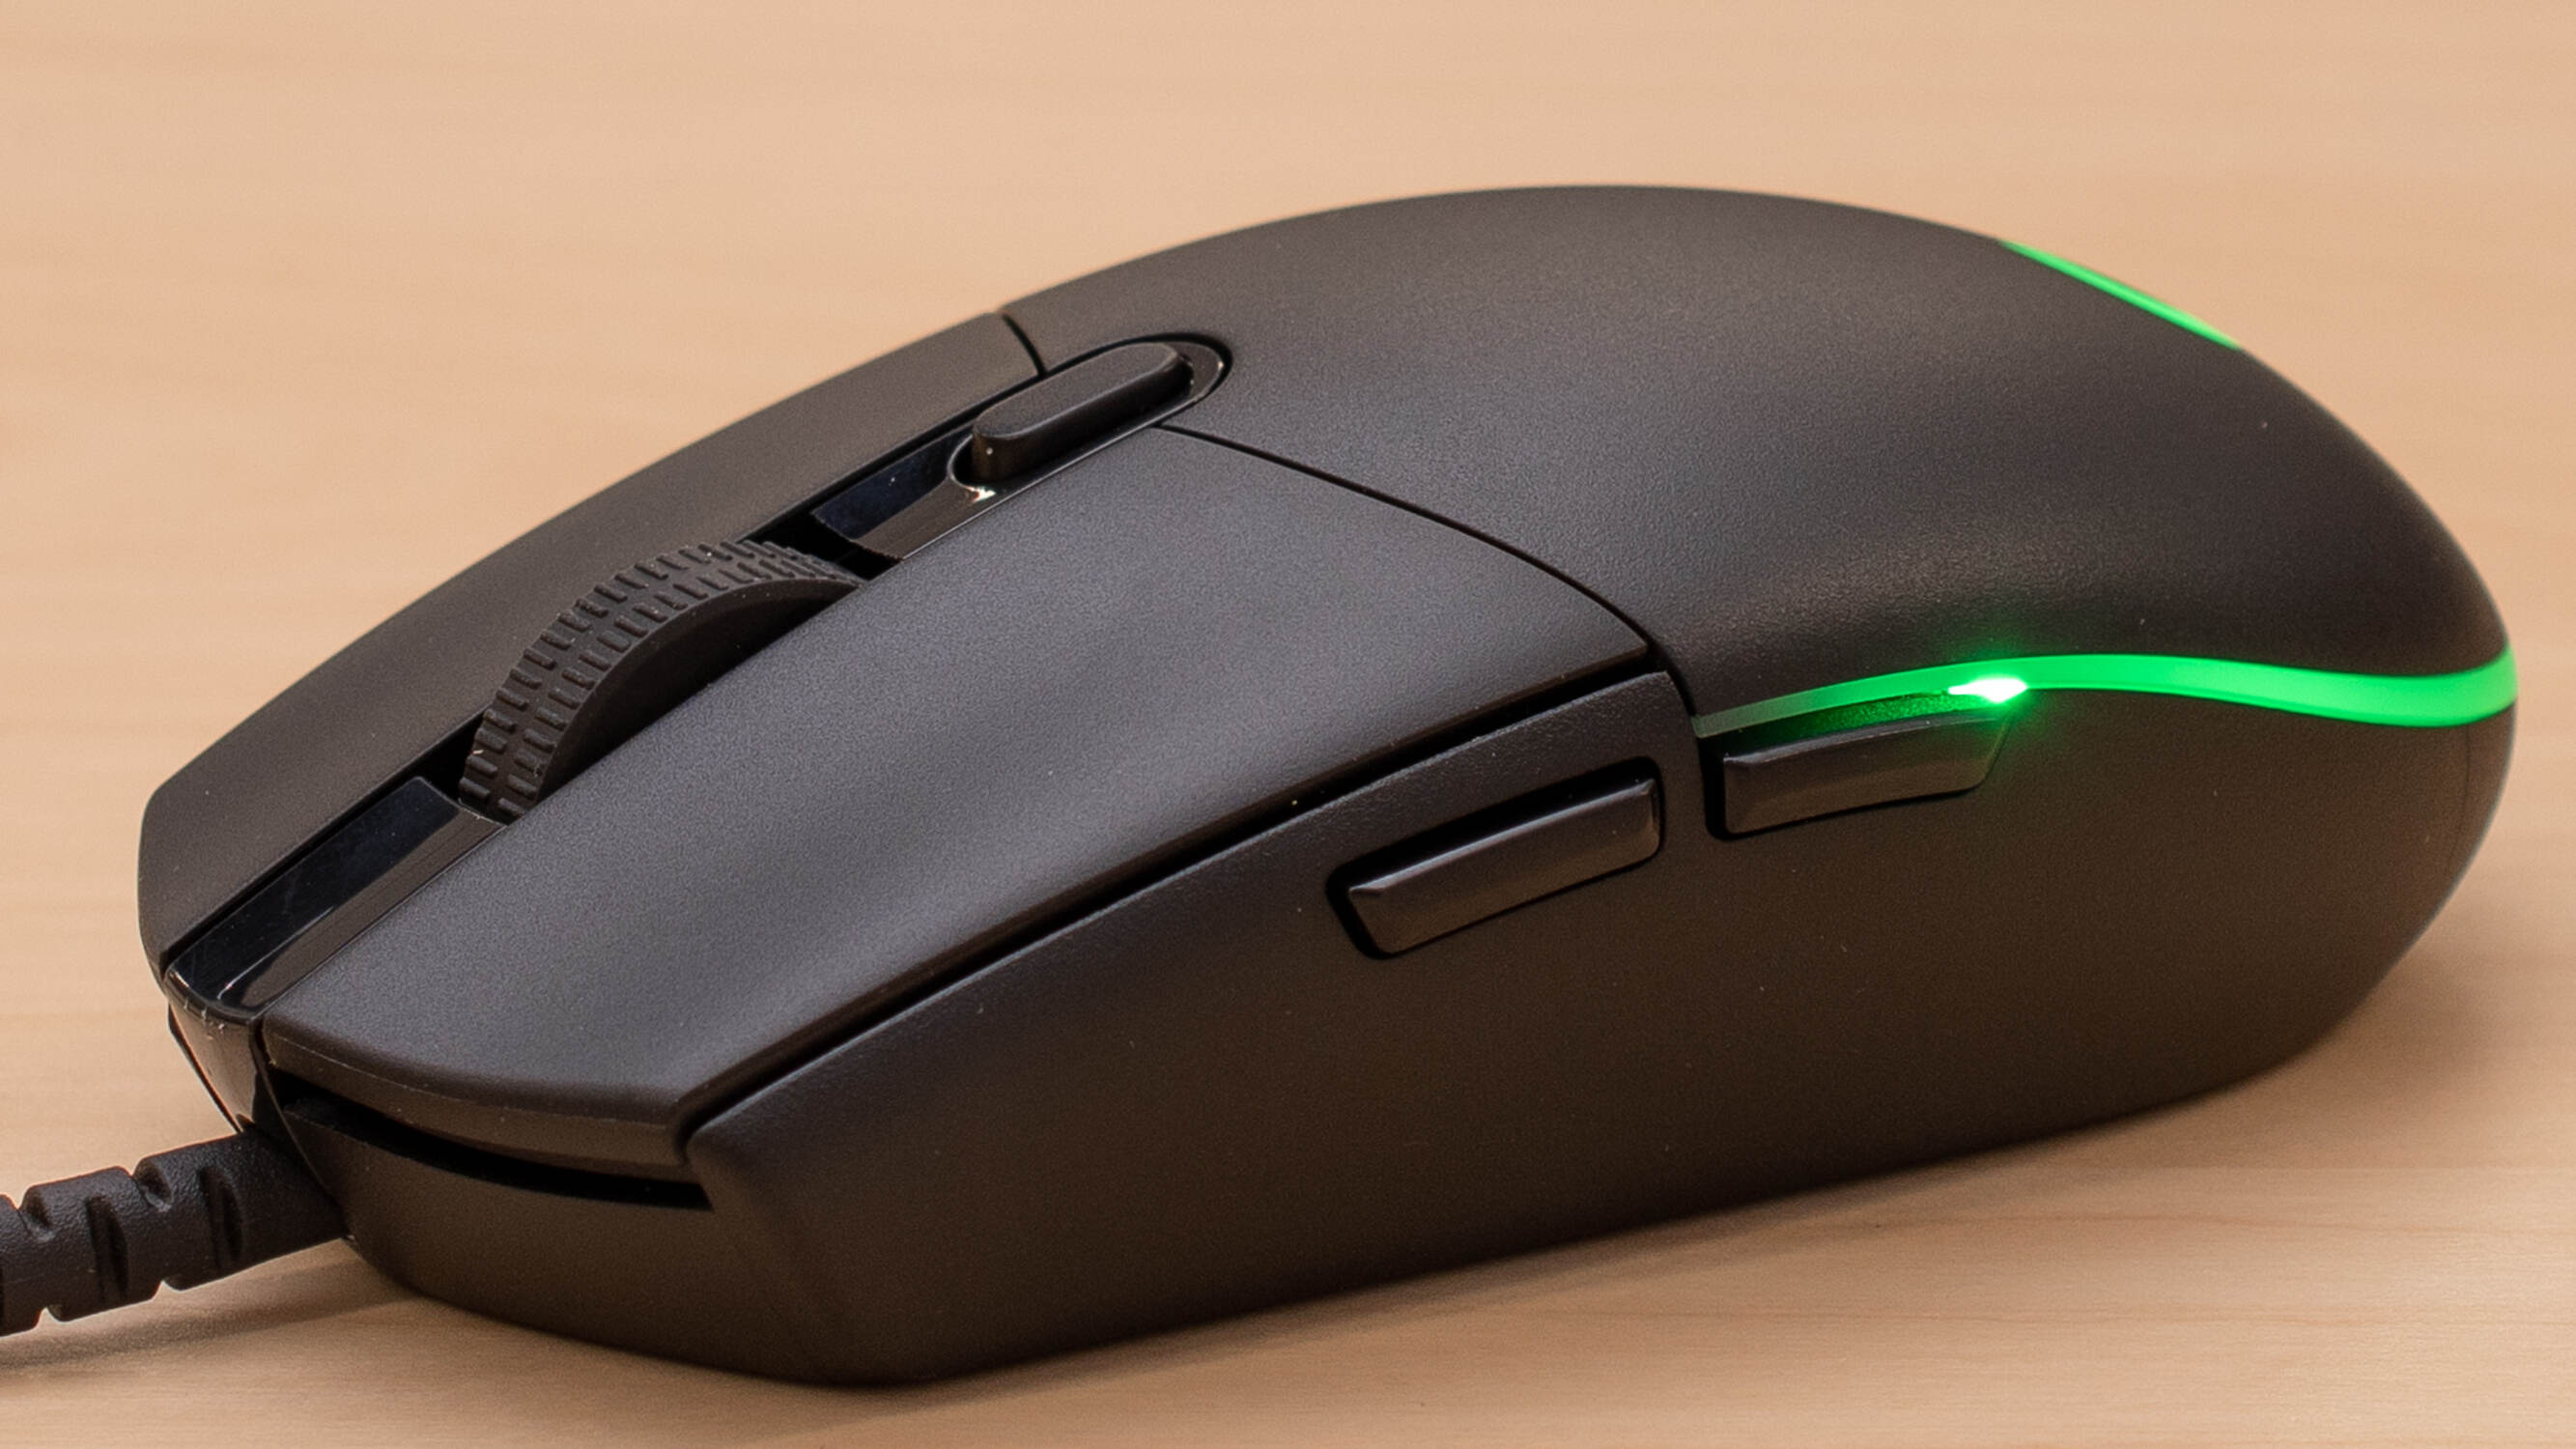
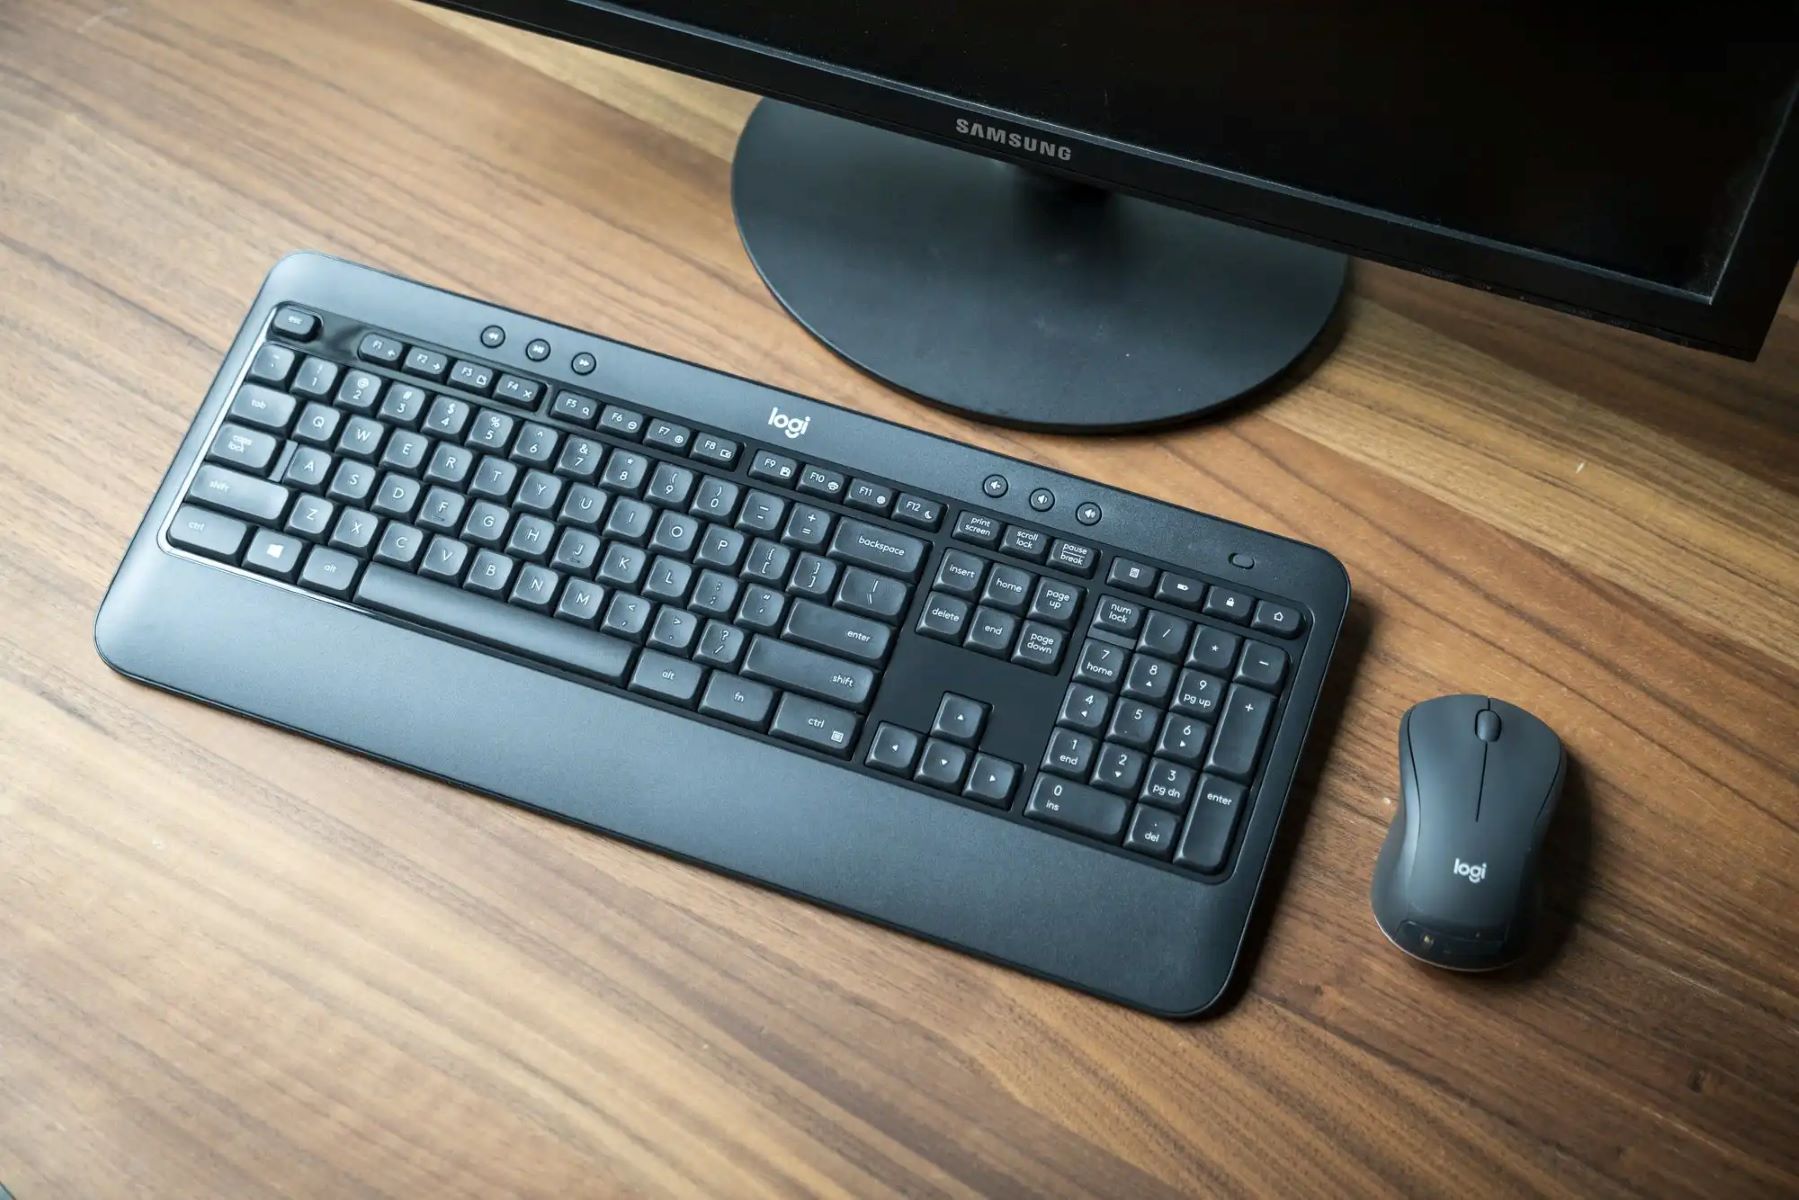
Logitech is a renowned brand known for producing high-quality computer peripherals, including gaming mice. One of the standout features of Logitech mice is their ability to customize the color of the mouse. This feature not only adds a touch of personalization but also enhances the overall gaming experience.
Changing the color on your Logitech mouse is a simple and straightforward process. With the help of the Logitech Gaming Software, you can easily customize the color settings to match your preference or gaming setup. Whether you want a vibrant and eye-catching color or a subtle and elegant one, the choice is entirely up to you.
In this article, we will guide you through the step-by-step process of changing the color on your Logitech mouse. We will walk you through the installation of the Logitech Gaming Software, connecting your mouse, and accessing the lighting settings. Additionally, we will show you how to choose a color effect and customize the color options to create a unique and personalized look for your mouse.
Whether you are a seasoned gamer wanting to match your mouse color with your gaming rig or simply someone who wants to add a personal touch to their computer setup, this guide will help you achieve the desired color effect on your Logitech mouse.
Step 1: Install Logitech Gaming Software
The first step to changing the color on your Logitech mouse is to install the Logitech Gaming Software. This software is specifically designed to provide you with full control over your Logitech gaming peripherals, including the ability to customize the lighting settings.
To begin, you can visit the Logitech website and navigate to the support section or simply search for “Logitech Gaming Software” in your preferred search engine. Once you find the official Logitech website, locate the download page for the Logitech Gaming Software.
Make sure to download the latest version of the software to ensure compatibility with your Logitech mouse. Once the download is complete, run the installation file and follow the prompts to install the software on your computer.
During the installation process, you may be asked to accept the End User License Agreement (EULA) and choose the installation location. It is recommended to read the EULA carefully and select the appropriate options according to your preferences.
After the installation is complete, you can launch the Logitech Gaming Software. You may need to restart your computer for the changes to take effect. Once you have successfully installed and launched the software, you are ready to proceed to the next step.
Note: The Logitech Gaming Software is compatible with both Windows and macOS operating systems, ensuring that you can easily change the color on your Logitech mouse regardless of the platform you use.
Step 2: Connect Your Logitech Mouse
Now that you have installed the Logitech Gaming Software, you need to connect your Logitech mouse to your computer. Before proceeding, ensure that your mouse is fully charged or has fresh batteries to ensure uninterrupted operation.
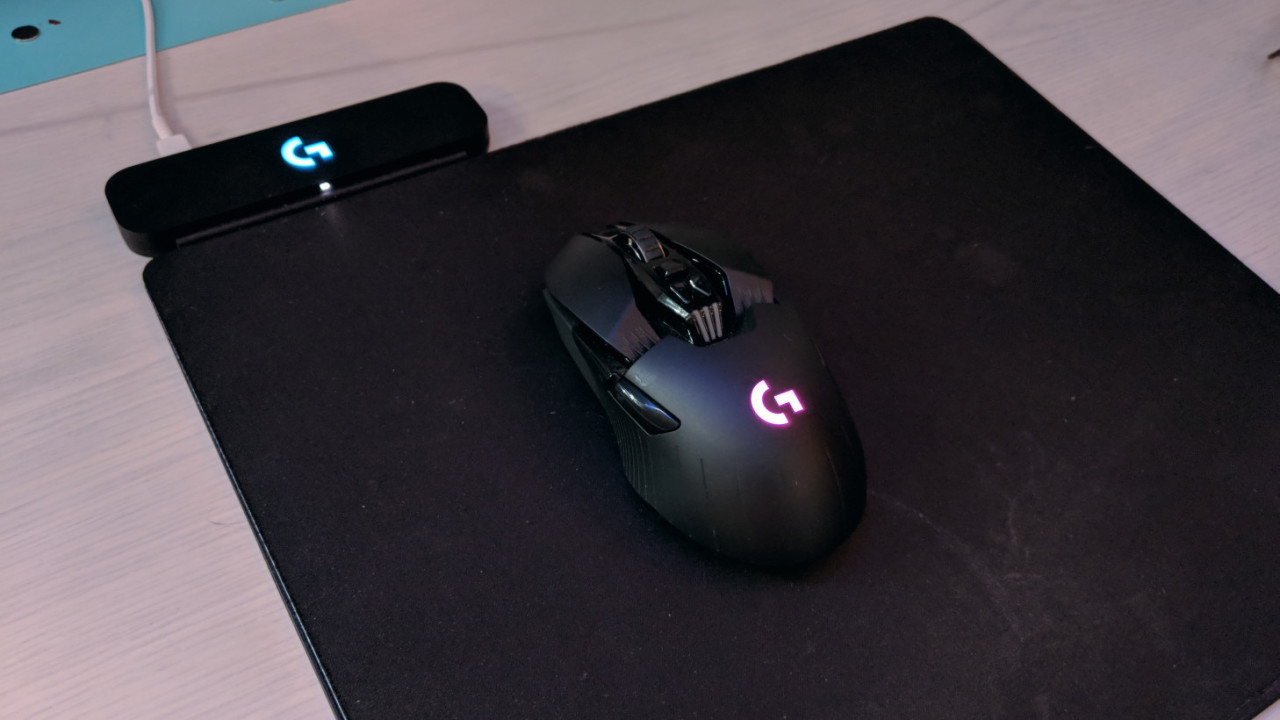
Most Logitech gaming mice utilize a wireless connection, either through a USB receiver or Bluetooth. If your mouse uses a USB receiver, locate the receiver and insert it into an available USB port on your computer. Once inserted, your computer should automatically recognize the mouse and install the necessary drivers.
If your mouse supports Bluetooth, make sure Bluetooth is enabled on your computer. Put your mouse in pairing mode by following the instructions provided by Logitech. Then, open the Bluetooth settings on your computer and search for available devices. Select your Logitech mouse from the list of devices and follow any further prompts to complete the connection.
If you are using a wired Logitech mouse, simply connect the mouse to an available USB port on your computer using the provided cable. Your computer should automatically detect the mouse and install the required drivers.
Once your Logitech mouse is successfully connected and detected by your computer, you can proceed to the next step to customize the lighting settings using the Logitech Gaming Software.
Note: If you are experiencing any difficulties in connecting your Logitech mouse, consult the user manual or visit the Logitech support website for troubleshooting guides and assistance.
Step 3: Open Logitech Gaming Software
Now that your Logitech mouse is connected to your computer, it’s time to open the Logitech Gaming Software and access the lighting settings. Launch the Logitech Gaming Software from your desktop or locate it in your computer’s Start Menu or Applications folder.
Once the software is open, you will be greeted with a user-friendly interface that allows you to customize various settings for your Logitech gaming peripherals. Look for the tab or menu option that is dedicated to the lighting settings of your mouse.
Depending on the version of the Logitech Gaming Software and the specific model of your mouse, the location of the lighting settings may vary slightly. However, most Logitech gaming mice have a distinct section within the software dedicated to customizing the lighting effects and colors.
Click on the appropriate tab or menu option to access the lighting settings. This will open up a new window or panel where you can make adjustments to the color and effects of your Logitech mouse.
The Logitech Gaming Software provides a range of options for customizing your mouse’s lighting. You may have the ability to set a static color, choose from pre-defined color effects, or even create your own unique lighting profiles.
Keep in mind that the specific options and features available will depend on the model of your Logitech mouse. Regardless, the software’s intuitive interface makes it easy to navigate and customize the lighting settings to your liking.
Once you have accessed the lighting settings and familiarized yourself with the available options, you can proceed to the next step to select your mouse and continue customizing the color options.
Step 4: Select Your Mouse
After opening the Logitech Gaming Software and accessing the lighting settings, the next step is to select your Logitech mouse from the list of devices. This step ensures that you are customizing the color settings for the correct mouse if you have multiple Logitech peripherals connected to your computer.
In the Logitech Gaming Software, look for a section or tab labeled “Devices” or “Mouse.” Click on this option, and you should see a list of Logitech devices that are currently connected to your computer.
Identify your mouse from the list and select it to designate it as the device you want to customize. This selection is crucial as it ensures that any changes made to the lighting settings will be applied specifically to your Logitech mouse.
If you are unsure which device is your mouse, you can disconnect and reconnect the mouse to see which device disappears and reappears in the list. Alternatively, you can refer to the model or name of your mouse to easily identify it in the Logitech Gaming Software.
Once you have selected your mouse, you will see the available options and settings specific to that device. This includes options to change the color, effects, brightness, and other lighting-related configurations.
By designating your mouse as the selected device, you ensure that any changes you make to the lighting settings will be applied directly to that mouse.
With the mouse selected, you are now ready to proceed to the next step and start customizing the color options according to your preferences.
Step 5: Navigate to Lighting Settings
Once you have selected your Logitech mouse in the Logitech Gaming Software, the next step is to navigate to the lighting settings section. This is where you can access the various options and configurations to customize the color of your mouse.
In the Logitech Gaming Software, look for a tab or menu option specifically labeled “Lighting” or “Color.” This is the section where you can make adjustments to the lighting settings of your Logitech mouse.
Click on the designated tab or menu option to enter the lighting settings panel. Here, you will find a variety of options to control the color, effects, and brightness of the mouse’s lighting.
Depending on the model of your Logitech mouse, the lighting settings panel may consist of various tabs or sub-menus to provide you with more specific control over different aspects of the lighting.
Explore the available options within the lighting settings to discover the customization possibilities. You may have the ability to choose a static color, cycle through predefined color effects, adjust the brightness, or even create your own unique lighting profiles.
Some Logitech mice also offer advanced features such as per-key illumination control or dynamic lighting effects that react to in-game events. These options allow you to further personalize the look and feel of your Logitech mouse.
Take your time to navigate through the lighting settings and familiarize yourself with the available options. This will ensure that you can make the desired changes to create a color scheme that suits your preferences and gaming setup.
Once you are comfortable with the lighting settings interface, you can move on to the next step to choose a color effect for your Logitech mouse.
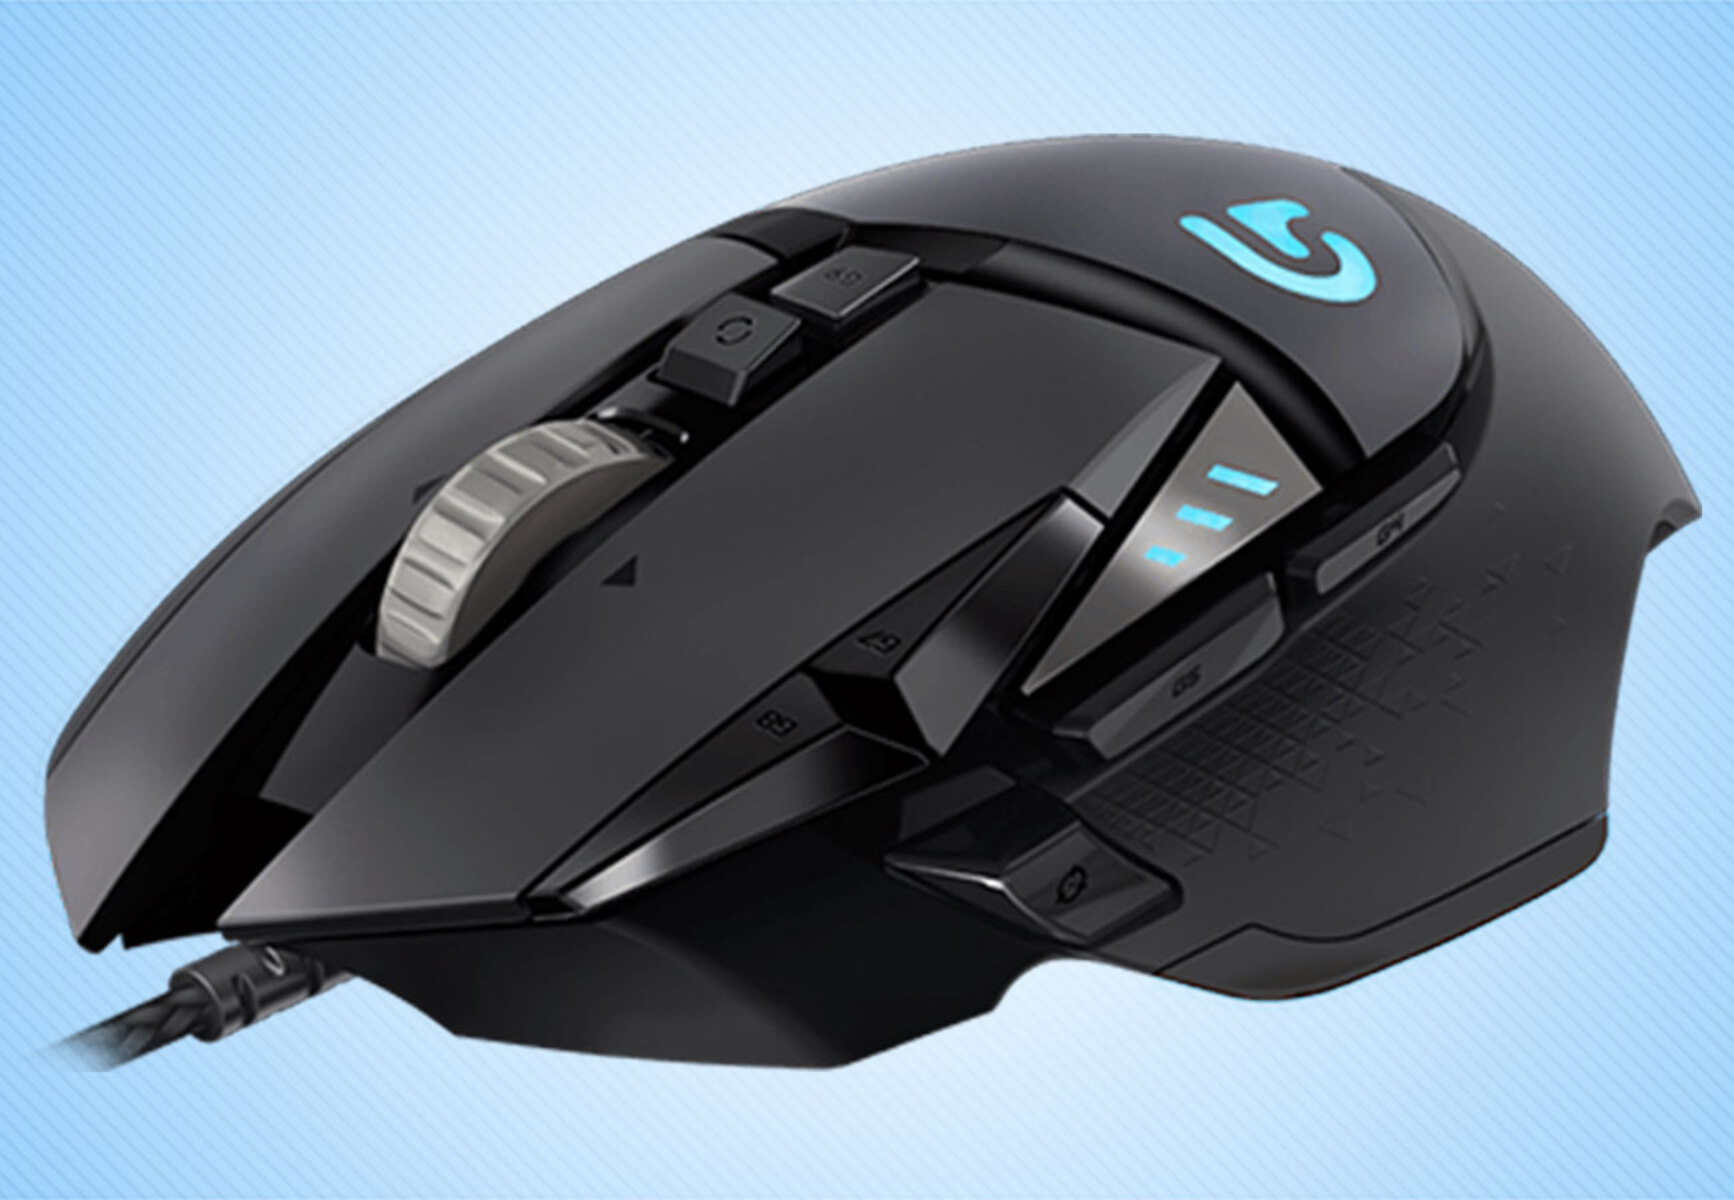
Step 6: Choose a Color Effect
With the lighting settings panel open in the Logitech Gaming Software, it’s time to choose a color effect for your Logitech mouse. This step allows you to select from a range of predefined color effects, each providing a unique and visually appealing lighting display.
Within the lighting settings panel, look for an option labeled “Color Effects,” “Color Modes,” or something similar. Click on this option to access the available color effect choices.
Depending on the model of your Logitech mouse and the software version, you may find a variety of color effects to choose from. Popular options include static colors, breathing effects, color cycle, and reactive lighting.
Static colors allow you to select a single color that remains constant. This is a great choice if you prefer a specific color that matches your gaming setup or personal taste.
Breathing effects create a pulsating or fading pattern where the mouse lighting gradually dims and brightens. This effect adds a subtle and dynamic element to your mouse’s lighting.
Color cycle effects automatically transition through a range of colors, providing a visually stunning display. This is a popular choice for gamers who enjoy a vibrant and ever-changing lighting setup.
Reactive lighting effects are especially exciting for gamers as they respond to in-game events. For example, the mouse lighting may change when performing certain actions or when a specific in-game event occurs.
Choose the color effect that appeals to you the most by selecting the corresponding option in the software. You can preview the effect in real-time to see how it looks on your Logitech mouse.
Remember, the availability of specific color effects may vary depending on your Logitech mouse model. Explore the options provided by the software and select the effect that suits your preference and style.
Once you have chosen a color effect, you can move on to the next step to further customize the color options and create a personalized look for your Logitech mouse.
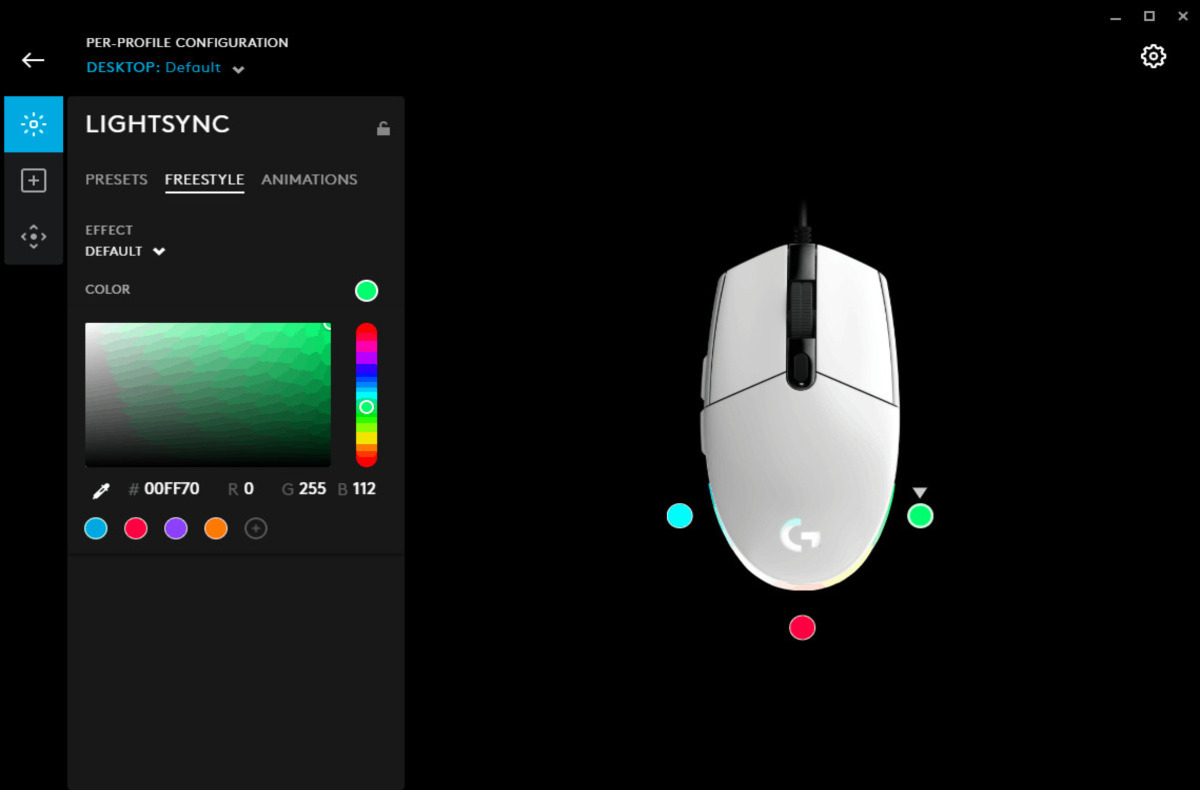
Step 7: Customize Color Options
After selecting a color effect for your Logitech mouse, the next step is to customize the color options to your liking. This allows you to fine-tune the appearance and create a personalized look that suits your preference or gaming setup.
Within the lighting settings panel of the Logitech Gaming Software, look for options such as “Color Customization,” “Advanced Settings,” or something similar. Click on this option to access the color customization options.
Depending on your Logitech mouse model and the software version, you may have a range of color customization options available. These options allow you to adjust the hue, saturation, brightness, and even create custom color profiles.
If you chose a static color effect, you can select your desired color from a color wheel or enter the RGB values directly. This gives you precise control over the color representation on your Logitech mouse.
For color effects that involve cycling or transitions, you may have the ability to adjust the speed or intensity of the effect. This allows you to fine-tune the lighting display to match your preferences.
Some Logitech mice also offer the option to synchronize the color settings with other Logitech devices, such as keyboards or headsets. This ensures a cohesive and unified lighting experience across all your peripherals.
Take some time to experiment with the color customization options and explore the different combinations that are available. Be creative and find a color scheme that not only suits your personal taste but also complements your gaming setup or workspace.
Don’t forget to save your customization settings once you are satisfied with the color options. This ensures that your preferred color scheme will be applied every time you use your Logitech mouse.
With the color options customized, you are almost done. The final step is to save your settings and ensure that your Logitech mouse reflects the color choices you have made.
Step 8: Save Your Settings
After customizing the color options for your Logitech mouse, it’s important to save your settings to ensure that your preferred color scheme is applied every time you use your mouse.
In the Logitech Gaming Software, look for a “Save” or “Apply” button located within the lighting settings panel or the main interface of the software. Click on this button to save your customized settings.
Once you click on the “Save” or “Apply” button, the Logitech Gaming Software will store your color preferences and apply them to your Logitech mouse. The next time you power on your computer and use your mouse, it will display the customized colors you have chosen.
It’s worth noting that some Logitech mice have onboard memory, allowing you to save your settings directly on the mouse itself. This means your customized color preferences will be retained even if you connect your mouse to a different computer or use it without the Logitech Gaming Software.
Before finalizing the process, take a moment to double-check your color settings to ensure they are as desired. Make any necessary adjustments or refinements to the color options, and then save your settings once again to ensure the changes are applied.
By saving your settings, you can enjoy your personalized color scheme each time you use your Logitech mouse, enhancing your overall gaming or computing experience.
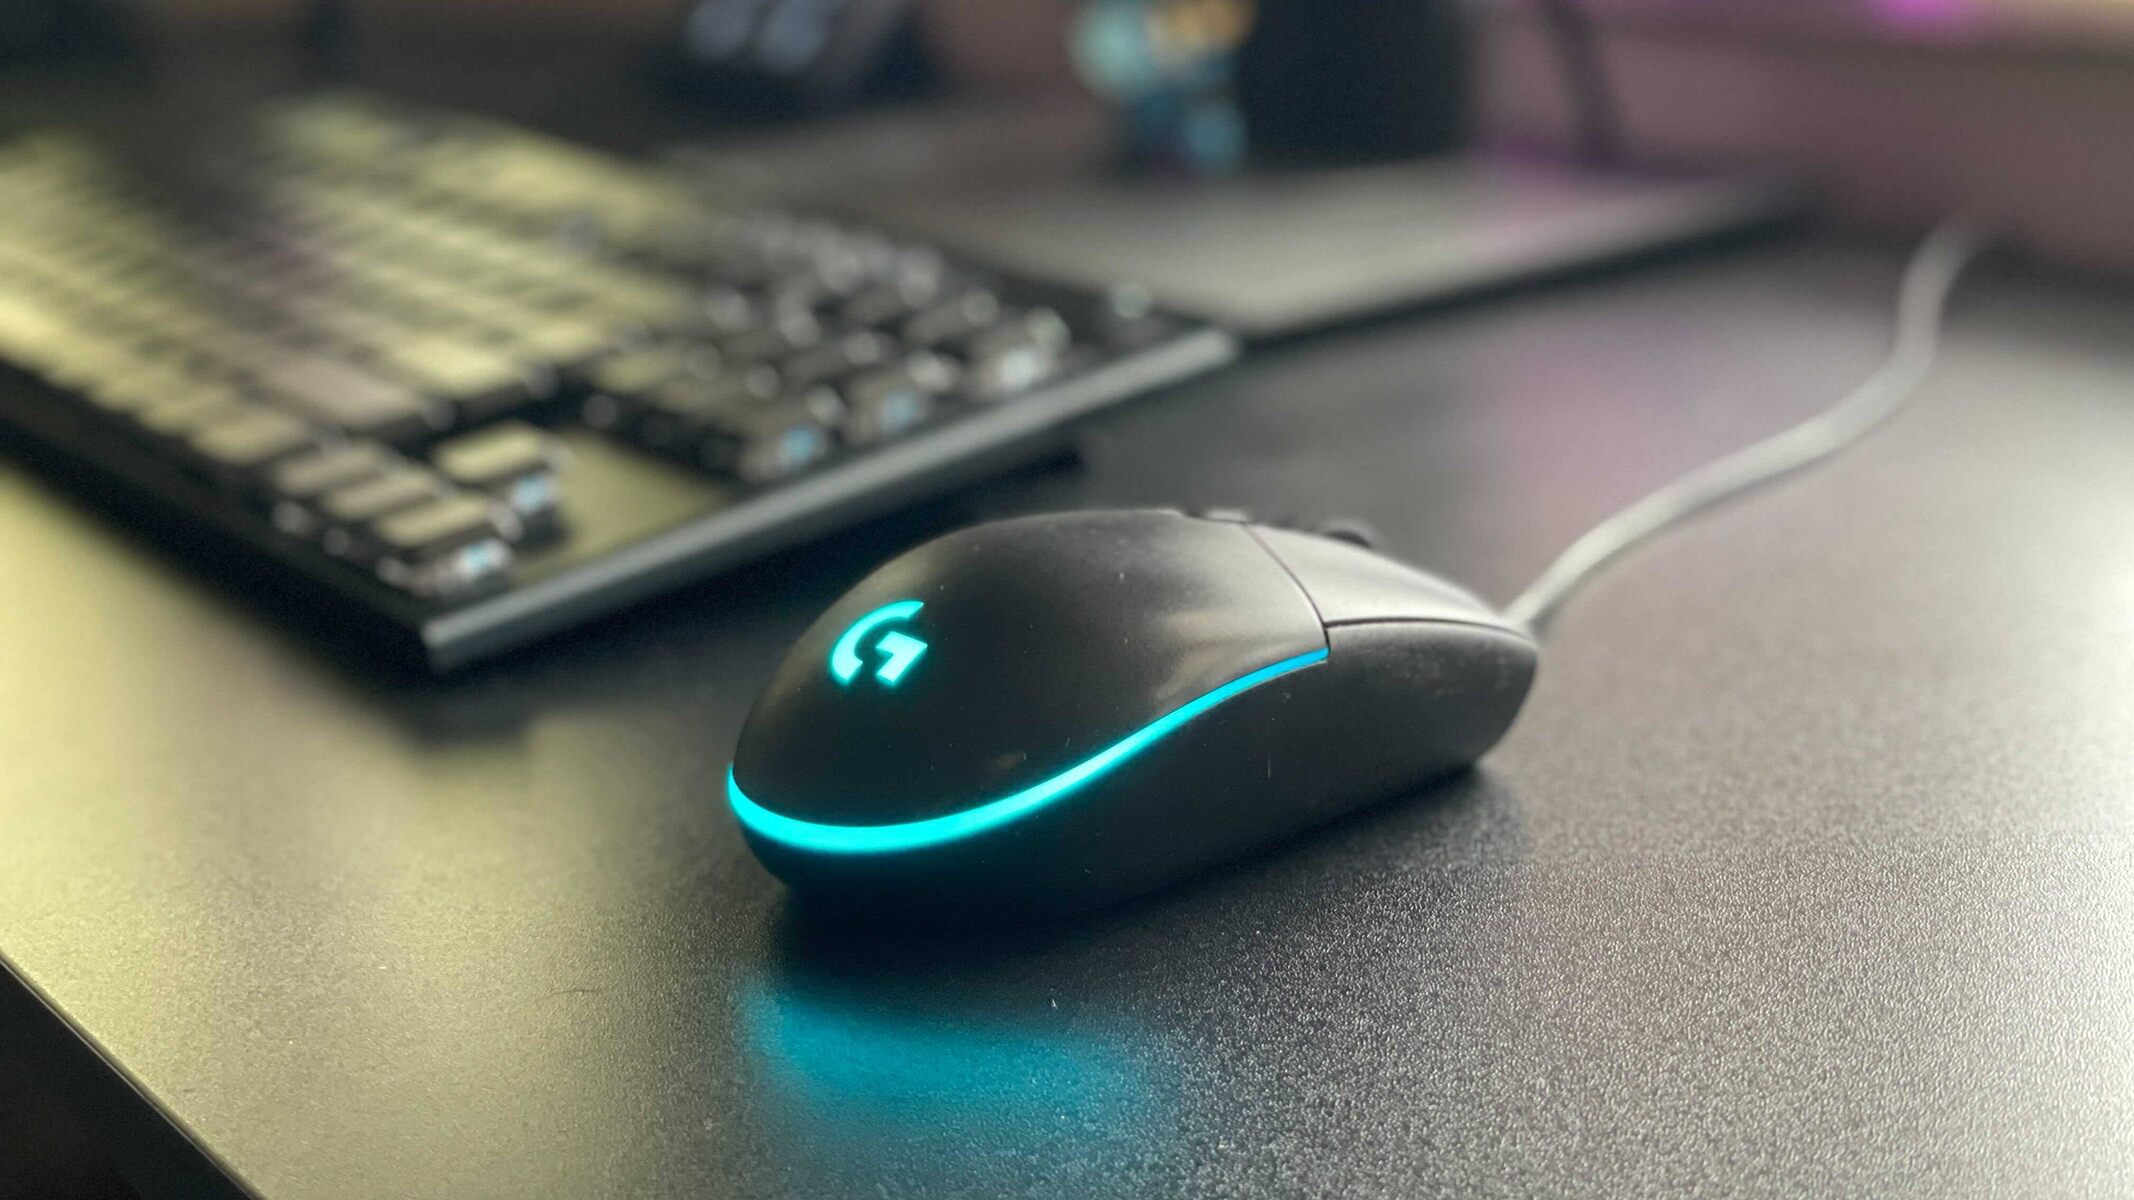
With the completion of this step, you have successfully changed the color on your Logitech mouse using the Logitech Gaming Software. Your mouse now showcases your chosen color effect and personal style, making it a visually appealing and unique accessory.
Now you can enjoy using your Logitech mouse with its customized color settings, whether you’re gaming, working, or simply browsing the internet. Don’t forget to show off your new color scheme to friends and fellow gamers!
Conclusion
Changing the color on your Logitech mouse is a fantastic way to personalize your gaming setup or computer workspace. With the help of the Logitech Gaming Software, you have full control over the color effects and lighting settings of your Logitech mouse.
In this article, we have guided you through the step-by-step process of changing the color on your Logitech mouse. We started by installing the Logitech Gaming Software and connecting your mouse to your computer. Then, we walked you through opening the software, selecting your mouse, navigating to the lighting settings, and choosing a color effect.
After selecting a color effect, we showed you how to further customize the color options, allowing you to create a unique and personalized look for your Logitech mouse. Finally, we emphasized the importance of saving your settings to ensure that your color preferences are applied every time you use your mouse.
By following these steps and unleashing your creativity, you can transform your Logitech mouse into a visually stunning addition to your gaming setup or workstation.
Remember, the Logitech Gaming Software provides a user-friendly interface and a range of features that make customizing your Logitech mouse a breeze. Take advantage of the options available, experiment with different color effects, and find a combination that truly reflects your personal style.
Now you have the knowledge and tools to change the color on your Logitech mouse and make it a standout accessory. Whether you prefer a vibrant and eye-catching color scheme or a more subtle and elegant look, the choice is yours.
Enjoy the process of customizing your Logitech mouse to match your unique style and take your gaming or computing experience to the next level with a personalized touch of color.