Introduction
Are you having trouble with your Logitech M510 mouse? Perhaps it’s not functioning as smoothly as it used to, or you simply want to clean the internal components. Whatever the case may be, learning how to open your Logitech M510 can provide valuable insights and solutions.
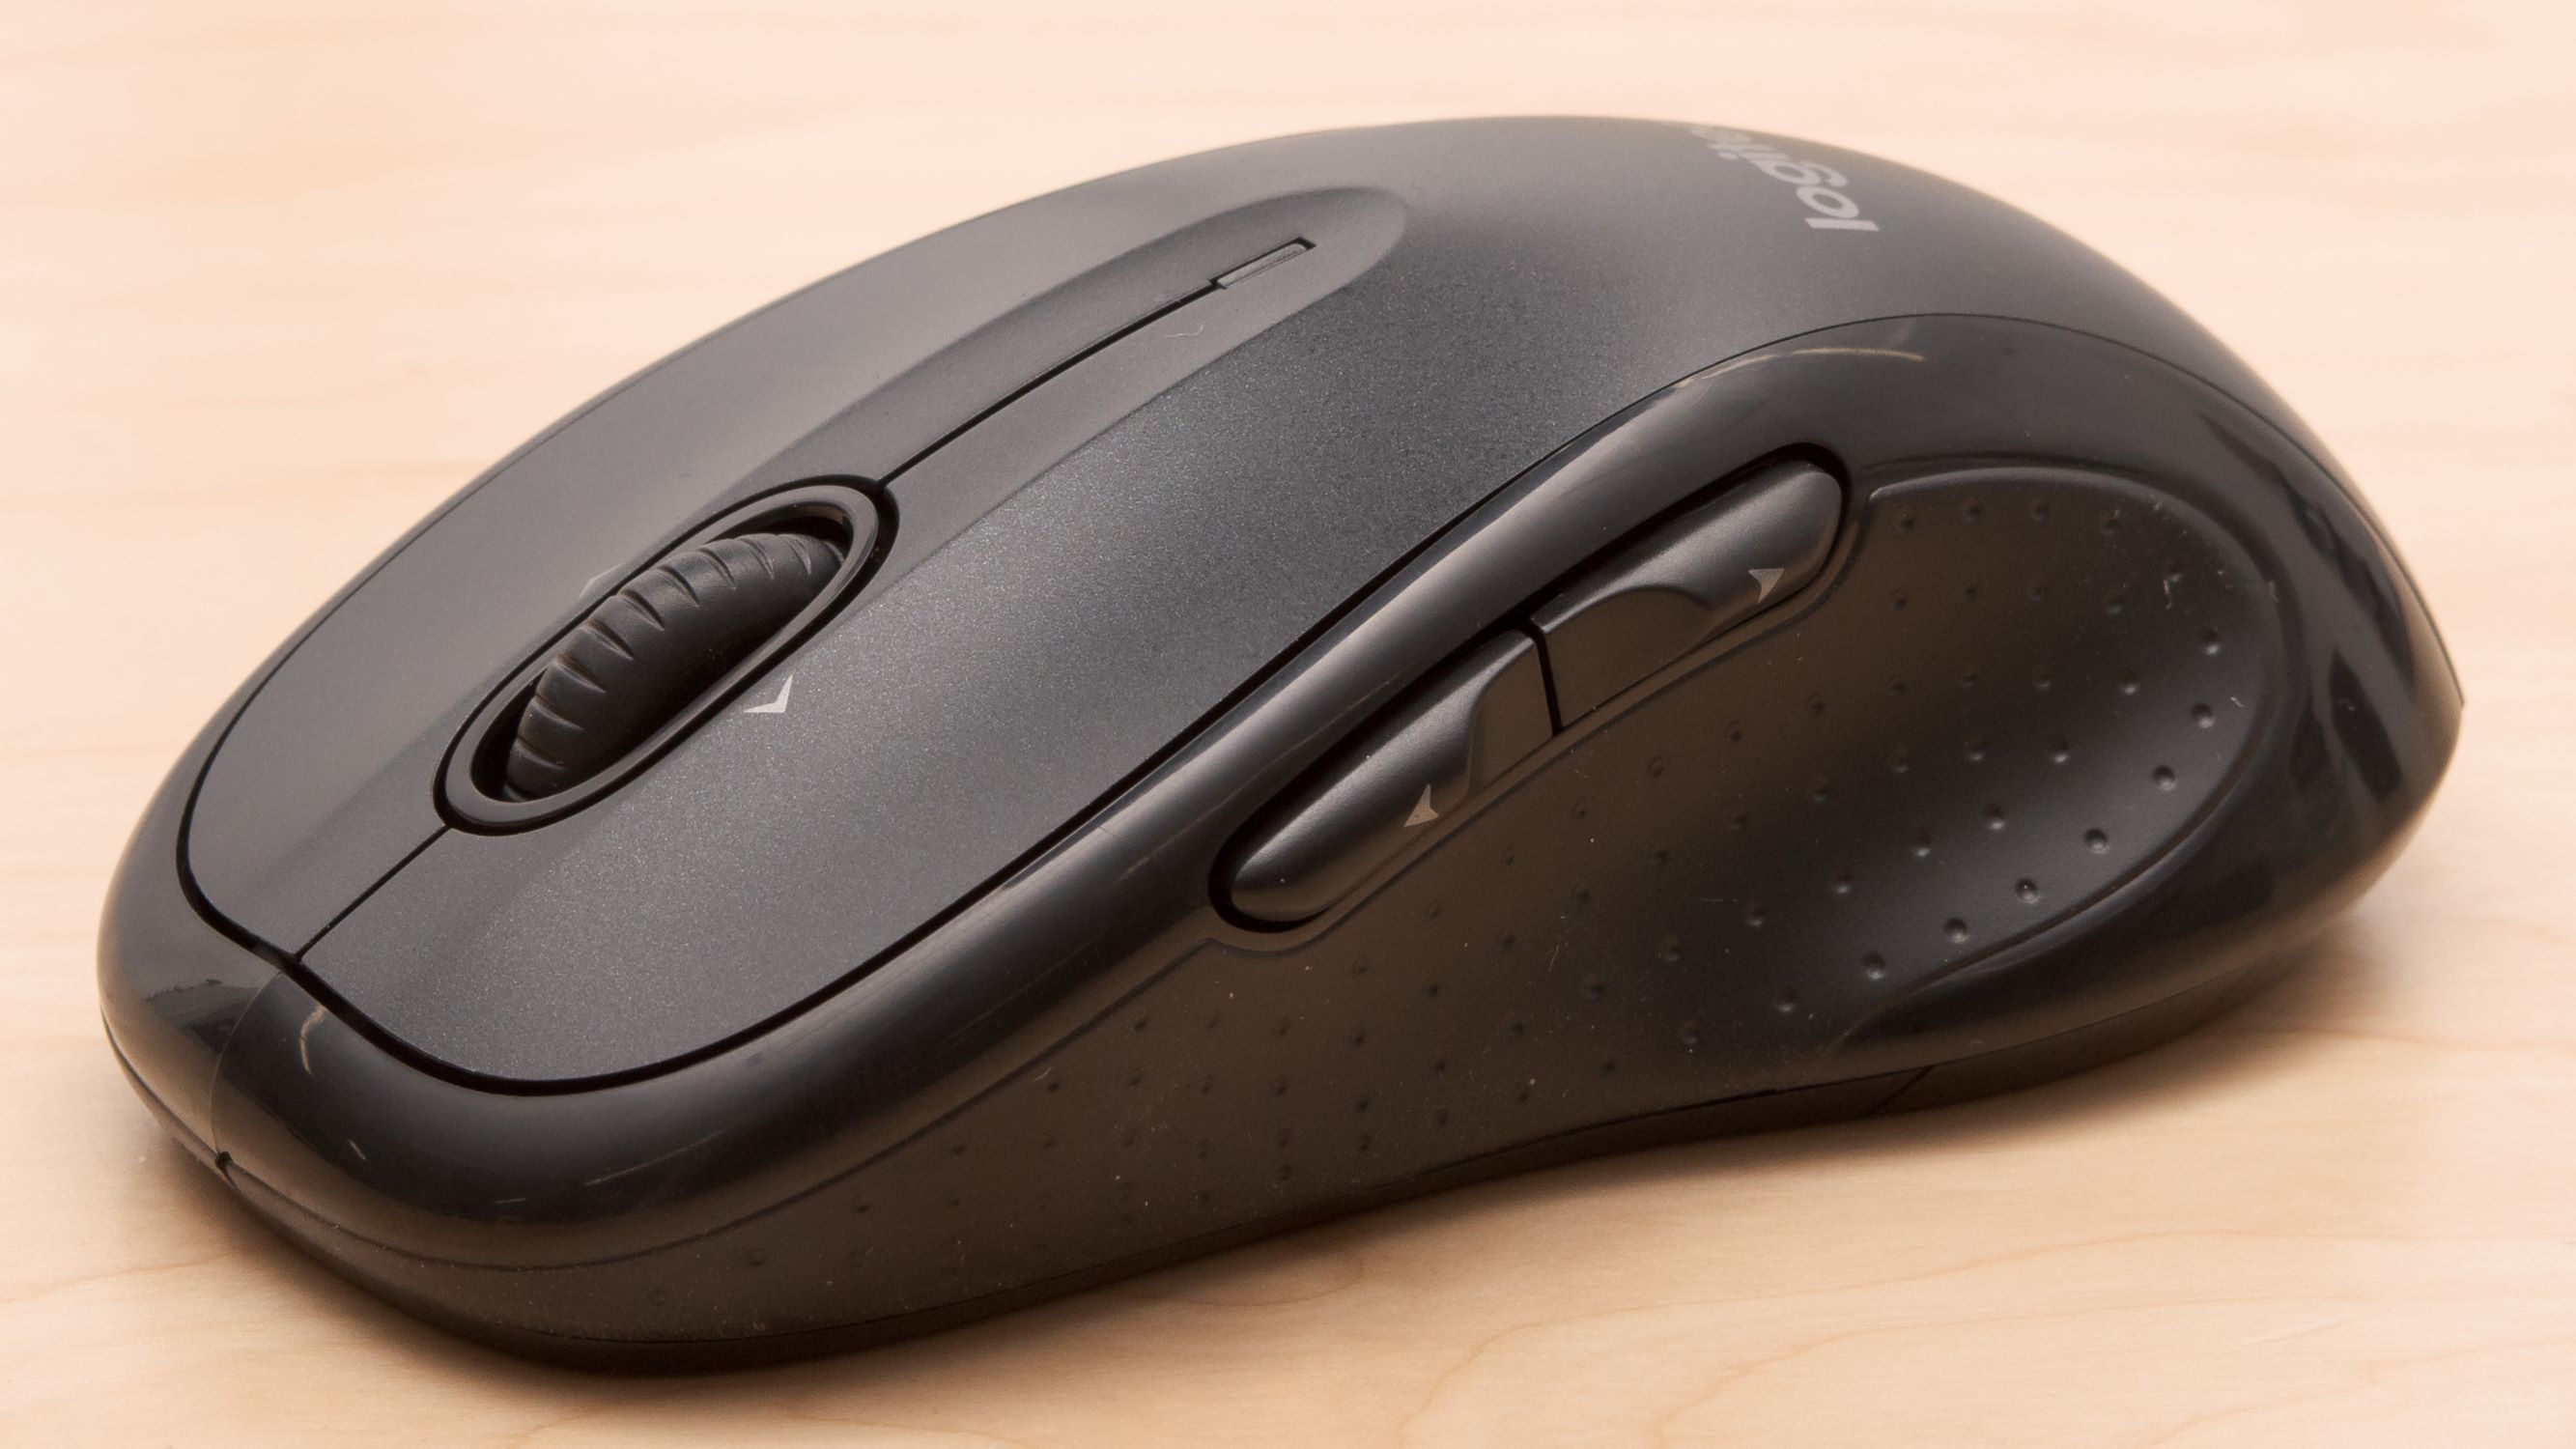
The Logitech M510 is a popular wireless mouse known for its comfortable design and reliable performance. While it is built to last, occasional issues may arise that require you to open the mouse for maintenance or repairs. Whether you’re a DIY enthusiast or simply want to extend the lifespan of your device, this guide will walk you through the process of safely opening the Logitech M510.
Before we begin, it’s important to note that opening your mouse may void any warranty it has. If your mouse is still covered by warranty, it’s best to contact Logitech’s customer support for assistance. However, if your warranty has expired or you feel confident in taking matters into your own hands, let’s dive into the step-by-step process of opening your Logitech M510.
Step 1: Preparing to Open the Logitech M510
Before you start disassembling your Logitech M510, it’s crucial to take some preparatory steps to ensure a smooth and safe experience. Here’s what you need to do:
- Gather the necessary tools: To open your Logitech M510, you’ll need a small Phillips-head screwdriver and a plastic prying tool. These tools will help you remove screws and pry open the mouse’s casing without causing any damage.
- Find a clean and well-lit workspace: Working in a clean and well-lit area will help you keep track of small screws and components. Consider using a soft surface like a cloth or a foam pad to place your mouse on while you work.
- Power off your Logitech M510: It’s important to turn off your mouse and remove any batteries before attempting to open it. This will prevent any accidental power-on actions and ensure your safety during the disassembly process.
By following these preparatory steps, you’ll set yourself up for success in opening your Logitech M510. Once you have gathered the necessary tools and found an appropriate workspace, you are now ready to move on to the next step: removing the battery cover.
Step 2: Removing the Battery Cover
Now that you have prepared your workspace, it’s time to remove the battery cover from your Logitech M510. Follow these steps:
- Locate the battery cover: On the underside of the mouse, you will find a small compartment with a battery icon. This is where the battery cover is located.
- Slide the battery cover open: Depending on the model, the battery cover may have a small latch or slide mechanism. Gently push the cover in the direction indicated by the arrow or icon. It should easily slide open.
- Remove the batteries: Once the battery cover is open, you can now remove the batteries from the mouse. Carefully take out the old batteries and set them aside for proper disposal or recycling.
It’s important to handle the battery cover and batteries with care to avoid damaging them. If you encounter any resistance while trying to open the battery cover, double-check for any hidden latches or buttons that need to be pressed. With the battery cover removed and the batteries safely taken out, you can move on to the next step: opening the mouse casing.
Step 3: Opening the Mouse Casing
With the battery cover and batteries removed, it’s time to open the mouse casing to access the internal components. Follow these steps to proceed:
- Identify the screws: Look for screws that are holding the mouse casing together. They are usually located on the underside of the mouse or hidden beneath stickers or rubberized feet. Use a small Phillips-head screwdriver to remove these screws one by one.
- Keep the screws organized: As you remove each screw, place them in a small container or on a magnetic tray. This will prevent them from rolling away or getting lost during the disassembly process.
- Pry open the mouse casing: Once all the screws have been removed, use a plastic prying tool or your fingers to carefully separate the top and bottom halves of the mouse casing. Start from one corner and gently work your way around. Be cautious not to apply excessive force, as it may cause damage to the casing.
- Take note of any additional clips or latches: Some mouse models may have additional clips or latches inside the casing that secure the two halves together. Take note of their locations and gently release them using a prying tool or your fingers.
While opening the mouse casing, you may hear small clicking sounds as the clips or latches release. This is normal and indicates that you are on the right track. Once the casing is fully opened, you will be able to see the internal components of your Logitech M510. This brings us to the next step: accessing the internal components.
Step 4: Accessing the Internal Components
Now that you have successfully opened the mouse casing, you can proceed to access the internal components of your Logitech M510. Here’s what you need to do:
- Observe the internal layout: Take a moment to familiarize yourself with the internal layout of your Logitech M510. You may notice the main circuit board, the scroll wheel, the buttons, and other components.
- Inspect for any loose connections: While you have access to the internal components, inspect them closely for any loose connections. Gently press on the connectors to ensure they are securely attached to their respective sockets.
- Clean the internal components: Over time, dust and debris can accumulate inside your mouse, affecting its performance. Use compressed air or a soft brush to remove any dirt or particles from the internal components. Be careful not to apply too much pressure or to touch any sensitive electronic parts.
- Address any specific issues: If you are troubleshooting a specific issue with your Logitech M510, such as a malfunctioning button or a non-responsive scroll wheel, this is an opportunity to examine those components more closely. Look for any signs of damage or wear and determine if any replacement parts are necessary.
While accessing the internal components, it’s essential to handle them with care to avoid any accidental damage. Take your time to inspect and clean the components thoroughly before reassembling the mouse. Once you are satisfied with the maintenance or troubleshooting performed, it’s time to move on to the final step: reassembling the Logitech M510.
Step 5: Reassembling the Logitech M510
After inspecting, cleaning, and addressing any specific issues with the internal components of your Logitech M510, it’s time to put everything back together. Follow these steps to reassemble your mouse:
- Align the top and bottom halves: Carefully align the top and bottom halves of the mouse casing, making sure all the screw holes and clips or latches are properly aligned.
- Close the mouse casing: Apply gentle pressure and slowly close the mouse casing until it snaps into place. Make sure all the clips or latches engage properly, securing the two halves together.
- Reinsert the screws: Take the screws that were removed earlier and carefully reinsert them into their respective holes. Use a Phillips-head screwdriver to tighten the screws, but avoid over-tightening, as it may damage the casing or internal components.
- Insert the batteries: Place fresh batteries into the battery compartment, following the correct polarity indicated by the markings inside the compartment.
- Replace the battery cover: Slide the battery cover back into place, ensuring it fits securely and locks into position.
With the mouse casing reassembled, screws tightened, and batteries inserted, your Logitech M510 should be ready to use. Give it a test to ensure all the buttons, scroll wheel, and other features are functioning properly. If everything is working as expected, congratulations! You have successfully opened, maintained, and reassembled your Logitech M510 mouse, extending its lifespan and optimizing its performance.
Conclusion
Opening your Logitech M510 mouse might seem like a daunting task, but with the right tools and proper guidance, it can be a straightforward process. By following the steps outlined in this guide, you have learned how to safely open your Logitech M510, access the internal components, perform maintenance or troubleshoot specific issues, and reassemble the mouse.
Remember to proceed with caution and be mindful of the small screws, clips, and latches during the disassembly and reassembly process. Taking the time to clean the internal components and address any loose connections can greatly improve the performance of your Logitech M510.
However, it’s important to note that opening your mouse may void any existing warranty. If your mouse is still covered under warranty or if you feel uncertain about performing the steps on your own, it’s recommended to seek assistance from Logitech’s customer support or a professional technician.
With practice and familiarity, opening your Logitech M510 mouse can become easier, allowing you to maintain and troubleshoot your device whenever needed. Remember to always work in a clean and well-lit area to prevent any accidental damage. By gaining a better understanding of the internal components and taking proper care of your mouse, you can enjoy smooth and reliable performance for years to come.