Introduction
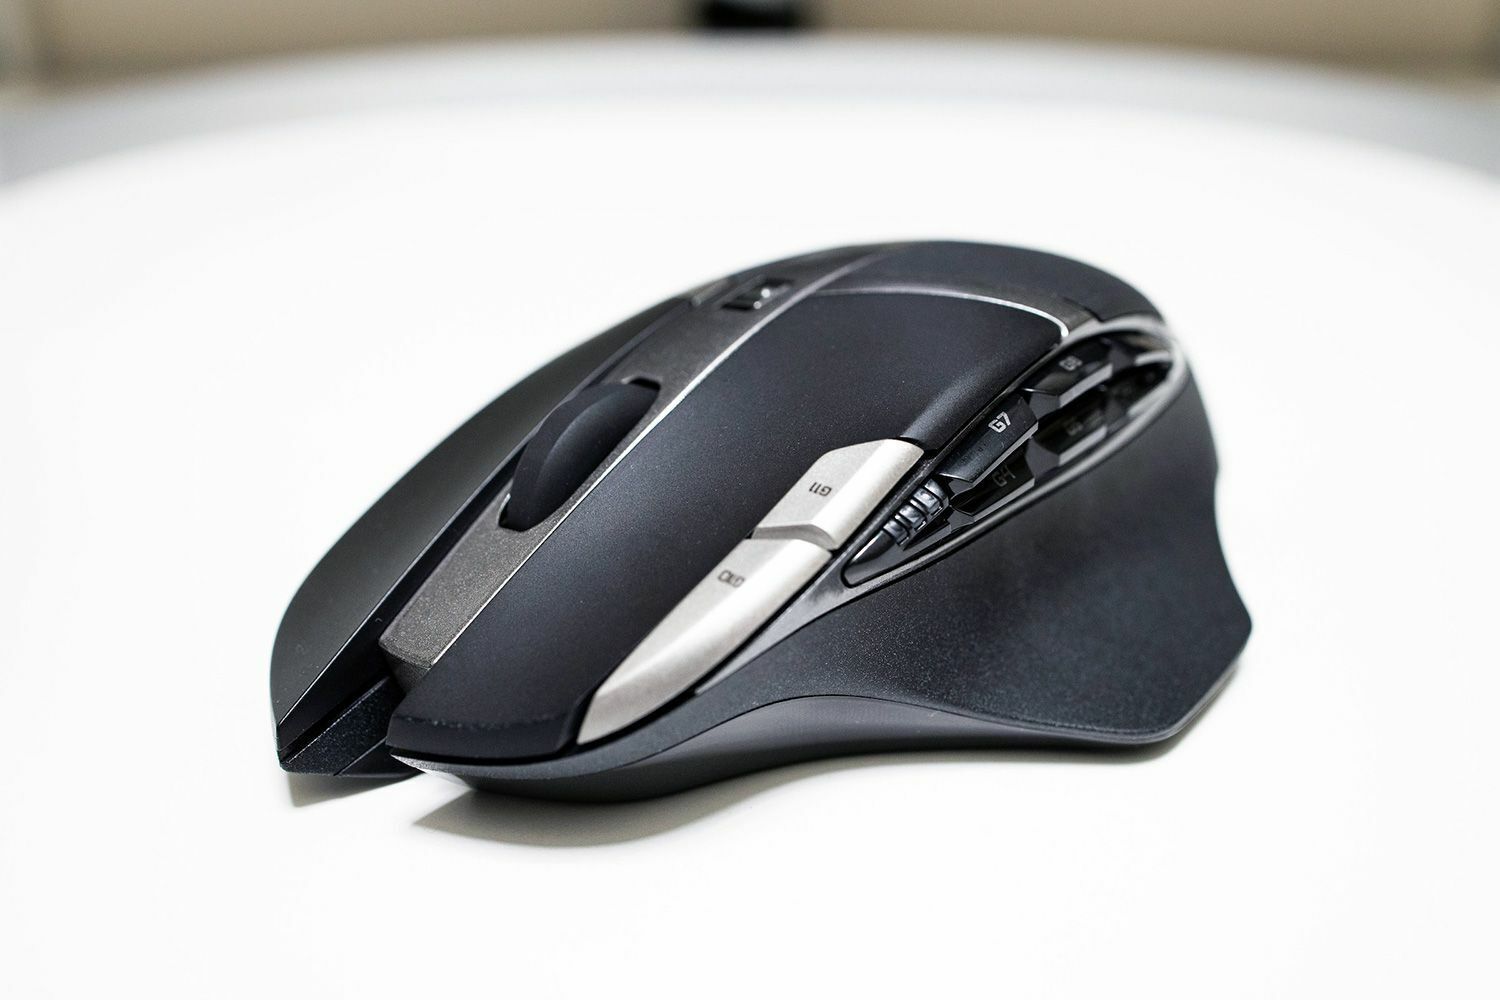
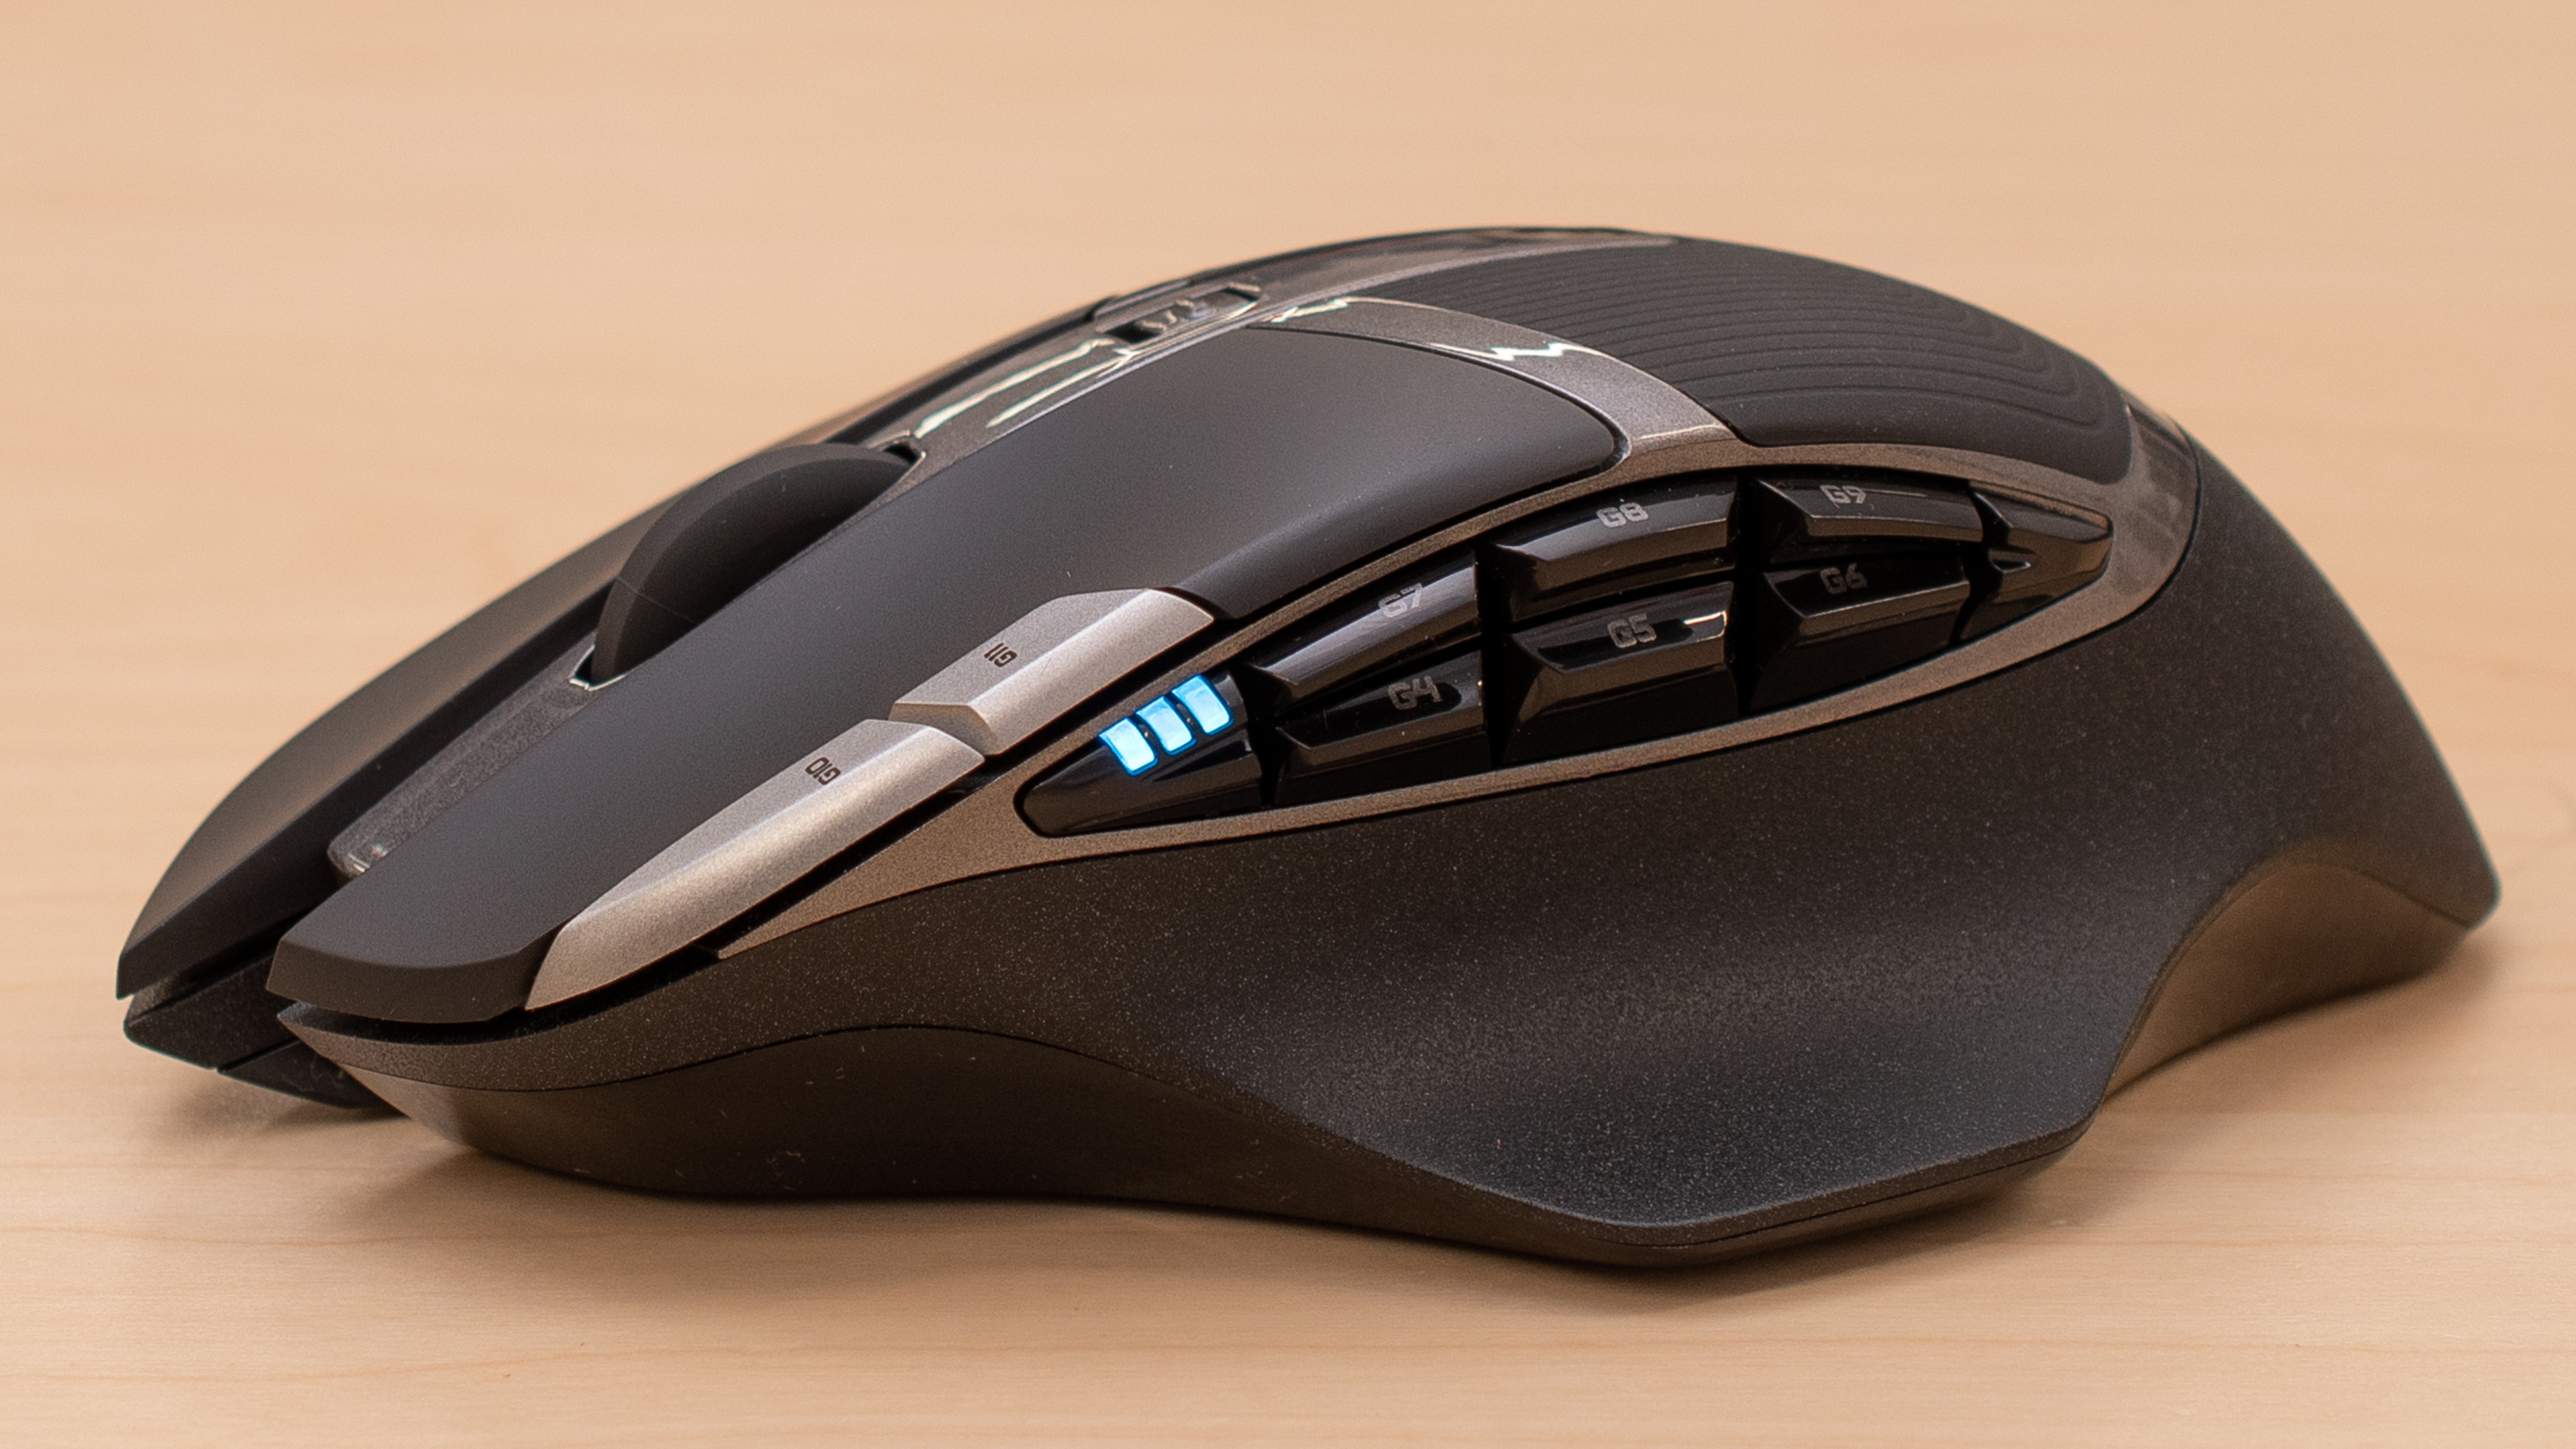
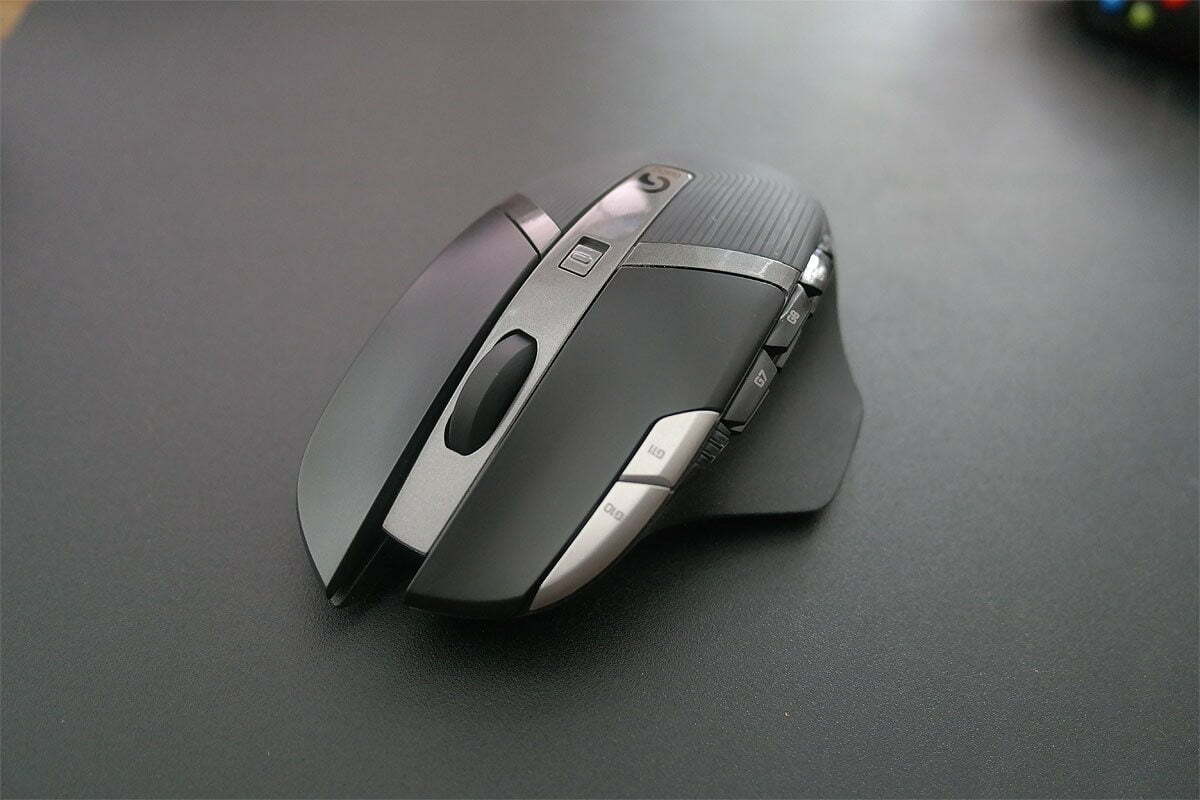
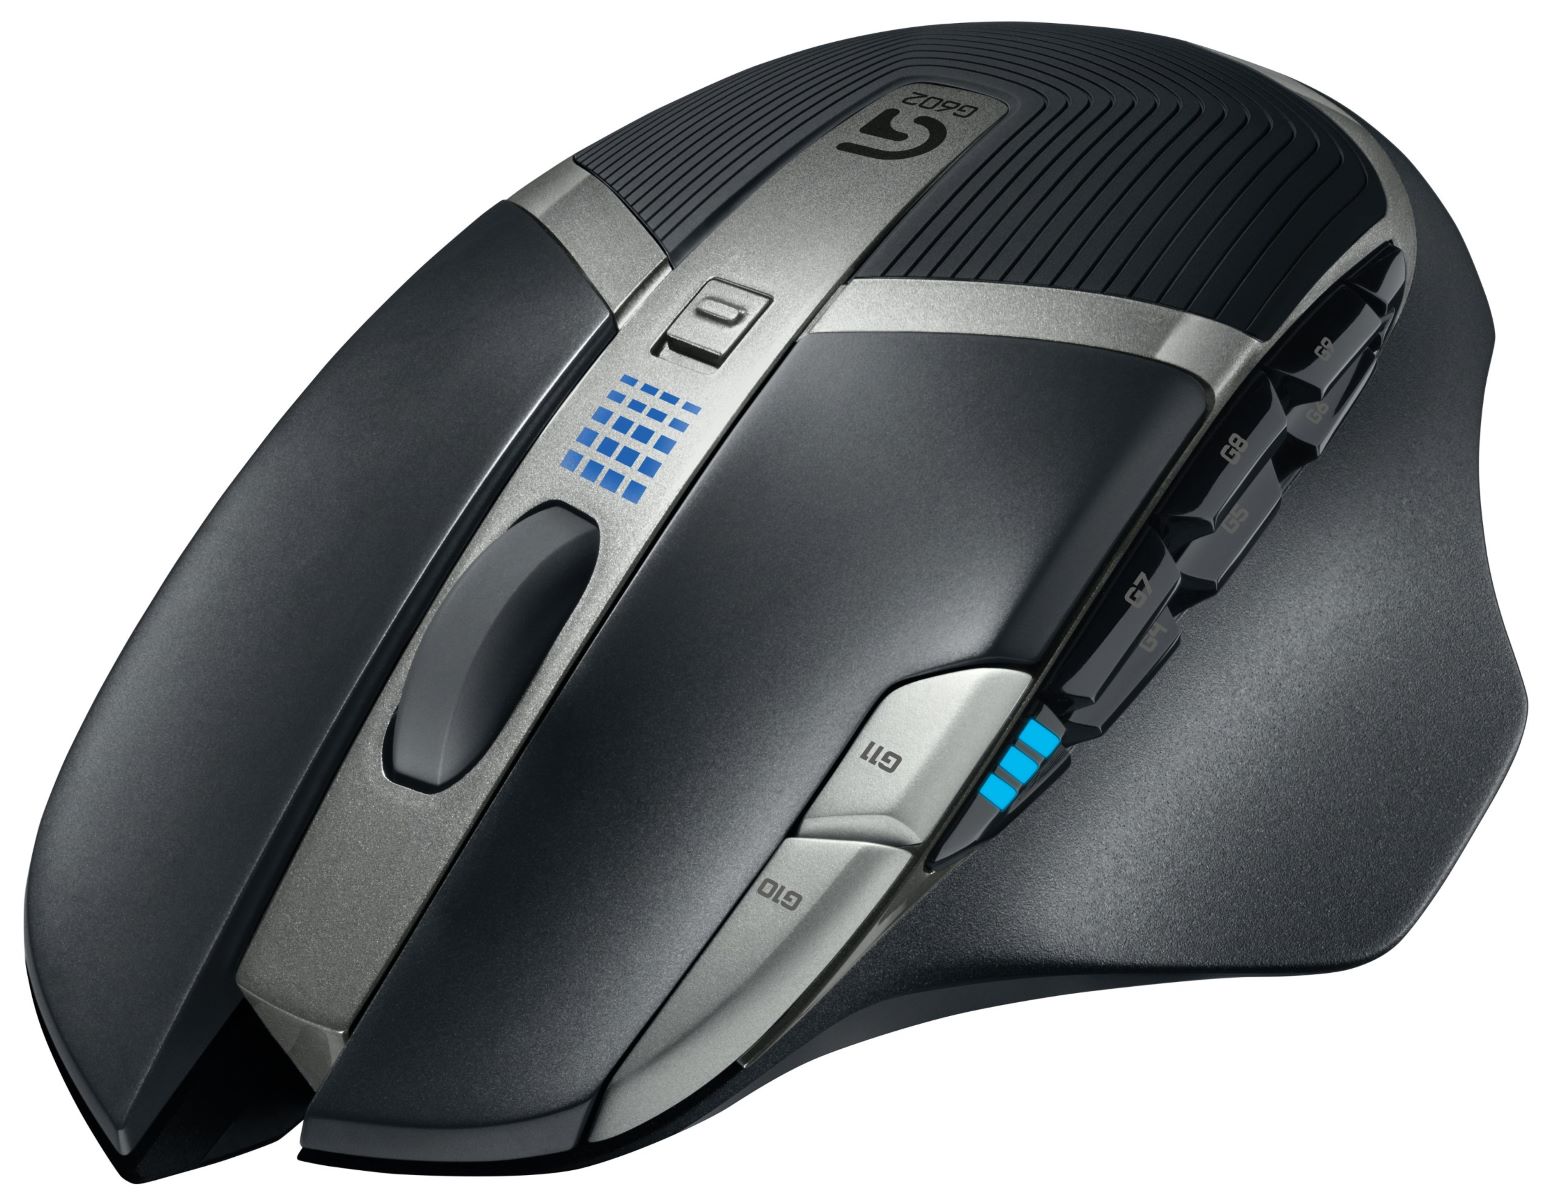
Welcome to the world of the Logitech G602 Mouse! If you’re a gamer or someone who relies heavily on their mouse for productivity tasks, you’ve made an excellent choice. The Logitech G602 is a high-performance gaming mouse that offers exceptional precision, comfort, and customization options to enhance your overall experience.
In this tutorial, we will guide you through the process of setting up and programming your Logitech G602 mouse. By the end of this article, you’ll know how to customize mouse buttons, adjust DPI settings, create profiles for different games, fine-tune mouse sensitivity, and even update firmware.
Before we dive into the details, it’s essential to note that Logitech G Hub is the software you’ll use to configure your Logitech G602 mouse. This powerful tool provides a user-friendly interface that allows you to personalize your mouse settings according to your preferences.
Whether you’re an experienced gamer seeking the perfect gaming mouse setup or a professional looking for a high-performance mouse for your daily tasks, the Logitech G602 has got you covered. So let’s not waste any more time and get started with setting up your Logitech G602 mouse!
Step 1: Installing Logitech G Hub
The first step in setting up your Logitech G602 mouse is to install the Logitech G Hub software. This software is necessary for configuring and customizing your mouse’s settings to suit your individual needs.
To begin, you’ll need to navigate to the Logitech website and locate the Logitech G Hub software. It’s important to make sure that you download the latest version of the software to ensure compatibility with your Logitech G602 mouse.
Once you’ve found the Logitech G Hub software, simply click on the download button and follow the on-screen instructions to install it on your computer. The installation process is straightforward and typically only takes a few minutes to complete.
After the installation is finished, launch the Logitech G Hub software. You may need to restart your computer before launching the software to ensure that it functions correctly.
Upon launching the Logitech G Hub, you will be greeted with a welcome screen and prompted to connect your Logitech G602 mouse to your computer. Make sure that your mouse is properly connected via the wireless receiver or the USB cable provided.
Once your Logitech G602 mouse is connected, the Logitech G Hub software should automatically detect it and display it on the main screen. You can now proceed to the next step in configuring your mouse.
It’s important to note that the Logitech G Hub software is compatible with Windows 7 and later, as well as macOS 10.11 and later. If you encounter any issues during the installation process or have compatibility concerns, referring to the Logitech support website or contacting customer support can provide further assistance.
Now that you have successfully installed the Logitech G Hub software and connected your Logitech G602 mouse, you’re ready to move on to the next step: customizing your mouse buttons to suit your needs.
Step 2: Connecting The Logitech G602 Mouse
Now that you have successfully installed the Logitech G Hub software, it’s time to connect your Logitech G602 mouse to your computer. The Logitech G602 mouse offers two connection options: wireless and wired.
If you prefer the wireless option, you’ll need to connect the Logitech G602 mouse to your computer using the provided wireless receiver, which should be plugged into an available USB port on your computer. Once the receiver is plugged in, you can turn on the mouse by switching the power button located on the bottom surface of the mouse.
If you prefer a more stable and consistent connection, you can choose to connect the Logitech G602 mouse directly to your computer using the USB cable provided. To do this, simply plug one end of the cable into the USB port on your mouse and the other end into an available USB port on your computer.
Regardless of which connection method you choose, it’s vital to ensure that your Logitech G602 mouse is securely connected and recognized by your computer. Once connected, the Logitech G Hub software should automatically detect and display your mouse on the main screen.
If you encounter any connection issues, ensure that the wireless receiver is inserted properly and that the batteries in your Logitech G602 mouse are charged. In the case of a wired connection, try using a different USB port or cable to rule out any possible hardware issues.
With your Logitech G602 mouse successfully connected to your computer, you’re now ready to proceed to the next step: customizing your mouse buttons to optimize your gaming or productivity experience.
Step 3: Customizing Mouse Buttons
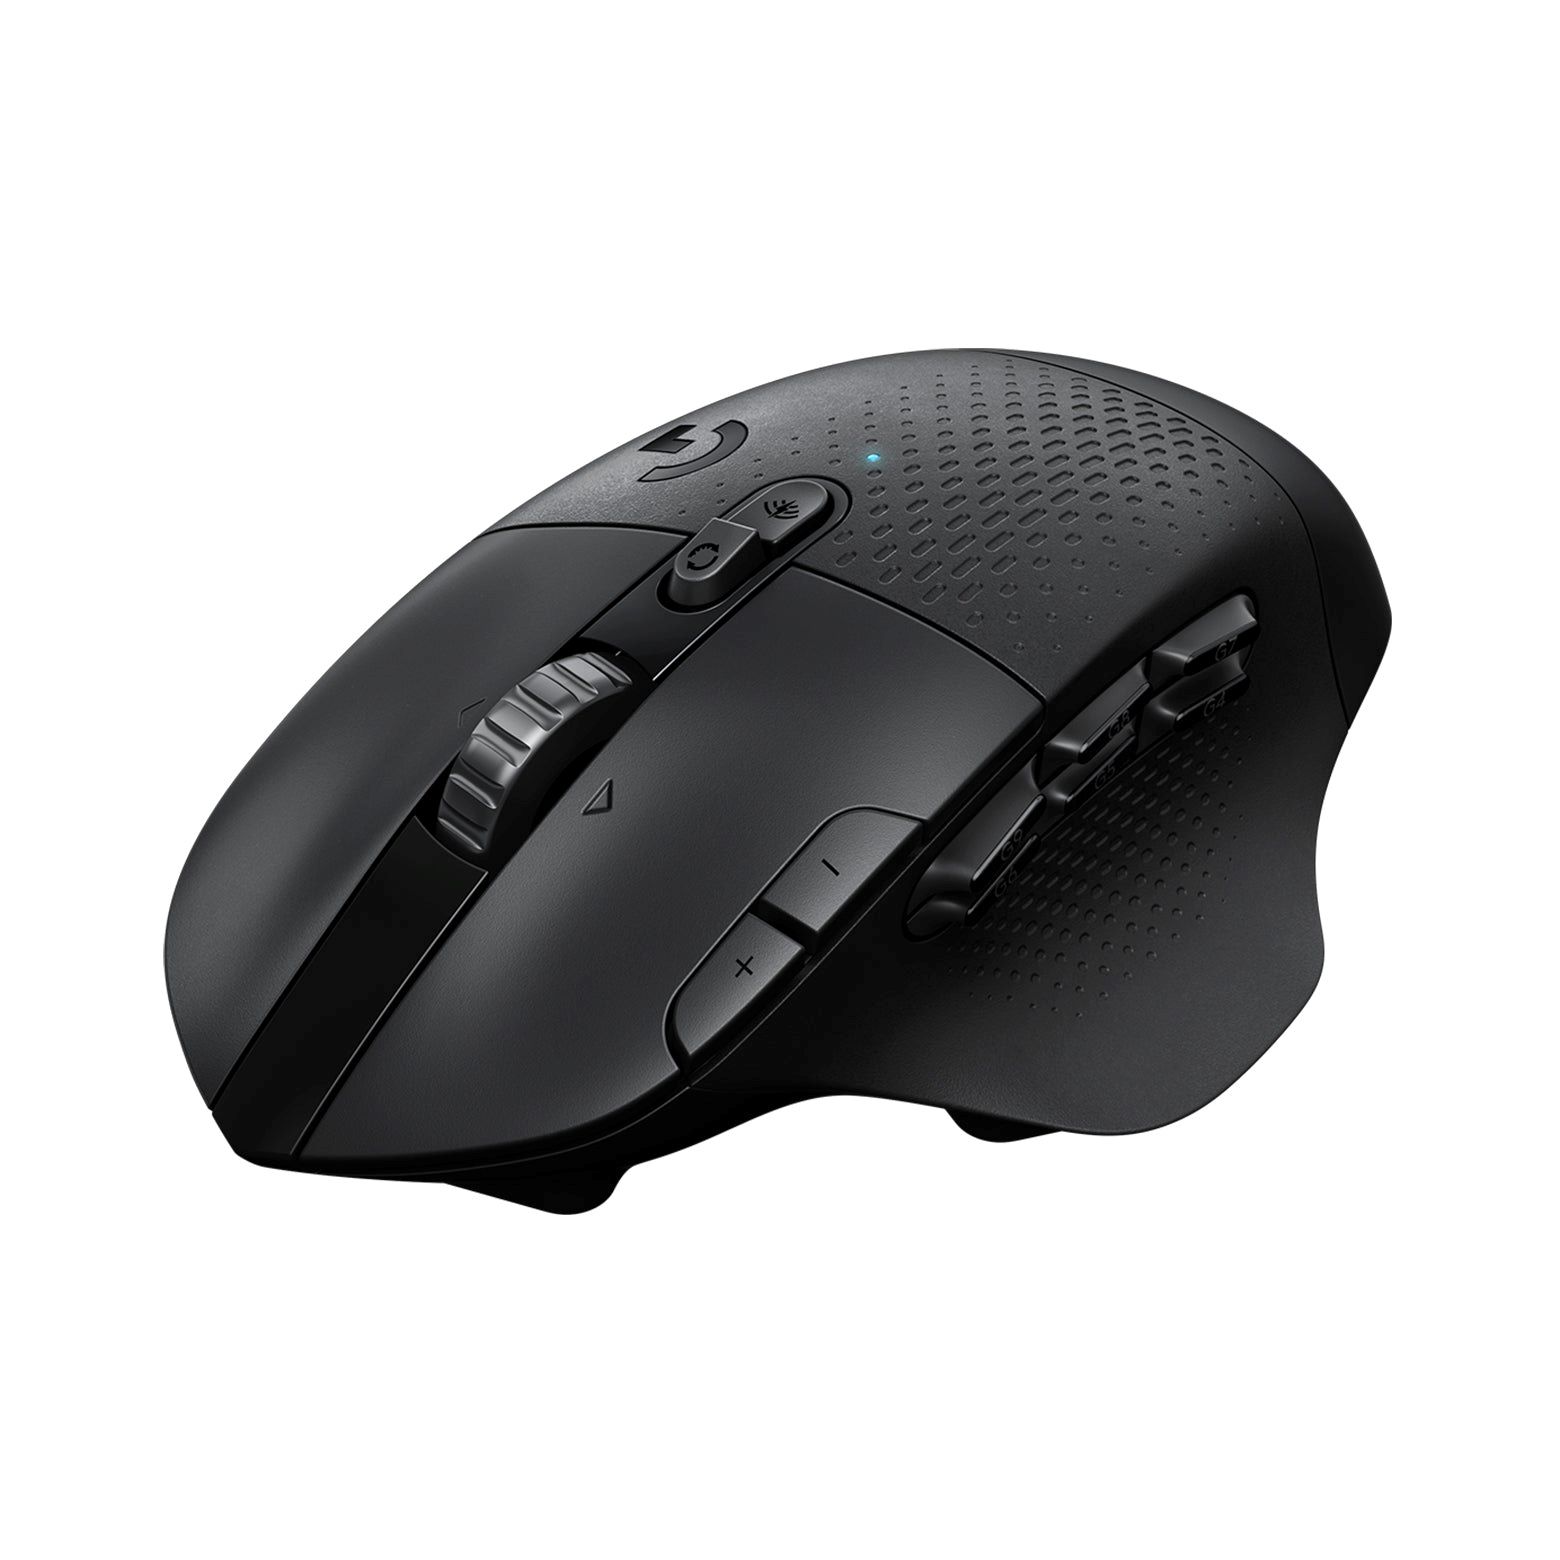
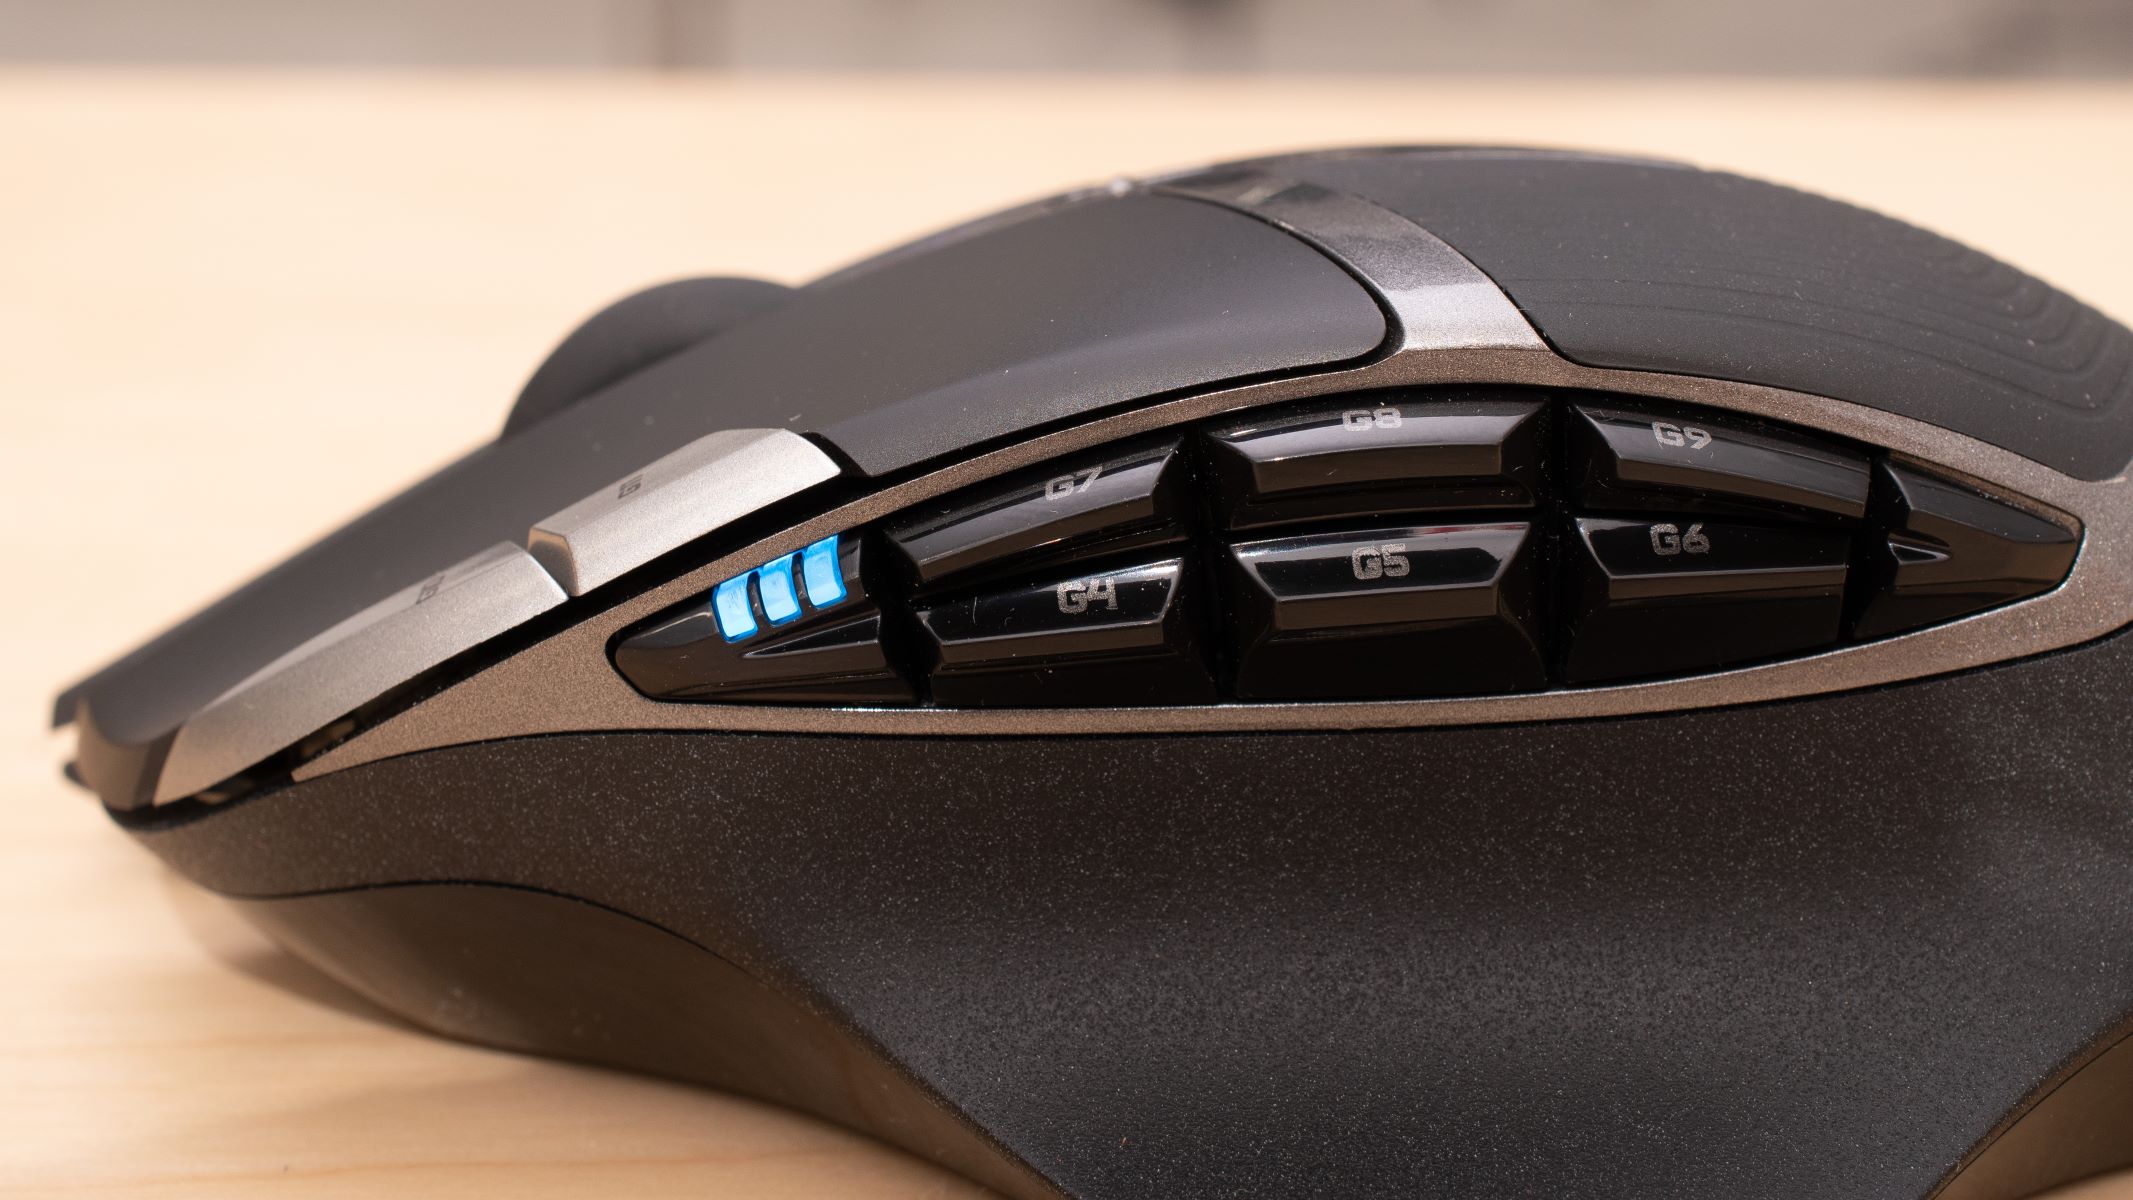
One of the standout features of the Logitech G602 mouse is its programmable buttons that can be customized to perform various functions. Whether you want to assign macros, keystrokes, or specific actions to your mouse buttons, the Logitech G Hub software makes it easy to tailor your mouse to your specific needs.
To begin customizing your mouse buttons, open the Logitech G Hub software and ensure that your Logitech G602 mouse is connected and detected. Once your mouse is recognized, navigate to the “Customize Buttons” section within the software.
In this section, you’ll see a graphical representation of your Logitech G602 mouse, displaying all the available buttons. By clicking on a specific button, you can assign a function or action to it from a wide range of pre-defined options.
For example, if you’re a gamer, you may want to assign macros or in-game commands to certain buttons on your mouse. To do this, simply select the desired button and choose the “Assign Keystrokes” or “Assign Macro” option. You can then configure the specific keystrokes or macro sequence you want to be executed when that button is pressed.
If you’re using the Logitech G602 mouse for productivity tasks, you may want to assign functions such as copy, paste, or volume control to the programmable buttons. The Logitech G Hub software offers a variety of pre-defined functions that can be assigned to your mouse buttons with just a few clicks.
Additionally, the Logitech G602 mouse features side buttons that are conveniently located for easy access. These buttons can be customized independently from the rest of the mouse buttons, allowing you to assign specific functions or actions to them.
Once you’ve customized your mouse buttons to your liking, don’t forget to save your settings within the Logitech G Hub software. This will ensure that your personalized configurations are applied every time you use your Logitech G602 mouse.
Now that you’ve customized your mouse buttons, you’re ready to move on to the next step: adjusting the DPI settings to achieve optimal tracking and sensitivity.
Step 4: Adjusting DPI Settings
The DPI (dots per inch) setting on your Logitech G602 mouse determines how sensitive the mouse cursor or pointer is to your hand’s movements. Adjusting the DPI settings allows you to customize the mouse’s responsiveness according to your preferences and the specific requirements of your gaming or work environment.
To begin adjusting the DPI settings of your Logitech G602 mouse, open the Logitech G Hub software and ensure that your mouse is connected and recognized. Once you’re in the software, navigate to the “DPI Settings” section.
In this section, you’ll see a slider that allows you to adjust the DPI settings of your Logitech G602 mouse. By moving the slider to the right, you increase the DPI, making the mouse cursor or pointer more sensitive and responsive. Conversely, moving the slider to the left decreases the DPI, resulting in a slower and more deliberate cursor or pointer movement.
It’s crucial to find the right balance when adjusting the DPI settings to ensure optimal performance. Too low DPI may result in sluggish cursor movement, while too high DPI may lead to over-sensitivity and difficulty in accurately controlling the mouse.
In addition to the DPI slider, the Logitech G Hub software allows you to create multiple DPI profiles. These profiles can be assigned to different buttons on your Logitech G602 mouse, allowing you to switch between different DPI settings on the fly.
This feature is especially useful for gamers who require different sensitivity levels in various games or tasks. For example, you may want a higher DPI for fast-paced first-person shooters and a lower DPI for precise aiming in strategy games.
Experimenting with different DPI settings is key to finding the perfect balance for your needs. Start by adjusting the DPI slider to a value that feels comfortable and gradually fine-tune it until you achieve the desired level of control and responsiveness.
Once you have adjusted the DPI settings to your satisfaction, be sure to save your settings within the Logitech G Hub software. This ensures that your preferred DPI configurations are applied whenever you use your Logitech G602 mouse.
Now that you’ve successfully adjusted the DPI settings, you’re ready to move on to the next step: creating profiles for different games or applications to streamline your workflow and gaming experience.
Step 5: Creating Profiles for Different Games
The Logitech G602 mouse provides the convenience of creating individual profiles for different games or applications. This feature allows you to save and switch between customized settings specifically tailored for each game, ensuring an optimized experience every time you play.
To start creating profiles for different games on your Logitech G602 mouse, open the Logitech G Hub software and make sure that your mouse is connected and detected. Once inside the software, navigate to the “Profile Settings” section.
In this section, you’ll see an option to create a new profile. Click on the “New” button and give your profile a descriptive name, such as the name of the specific game or application for which you’re creating the profile.
Once you’ve created the profile, you can start customizing its settings. This includes adjusting DPI settings, assigning specific functions or macros to mouse buttons, and fine-tuning other mouse-related preferences.
For example, if you’re playing a first-person shooter game, you may want to set a higher DPI for quick and responsive aiming, assign vital functions like reload or grenade throw to certain mouse buttons, and configure other game-specific settings.
On the other hand, if you’re working on graphic design software, you might prefer a lower DPI setting for precise cursor movement and assign functions like copy, paste, or undo to your mouse buttons to streamline your workflow.
Once you have customized the settings for your profile, save it within the Logitech G Hub software. This saves all the changes you’ve made and allows you to switch to that specific profile when you launch the corresponding game or application.
Switching between different profiles is a breeze with the Logitech G602 mouse. You can either manually select the desired profile within the Logitech G Hub software or assign a button on your mouse to cycle through your available profiles with a simple click.
The ability to have tailored profiles for different games or applications enhances your overall gaming or work experience. It ensures that your Logitech G602 mouse is optimized to maximize your performance and productivity in each specific task.
With profiles created for your various games or applications, you’re now ready to move on to the next step: fine-tuning the mouse sensitivity to achieve the perfect balance between accuracy and comfort.
Step 6: Fine-tuning Mouse Sensitivity
Mouse sensitivity plays a crucial role in your gaming or work experience. Fine-tuning the sensitivity allows you to strike the perfect balance between accuracy and comfort, ensuring that your Logitech G602 mouse responds precisely to your hand movements.
To begin fine-tuning the mouse sensitivity on your Logitech G602 mouse, open the Logitech G Hub software and ensure that your mouse is connected and recognized. Once inside the software, navigate to the “Mouse Sensitivity” section.
In this section, you’ll find various options to adjust and personalize the mouse sensitivity. One of the main settings is the pointer speed or sensitivity slider. Moving the slider to the right increases the speed at which the mouse cursor moves across the screen, while moving it to the left slows down the cursor movement.
It’s crucial to find the right balance of sensitivity that suits your preferences and gaming or working style. Experiment with different sensitivity levels and test them in games or applications to determine the most comfortable and accurate setting for you.
Additionally, the Logitech G Hub software offers advanced options for fine-tuning the mouse sensitivity. You can adjust the polling rate, which determines how often the mouse reports its position to the computer. Higher polling rates result in more frequent updates and can lead to smoother and more precise cursor movement.
Furthermore, you can enable or disable acceleration, which affects how the cursor movement correlates with the physical movement of the mouse. Disabling acceleration ensures a 1:1 relationship between mouse movement and cursor movement, providing consistent and predictable control.
While adjusting mouse sensitivity settings, it’s essential to consider other factors such as your mousepad’s surface and the gaming or work environment. Different surfaces may require slight adjustments to achieve optimal tracking and responsiveness.
As you fine-tune the mouse sensitivity, take note of how it affects your performance and comfort level. If you find yourself constantly overshooting or undershooting targets or experiencing discomfort or strain during extended use, continue adjusting the sensitivity until you achieve the desired balance.
Once you’ve fine-tuned the mouse sensitivity on your Logitech G602 mouse, be sure to save your settings within the Logitech G Hub software. This ensures that your personalized sensitivity configurations are applied each time you use your mouse.
With the mouse sensitivity finely tuned, you’re now prepared to move on to the final step: updating the firmware of your Logitech G602 mouse to ensure you have the latest features and improvements.
Step 7: Updating Firmware
Updating the firmware of your Logitech G602 mouse is an important step to ensure that you have access to the latest features, performance enhancements, and bug fixes. Firmware updates often provide improved functionality and compatibility with the Logitech G Hub software.
To begin updating the firmware of your Logitech G602 mouse, open the Logitech G Hub software and ensure that your mouse is connected and detected. Once inside the software, navigate to the “Firmware Updates” section.
In this section, the Logitech G Hub software will automatically check for any available firmware updates for your Logitech G602 mouse. If a firmware update is available, you’ll be prompted to download and install it.
It’s important to note that during the firmware update process, it’s crucial not to disconnect or turn off your Logitech G602 mouse or interrupt the update in any way. Doing so can result in damage to your mouse or prevent the firmware from being properly installed.
Follow the on-screen instructions provided by the Logitech G Hub software to complete the firmware update. The duration of the update process may vary depending on the size of the firmware update and your internet connection speed.
Once the firmware update is successfully completed, it’s recommended to restart your computer to ensure that the changes take effect. After restarting, your Logitech G602 mouse will be running on the latest firmware version with all the new features and improvements.
Regularly checking for firmware updates is crucial to stay up-to-date with the latest optimizations and enhancements provided by Logitech. These updates can address any previously identified issues, improve performance, and ensure compatibility with the Logitech G Hub software.
If you experience any difficulties during the firmware update process or encounter any issues after the update, it’s recommended to visit the Logitech support website or contact customer support for further assistance and guidance.
With the firmware of your Logitech G602 mouse updated to the latest version, you have completed the final step. Your Logitech G602 mouse is now fully configured, customized, and ready to deliver optimal performance for your gaming or work needs.
Conclusion
Congratulations! By following this step-by-step guide, you have successfully set up and customized your Logitech G602 mouse to enhance your gaming or work experience. Throughout the process, you’ve learned how to install the Logitech G Hub software, connect your mouse, customize buttons, adjust DPI settings, create profiles for different games, fine-tune mouse sensitivity, and update the firmware.
With its impressive precision, comfort, and customization options, the Logitech G602 mouse is a powerful tool that can significantly improve your productivity or gaming performance. The Logitech G Hub software provides a user-friendly interface that allows you to personalize your mouse settings according to your preferences, ensuring a tailored experience.
Remember, finding the perfect settings may require some trial and error. Take the time to experiment and adjust the settings to suit your individual needs. Whether you’re a gamer looking for increased accuracy or a professional seeking optimal productivity, the customization options of the Logitech G602 mouse will help you achieve your goals.
Additionally, it’s important to stay up-to-date with firmware updates provided by Logitech. These updates bring new features, performance improvements, and bug fixes to ensure that your Logitech G602 mouse operates at its best.
If you encounter any difficulties or have further questions, don’t hesitate to visit the Logitech support website or contact customer support for assistance. They are dedicated to helping you resolve any issues and make the most out of your Logitech G602 mouse.
Now, armed with your customized Logitech G602 mouse, enjoy the precision, responsiveness, and comfort it brings to your gaming adventures or productivity tasks. Get ready to elevate your experience to a whole new level, and may your victories be swift and your work be efficient!


