Introduction
Are you a Mac user looking to learn how to print screen using your keyboard? Taking a screenshot can be incredibly useful for a variety of purposes, such as capturing a funny meme, saving important information, or documenting a software issue. You’ll be pleased to know that capturing screenshots on a Mac is a breeze, and there are multiple methods to choose from depending on your preferences. In this article, we will explore different ways to print screen using your Mac keyboard.
Whether you’re using a Macbook, Macbook Air, or Macbook Pro, the methods discussed in this article are applicable across all Mac devices. From using simple keyboard shortcuts to utilizing built-in tools or even third-party applications, we’ll guide you through each step so you can confidently capture and save screenshots on your Mac.+
Learning how to print screen effectively is essential if you want to make the most of your Mac and easily share or save important information. So, without further ado, let’s dive into the different methods that will empower you to capture screenshots like a pro on your Mac!
Method 1: Using the Mac Keyboard Shortcut
One of the simplest and quickest ways to capture a screenshot on your Mac is by using the keyboard shortcut. Mac devices come with built-in keyboard shortcuts that allow you to take different types of screenshots, such as capturing the entire screen, a specific window, or a selected portion.
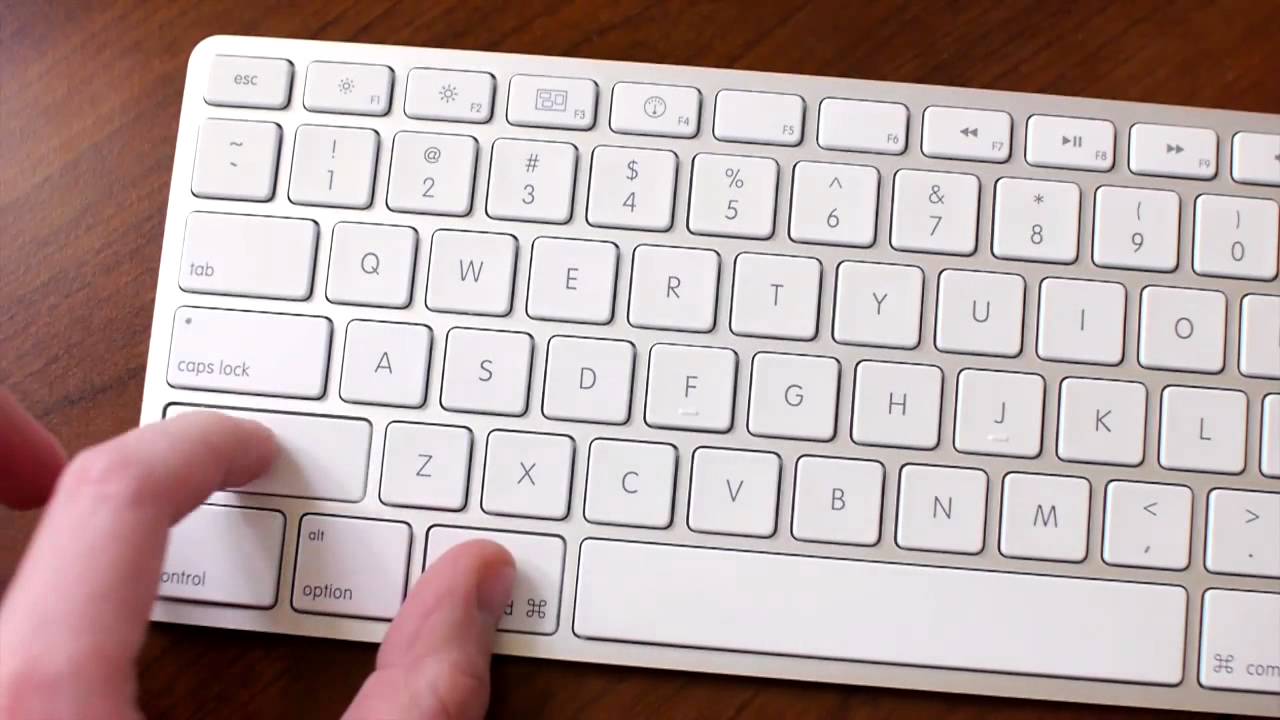
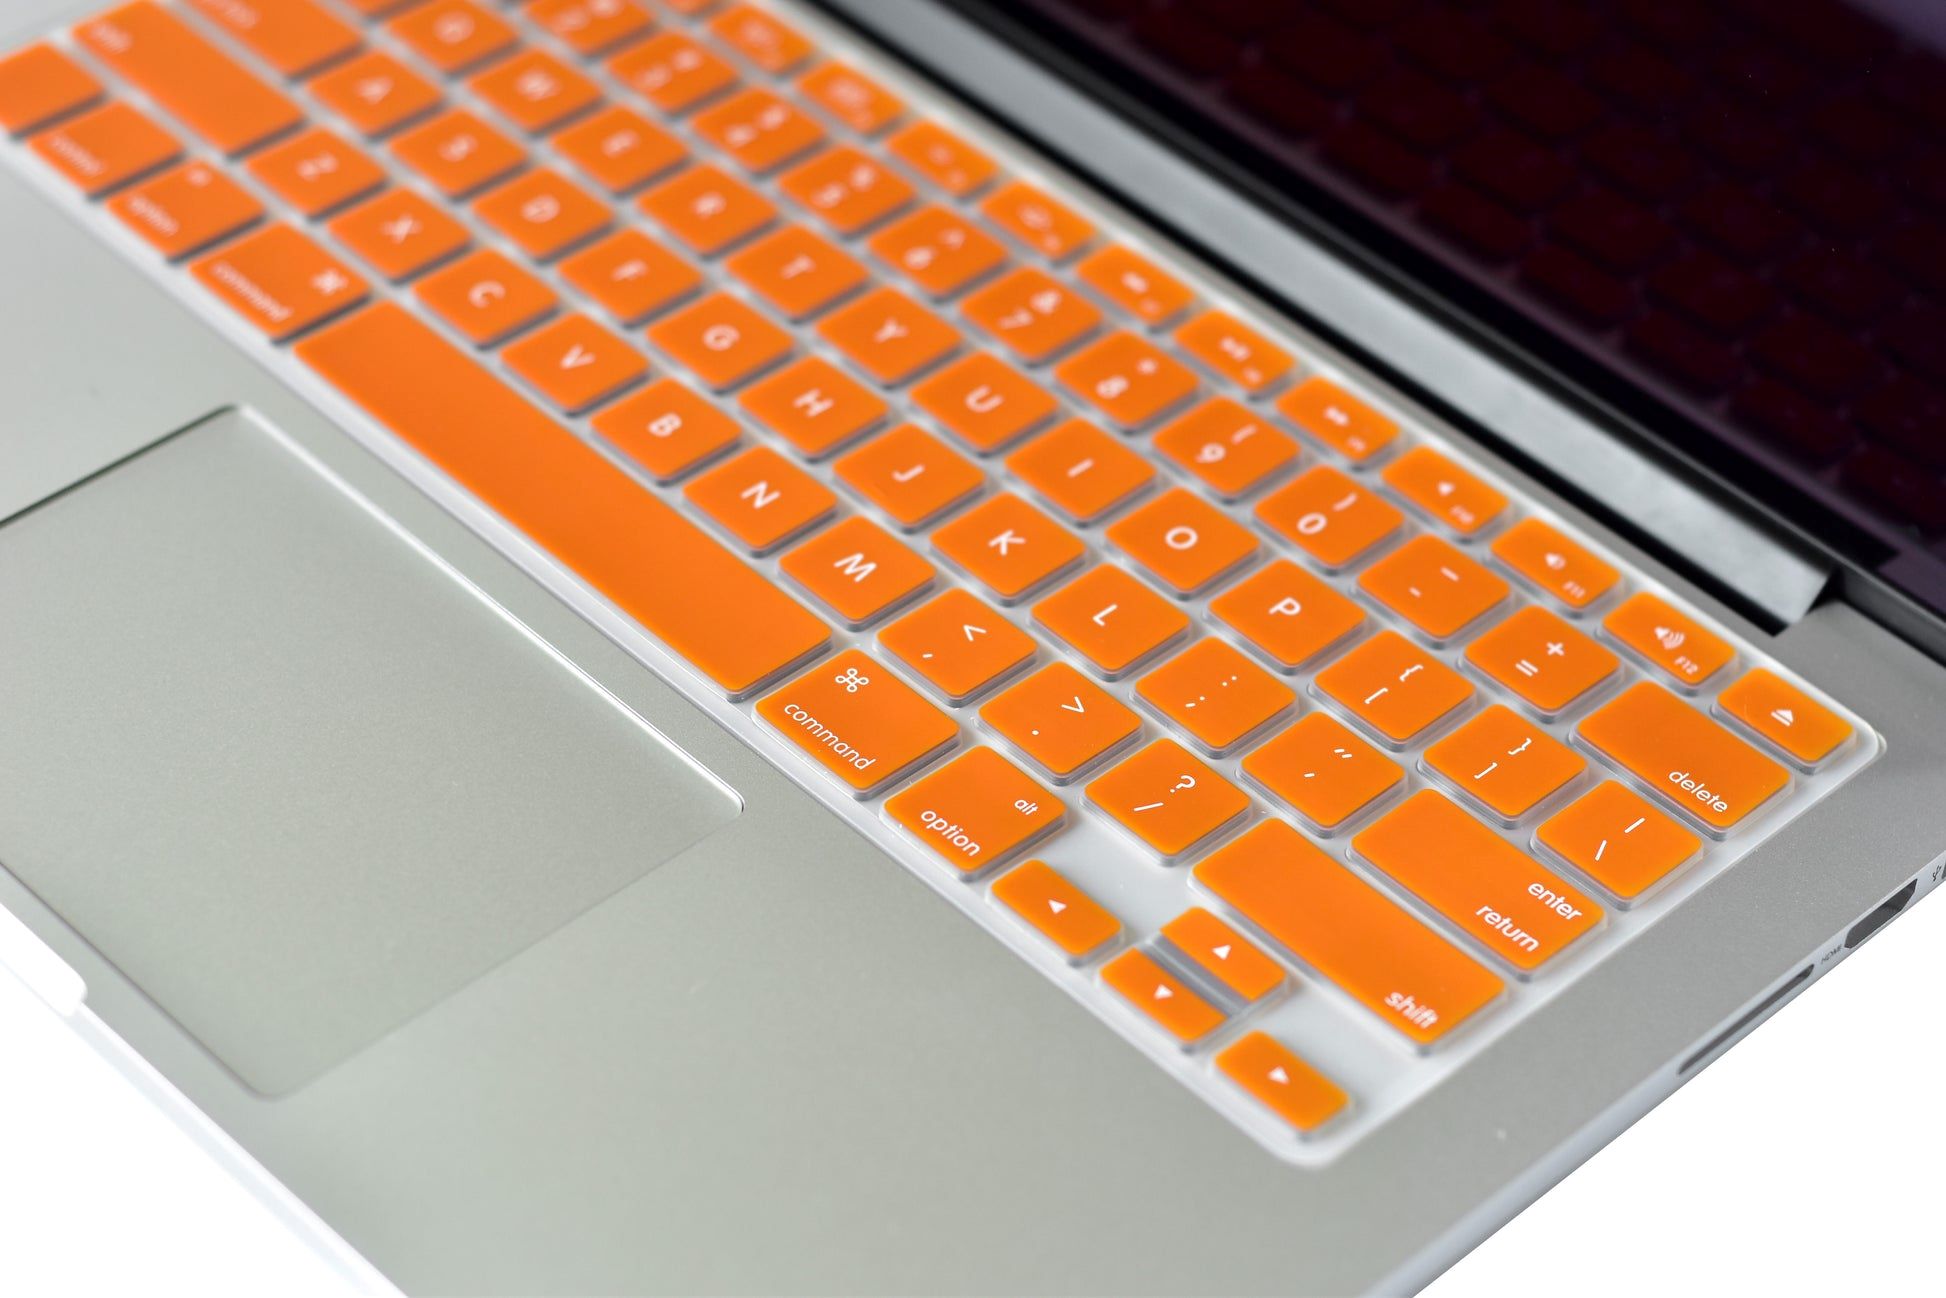
To capture the entire screen, press the Command + Shift + 3 keys simultaneously. You’ll hear a camera shutter sound, indicating that the screenshot has been taken. The screenshot will be saved as a PNG file on your desktop.
If you want to capture a specific window, use the Command + Shift + 4 keys combination. Your cursor will turn into a crosshair. Move the crosshair cursor over the window you want to capture, and then click on the window. The screenshot will be saved as a PNG file on your desktop.
To capture a selected portion of the screen, press Command + Shift + 4 keys together. Again, your cursor will turn into a crosshair. Click and drag to select the desired area. Once you release the mouse button, the selected portion will be captured as a PNG file on your desktop.
Using the keyboard shortcut is a convenient way to quickly capture screenshots on your Mac without the need for any additional tools or applications. This method is especially useful when you want to capture the entire screen or a specific window. However, if you prefer more flexibility or advanced features, there are other methods you can explore.
Method 2: Using the Grab Tool
If you’re looking for a more versatile way to capture screenshots on your Mac, you can utilize the Grab tool. The Grab tool is a built-in application that allows you to capture screenshots with additional options and features.
To access the Grab tool, go to your Applications folder, then select Utilities, and finally open Grab. Once the Grab tool is launched, you’ll see a menu bar at the top of your screen.
To capture a screenshot using the Grab tool, go to the Capture menu in the Grab application. From the drop-down menu, you can choose to capture the entire screen, a specific window, a portion of the screen, or even a timed screenshot.
If you select “Screen”, the Grab tool will capture the entire screen when you click the Capture button. A preview of the screenshot will appear in a new window, and you can then save it as an image file.
For capturing a specific window, select “Window” from the Capture menu. Your cursor will turn into a camera icon. Click on the window you want to capture, and the Grab tool will automatically capture the selected window.
Similarly, you can choose “Selection” from the Capture menu to capture a selected portion of the screen. Drag the crosshair cursor to select the desired area, and the Grab tool will capture the selected portion.
If you need a time delay before the screenshot is captured, select “Timed Screen” from the Capture menu. The Grab tool will display a 10-second countdown, giving you time to set up the screen before capturing the screenshot.
The Grab tool provides more control and options for capturing screenshots on your Mac. It’s particularly useful when you need to capture a specific window, an area of the screen, or when you prefer a timed screenshot. However, if you’re looking for even more features and flexibility, there are additional methods you can explore.
Method 3: Using the Preview Application
Another option for capturing screenshots on your Mac is by using the Preview application. Preview is a versatile built-in app that allows you to view and edit images, but it can also be used to capture screenshots.
To use Preview for taking screenshots, open the application from your Applications folder. Once Preview is launched, go to the File menu and choose “Take Screenshot”.
Preview offers three options for capturing screenshots: “From Selection”, “From Window”, and “From Entire Screen”. Each option allows you to capture screenshots in different ways.
If you select “From Selection”, your cursor will turn into a crosshair. Click and drag to select the area you want to capture, then release the mouse button, and Preview will capture the selected portion of the screen.
For capturing a specific window, choose “From Window”. Click on the window you want to capture, and Preview will automatically capture the selected window.
If you want to capture the entire screen, select “From Entire Screen”. Preview will capture the full screen of your Mac, including all open windows and applications.
Once you’ve captured a screenshot using Preview, the image will open in a new window. From there, you can make edits, add annotations, or save the screenshot in different file formats.
The Preview application is a useful tool for capturing screenshots on your Mac, especially if you want more control over the captured image or if you need additional editing options. However, if Preview doesn’t meet your requirements or preferences, there are alternative methods available.
Method 4: Using Third-Party Applications
If you’re looking for more advanced features, customization options, or additional functionality, using third-party applications to capture screenshots on your Mac might be the way to go. There are several excellent third-party screenshot applications available that can enhance your screenshot-taking experience.
One popular third-party application is Snagit, which offers a wide range of features for capturing, editing, and sharing screenshots. With Snagit, you can capture the entire screen, a specific window, or a selected portion. It also provides tools for annotating and customizing your screenshots, making it a powerful option for professionals or those who frequently work with screenshots.
Another popular choice is Skitch, which is a lightweight and user-friendly screenshot app. Skitch includes features like capturing screenshots, adding annotations, and directly sharing your screenshots with others. It’s a great option for quick and easy screenshot-taking, especially if you want to annotate or highlight specific elements in your screenshots.
Other notable third-party screenshot applications for Mac include Lightshot, Greenshot, and CloudApp, each with their own unique features and benefits. Take some time to explore these applications and find one that best suits your needs and preferences.
It’s important to note that while third-party applications can provide additional features, they may come at a cost or have limitations on their free versions. So, be sure to review the pricing and features of each application before making your decision.
Using third-party applications for capturing screenshots on your Mac can give you more control, advanced features, and customization options. Whether you need professional-grade editing capabilities or simply want a more user-friendly experience, these applications can elevate your screenshot-taking game.
Remember to explore different options, read reviews, and consider your specific requirements before choosing a third-party application. The right tool will enhance your screenshot-taking process and make it easier to capture and share valuable information with others.
Conclusion
Capturing screenshots on your Mac is essential for a variety of purposes, and there are multiple methods available to fit your needs and preferences. Whether you prefer using the Mac keyboard shortcuts, the built-in Grab tool, the Preview application, or third-party applications, you have plenty of options to choose from.
The Mac keyboard shortcuts offer a quick and straightforward way to capture screenshots, allowing you to easily capture the entire screen, specific windows, or selected portions. This method is ideal for those who prefer a simple and efficient approach.
If you’re looking for more versatility, the Grab tool provides additional options and features, enabling you to capture specific windows, areas of the screen, or even schedule timed screenshots. This method is a great choice when you need more control and flexibility over your screenshots.
For a built-in solution with editing capabilities, the Preview application is a powerful tool. It allows you to capture screenshots and provides editing and annotation features, making it a fantastic option for those who require more post-capture functionality.
Lastly, third-party applications like Snagit, Skitch, and others offer a wide range of advanced features and customization options. If you need professional-grade functionality or want a more user-friendly experience, these applications can elevate your screenshot-taking process.
Remember to explore the different methods and determine which one suits your needs and preferences best. Each method has its strengths and capabilities, so finding the one that aligns with your requirements will enhance your screenshot-taking experience on your Mac.
With the knowledge and options provided in this article, you can confidently capture and save screenshots on your Mac for all your personal and professional needs. So go ahead, start capturing those screenshots effortlessly and make the most of your Mac!


