Introduction
When it comes to attending virtual meetings or participating in online classes, having a properly positioned webcam can make all the difference. It allows you to present yourself in the best possible light and ensures that you are seen and heard clearly by others. Whether you are using a built-in camera on your laptop or a separate webcam, taking some time to optimize its positioning can greatly enhance your video conferencing experience.
In this article, we will explore some helpful tips for positioning your webcam during video calls. From finding the ideal eye-level placement to considering lighting conditions and selecting a suitable background, these tips will help you make a professional and engaging impression on your audience. So, let’s dive in and discover how to position your webcam for Zoom, Skype, or any other video conferencing platform.
Before we proceed, it’s worth noting that these tips are applicable to both external webcams and built-in cameras on devices such as laptops and smartphones. So, regardless of the type of camera you’re using, you can still implement these positioning techniques to ensure a visually captivating virtual presence.
Now, let’s explore some helpful tips for optimizing your webcam position during online meetings.
Webcam Positioning Tips
Proper webcam positioning can significantly improve the quality and effectiveness of your video calls. Consider the following tips to ensure that you present yourself in the best possible way:
- Eye-Level Placement: Position your webcam at eye level or slightly above. This helps create a more natural and engaging visual connection with the other participants. Avoid positioning it too low, as it can create unflattering angles.
- Lighting Considerations: Pay attention to lighting conditions in your environment. Ideally, have a light source facing you, as this eliminates shadows on your face. Natural light from a window can provide a soft and flattering glow. If necessary, use additional lighting, such as a desk lamp, to brighten your face.
- Background Selection: Choose a neutral and uncluttered background that is not distracting. A plain wall or a virtual background can work well. Make sure there are no personal or sensitive items visible in the background.
- Camera Angle: Adjust the camera angle to capture you at the most flattering angle. Experiment with different angles to find the one that enhances your features. Avoid extreme close-ups or shots that cut off the top of your head.
- Ensuring Stability: Use a stable surface or tripod to secure your webcam. A shaky or wobbly camera can be distracting and diminish the overall quality of your video.
- Framing and Composition: Position yourself in the center of the frame, with a slight head and shoulder room. This ensures that your facial expressions and gestures are clearly visible. Avoid placing your face too close to the camera, as it can distort your features.
- Avoiding Distractions: Eliminate any potential distractions in your surroundings. Turn off or silence your phone, close unnecessary tabs on your computer, and ensure that there are no loud noises or interruptions during your call.
- Testing and Adjusting: Before your call, take a moment to test your webcam position and make any necessary adjustments. Use the preview option in the video conferencing software to ensure that you are satisfied with the framing, lighting, and overall appearance.
By following these webcam positioning tips, you will appear more professional, confident, and engaged during your video calls. Take the time to implement these techniques, and you will make a lasting impression on your colleagues, clients, and classmates alike.
Eye-Level Placement
Positioning your webcam at eye level is crucial for creating natural and engaging interactions during video calls. When your camera is at eye level, it allows others to see you at a more comfortable and familiar angle.
Having your webcam too low or too high can create unflattering angles and distort your appearance. When the camera is positioned too low, it can make you look like you are looking down on the screen, which may imply a lack of interest or engagement. On the other hand, if the camera is too high, it can make you appear distant or unapproachable.
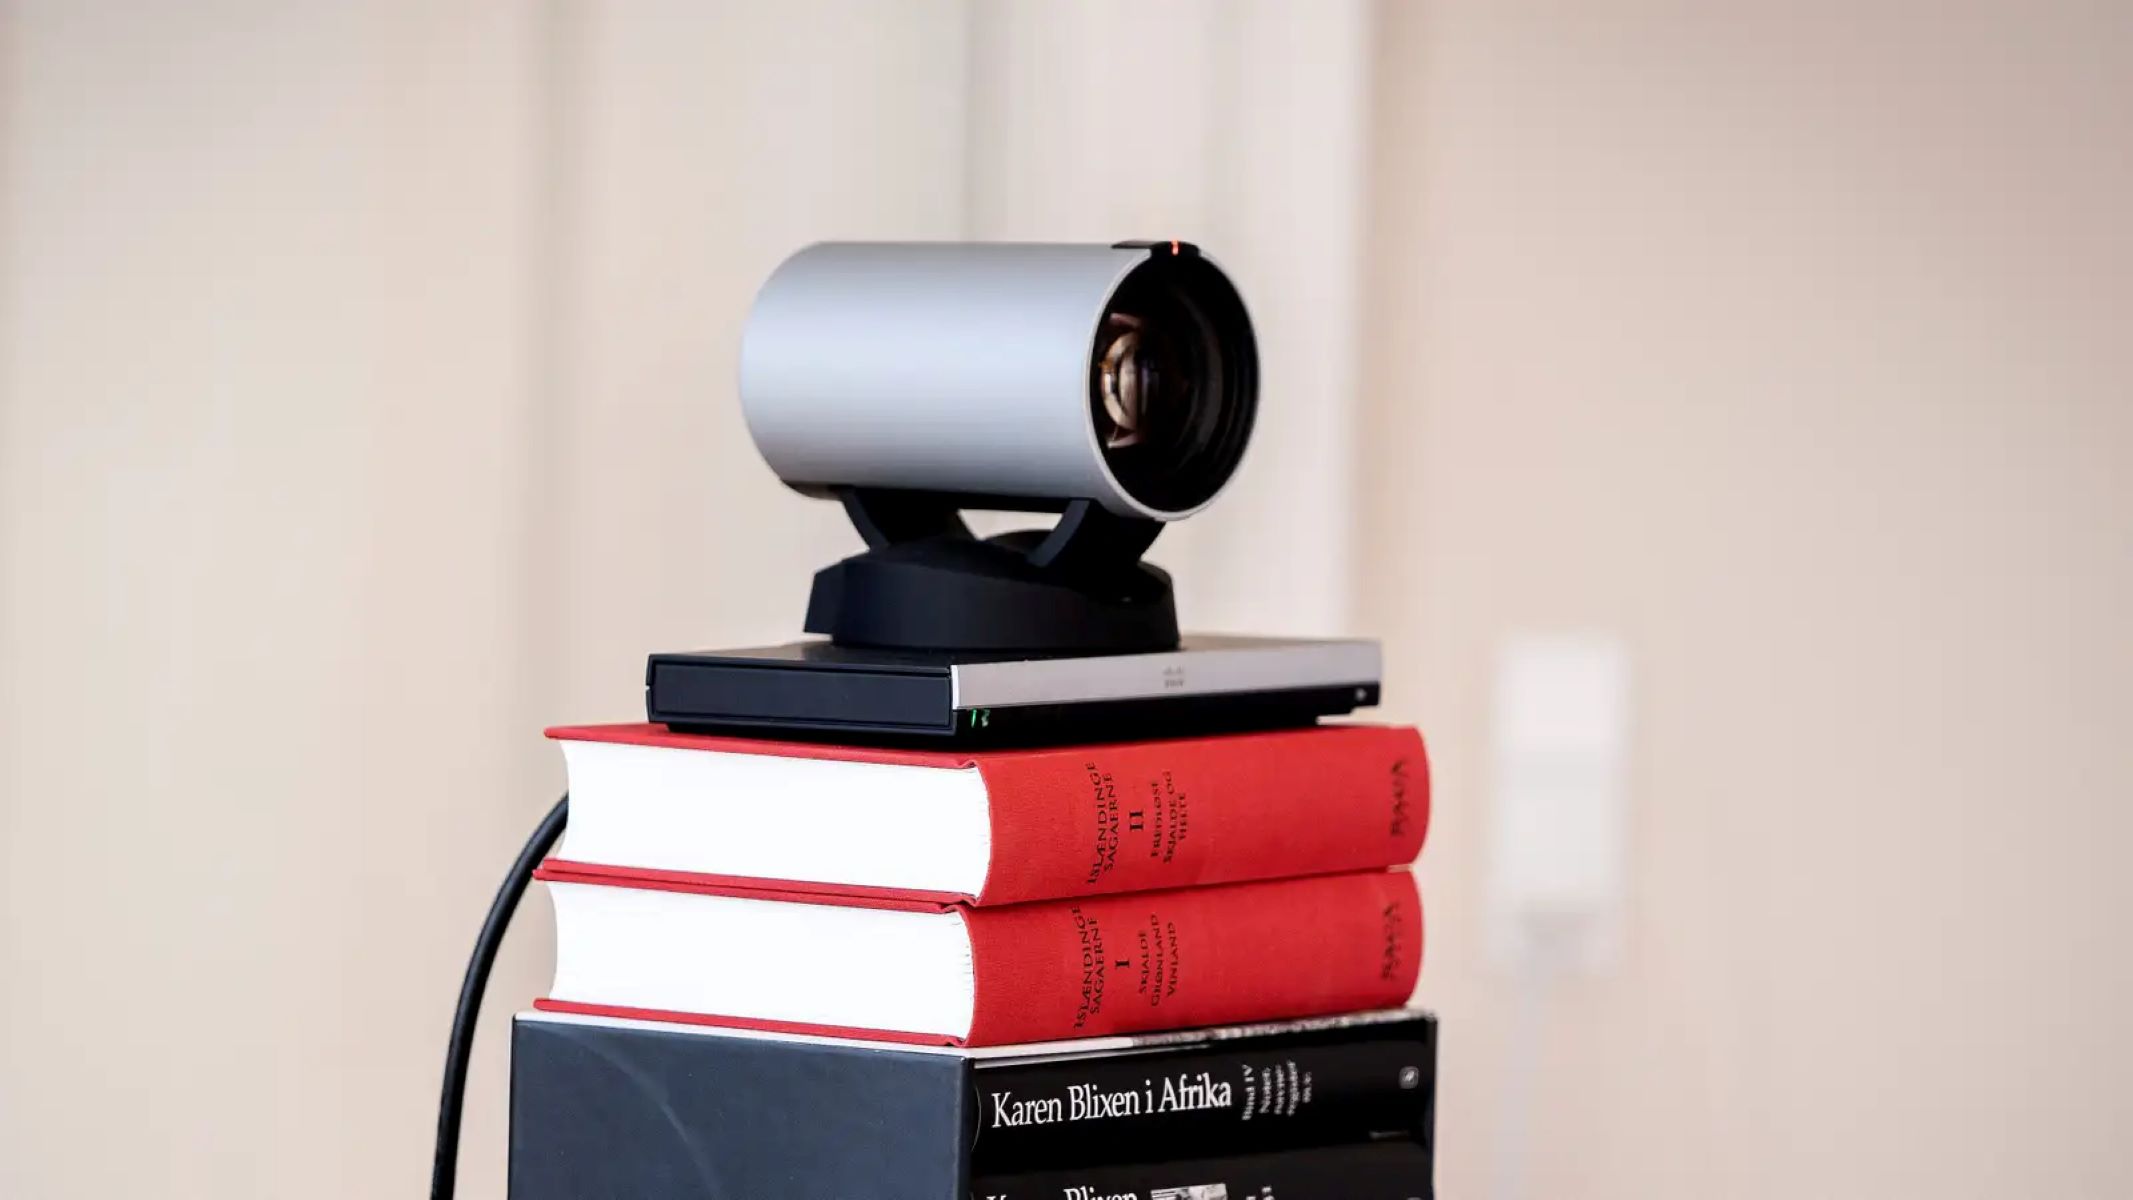
To achieve eye-level placement, consider using a laptop stand, stack of books, or an adjustable tripod mount for external webcams. By elevating your camera to the appropriate height, you ensure that your face is centered on the screen, creating a more authentic and personable connection with the other participants.
If you are using a built-in camera on your laptop, you can adjust the screen angle or prop up your laptop using a stable surface to achieve the desired eye-level placement. Alternatively, you can invest in an external webcam that can be positioned independently from your laptop screen.
It’s important to note that eye-level placement may vary depending on the height of your desk or seating position. Adjust the camera accordingly to ensure that your eyes are level with the top part of the screen. This helps create a sense of direct eye contact with others, making the conversation feel more natural and engaging.
By paying attention to the eye-level placement of your webcam, you can enhance the visual connection with your audience and establish a professional and approachable virtual presence.
Lighting Considerations
Lighting plays a crucial role in how you appear on camera during video calls. By considering the lighting conditions in your environment, you can ensure that you are well-lit and clearly visible to others.
First and foremost, aim to have the primary light source facing you. This can be natural light coming from a window or artificial light from a desk lamp or ring light. Having the light in front of you helps to eliminate shadows on your face and provides an even and flattering illumination.
If possible, position yourself facing a window during daylight hours. Natural light provides a soft and diffused glow that can enhance your appearance. However, make sure that the light is not too harsh or causes you to squint, as this can be distracting.
If natural light is not sufficient or available, consider using additional lighting. A desk lamp with a white or neutral-colored bulb can be positioned to provide adequate illumination. Avoid using overhead lights or fluorescent lighting, as they can cast unflattering shadows and create a harsh, unnatural look.
When setting up your lighting, try to achieve a balanced and even illumination across your face. Avoid harsh shadows on one side of your face by positioning the light source slightly off to one side. Experiment with different angles and distances to find the most flattering lighting setup for your video calls.
In addition to the lighting in your immediate environment, consider the lighting behind you as well. Ensure that there is no bright light source, such as a window, directly behind you, as it can create a silhouette effect and make it difficult for others to see your facial features. Ideally, have a neutral or lightly colored background that complements the lighting in the room.
Take a moment to test the lighting setup before your video call, using the preview option in the video conferencing software. Adjust the position and intensity of the light source as needed to achieve the desired result.
By paying attention to lighting considerations, you can present yourself in the best possible light during video calls, creating a professional and engaging impression on your audience.
Background Selection
The background of your video call can greatly impact how you are perceived by others. Choosing a suitable background helps maintain a professional and uncluttered appearance, keeping the focus on you rather than any potential distractions.
When selecting a background for your video calls, opt for a neutral and unobtrusive setting. A plain wall or a virtual background can work well in creating a clean and professional look. Avoid busy or cluttered backgrounds that could divert attention away from you.
If you choose to have a physical background, ensure that it is uncluttered and free from personal or sensitive items. A tidy bookshelf, a wall with minimal decorations, or a blank canvas can create a polished and organized backdrop.
Virtual backgrounds offer the flexibility to change your surroundings to fit the tone of your meeting or to maintain privacy. Many video conferencing platforms, such as Zoom, offer a variety of virtual backgrounds to choose from. Select a background that is appropriate for the context of your call, whether it’s a professional setting or a more casual interaction.
When using a virtual background, keep in mind that a solid and contrasting color can help create a crisp and well-defined outline around your figure. This helps ensure that your image blends seamlessly into the background, without any awkward halos or inconsistencies.
Before joining a video call, test your chosen background to ensure that it appears as intended. Pay attention to any potential visual artifacts, glitches, or blending issues that may arise. Adjust the settings if necessary, to achieve the desired effect.
Remember, the purpose of selecting an appropriate background is to create a professional and distraction-free environment. By selecting a neutral and uncluttered background, you can ensure that the focus remains on you and your message during video calls.
Camera Angle
The camera angle plays a vital role in how you are perceived during video calls. Finding the right camera angle can help enhance your appearance and ensure that your facial expressions and gestures are clearly visible.
Experiment with different camera angles to find the one that is most flattering for your face. Generally, positioning the camera slightly above eye level can be more pleasing, as it minimizes the appearance of a double chin and creates a more flattering angle for your features.
Avoid placing the camera too low, as it can make you look like you are towering over the screen or create unflattering angles. Similarly, avoid positioning the camera too high, as it can make you appear distant or unapproachable.
If you are using a laptop with a built-in camera, adjust the screen angle to position the camera at the desired angle. You can prop up your laptop using a stable surface or use a laptop stand to achieve the desired height. Alternatively, consider investing in an external webcam that can be adjusted independently from your laptop screen.
When adjusting the camera angle, also consider the distance between you and the camera. Avoid extreme close-ups that might distort your features. Aim for a comfortable distance that allows others to see your face clearly, capturing your facial expressions and non-verbal cues.
It’s important to note that the camera angle may vary depending on your facial features and personal preference. Take some time to experiment and find the camera angle that makes you feel confident and helps convey your message effectively.
Before your video call, make sure to check the camera angle by using the preview feature in the video conferencing software. This allows you to see how you will appear to others and make any necessary adjustments.
By paying attention to the camera angle, you can ensure that you present yourself in the best possible light during video calls, projecting confidence and creating a strong connection with your audience.
Ensuring Stability
Having a stable webcam is essential for maintaining a clear and steady image during your video calls. A wobbly or shaky camera can be distracting and diminish the overall quality of your video.
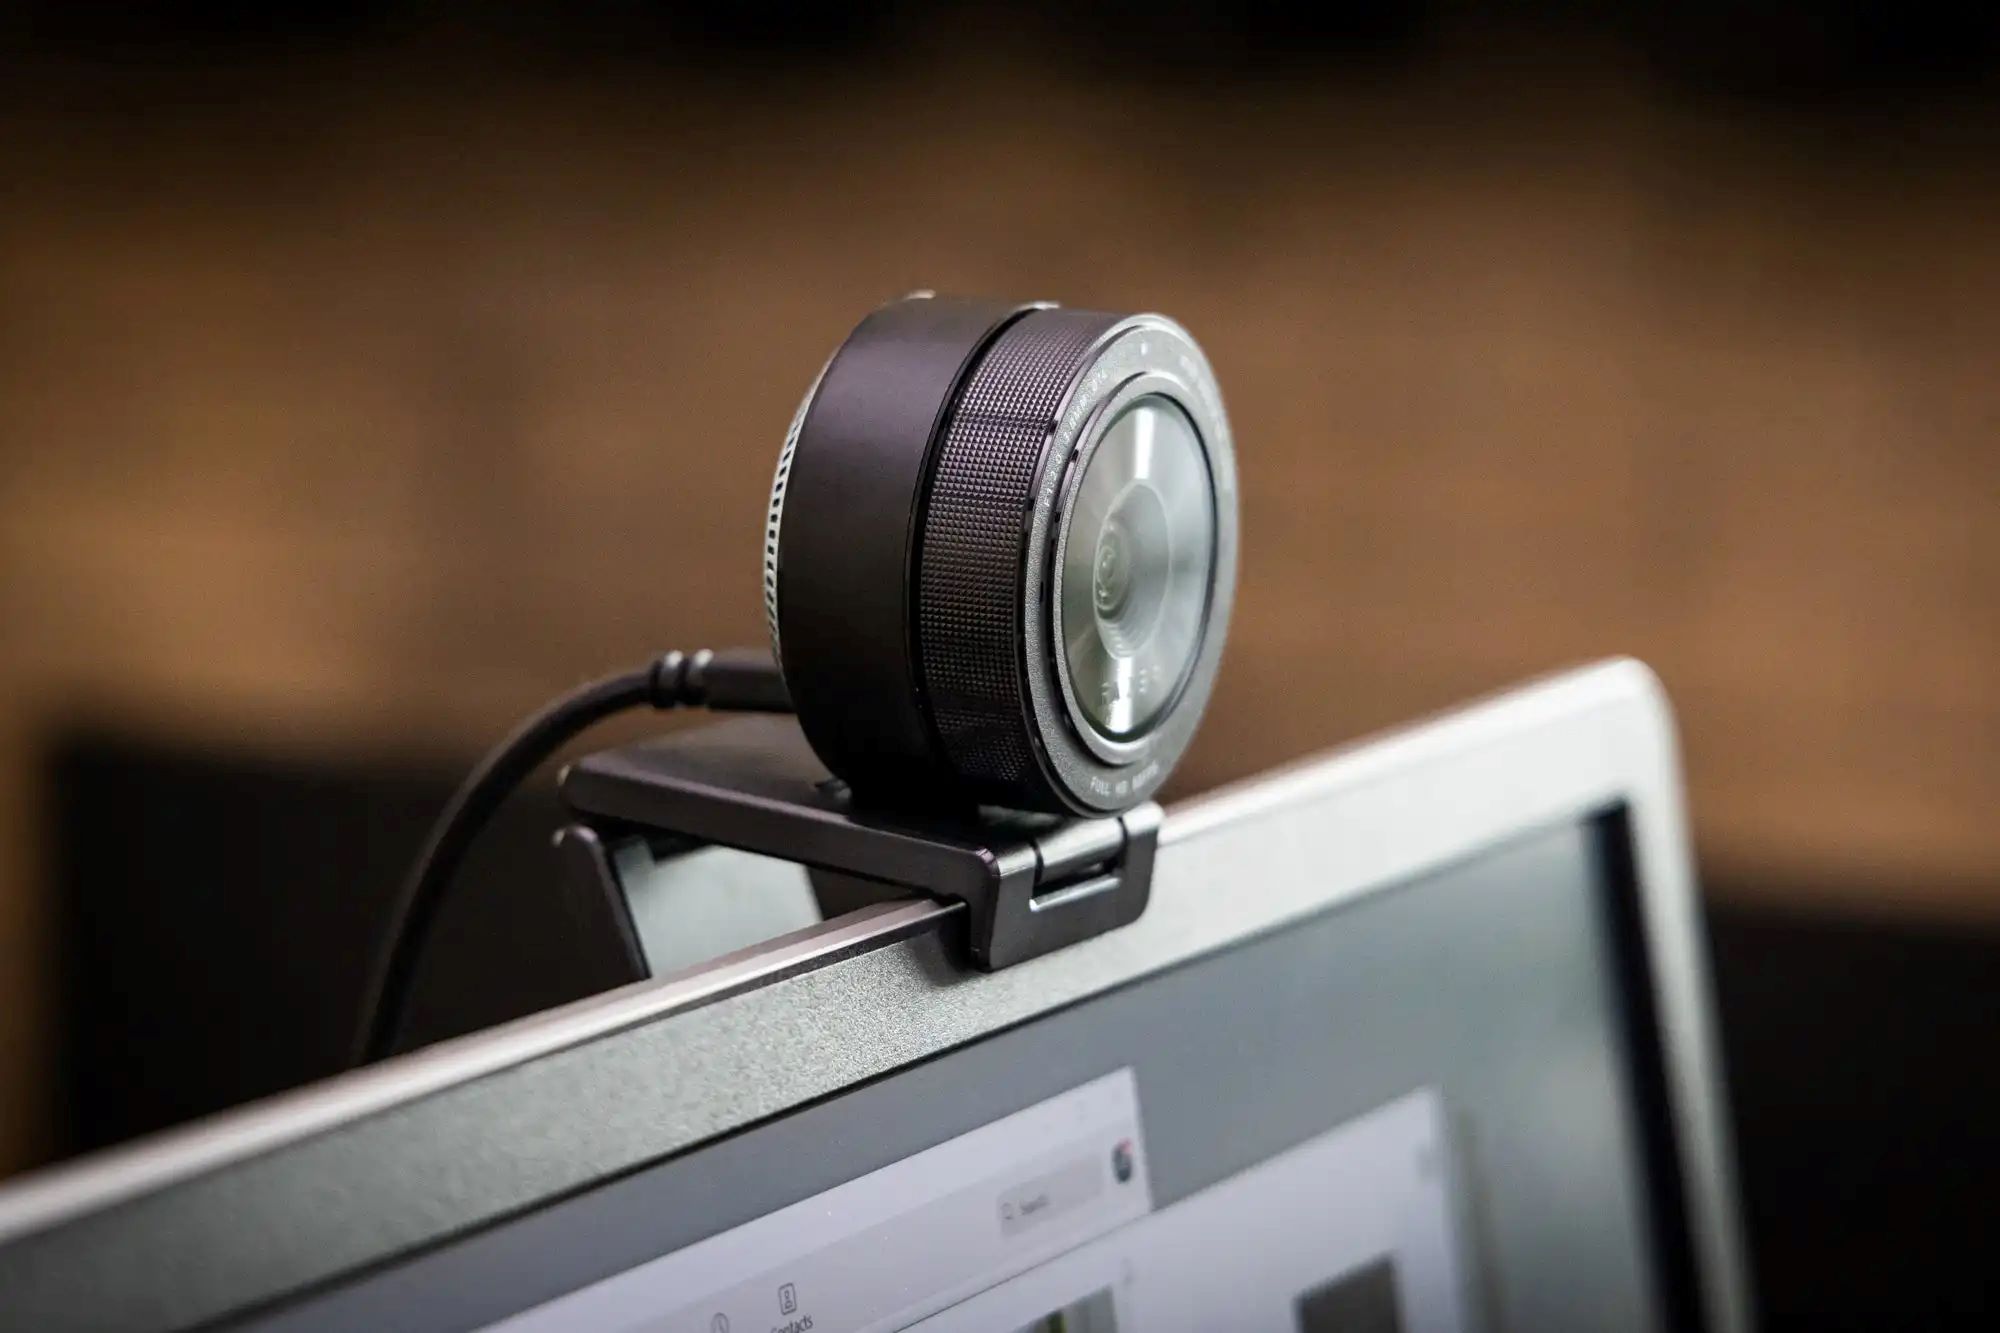
To ensure stability, avoid balancing your webcam on unsteady surfaces or holding it by hand. Instead, use a stable surface, such as a desk or table, to place your webcam. If you are using an external webcam, consider investing in a tripod or a webcam stand that provides a secure and stable base.
If you are using a laptop with a built-in camera, be mindful of any movement or vibrations that can occur while typing or using the touchpad. Resting your laptop on a stable surface or using a stand can help minimize these distractions.
Additionally, avoid bumping or moving the camera during your video calls. Any sudden movements can result in a blurry or distorted image, causing disruptions to the visual experience for both you and others.
Before joining a video call, take a moment to ensure that your webcam is securely positioned and stable. Gently give it a slight nudge to check for any potential movement. If you notice any instability, make adjustments to secure the webcam in place.
By ensuring stability for your webcam, you can maintain a clear and steady image throughout your video calls, allowing for a more professional and enjoyable experience for all participants.
Framing and Composition
The framing and composition of your video feed can greatly impact how you are perceived by others during video calls. By paying attention to these elements, you can create a visually appealing and engaging presence.
When it comes to framing, position yourself in the center of the frame, with a slight head and shoulder room. This allows others to see your facial expressions and gestures clearly. Avoid placing your face too close to the camera, as it can distort your features and create an unflattering appearance.
Consider the rule of thirds, a composition technique commonly used in photography and videography. Imagine breaking the video frame into nine equal parts with two horizontal and two vertical lines. Positioning your face along one of these intersecting lines can create a more dynamic and aesthetically pleasing composition.
Pay attention to your background and ensure that it is not distracting or cluttered. Avoid having objects or patterns that compete for attention with your face. A clean and neutral background can help keep the focus on you and your message.
Experiment with different angles and distances to find the most flattering and engaging composition for your video calls. Adjust the camera position and tilt to find the perfect balance between showcasing your face and capturing your body language.
Remember, nonverbal cues such as hand gestures and body movements can enhance your communication during video calls. Allow some space in the frame to include your upper body so that others can see these gestures.
Before joining a video call, take a moment to check your framing and composition using the preview option in the video conferencing software. Make any necessary adjustments to ensure that you are satisfied with the visual arrangement.
By paying attention to framing and composition, you can create a visually captivating presence during video calls, capturing the attention and interest of your audience.
Avoiding Distractions
Creating a distraction-free environment is crucial for maintaining focus and professionalism during video calls. By identifying and minimizing potential distractions, you can ensure that the attention remains on you and the content of your discussion.
First and foremost, silence or put your phone on silent mode during your video calls. Notifications, calls, or messages can disrupt the flow of your conversation and draw your attention away from the meeting. Additionally, consider closing any unnecessary tabs or applications on your computer that may cause distractions or pop-up notifications.
Find a quiet location where background noise is minimal. Avoid areas with loud appliances, outside traffic noise, or other interruptions that can distract or interfere with the audio quality of your call. If you are unable to control external noise, consider using headphones with a built-in microphone for clearer audio.
Ensure that your workspace is clean, tidy, and free from clutter. A cluttered environment can be visually distracting to both you and others on the call. Keep only essential items within reach and remove any unnecessary objects or personal belongings from the frame.
Choose your attire and appearance appropriately for the context of your video call. Dress professionally or according to the expected dress code. Avoid wearing distracting or bright colors that may draw attention away from your message.
When selecting a virtual background, opt for one that is not overly busy or visually stimulating. While virtual backgrounds can be a great way to personalize your video calls, it’s important to choose an option that is not distracting or takes away from the focus on the conversation.
Lastly, communicate with those around you about your scheduled video calls to minimize potential interruptions. Let family members or roommates know about your meeting times and ask for their cooperation in keeping noise levels low and distractions to a minimum.
By proactively identifying and minimizing distractions, you can create a professional and focused environment during your video calls, ensuring that the attention remains on you and the content being discussed.
Testing and Adjusting
Before joining a video call, it’s essential to take the time to test and adjust your webcam setup to ensure everything is working smoothly. Doing so enables you to identify any potential issues and make necessary adjustments, resulting in a seamless and professional video conferencing experience.
Start by checking your webcam’s functionality. Open your video conferencing software or use an online webcam testing tool to verify that your camera is properly connected and functioning correctly. Ensure that the software recognizes your webcam and that you can see yourself in the preview window.
Next, assess the audio quality. Test your microphone to check if others can hear you clearly. Speak at a normal volume and listen to the playback to confirm that there are no issues with the sound quality. Consider using headphones with a built-in microphone to improve audio clarity and minimize background noise.
Once you’ve confirmed that your camera and audio are working properly, assess the visual aspects of your setup. Check the lighting, adjust it if necessary, and ensure that your face is evenly illuminated without any harsh shadows. Experiment with different angles and positions to find the most flattering and visually appealing setup.
Review your background to ensure that it is appropriate and free from any distracting elements. Pay attention to any objects or personal belongings that may inadvertently appear in the frame and adjust accordingly.
Take the time to fine-tune your camera framing and composition. Ensure that you are centered in the frame with a suitable amount of headroom. Consider the rule of thirds and adjust the camera angle to create a visually engaging composition.
Lastly, test your internet connection. Ensure that you have a stable and strong internet connection to avoid video lag or disruptions during the call. Consider connecting your device to the internet via wired connection for a more reliable connection, especially if you are experiencing wireless connectivity issues.
By thoroughly testing and adjusting your webcam setup, you can address any potential issues beforehand and create an optimal video conferencing experience. This not only ensures that you present yourself in the best possible light but also allows for a smooth and uninterrupted conversation with other participants.
Conclusion
Positioning your webcam correctly is essential for creating a professional and engaging presence during video calls. By implementing the tips discussed in this article, you can enhance the quality of your video conferencing experience and make a lasting impression on your audience.
From achieving eye-level placement and considering lighting conditions to selecting a suitable background and finding the right camera angle, each element contributes to how you are perceived on screen. Additionally, ensuring stability, framing, and composition, as well as minimizing distractions, all play important roles in creating a seamless and focused virtual environment.
Remember to test and adjust your webcam setup before each video call to address any potential issues and fine-tune the settings for optimal performance. By doing so, you can ensure that you present yourself in the best possible light and maintain a professional presence throughout your virtual meetings.
By following these webcam positioning tips, you can elevate your video conferencing game and leave a positive and memorable impression on your colleagues, clients, and classmates alike. So, embrace these techniques, master the art of webcam positioning, and make your next video call a success.


