Introduction
When building or upgrading a computer, one crucial step is connecting the CPU power cable. The CPU power cable supplies the necessary power to the central processing unit (CPU) of your computer, ensuring its proper functioning. It is essential to plug in the CPU power cable correctly to avoid any potential issues or malfunctions.
In this article, we will guide you through the process of plugging in the CPU power cable, ensuring that your computer receives the power it needs to perform efficiently. Whether you are a beginner or have some experience in computer building, we will provide clear instructions to help you complete this task successfully.
While the steps may vary slightly depending on your motherboard and power supply unit (PSU), the overall process remains the same. By following our instructions, you can confidently plug in the CPU power cable and proceed with the rest of your computer assembly.
Before we begin, it’s important to note that working with computer components requires caution and attention. Be sure to ground yourself properly by touching a metal object to discharge any static electricity. Additionally, ensure that your computer is turned off and disconnected from the power source before starting any hardware installation.
Now that we have covered the necessary precautions, let’s dive into the step-by-step process of plugging in the CPU power cable.
Step 1: Identify the CPU power cable
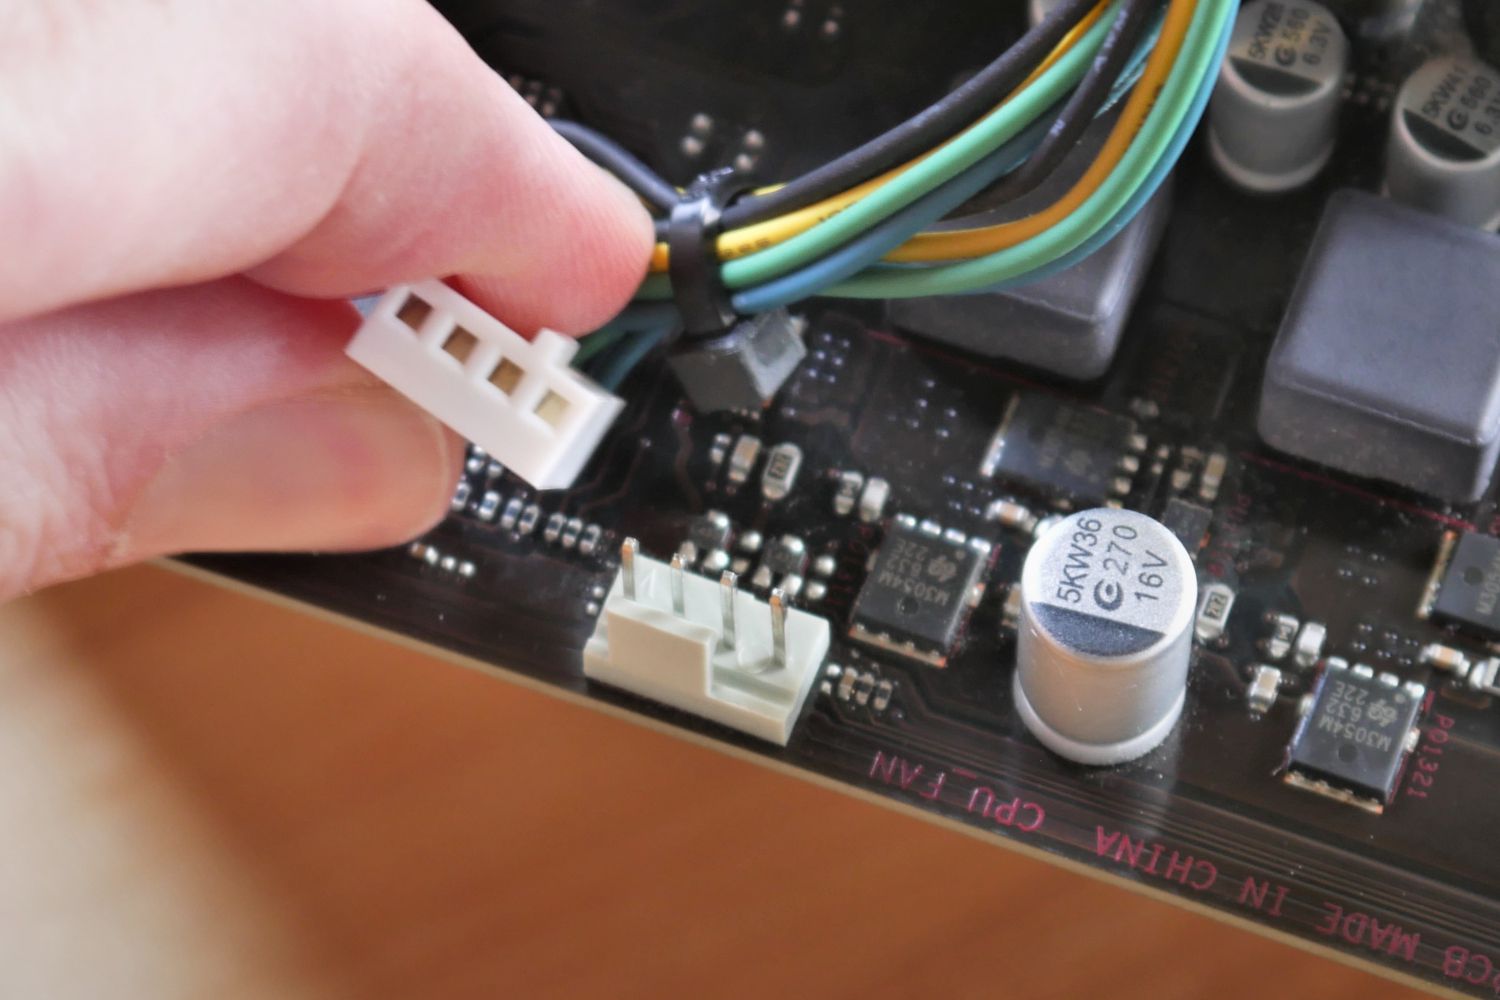
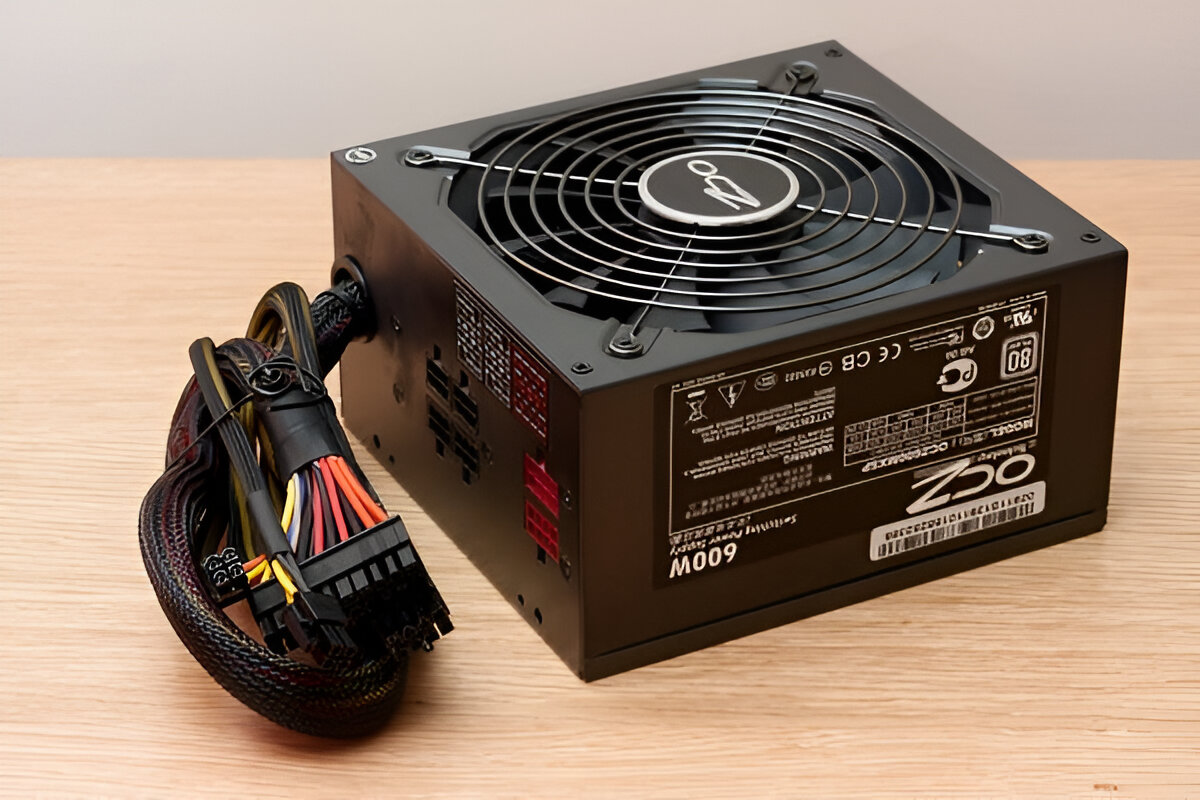
Before plugging in the CPU power cable, it is crucial to identify it among the various cables that come with your power supply unit (PSU). The CPU power cable is a thick cable with a specific connector designed to supply power to the CPU. It is typically labeled as “CPU” or “CPU power” on both ends and has a unique shape that distinguishes it from other cables.
To ensure you are identifying the correct cable, refer to your motherboard’s manual or manufacturer’s website. The manual will provide detailed information about the CPU power cable and its specific connector. Additionally, the CPU power connector on the motherboard is usually located near the CPU socket and is marked with “CPU_PWR” or a similar label. Familiarizing yourself with these identifiers will help you locate the proper cable.
If you are still unsure which cable is the CPU power cable, look for a 4-pin or 8-pin connector with a square shape. It may also have additional notches or clips on one or both sides. This connector is designed to fit into the corresponding CPU power connector on the motherboard.
Take your time to carefully identify the CPU power cable among the other cables included with your PSU. Once you are confident that you have found the correct cable, proceed to the next step to connect it to your motherboard.
Step 2: Locate the CPU power connector on the motherboard
Once you have identified the CPU power cable, the next step is to locate the matching CPU power connector on your motherboard. This connector is where you will plug in the CPU power cable to provide power to the CPU.
To find the CPU power connector, consult your motherboard’s manual or manufacturer’s website. The manual will contain detailed diagrams and descriptions of the motherboard’s layout, including the location of the CPU power connector. Typically, the CPU power connector is situated near the CPU socket, although its exact position may vary depending on the motherboard model.
The CPU power connector on the motherboard is usually labeled as “CPU_PWR” or something similar. It may have a square shape with either a 4-pin or 8-pin configuration, depending on your motherboard and power supply. Make sure to examine the connector closely to confirm its label and pin configuration before proceeding.
Take note of the CPU power connector’s location on the motherboard, as it will guide you in correctly aligning the CPU power cable in the following steps. Familiarize yourself with its orientation and make a mental note of its position relative to the CPU socket for a seamless installation process later on.
Now that you have located the CPU power connector on the motherboard, you’re ready to move on to the next step of the installation process: aligning the CPU power cable with the connector.
Step 3: Align the CPU power cable with the connector
With the CPU power connector on the motherboard identified, it’s time to align the CPU power cable with the connector. Proper alignment ensures a secure and reliable connection between the PSU and the CPU, allowing for efficient power delivery.
Begin by taking the CPU power cable in your hand, making sure you are holding it by the connector end. Orient the cable in a way that allows the connector to match the shape and orientation of the CPU power connector on the motherboard.
Carefully examine the connector and the CPU power connector on the motherboard. Ensure that the shape, pin configuration, and any notches or clips on the connectors align perfectly. This alignment is crucial to prevent any potential damage to the connectors and ensure a successful connection.
Gently lower the CPU power cable towards the CPU power connector, ensuring that no obstructions or cables get in the way. Take your time to make small adjustments as needed to achieve a seamless alignment between the two connectors. Avoid using excessive force or bending the pins during this process, as it may result in damage.
Once the CPU power cable and CPU power connector are perfectly aligned, proceed to the next step: plugging in the CPU power cable.
Step 4: Plug in the CPU power cable
Now that the CPU power cable and the CPU power connector on the motherboard are aligned, it’s time to plug in the CPU power cable. This step ensures that the CPU receives the necessary power to operate efficiently.
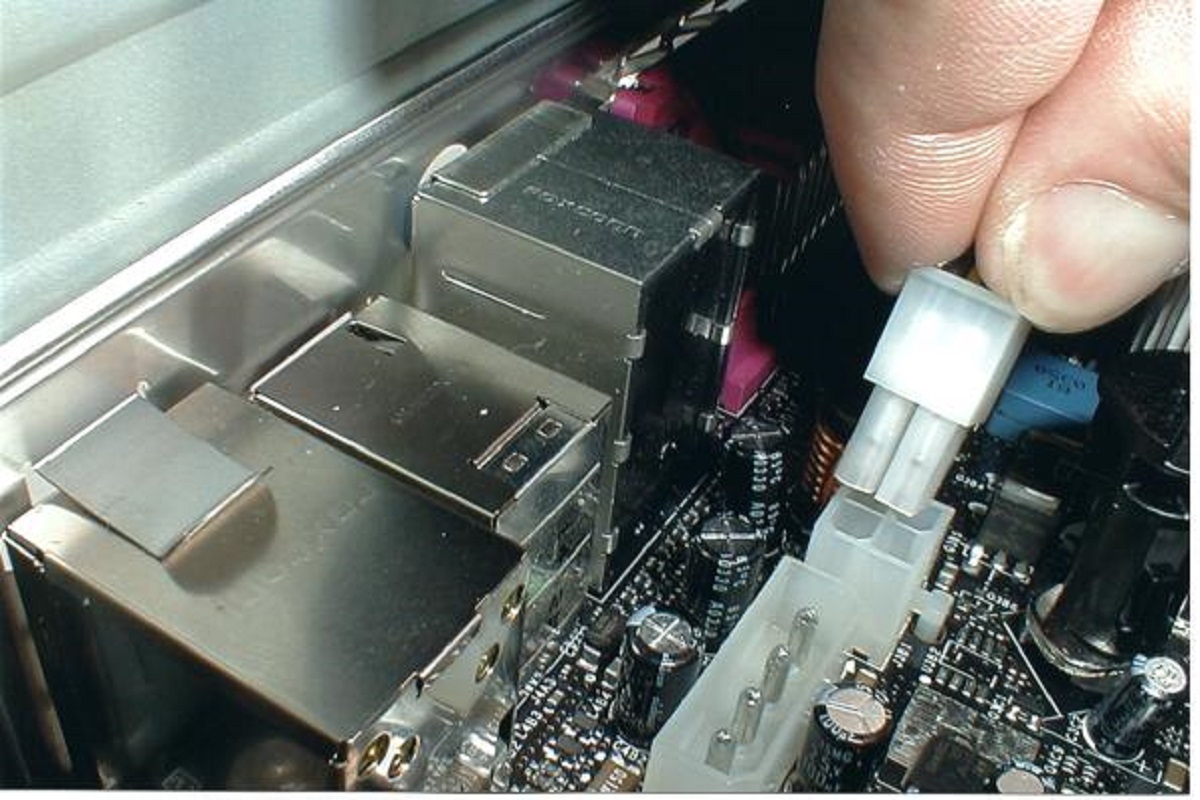
Take the aligned CPU power cable and firmly push the connector straight into the CPU power connector on the motherboard. The connector should slide in smoothly, without the need for excessive force. Be sure to push the connector in until it is fully seated and snugly connected.
Double-check that the CPU power connector is securely attached to the motherboard. Gently wiggle the cable at the connection point to ensure there is no movement or looseness. A properly plugged-in CPU power cable will have a tight connection with no visible gaps or wiggle room.
It’s important to note that some motherboards may have both a 4-pin and an 8-pin CPU power connector. If your motherboard has an 8-pin CPU power connector, you may need to connect the corresponding 8-pin connector from your PSU. In this case, the connector may be split into two 4-pin halves, and you will need to align and plug in both halves securely.
After plugging in the CPU power cable, make sure to organize and route the cable neatly within your computer case. Using cable ties or clips, secure the cable to prevent any unnecessary strain or interference with other components.
Now that you have successfully plugged in the CPU power cable, it’s time to move on to the final step: ensuring the cable is secure and properly connected.
Step 5: Ensure the cable is secure and properly connected
After plugging in the CPU power cable, it is essential to ensure that the cable is secure and properly connected. This step guarantees a reliable power supply to the CPU, minimizing the risk of any power-related issues or system instability.
First, visually inspect the CPU power cable connection. Check for any signs of gaps or loose connections between the CPU power cable connector and the CPU power connector on the motherboard. A snug and secure connection should show no visible gaps or movement.
Additionally, gently tug on the CPU power cable near the CPU connector. There should be minimal to no movement or disconnection between the cable and the connector. If there is any significant movement or disconnection, unplug and re-insert the CPU power cable to ensure a secure fit.
Next, route the CPU power cable within your computer case in a neat and organized manner. Proper cable management prevents any strain on the cable and maintains unobstructed airflow within the case. Use cable ties or clips to secure the CPU power cable along with other cables, keeping them away from any fans or components.
It’s crucial to ensure that the CPU power cable does not come into contact with any sharp edges, moving parts, or heat sources within the case. Take a moment to double-check the position and routing of the cable to avoid any potential damage or interference with other components.
Finally, power on your computer to confirm that the CPU power cable is supplying power to the CPU properly. Ensure that your computer starts up without any error messages or issues related to power supply. If you encounter any problems, double-check the connection and, if necessary, consult your motherboard’s manual or seek assistance from a professional.
With the CPU power cable securely connected and properly routed, you have successfully completed the process of plugging in the CPU power cable. Congratulations on a crucial step towards assembling or upgrading your computer!
Conclusion
In this article, we have walked you through the step-by-step process of plugging in the CPU power cable. By following our instructions, you can ensure that your computer receives the necessary power to operate efficiently and avoid any potential power-related issues.
We began by helping you identify the CPU power cable among the various cables that come with your power supply unit (PSU). We then guided you in locating the CPU power connector on the motherboard, emphasizing the importance of proper alignment between the cable and the connector.
Next, we instructed you on how to align the CPU power cable with the connector, ensuring a secure and reliable connection. We emphasized the need to avoid using excessive force or bending the pins during this process to prevent any damage.
After aligning the cable, we walked you through the process of plugging in the CPU power cable, making sure it is fully seated and securely attached to the motherboard. We also highlighted the importance of organizing and routing the cable neatly within the computer case to prevent any strain or interference.
Lastly, we emphasized the need to ensure the cable is secure and properly connected by visually inspecting the connection, checking for any gaps or loose connections, and properly routing the cable within the computer case. We also advised you to power on your computer to confirm that the CPU power cable is supplying power to the CPU without any issues.
By completing these steps accurately and with care, you can confidently proceed with the rest of your computer assembly or upgrade knowing that your CPU is receiving the power it needs.
Remember to consult your motherboard’s manual or seek assistance from a professional if you encounter any difficulties or have specific questions regarding your computer’s setup. With patience and attention to detail, you can successfully plug in the CPU power cable and enjoy a well-functioning computer system.