Introduction
As technology continues to advance, graphics processing units (GPUs) have become an integral part of modern computing. Whether you’re a gamer, a content creator, or a data scientist, having a high-performing GPU is essential for achieving optimal performance. One of the impressive features that modern GPUs offer is the GPU Boost technology.
GPU Boost 3.0 is an innovative feature developed by NVIDIA that dynamically adjusts the clock speed of your GPU to maximize its performance. By intelligently increasing the clock speed when it’s needed, GPU Boost 3.0 ensures that you get the most out of your GPU, regardless of the workload or application you’re running.
In this article, we will explore the ins and outs of GPU Boost 3.0, including its benefits, how to enable it, and even tips for overclocking your GPU using this feature. Whether you’re a seasoned PC enthusiast or new to the world of GPUs, understanding and utilizing GPU Boost 3.0 can take your gaming or computing experience to the next level.
Before we dive into the details, it’s important to note that GPU Boost 3.0 is specific to NVIDIA graphics cards and requires compatible hardware. So, if you’re an avid gamer or a professional working with visually intensive tasks, read on to discover how GPU Boost 3.0 can give you that extra performance boost and enhance your overall computing experience.
What is GPU Boost 3.0?
GPU Boost 3.0 is an advanced technology developed by NVIDIA that dynamically adjusts the clock speed of your graphics card to optimize its performance. By intelligently monitoring factors such as temperature, power usage, and workload, GPU Boost 3.0 automatically increases or decreases the clock speed of the GPU in real-time.
This innovative feature ensures that your graphics card operates at its maximum potential, providing you with enhanced performance and a smoother gaming or computing experience. GPU Boost 3.0 takes into account the specific power and thermal capabilities of each graphics card, allowing it to push the boundaries of performance within the safe operating limits.
With GPU Boost 3.0, your graphics card can adjust its clock speed based on the workload demands. When you’re engaged in graphically intense tasks like gaming or rendering, GPU Boost 3.0 increases the clock speed to deliver maximum performance. Conversely, during less demanding tasks or idle periods, it lowers the clock speed to conserve power and reduce heat generation.
This dynamic clock adjustment feature is especially beneficial for gamers and professionals who rely on their graphics cards to deliver consistent and reliable performance. By utilizing GPU Boost 3.0, you can maximize the potential of your graphics card without having to manually overclock it, making it ideal for both novice and experienced users.
Over the years, NVIDIA has refined and improved GPU Boost technology, and GPU Boost 3.0 is the latest iteration in this series. It features a more aggressive boosting algorithm, allowing for higher clock speeds and improved efficiency. Additionally, GPU Boost 3.0 incorporates advanced thermal controls, ensuring that your graphics card stays within safe temperature limits while delivering optimal performance.
In summary, GPU Boost 3.0 is a cutting-edge technology that dynamically adjusts the clock speed of your graphics card to optimize performance. By intelligently managing power and thermal factors, GPU Boost 3.0 provides a significant performance boost without compromising the safety and stability of your system.
Benefits of GPU Boost 3.0
GPU Boost 3.0 offers several benefits that enhance the performance and overall experience of using a graphics card. Let’s take a closer look at some of the key advantages:
- Automatic Performance Optimization: One of the primary benefits of GPU Boost 3.0 is its ability to automatically optimize the performance of your graphics card. By dynamically adjusting the clock speed based on workload demands, GPU Boost 3.0 ensures that you get the maximum performance when you need it, without any manual intervention.
- Improved Efficiency: With GPU Boost 3.0, your graphics card becomes more efficient in utilizing its resources. By intelligently managing power and thermal factors, GPU Boost 3.0 minimizes wasted energy and avoids excessive heat generation. This not only reduces overall power consumption but also helps maintain a stable and cooler operating temperature.
- Enhanced Gaming Experience: For gamers, GPU Boost 3.0 provides a significant performance boost during graphics-intensive gameplay. The dynamic adjustment of clock speeds ensures smoother frame rates, improved responsiveness, and reduced lag, leading to a more immersive and enjoyable gaming experience. Games will run more smoothly and with fewer interruptions, allowing you to fully immerse yourself in the gameplay.
- Effortless Overclocking: Overclocking can be a challenging and time-consuming process for those who want to squeeze every bit of performance out of their graphics card. GPU Boost 3.0 simplifies this process by automatically boosting clock speeds to optimal levels. This eliminates the need for manual overclocking and ensures a hassle-free experience without the risk of damaging your hardware.
- Customizable Performance: While GPU Boost 3.0 automatically adjusts clock speeds, it also provides users with the flexibility to customize their performance settings. Through software utilities provided by NVIDIA, you can fine-tune power limits, temperature thresholds, and fan speeds to suit your specific needs and preferences. This level of customization allows for a personalized balance between performance and noise levels.
In summary, GPU Boost 3.0 offers automatic performance optimization, improved efficiency, an enhanced gaming experience, effortless overclocking, and customizable performance settings. Whether you’re a gamer, content creator, or professional using graphics-intensive applications, GPU Boost 3.0 brings remarkable benefits to maximize the potential of your graphics card.
System Requirements
Before enabling and utilizing GPU Boost 3.0, it’s essential to ensure that your system meets the necessary requirements. Here are the key system requirements to consider:
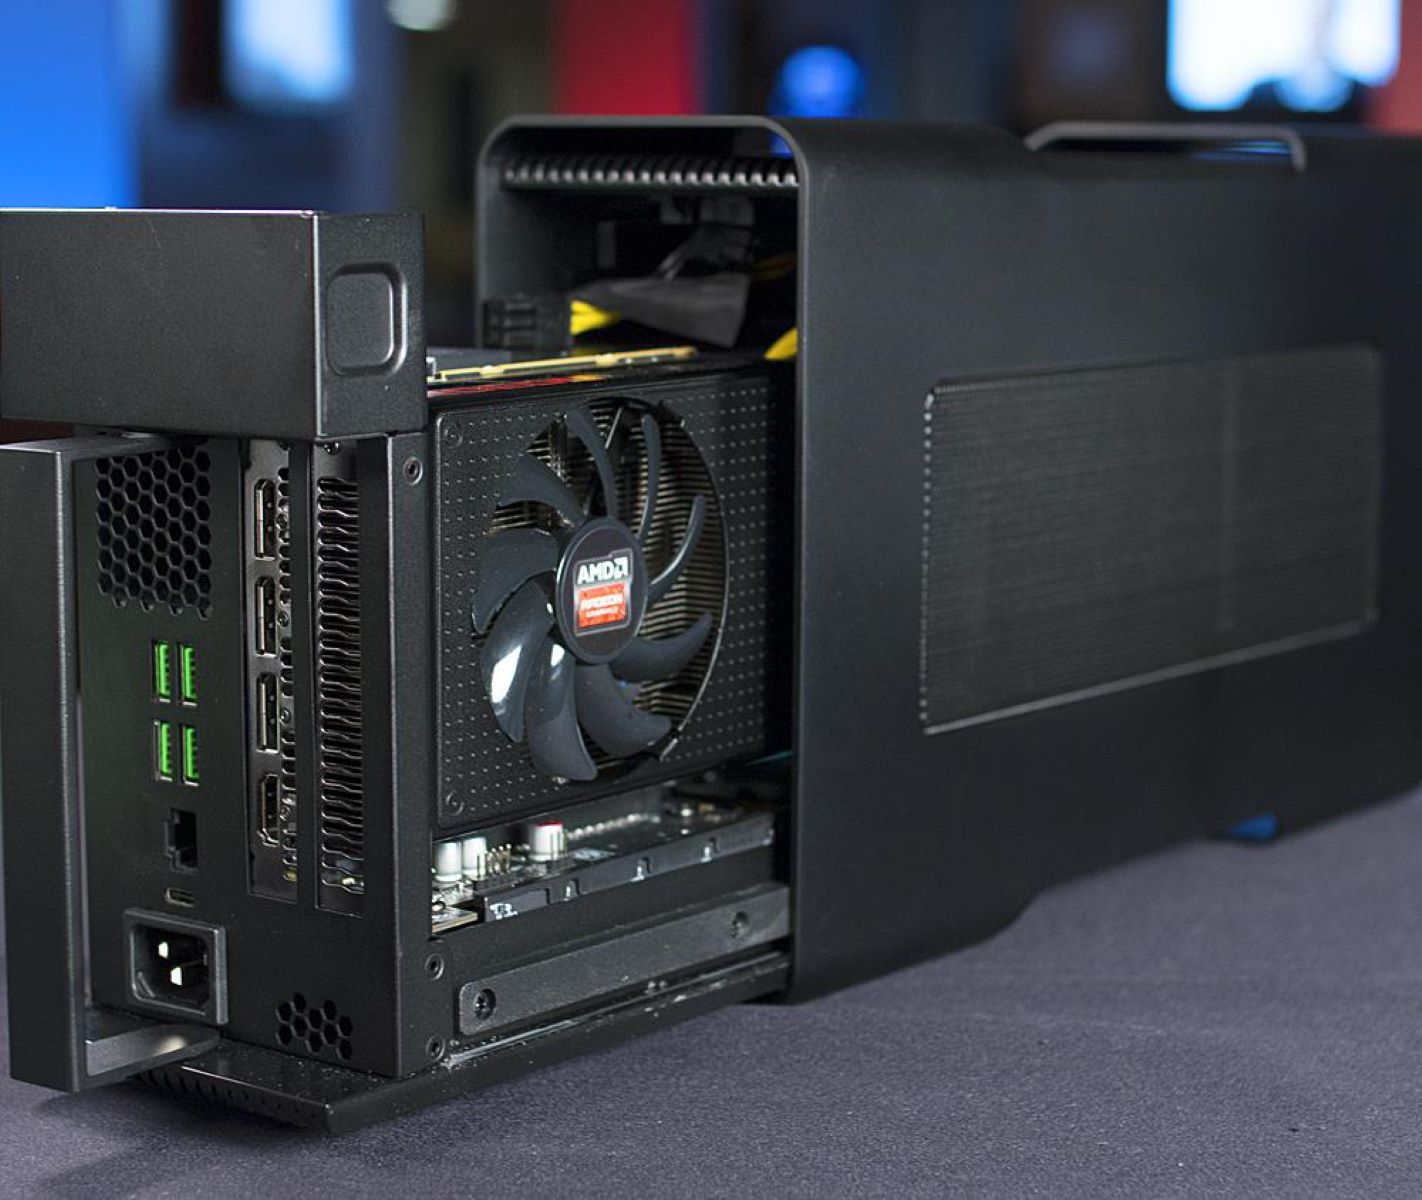
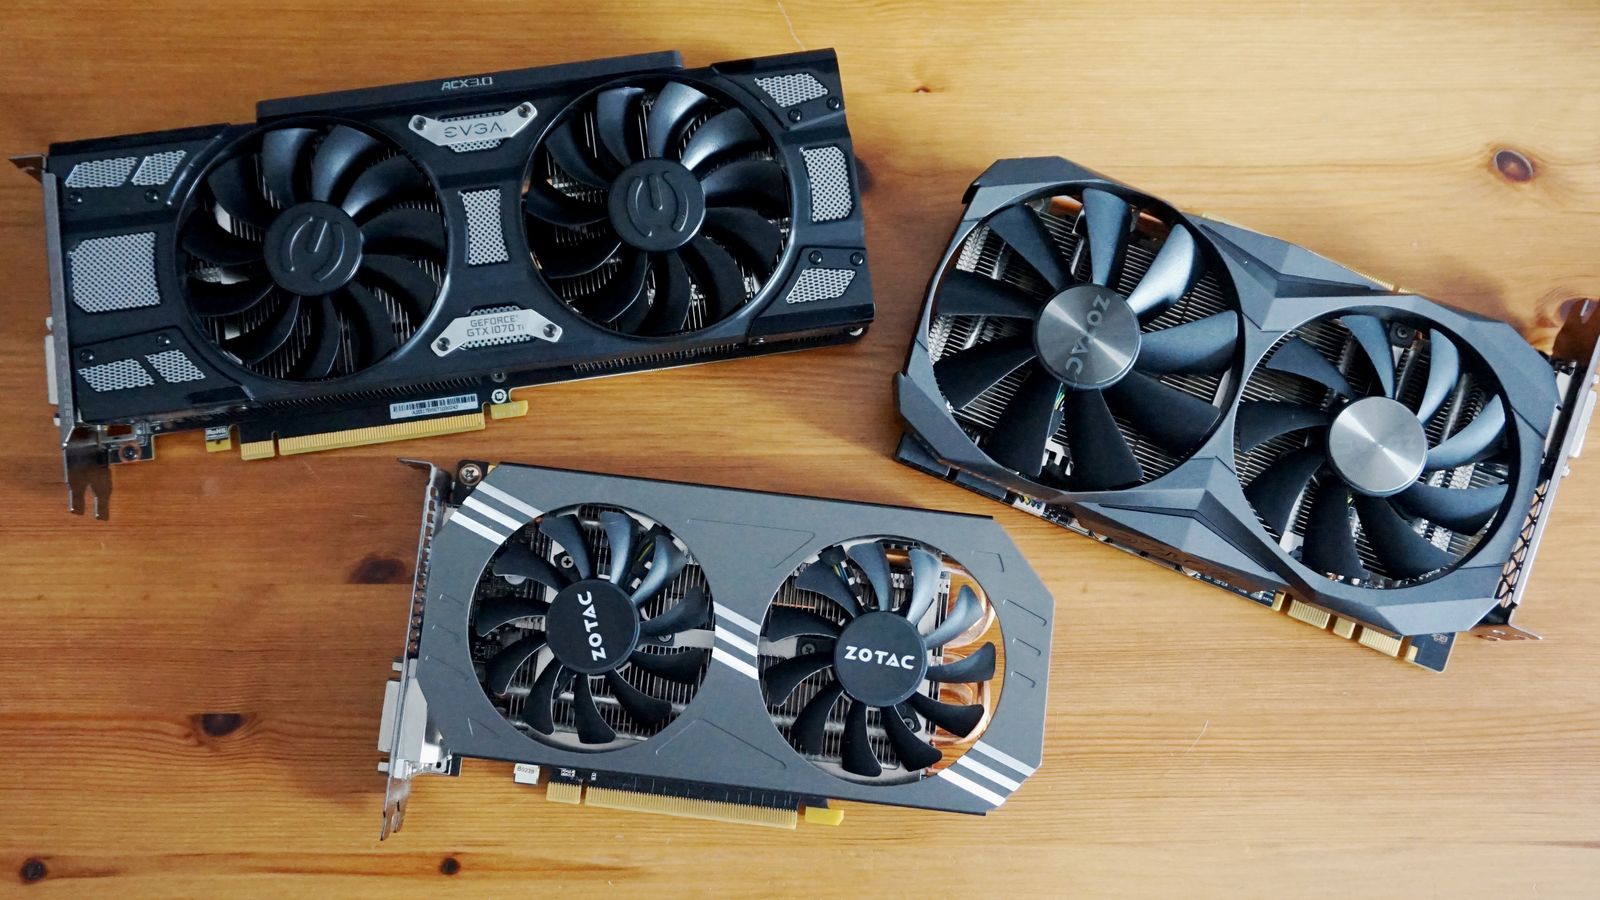
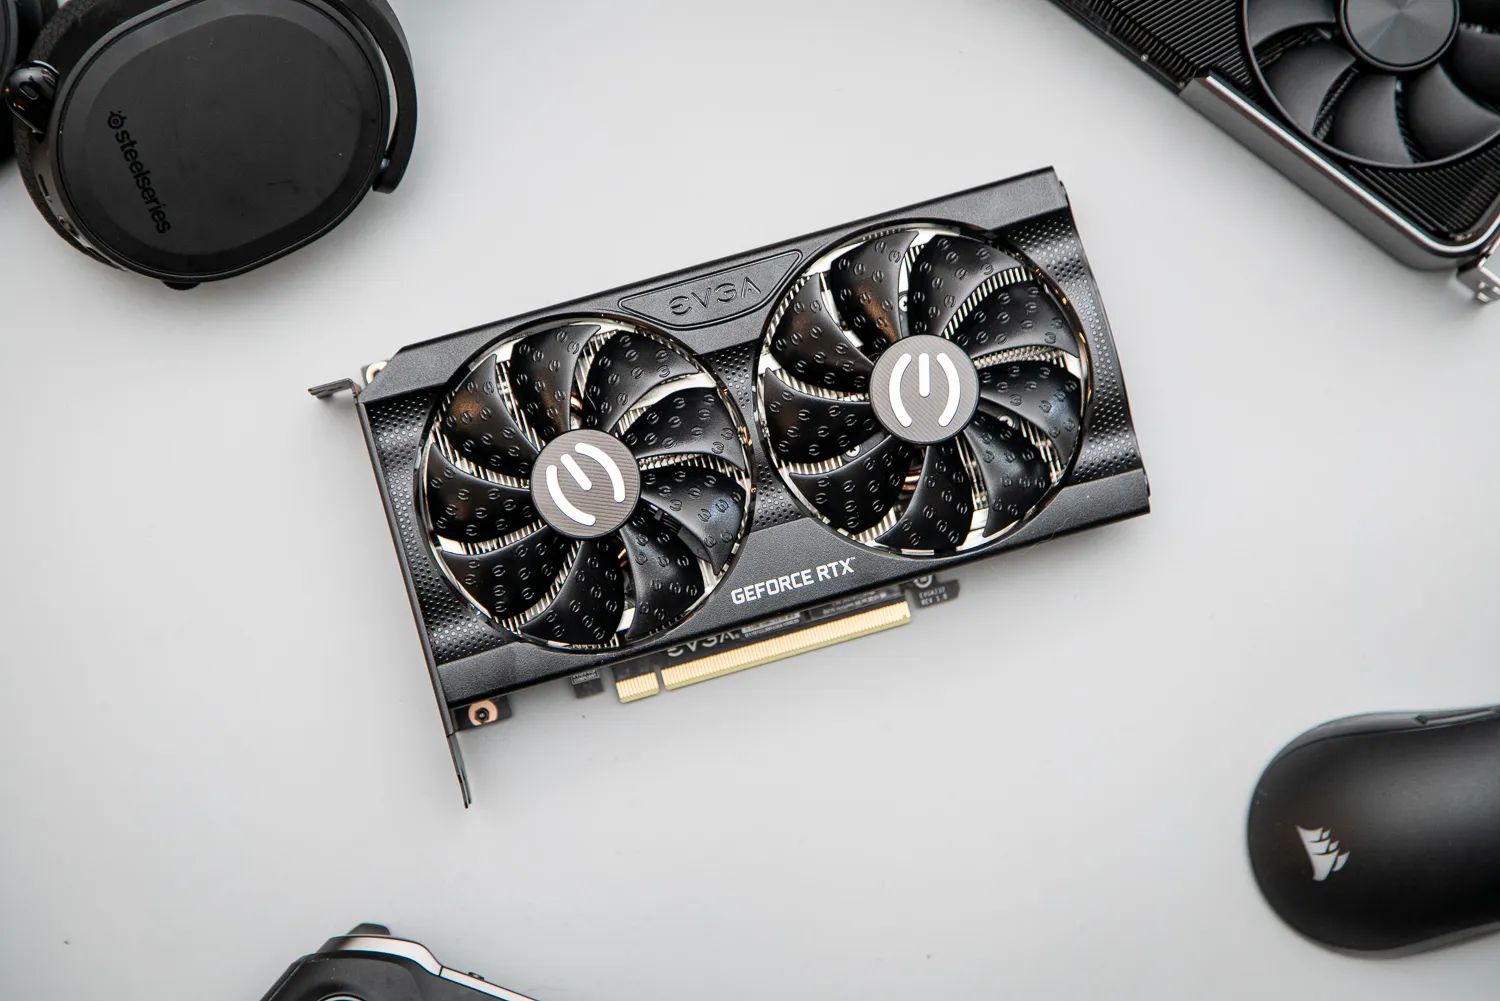
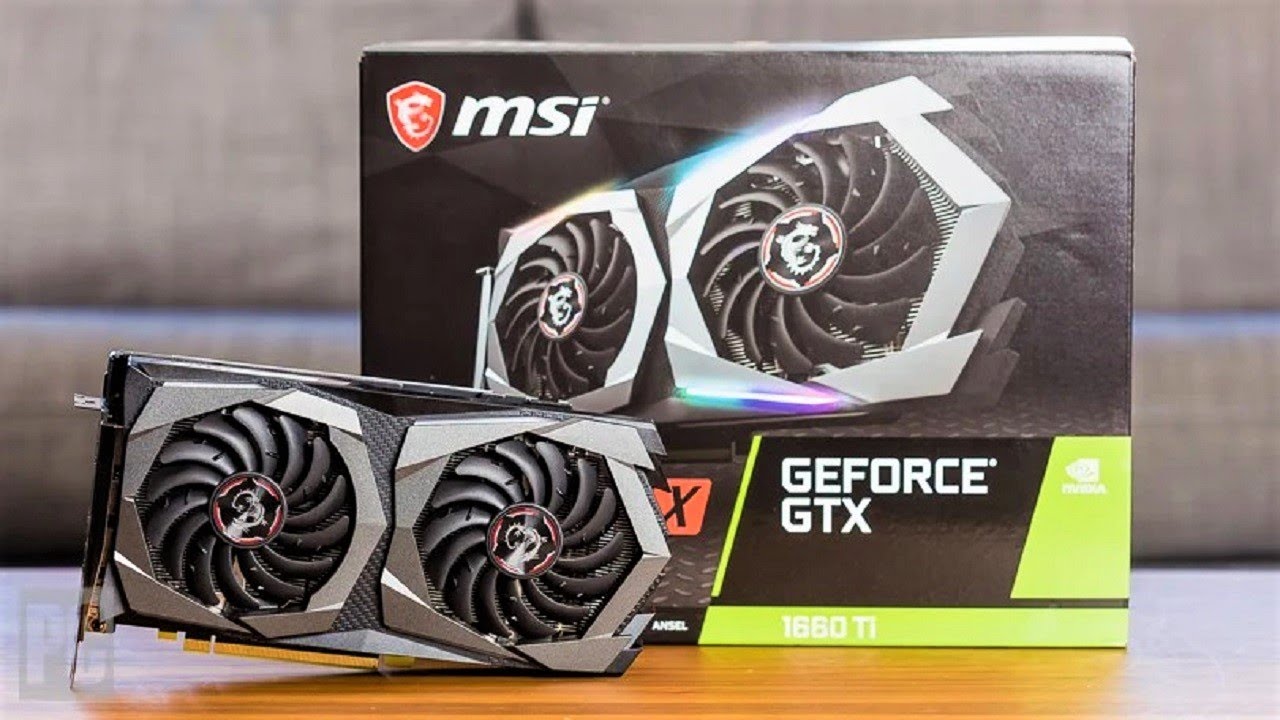
- Compatible NVIDIA Graphics Card: GPU Boost 3.0 is exclusive to NVIDIA graphics cards. Ensure that your graphics card model supports GPU Boost 3.0. Most modern NVIDIA GPUs, including the GeForce GTX series, generally come with GPU Boost 3.0 functionality.
- Latest Graphics Drivers: To utilize GPU Boost 3.0, make sure you have the latest drivers installed for your graphics card. NVIDIA regularly releases driver updates to provide bug fixes, performance optimizations, and compatibility enhancements. Visit the NVIDIA website or use the GeForce Experience software to download and install the latest drivers.
- Compatible Operating System: GPU Boost 3.0 is supported on various operating systems, including Windows 7, Windows 8, Windows 10, and Linux. Ensure that your operating system is compatible with GPU Boost 3.0 by checking the NVIDIA documentation or the product specifications of your graphics card.
- Adequate Power Supply: GPU Boost 3.0 can dynamically adjust power consumption based on workload demands. Therefore, it’s crucial to have a reliable and sufficiently powerful power supply unit (PSU) to ensure stable performance. Check the power requirements of your graphics card and ensure that your PSU can deliver enough power to support it.
- Proper Cooling: GPU Boost 3.0 may increase the temperature of your graphics card during intense usage. Effective cooling is crucial to maintain optimal performance and prevent overheating. Ensure that your system has adequate airflow, properly functioning fans, and possibly consider additional cooling solutions such as aftermarket coolers or liquid cooling.
By meeting these system requirements, you can fully leverage the benefits of GPU Boost 3.0 and ensure a smooth and stable performance from your graphics card. Remember to regularly update your drivers and keep an eye on your system’s temperatures to preserve the longevity and reliability of your hardware.
Enabling GPU Boost 3.0
To take advantage of GPU Boost 3.0 on your NVIDIA graphics card, follow the steps below to enable this feature:
- Update Graphics Drivers: Before proceeding, ensure that you have the latest graphics drivers installed on your system. Visit the NVIDIA website or use the GeForce Experience software to download and install the most recent drivers for your graphics card.
- Access NVIDIA Control Panel: Right-click on your desktop and select “NVIDIA Control Panel” from the context menu. Alternatively, you can access the NVIDIA Control Panel from the Windows Control Panel.
- Manage 3D Settings: In the NVIDIA Control Panel, navigate to the “Manage 3D Settings” option. This section allows you to customize various settings related to your graphics card.
- Program Settings: In the “Manage 3D Settings” section, click on the “Program Settings” tab. Here, you can specify settings for individual programs or games, or you can apply changes globally to all applications.
- Select Application: Choose the application or game for which you want to enable GPU Boost 3.0. If you want to apply the setting globally, leave the selection as “Global Settings.”
- Enable “Maximum Performance”: Scroll down to the “Power Management Mode” setting and select “Prefer Maximum Performance.” This setting ensures that your graphics card utilizes GPU Boost 3.0 to deliver maximum performance during GPU-intensive tasks.
- Apply Changes: After selecting the desired settings, click on the “Apply” button to save the changes. GPU Boost 3.0 is now enabled for the selected application or globally, depending on your configuration.
It’s important to note that GPU Boost 3.0 is automatically enabled by default on compatible NVIDIA graphics cards. However, customizing the power management mode through the NVIDIA Control Panel can further optimize performance to suit your needs.
Remember to also monitor your graphics card’s temperatures and adjust fan speed profiles if necessary, as enabling GPU Boost 3.0 may result in increased heat generation. With GPU Boost 3.0 enabled, you can enjoy the additional performance benefits provided by your NVIDIA graphics card in a seamless and effortless manner.
Monitoring GPU Boost 3.0
To ensure that GPU Boost 3.0 is functioning optimally and to monitor its performance, there are several tools and methods you can utilize:
- NVIDIA System Monitor: NVIDIA provides a software utility called NVIDIA System Monitor, which allows you to monitor various aspects of your graphics card’s performance, including GPU clock speed, temperature, fan speed, and power usage. This tool provides real-time information and can help you keep an eye on how GPU Boost 3.0 is adjusting the clock speed based on workload demands.
- Third-Party Monitoring Tools: There are several third-party applications available that can provide detailed monitoring of your GPU’s performance. Tools such as MSI Afterburner, EVGA Precision X1, and GPU-Z offer comprehensive monitoring features, including clock speeds, temperatures, and power usage. These tools often provide customizable overlays or on-screen displays, allowing you to monitor performance while gaming or using GPU-intensive applications.
- Benchmarking Applications: Benchmarking tools such as 3DMark or Unigine Heaven Benchmark can be used to stress-test your graphics card and monitor its performance. These applications provide detailed performance metrics and can help you assess the impact of GPU Boost 3.0 on your graphics card’s clock speeds and overall performance.
- In-Game Overlays: Some games have built-in performance monitoring overlays that provide real-time information about your graphics card’s performance. Examples include the Steam Overlay, which can display GPU-related statistics while playing games through the Steam platform, or the GeForce Experience Overlay, which offers similar functionality for NVIDIA graphics card users.
- NVIDIA GeForce Experience: The NVIDIA GeForce Experience software also includes a performance monitoring feature that allows you to monitor GPU usage, temperature, and clock speeds while gaming or using GPU-intensive applications. This lightweight software provides an easy-to-access overlay that can be customized to display the desired information.
By using these monitoring tools and methods, you can keep track of GPU Boost 3.0’s performance adjustments and ensure that your graphics card is operating optimally. Monitoring is particularly useful when testing overclocking settings or when assessing the impact of GPU-intensive tasks on clock speeds and temperatures. It allows you to fine-tune your system and ensure that GPU Boost 3.0 is delivering the desired performance benefits without compromising stability or thermal limits.
Overclocking with GPU Boost 3.0
GPU Boost 3.0 not only provides automatic performance optimization but also offers great potential for manual overclocking. Overclocking your graphics card can further enhance its performance and unlock additional power. Here’s how you can overclock your GPU with GPU Boost 3.0:
- Stability Testing: Before attempting any overclocking, it’s crucial to ensure the stability of your graphics card and the system as a whole. Run stability tests such as FurMark or 3DMark to make sure that your GPU is functioning correctly at stock settings and that it can handle the additional stress caused by overclocking.
- Adjusting Power and Temperature Limits: With GPU Boost 3.0, you can increase the power and temperature limits of your graphics card to allow for higher clock speeds. This can usually be done through the GPU Tweak or Afterburner software provided by your GPU manufacturer. Increase the power and temperature limits gradually while monitoring temperatures to ensure that your card stays within safe limits.
- Incremental Core and Memory Clock Increases: Begin overclocking by incrementally increasing the core clock and memory clock speeds of your GPU. Start with conservative increments (e.g., 25 MHz increments) and test stability using benchmarking software or by playing demanding games. Keep a close eye on temperatures during testing and ensure that they remain within safe operating limits.
- Monitor Performance and Stability: As you overclock, constantly monitor the performance and stability of your graphics card. Benchmarking tools and stress tests can help you assess the impact of overclocking on performance and identify any stability issues that might arise. Make adjustments as needed until you find the optimal balance between performance and stability.
- Fine-Tuning Voltage: Fine-tuning the voltage can further enhance overclocking potential, but it should be done with caution. Increasing voltage can lead to higher power consumption and increased heat generation. Only adjust the voltage if you are confident in your understanding of the risks involved and have proper cooling in place to maintain safe temperatures.
- Testing Long-Term Stability: Once you have found stable overclock settings, it’s essential to test long-term stability. Run extended stress tests or play graphics-intensive games for an extended period to ensure that your overclocked settings are reliable and don’t cause crashes or artifacts.
It’s worth noting that not all graphics cards will overclock the same. The level of overclocking potential can vary depending on individual GPU samples, cooling solutions, and other factors. Additionally, keep in mind that pushing your graphics card beyond its safe limits can potentially lead to hardware damage, so proceed with caution and at your own risk.
By following these steps and being mindful of your graphics card’s capabilities and limitations, you can unleash the potential of your GPU and enhance performance through overclocking with GPU Boost 3.0.
Adjusting Power Limits
One of the notable features of GPU Boost 3.0 is the ability to adjust the power limits of your graphics card. By customizing these power limits, you can fine-tune the performance and optimize the power consumption of your GPU. Here’s how you can adjust the power limits with GPU Boost 3.0:
- Install GPU Tweak or Afterburner: To adjust the power limits, you’ll need to install software utilities provided by your GPU manufacturer, such as GPU Tweak for ASUS graphics cards or Afterburner for MSI graphics cards. These utilities allow you to make various adjustments to your graphics card settings, including power limits.
- Open the Software Utility: Launch the GPU Tweak or Afterburner software on your computer. It should detect and display information about your graphics card, including clock speeds, temperatures, and power consumption.
- Adjust Power Limit: Look for an option to adjust the power limit. In GPU Tweak, it’s usually labeled “Power Target”, while in Afterburner, it’s referred to as “Power Limit”. Increase or decrease the value of the power limit based on your requirements. Increasing the power limit allows for potentially higher clock speeds, while decreasing it can reduce power consumption and heat generation.
- Test for Stability: After adjusting the power limit, it’s important to test for stability. Run benchmarking software or engage in graphics-intensive tasks to assess the stability of your GPU. Monitor temperatures and ensure that they remain within safe operating limits.
- Fine-Tune Power Limits: Fine-tuning the power limits may require iterative adjustments. You may need to gradually increase or decrease the power limit to find the optimal balance between performance and power consumption. Experiment with different settings and retest for stability after each adjustment until you reach a satisfactory configuration.
- Consider Thermal Limit: Keep in mind that increasing the power limit can result in higher temperatures. Ensure that your graphics card has adequate cooling to handle the additional heat generated. If your temperatures become too high, consider adjusting the fan speed or investing in additional cooling solutions like aftermarket coolers or liquid cooling.
By adjusting the power limits, you have the flexibility to customize the performance and power consumption of your graphics card according to your specific needs. Whether you want to maximize performance for gaming or minimize energy usage for general computing, GPU Boost 3.0 with adjustable power limits allows you to find the right balance for your system.
Remember to regularly monitor your GPU’s temperatures to ensure that they stay within safe operating limits, and be cautious when pushing the power limits too far as it may result in instability or even damage to your hardware. Understanding and utilizing the power limit adjustments can help you unlock the full potential of your graphics card while maintaining stability and reliability.
Troubleshooting GPU Boost 3.0
While GPU Boost 3.0 is designed to enhance the performance of your graphics card, you may encounter occasional issues or complications. Here are some common troubleshooting steps to address potential problems with GPU Boost 3.0:
- Update Graphics Drivers: Outdated or incompatible graphics drivers can often cause issues with GPU Boost 3.0. Ensure that you have the latest drivers installed for your graphics card. Visit the manufacturer’s website or use their software utility to download and install the most recent drivers.
- Reset Overclock Settings: If you have manually overclocked your graphics card and are experiencing instability or crashes, try resetting your overclock settings to the default values. Unstable overclocks can interfere with GPU Boost 3.0’s performance optimization and result in issues.
- Check Power and Temperature: GPU Boost 3.0 adjusts clock speeds based on power and temperature thresholds. Ensure that your graphics card is receiving sufficient power and that temperatures are within safe limits. Insufficient power supply or inadequate cooling can hinder the functioning of GPU Boost 3.0.
- Clean Graphics Card and Fans: Dust buildup on your graphics card and fans can impact cooling performance, leading to higher temperatures and potentially affecting GPU Boost 3.0’s functionality. Regularly clean your graphics card and fans to remove dust and optimize cooling efficiency.
- Reinstall Graphics Card: If all else fails and you continue to experience issues, consider reinstalling your graphics card. Ensure that it is properly seated in the PCIe slot and that all power connections are secure. Sometimes, a simple reinstallation can resolve compatibility or connection-related problems.
- Seek Technical Support: If you have exhausted all troubleshooting options and are still facing issues with GPU Boost 3.0, it may be beneficial to seek technical support from the manufacturer or a knowledgeable community. They can provide specific guidance and assistance based on your graphics card model and the issues you’re encountering.
Remember that while GPU Boost 3.0 is a powerful feature, each graphics card model may have unique characteristics and limitations. It’s important to understand your specific hardware’s capabilities and consult the manufacturer’s documentation or support resources for further troubleshooting guidance.
By following these troubleshooting steps and seeking appropriate support, you’ll be able to resolve any potential issues and fully enjoy the benefits of GPU Boost 3.0, maximizing the performance and stability of your graphics card.
Conclusion
GPU Boost 3.0 is a remarkable technology developed by NVIDIA that dynamically adjusts the clock speed of your graphics card to optimize performance. By intelligently monitoring factors such as temperature, power usage, and workload, GPU Boost 3.0 ensures that you get the most out of your GPU by maximizing its potential.
Throughout this article, we have explored the various aspects of GPU Boost 3.0, from understanding its functionality and benefits to adjusting power limits and troubleshooting common issues. GPU Boost 3.0 offers automatic performance optimization, improved efficiency, and an enhanced gaming experience, making it an invaluable feature for gamers, content creators, and professionals alike.
To fully harness the power of GPU Boost 3.0, it’s essential to ensure that your system meets the necessary requirements, including a compatible NVIDIA graphics card, up-to-date drivers, and appropriate cooling solutions. By meeting these requirements, you can enable GPU Boost 3.0 and take advantage of its dynamic clock adjustment capabilities.
Whether you’re a novice or an experienced user, GPU Boost 3.0 provides opportunities for manual overclocking, allowing you to further enhance the performance of your graphics card. By adjusting power limits and fine-tuning clock speeds, you can optimize your GPU’s performance to suit your specific needs and preferences.
It’s important to remember that any overclocking or customization of GPU Boost 3.0 settings should be done cautiously. Always monitor temperatures, test for stability, and seek proper guidance if encountering any issues. Safety and long-term reliability of your graphics card should take precedence.
In conclusion, GPU Boost 3.0 is a powerful and versatile technology that brings significant performance improvements to NVIDIA graphics cards. By understanding its features and utilizing the customization options available, you can unlock the full potential of your GPU, fine-tune performance, and elevate your gaming or computing experience to new heights.