Introduction
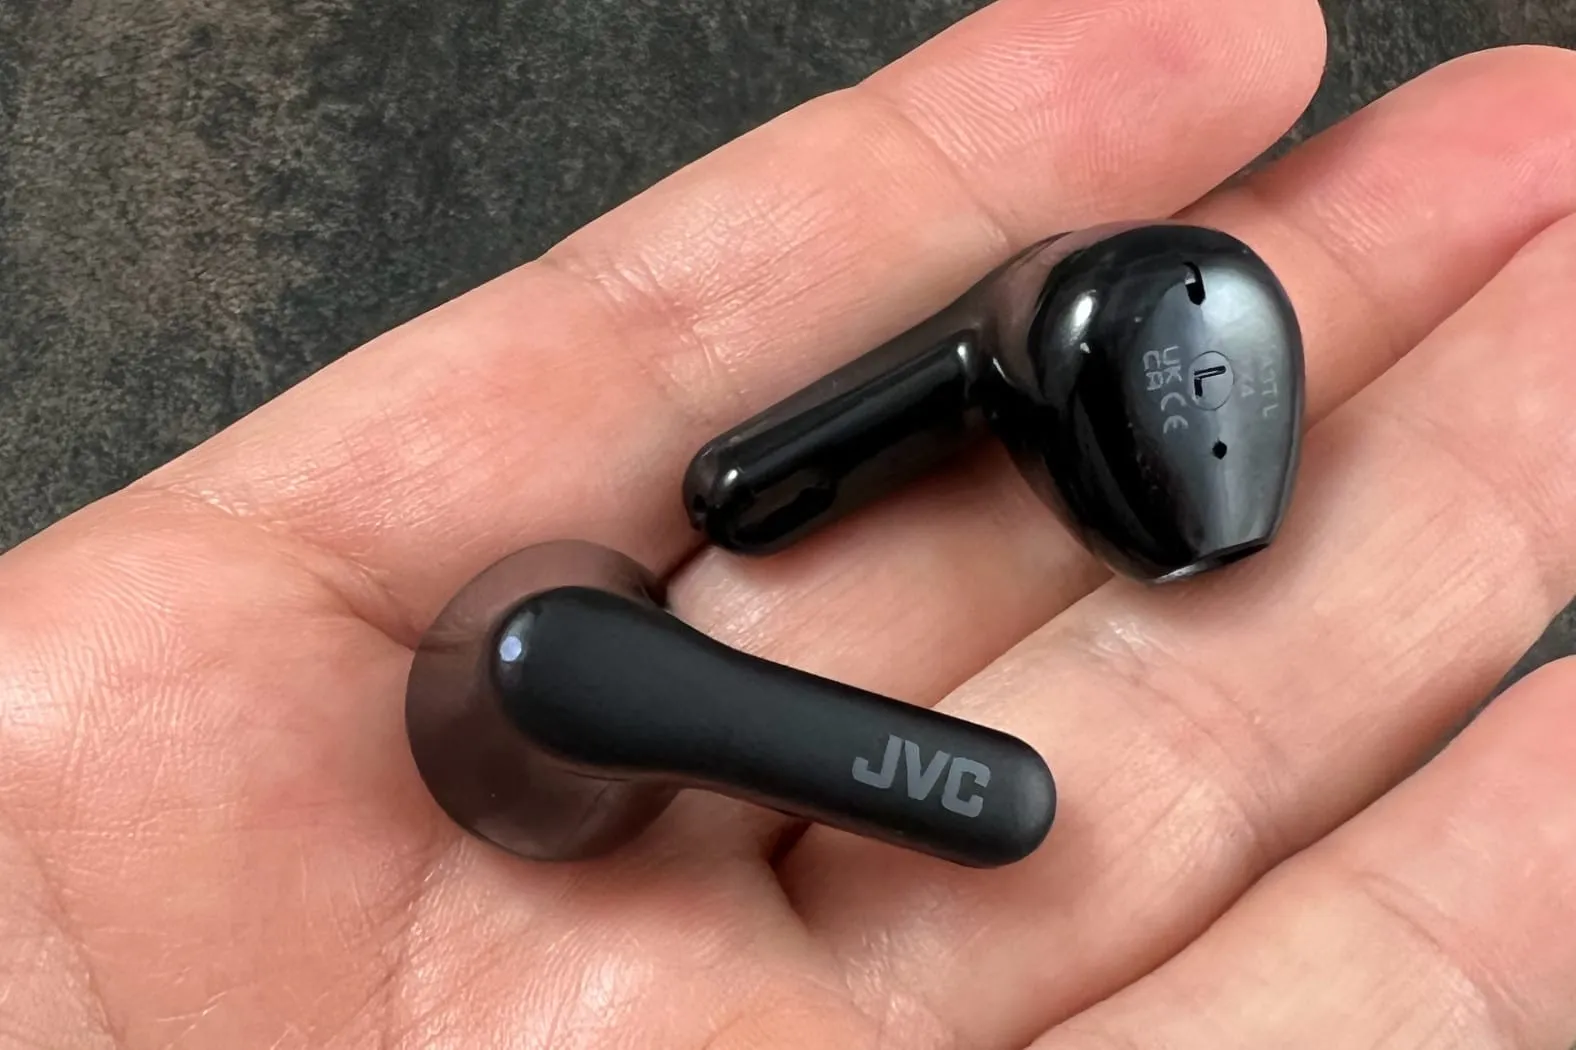
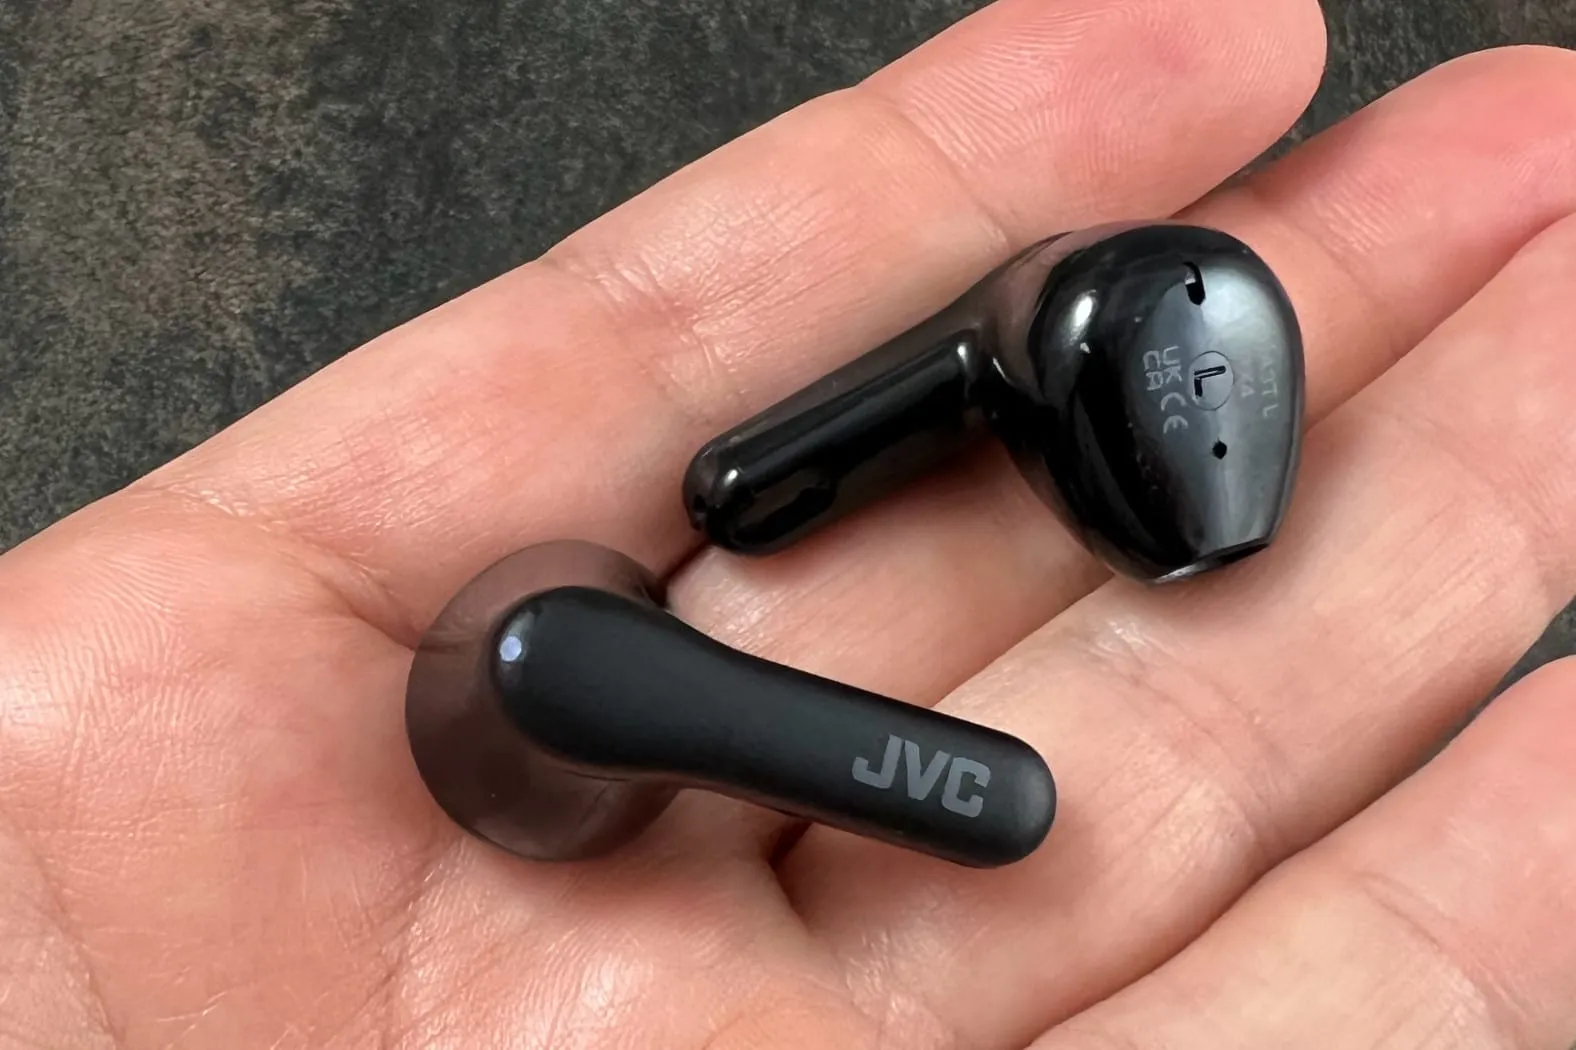
Welcome to the world of JVC wireless earbuds! If you’re eager to enjoy the freedom of untangled audio on the go, you’ve come to the right place. With JVC’s innovative technology, you can experience crystal-clear sound while remaining wire-free, making it ideal for workouts, commuting, or simply relaxing.
In this guide, we will take you through the step-by-step process of pairing your JVC wireless earbuds with your device. Whether you have just purchased a new pair or need a refresher on how to connect them, we’ve got you covered. Before you know it, you’ll be grooving to your favorite tunes without the hassle of wires.
But first, let’s make sure we’re on the same page. Wireless earbuds, also known as Bluetooth earbuds, connect to your device via Bluetooth technology. This wireless connection allows you to enjoy high-quality audio without the need for physical cables. JVC offers a range of wireless earbuds that deliver exceptional sound and comfort, ensuring a premium listening experience.
So, whether you are using JVC True Wireless earbuds, In-Ear Bluetooth earbuds, or any other JVC model, the pairing process is relatively similar. By following the instructions provided in this guide, you will have your JVC wireless earbuds connected to your device in no time.
Without further ado, let’s dive into the step-by-step instructions that will have you enjoying your JVC wireless earbuds’ seamless connection.
Step 1: Preparing the earbuds
Before we begin the pairing process, it’s essential to ensure that your JVC wireless earbuds are ready for connection. Follow these steps to prepare your earbuds:
- Charge your earbuds: Connect the charging cable to the earbud case and plug it into a power source. Make sure to let them charge for the recommended duration specified in the user manual. This will ensure that your earbuds have enough power for the pairing process.
- Ensure Bluetooth is enabled on the earbuds: Most JVC wireless earbuds have a power button or a multifunction button that also controls the Bluetooth. Press and hold the button until you see the Bluetooth indicator light flashing. This indicates that the earbuds are in pairing mode and ready to connect to your device.
- Check the earbuds’ proximity to your device: For a successful pairing, make sure that your device and the earbuds are within close proximity. The Bluetooth connection has a limited range, usually around 33 feet (10 meters). Keeping your device and earbuds close together will prevent any interference in the pairing process.
By following these steps, you will ensure that your JVC wireless earbuds are fully charged and ready to be connected to your device. Once you have completed these preparations, it’s time to move on to the next step: turning on pairing mode on the earbuds.
Step 2: Turn on pairing mode on the earbuds
Now that your JVC wireless earbuds are prepared, it’s time to activate the pairing mode. Follow the steps below to turn on pairing mode on your earbuds:
- Put the earbuds in your ears: Carefully place the earbuds in your ears, ensuring a secure and comfortable fit.
- Locate the pairing button: Depending on the JVC earbud model, the pairing button may be located on the earbuds themselves or on the charging case. Refer to the user manual if you’re unsure about the specific location.
- Activate pairing mode: Press and hold the pairing button for a few seconds. Typically, you will see an LED indicator light on the earbuds or the case flashing to indicate that the pairing mode has been activated.
- Wait for the indicator: Keep an eye on the LED indicator light. It will usually blink in a specific pattern to signify that the earbuds are in pairing mode and ready to connect to your device. The pattern may differ depending on the model, so consult the user manual for the specific blinking code.
- Be patient: Sometimes, it may take a few seconds for the earbuds to enter pairing mode. If you don’t see the blinking lights or any indication, try repeating the previous steps. Patience is key during this process.
Once you have successfully activated pairing mode on your JVC wireless earbuds, it’s time to move on to the next step: enabling Bluetooth on your device.
Step 3: Enable Bluetooth on your device
Before you can connect your JVC wireless earbuds to your device, you need to ensure that Bluetooth is enabled on your device. Follow these steps to enable Bluetooth:
- Access your device’s settings: Depending on your device, swipe down from the top of the screen or navigate to the Settings app to access the device settings.
- Locate and select Bluetooth: In the settings menu, look for the Bluetooth option. It is usually represented by a Bluetooth symbol or an option labeled “Connections” or “Wireless & Networks.”
- Toggle Bluetooth on: Once you have found the Bluetooth option, tap or slide the toggle switch to turn it on. The switch should change from gray to a color indicating that Bluetooth is now enabled on your device.
- Wait for the device to scan: After enabling Bluetooth, your device will start scanning for nearby devices. Give it a few moments to complete the scan. You should see a list of available devices, including your JVC wireless earbuds, appear on the screen.
- Ensure visibility: In some cases, you may need to change the visibility settings on your device to allow it to be discovered by other devices. Check the Bluetooth settings for an option such as “Visibility” or “Discoverable” and ensure that it is enabled.
After enabling Bluetooth and ensuring visibility, your device is now ready to connect to your JVC wireless earbuds. Let’s move on to the next step: searching for available devices.
Step 4: Search for available devices
Now that Bluetooth is enabled on your device, it’s time to search for available devices and locate your JVC wireless earbuds. Follow these steps to find your earbuds on your device:
- Open Bluetooth settings: Access the Bluetooth settings on your device by navigating to the settings menu and selecting the Bluetooth option. Ensure that Bluetooth is turned on.
- Start scanning: Tap on the “Scan” or “Search” button within the Bluetooth settings menu. Your device will start scanning for nearby devices.
- Wait for the JVC earbuds to appear: Give your device a few moments to complete the scan. The name of your JVC wireless earbuds should appear in the list of available devices. It may be labeled with a model number or a customized name set by you.
- Select your JVC earbuds: Once you see the name of your JVC earbuds on the screen, tap on it to initiate the pairing process. Your device will attempt to establish a connection with the earbuds.
- Confirm pairing on the earbuds: Some JVC earbud models require you to confirm the pairing request on the earbuds themselves. Follow the on-screen prompts or listen for audio prompts from the earbuds to complete the pairing process.
It may take a few moments for the connection to be established. Once the pairing is successful, your JVC wireless earbuds will be connected to your device and ready to use. Don’t forget to check the user manual for any specific instructions related to your JVC earbud model.
Now that you have successfully connected your earbuds, it’s time to move on to the next step: testing the connection.
Step 5: Connect to the earbuds
With your JVC wireless earbuds properly paired with your device, it’s time to establish a connection and ensure that everything is working seamlessly. Follow these steps to connect to your earbuds:
- Open your preferred audio source: Whether it’s a music streaming app, video player, or any other audio application, open it on your device.
- Select your JVC earbuds as the audio output: Within the audio settings of your device or the specific application you are using, locate the option to choose the audio output device. Look for a “Headphones,” “Audio Output,” or similar option and select your JVC earbuds from the available devices. This will route the audio output to your earbuds.
- Play audio: Start playing audio content, such as music or a video, on your device. The audio should now be directed to your JVC wireless earbuds.
- Adjust the volume: If necessary, use the volume control buttons on your device or the earbuds themselves to adjust the volume to your preferred level.
- Test the audio quality: Listen to the audio playing through your JVC earbuds and ensure that the sound is clear, balanced, and immersive. You can try different genres of music or audio content to thoroughly test the audio quality.
If you experience any issues with the audio connection, try disconnecting and reconnecting your earbuds. You may also need to refer to the user manual for troubleshooting suggestions specific to your JVC earbud model.
With the connection established and the audio playing flawlessly through your JVC wireless earbuds, you’re all set to enjoy your favorite music, podcasts, or any other audio content on the go.
Now that you have successfully connected to your earbuds and tested the audio quality, let’s move on to the final step: concluding the process.
Step 6: Test the connection
After connecting your JVC wireless earbuds to your device, it’s important to test the connection to ensure that everything is working properly. Follow these steps to test the connection:
- Play audio: Choose your preferred audio source, such as a music streaming app or a video, and start playing audio content on your device.
- Listen for uninterrupted playback: Pay attention to the audio playback through your JVC earbuds. Ensure that there are no interruptions, stuttering, or dropouts in the audio. A stable and continuous connection is crucial for an optimal listening experience.
- Walk around: Move around with your device while the audio is playing to test the range of the connection. Take a few steps away from your device and see if the audio remains clear and consistent. This will give you an idea of the maximum range at which you can enjoy uninterrupted audio.
- Test the controls: Depending on the JVC earbud model, there may be controls on the earbuds themselves that allow you to adjust the volume, skip tracks, play/pause, and answer calls. Test these controls to ensure they are functioning correctly and responsive.
- Make a test call: If your JVC earbuds have a built-in microphone, make a test call to confirm that the microphone is working properly. Ensure that the sound quality is clear and that the person on the other end can hear you without any issues.
By thoroughly testing the connection and various functionalities of your JVC wireless earbuds, you can be confident in their performance and enjoy a seamless audio experience.
If you encounter any issues during the testing phase, consider resetting your earbuds and repeating the pairing process. Additionally, refer to the user manual or JVC’s support resources for further troubleshooting assistance specific to your earbud model.
With the connection tested and confirmed, you can now enjoy your favorite audio content, whether it’s music, podcasts, or videos, with the convenience and freedom offered by your JVC wireless earbuds.
Conclusion
Congratulations! You have successfully learned how to pair your JVC wireless earbuds with your device. By following the step-by-step instructions in this guide, you can now enjoy a wire-free and immersive audio experience.
Throughout this process, you’ve learned how to prepare your earbuds, turn on pairing mode, enable Bluetooth on your device, search for available devices, connect to your earbuds, and test the connection. These steps are essential to ensure a seamless and uninterrupted audio experience.
Remember to refer to your JVC earbuds’ specific user manual for any additional instructions or troubleshooting tips that may be specific to your model. This will ensure that you have the best possible experience with your earbuds and can troubleshoot any issues that may arise.
Whether you’re using JVC True Wireless earbuds, In-Ear Bluetooth earbuds, or any other JVC model, the pairing process is relatively similar. The key is to follow the manufacturer’s instructions and pay attention to the LED indicators and prompts provided by the earbuds.
Now that you’re familiar with the pairing process, you can easily connect and enjoy your JVC wireless earbuds on various devices. Whether you’re working out, commuting, or simply relaxing at home, your JVC earbuds will provide you with the freedom and quality sound you desire.
So put on your JVC wireless earbuds, start playing your favorite music, and enjoy a tangle-free audio experience like never before!


