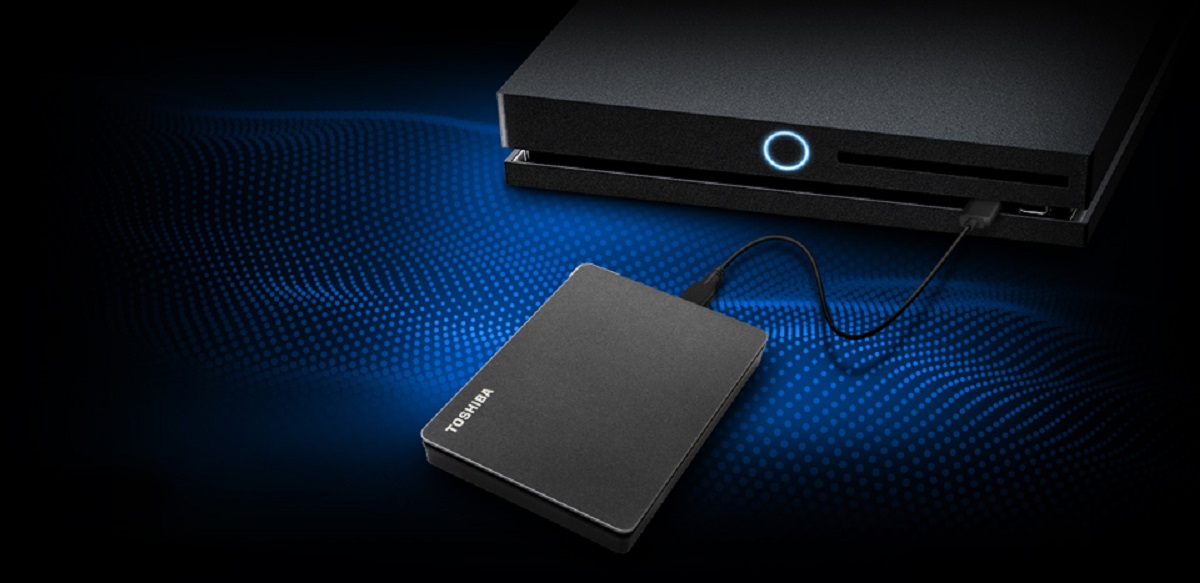
Introduction
Opening the Toshiba external hard drive case can be a daunting task for many users. Whether you need to repair a faulty component, upgrade the storage capacity, or simply satisfy your curiosity, it’s important to approach the process with caution. By following the right steps and having the necessary tools, you can safely open your Toshiba external hard drive case and gain access to its internal components.
In this guide, we will walk you through the process of opening a Toshiba external hard drive case. We will cover the essential tools you’ll need, the step-by-step instructions, and provide helpful tips to ensure a smooth and hassle-free experience.
Before you start, it’s crucial to note that opening your Toshiba external hard drive case may void any warranty you have, so proceed at your own risk. If your device is still under warranty, it’s best to contact the manufacturer or an authorized service center for assistance.
By successfully opening your Toshiba external hard drive case, you can gain access to the internal components and perform necessary repairs or upgrades. This can save you money by avoiding costly professional repairs or allow you to customize your hard drive to meet your specific needs.
Now, let’s get started and learn how to open a Toshiba external hard drive case by following the simple steps outlined below.
Step 1: Gather the necessary tools
Before you begin opening your Toshiba external hard drive case, it’s important to gather the necessary tools. Having the right equipment will make the process much easier and ensure that you do not damage any components. Here are the essential tools you will need:
- Screwdriver set: Make sure you have a screwdriver set with various sizes, including both Phillips and flat-head screwdrivers. This will allow you to remove the screws securing the external hard drive case.
- Plastic pry tool/spudger: A plastic pry tool or spudger is useful for gently prying open the case without causing any damage. Avoid using metal tools, as they can scratch or dent the case.
- Anti-static wrist strap: If you have an anti-static wrist strap, it’s a good idea to wear it during the process. This will help prevent any static electricity discharge that could potentially damage the hard drive or its components.
- Clean workspace: Prepare a clean and well-lit workspace to ensure that you have enough room to work comfortably. Clear any clutter and use an antistatic mat or a non-conductive surface to prevent accidental static discharge.
Having these tools ready before you start will help streamline the process and minimize the risk of damaging your Toshiba external hard drive or its components. Once you have gathered all the necessary tools, you’re ready to move on to the next step: unplugging the external hard drive.
Step 2: Unplug the external hard drive
Before you begin opening your Toshiba external hard drive case, it’s crucial to unplug the device from any power source. This will prevent the risk of electrical shock and ensure your safety during the process. Here’s how you can safely unplug the external hard drive:
- Save your work and shut down: If your external hard drive is connected to a computer, make sure to save any open files and shut down the computer properly. This will ensure that no data is being actively transferred, and it’s safe to disconnect the hard drive.
- Disconnect the USB cable: Locate the USB cable connecting your Toshiba external hard drive to your computer or power source. Gently unplug the cable from both the external hard drive and the computer. Make sure to firmly hold the USB connector to avoid any accidental damage.
- Remove the power adapter (if applicable): If your Toshiba external hard drive is powered by an external power adapter, disconnect it from the power source and unplug it from the hard drive. This will completely isolate the device from any power supply.
Once you have successfully unplugged the external hard drive, you can proceed to the next step: removing the screws on the case. Remember to handle the device with care and avoid any unnecessary force that could potentially cause damage. Take your time and follow the instructions diligently to ensure a successful outcome.
Step 3: Remove all the screws on the case
With the external hard drive safely unplugged, the next step is to remove all the screws securing the case. The exact number and placement of the screws may vary depending on the model of your Toshiba external hard drive, so carefully inspect the case to locate them. Here’s how you can remove the screws:
- Inspect the case: Carefully examine the external hard drive case to locate all the screws. They are usually located on the back or underside of the case. Look for small, typically Phillips-head screws that secure the case together.
- Use the appropriate screwdriver: Based on the type and size of the screws, select the appropriate screwdriver from your set. Ensure a proper fit to avoid stripping the screws.
- Loosen and remove the screws: Starting with one screw, insert the screwdriver into the screw head and turn it counterclockwise to loosen it. Repeat this process for all the screws on the case. Once all the screws are loosened, carefully remove them and set them aside in a safe place.
When loosening and removing the screws, it’s essential to maintain a gentle but firm grip to avoid damaging the screw heads or the surrounding areas of the case. If any of the screws prove difficult to remove, avoid using excessive force as it may cause damage. Instead, try applying slight pressure and using a screwdriver with a better fit.
By removing all the screws, you are one step closer to opening your Toshiba external hard drive case and gaining access to its internal components. The next step will guide you on how to use a plastic pry tool to open the case without causing any damage.
Step 4: Use a plastic pry tool to open the case
After removing all the screws, it’s time to use a plastic pry tool to carefully open the case of your Toshiba external hard drive. This step is crucial to avoid any damage to the case or the internal components. Follow these instructions to safely open the case:
- Choose a suitable entry point: Look for small gaps or seams along the edges of the case where you can insert the plastic pry tool. Start with an area that seems the most accessible and where the case is least likely to suffer any damage.
- Insert the plastic pry tool: Gently insert the plastic pry tool into the chosen entry point. Apply minimal pressure to avoid bending or breaking the tool or damaging the case. Slowly and carefully work the tool along the edges, gradually releasing the clips holding the case together.
- Pry open the case: Once the plastic pry tool is inserted, gently and evenly apply pressure to pry open the case. Continue working your way around the edges, releasing the clips one by one. Be patient and take your time to prevent any accidental damage to the case or its components.
- Separate the case halves: As the clips are released, you will notice the case halves starting to separate. Continue prying open the case until you can fully separate the top and bottom halves. Be mindful of any cables or connectors that may still be attached to the case.
Using a plastic pry tool helps ensure that you avoid scratching or damaging the case while opening it. The gentle approach is crucial to prevent any accidental harm to the internal components. If you encounter resistance during the process, double-check for any missed screws that may still be holding the case together.
With the case successfully opened, you are now ready to proceed to the next step: carefully detaching the internal components of the Toshiba external hard drive.
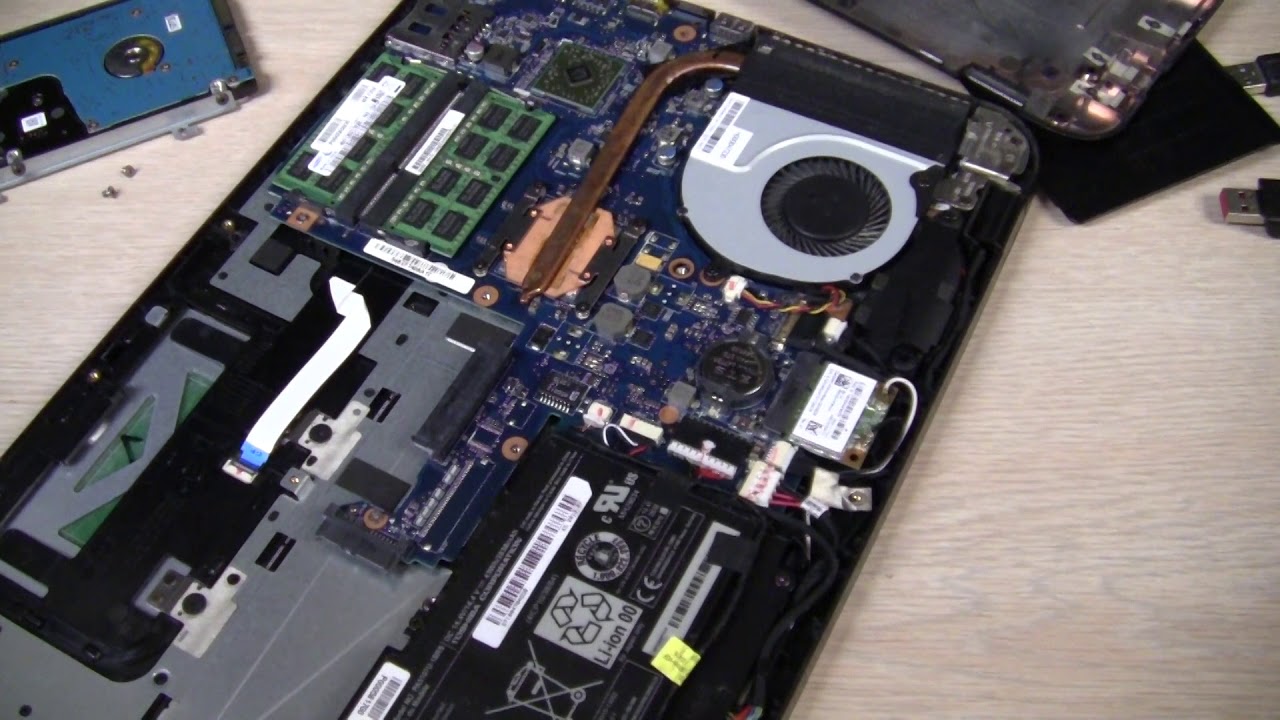
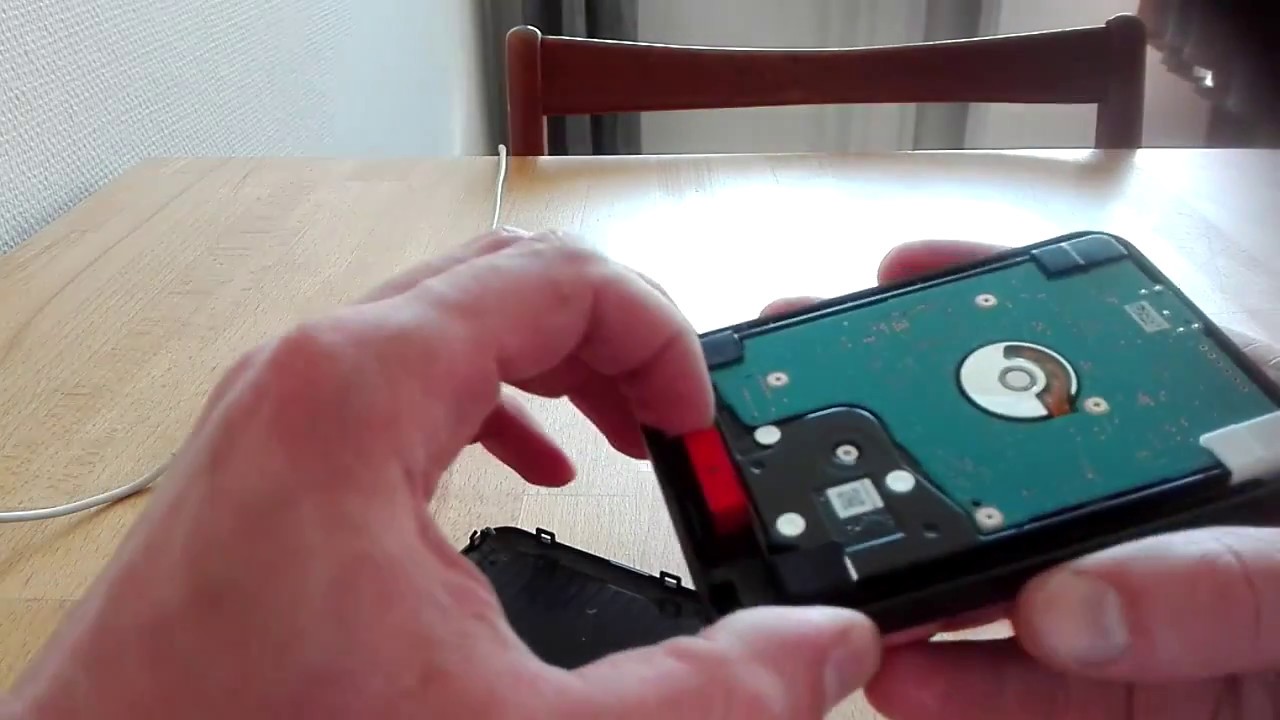
Step 5: Carefully detach the internal components
Now that your Toshiba external hard drive case is open, it’s time to proceed with caution and detach the internal components. This step requires careful handling to avoid any damage to the delicate components inside. Here’s how you can safely detach the internal components:
- Observe the internal layout: Take a moment to familiarize yourself with the internal layout of your Toshiba external hard drive. Look for any cables, connectors, or screws that may be holding the components in place.
- Disconnect cables and connectors: Locate any cables or connectors attached to the internal components and carefully unplug them. Exercise caution to avoid pulling on the cables directly, as this could cause damage. Instead, gently grip the connectors and wiggle them free.
- Remove any screws or fasteners: Look for any additional screws or fasteners that may be securing the components. Use your screwdriver to carefully remove them, keeping track of their position and ensuring they are safely stored for reassembly later. Remember, different models may have varying layouts, so pay attention to the placement of these screws.
- Detach the internal components: Once all cables and screws are removed, you can now carefully detach the internal components from the case. Grip the components with care and gently lift them from the case, taking note of any potential resistance or snags. If necessary, wiggle them slightly to release them from any remaining clips or connectors.
Throughout this process, it is crucial to handle the internal components with caution and avoid applying any undue force that could cause damage. Take your time and be mindful of the delicate nature of the components to ensure a successful and damage-free detachment.
With the internal components successfully detached, you can move on to the next step: performing any necessary repairs or upgrades to your Toshiba external hard drive.
Step 6: Perform necessary repairs or upgrades
With the internal components of your Toshiba external hard drive safely detached, you now have the opportunity to perform any necessary repairs or upgrades. Whether you need to replace a faulty component or increase the storage capacity, this step allows you to customize your hard drive to your specific needs. Here’s what you can do:
- Identify the issue: If you’re opening the case due to a specific problem with your Toshiba external hard drive, take this time to identify the issue. Inspect the components and connections, looking for any signs of damage or malfunction.
- Replace faulty components: If you have identified a defective component, such as a malfunctioning hard drive, cable, or connector, you can now replace it with a new one. Make sure to carefully select the appropriate replacement part that is compatible with your Toshiba external hard drive model.
- Upgrade storage capacity: If you wish to increase the storage capacity of your external hard drive, this step provides an opportunity to install a larger-capacity hard drive. Consult the specifications and compatibility guides for your Toshiba model to ensure you choose a compatible hard drive for the upgrade.
- Perform other necessary repairs: If there are any additional repairs or upgrades you need to make, such as replacing a broken USB port or upgrading the cooling system, now is the time to address them. Follow the manufacturer’s guidelines and consult reputable resources for accurate instructions.
During this step, it is important to refer to any relevant manuals, guides, or online resources to ensure proper procedures and compatibility. Take your time and proceed with caution to avoid any accidental damage or mistakes that could further worsen the issue or impact the functionality of your Toshiba external hard drive.
Once you have completed the necessary repairs or upgrades, it’s time to move on to the final step: reassembling the external hard drive case.
Step 7: Reassemble the external hard drive case
After performing any necessary repairs or upgrades to your Toshiba external hard drive, it’s time to reassemble the case. Reassembling the case will ensure that the internal components are properly protected and secured. Follow these steps to correctly reassemble the external hard drive case:
- Position the internal components: Carefully place the repaired or upgraded internal components back into their original positions within the case. Make sure all connectors and cables are properly aligned and securely attached.
- Align the case halves: With the internal components in place, align the top and bottom halves of the case, ensuring that they fit together properly.
- Secure the case: Once aligned, gently press the case halves together, applying even pressure around the edges to ensure a snug fit. Be careful not to force the case closed, as it could damage the components inside.
- Insert and tighten the screws: Using the appropriate screwdriver, carefully insert the screws back into their original positions and tighten them snugly. Start with one screw and gradually work your way around, ensuring all screws are tightened evenly.
- Verify proper assembly: After securing all the screws, double-check the case to ensure all seams are properly aligned and there are no gaps. Give the case a gentle shake to check if there are any loose components or excessive movement.
It’s essential to be patient and meticulous when reassembling the external hard drive case to avoid any mistakes or damage. Take your time to ensure that all components are properly aligned and securely fastened. This will help maintain the durability and functionality of your Toshiba external hard drive in the long run.
Once you have successfully reassembled the case, you can now plug in your Toshiba external hard drive, power it on, and test its functionality. If everything is in order, you can start using your device once again with confidence.
Remember, if you encounter any difficulties during the reassembly process or if you are unsure about any steps, it’s advisable to seek professional assistance or contact the manufacturer for further guidance.
Conclusion
Opening a Toshiba external hard drive case may seem like a complex task, but by following the step-by-step instructions and having the necessary tools, you can successfully access the internal components. Whether you need to perform repairs or upgrades, being able to open the case grants you the flexibility to customize and maintain your external hard drive to suit your needs.
Throughout the process, it is important to exercise caution and handle the components with care. Take your time when detaching and reattaching cables, ensuring proper alignment and secure connections. Avoid using excessive force to prevent any accidental damage to the case or internal components.
Remember, opening your Toshiba external hard drive case may void any warranty you have, so proceed at your own risk. If your device is still under warranty, it’s best to consult the manufacturer or an authorized service center for assistance.
By successfully opening, repairing, or upgrading your Toshiba external hard drive, you can save money on professional repairs, customize your storage capacity, and prolong the lifespan of your device.
Now that you have learned the step-by-step process, armed with the necessary information and tools, you can confidently open your Toshiba external hard drive case whenever the need arises. Always refer to the specific instructions for your model and consult reliable resources to ensure a safe and successful experience.
We hope this guide has been helpful in guiding you through the process of opening your Toshiba external hard drive case. Happy exploring, repairing, and upgrading!