Introduction
Welcome to our guide on how to transfer files to a Toshiba external hard drive! Whether you need to backup important documents, store multimedia files, or free up space on your computer, an external hard drive is a convenient and reliable solution. Toshiba is renowned for producing high-quality external hard drives that offer ample storage capacity and speedy data transfer rates.
In this article, we will walk you through the step-by-step process of transferring files to a Toshiba external hard drive. We will cover everything from connecting the hard drive to your computer to safely removing it once the transfer is complete. Whether you are a tech-savvy individual or a beginner, this guide provides you with all the information you need to successfully move your files with ease.
Before we get started, it is important to ensure that you have the necessary cables and drivers for your Toshiba external hard drive. Depending on the model, you may need a USB or Thunderbolt cable. Additionally, make sure that the hard drive is compatible with your computer’s operating system.
Now that you’re equipped with the essentials, let’s dive into the steps required to transfer files to your Toshiba external hard drive. By following this guide, you’ll be able to safely and efficiently move your important files, documents, photos, and videos to your external storage device. Let’s get started!
Step 1: Connect the Toshiba External Hard Drive to your computer
The first step in transferring files to your Toshiba external hard drive is to establish a physical connection between the hard drive and your computer. Follow these simple instructions:
- Locate the USB or Thunderbolt port on your computer. Most computers have multiple USB ports, so choose an available one that is convenient for you.
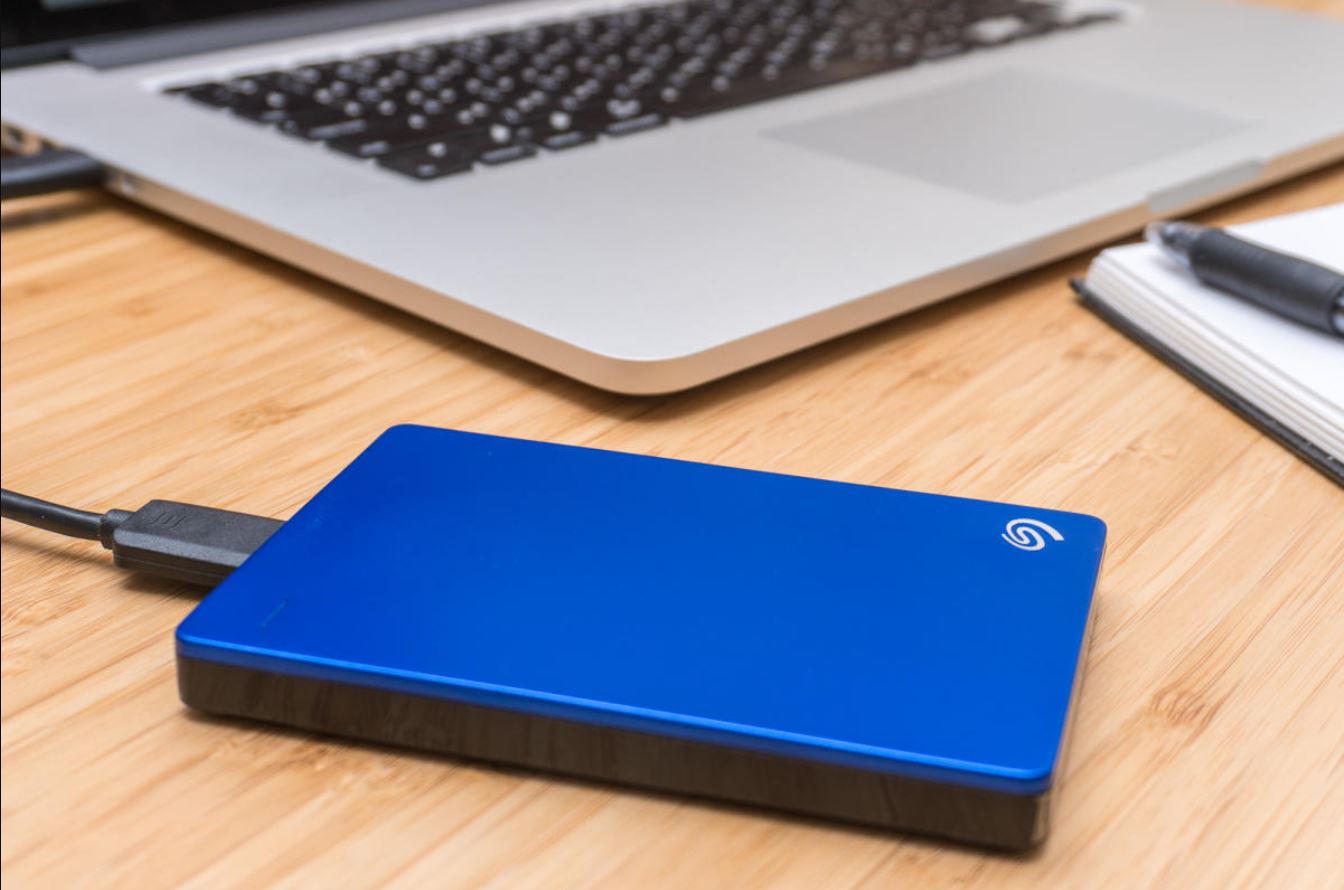
- Take the USB or Thunderbolt cable that came with your Toshiba external hard drive and connect one end to the hard drive.
- Connect the other end of the cable to the corresponding port on your computer. Make sure the connection is secure.
Once the hard drive is successfully connected to your computer, you should see a notification or prompt indicating that a new device has been detected. The operating system will install any necessary drivers automatically, ensuring that your computer can recognize the Toshiba external hard drive.
It is important to note that some Toshiba external hard drives might require an external power source. In such cases, connect the power adapter to an electrical outlet and then plug the other end into the hard drive. This will provide the necessary power for the hard drive to function properly.
Now that your Toshiba external hard drive is connected to your computer, you are ready to proceed to the next step: locating the files you want to transfer.
Step 2: Locate the files you want to transfer
Before you can transfer files to your Toshiba external hard drive, you need to locate the specific files or folders that you want to move. Whether you’re looking to back up important documents, transfer photos and videos, or simply free up space on your computer, follow these steps to locate your files:
- Open the file explorer or file manager on your computer. This can usually be found by clicking on the “File Explorer” or “Finder” icon in your taskbar or dock.
- Navigate to the location where your files are stored. This could be your “Documents” folder, “Pictures” folder, or any other directory where your files are saved.
- Once you’ve located the folder or files you want to transfer, keep the file explorer or file manager open for easy access in the next step.
If you’re unsure of the exact location of your files, you can use the search functionality within your file explorer or file manager to find specific file names or file types. Simply enter the relevant keywords or file extensions in the search bar, and the system will display matching files.
It’s important to note that you can select multiple files or folders to transfer at once. To do this, hold down the Ctrl key (Windows) or Command key (Mac) while clicking on each file or folder. This allows you to transfer a batch of files simultaneously, saving you time and effort.
Now that you’ve located the files you want to transfer, it’s time to move on to the next step: selecting the files for transfer.
Step 3: Select the files you want to transfer
Once you have located the files you want to transfer to your Toshiba external hard drive, the next step is to select them. Follow these instructions to select the files or folders:
- In your file explorer or file manager, navigate to the specific directory or folder where your files are located.
- Click on the first file or folder you want to transfer while holding down the Ctrl key (Windows) or Command key (Mac). This allows you to select multiple files or folders at once.
- Continue holding down the Ctrl key (Windows) or Command key (Mac) and click on additional files or folders to select them. You will notice that the selected files or folders are highlighted.
If you want to select all files in a specific folder or directory, you can simply press Ctrl+A (Windows) or Command+A (Mac). This will select all files and folders within the current directory.
Remember, you can choose to transfer a single file, multiple files, or entire folders, depending on your specific needs. This flexibility allows you to customize the transfer process according to your preferences.
Once you have selected all the files or folders you want to transfer, you are now ready to proceed to the next step: copying the selected files to the Toshiba external hard drive.
Step 4: Copy the selected files to the Toshiba External Hard Drive
With your files selected, it’s time to transfer them to your Toshiba external hard drive. To copy the selected files, follow these simple steps:
- Right-click on any of the selected files or folders. This will open a context menu with several options.
- From the context menu, click on the “Copy” option. Alternatively, you can use the keyboard shortcut Ctrl+C (Windows) or Command+C (Mac) to copy the selected files.
- Now, navigate to the Toshiba external hard drive in your file explorer or file manager. This can usually be found under “My Computer” (Windows) or in the “Devices” section (Mac).
- Once you have reached the Toshiba external hard drive, right-click on an empty space within the drive and select the “Paste” option from the context menu. Alternatively, you can use the keyboard shortcut Ctrl+V (Windows) or Command+V (Mac) to paste the files.
You will notice that the selected files or folders are being copied to the Toshiba external hard drive. The copying process may take some time, depending on the size and number of files you are transferring.
It’s important to ensure that there is enough available space on the Toshiba external hard drive to accommodate the files you are copying. If the drive is nearly full, you may need to delete unwanted files or consider upgrading to a larger capacity hard drive.
Once the copying process is complete, you can go ahead and verify that the files have been successfully transferred to the Toshiba external hard drive. Take a moment to browse the drive and confirm that your files are in the appropriate folders or directories.
Now that the files have been copied to the Toshiba external hard drive, you can safely remove the hard drive from your computer, which brings us to the final step.
Step 5: Safely remove the Toshiba External Hard Drive
After successfully transferring your files to the Toshiba external hard drive, it is important to safely remove the device from your computer. Following the proper procedure helps prevent data corruption and ensures the longevity of both your computer and the hard drive. Here is how you can safely remove the Toshiba external hard drive:
- Ensure that all file copying or transfer processes involving the Toshiba external hard drive have completed. Look for any ongoing file operations in the file explorer or file manager and allow them to finish.
- Locate the eject symbol or option for the Toshiba external hard drive in your file explorer or file manager. This symbol is usually represented by a small triangle or an icon with a horizontal line and an arrow pointing upwards.
- Click on the eject symbol or select the eject option for the Toshiba external hard drive. This will initiate the safe removal process.
- Wait for the system to prepare the Toshiba external hard drive for ejection. During this process, the computer ensures that all file operations are completed and that it is safe to disconnect the hard drive.
- Once you receive a notification or indication that it is safe to do so, physically disconnect the Toshiba external hard drive from your computer by gently unplugging the USB or Thunderbolt cable.
It is important to note that abruptly removing the Toshiba external hard drive from your computer without following the safe removal process can result in data loss or damage to the files on the hard drive. Always take the extra time to safely eject the device.
Now that you have safely removed the Toshiba external hard drive from your computer, you can use it to access your files on other devices or simply keep it as a secure backup of your important data.
With the completion of Step 5, you have successfully transferred your files to the Toshiba external hard drive, ensuring their safety and accessibility. Congratulations on completing the process!
Conclusion
Congratulations! You have reached the end of our guide on how to transfer files to a Toshiba external hard drive. By following the step-by-step instructions outlined in this article, you have successfully moved your files to a safe and convenient storage solution.
Transferring files to a Toshiba external hard drive is a simple yet essential process that allows you to free up space on your computer, create backups of important data, and conveniently access your files on multiple devices.
Remember to connect the Toshiba external hard drive to your computer using the appropriate cable, locate the files you want to transfer, select the desired files or folders, copy them to the external hard drive, and safely remove the device from your computer by following the proper ejection procedure.
By taking these steps, you ensure the integrity and accessibility of your files while minimizing the risk of data loss or corruption. With the reliability and ample storage capacity offered by Toshiba external hard drives, you can trust that your files are secure and easily accessible when you need them.
We hope that this guide has been helpful to you and that you now feel confident in transferring your files to your Toshiba external hard drive. Enjoy the convenience and peace of mind that comes with having your important files stored safely on an external device.
Thank you for choosing Toshiba, and happy file transferring!


