Introduction
When it comes to upgrading your computer’s storage, transferring your operating system from one SSD to another can seem like a daunting task. However, with the right steps and guidance, you can easily move your Windows installation to a new SSD without losing any data or reinstalling everything from scratch. Whether you want to upgrade to a larger SSD or simply replace a faulty one, this guide will walk you through the process step by step.
By following these instructions, you can save yourself the hassle of reinstalling all of your programs, custom settings, and files. It’s important to note that this guide assumes you have basic knowledge of connecting hardware components and are comfortable working with computer internals. If you’re unsure about any step, it’s always a good idea to consult with a professional or someone experienced in computer hardware.
Before diving into the process, make sure you have all the necessary tools and equipment. This includes the new SSD that you want to transfer your Windows installation to, a screwdriver for opening your computer case, and any additional cables or adapters that may be required depending on the type of SSD and your computer’s connections.
In the following steps, we will cover the entire process of moving Windows from one SSD to another. It’s essential to carefully follow each step to ensure a successful migration. Ready? Let’s get started!
Before You Begin
Before starting the process of moving your Windows installation to a new SSD, there are a few things you should keep in mind:
- Check Compatibility: Make sure that your new SSD is compatible with your computer. Check the documentation or specifications of your computer’s motherboard to ensure that it supports the type of SSD you plan to use.
- Capacity: Determine the capacity you need for your new SSD. Consider your current space requirements and future needs, such as installing additional software or storing large files. Keep in mind that the new SSD should have enough space to accommodate your Windows installation and other data.
- Backup Your Data: Before you proceed with any major changes to your system, it’s crucial to back up all your important files and data. This ensures that you have a copy of your data in case anything goes wrong during the migration process.
- Have a Recovery Plan: It’s always wise to have a recovery plan in case something unexpected happens during the migration. Create a bootable USB drive with a recovery tool, such as a Windows installation disk or a third-party backup and recovery software, that can help you restore your system if needed.
Furthermore, make sure you have the necessary tools and equipment ready, including a screwdriver for opening your computer case, and any additional cables or adapters that may be required depending on the type of SSD and your computer’s connections. It’s also a good practice to have your computer connected to an uninterrupted power supply (UPS) or ensure that the power source is stable during the migration process to avoid any data corruption or interruptions.
By taking these precautions and ensuring that you have everything in order, you’ll be better prepared to tackle the process of moving your Windows installation to a new SSD. With the proper planning and execution, you can successfully transfer your operating system and enjoy the benefits of improved performance and storage space.
Step 1: Prepare Your New SSD
Before you can start the process of transferring your Windows installation to a new SSD, it’s essential to properly prepare the new SSD. Here are the steps to follow:
- Gather the necessary tools: Make sure you have a screwdriver and any additional cables or adapters you may need to connect the SSD to your computer. Refer to the documentation of your SSD and computer for specific requirements.
- Power off your computer: Shut down your computer completely and unplug it from the power source to avoid any electrical accidents.
- Open your computer case: Use the screwdriver to remove the screws holding the side panel or cover of your computer case. Be careful not to damage any components inside the case.
- Locate the SSD slots: Identify the slots designed to hold the SSD in your computer. These slots are typically located near the hard drive bays or near the motherboard.
- Install the new SSD: Carefully insert the new SSD into the designated slot. Ensure that it is properly aligned and securely connected. If necessary, use screws or any provided mounting brackets to secure the SSD in place.
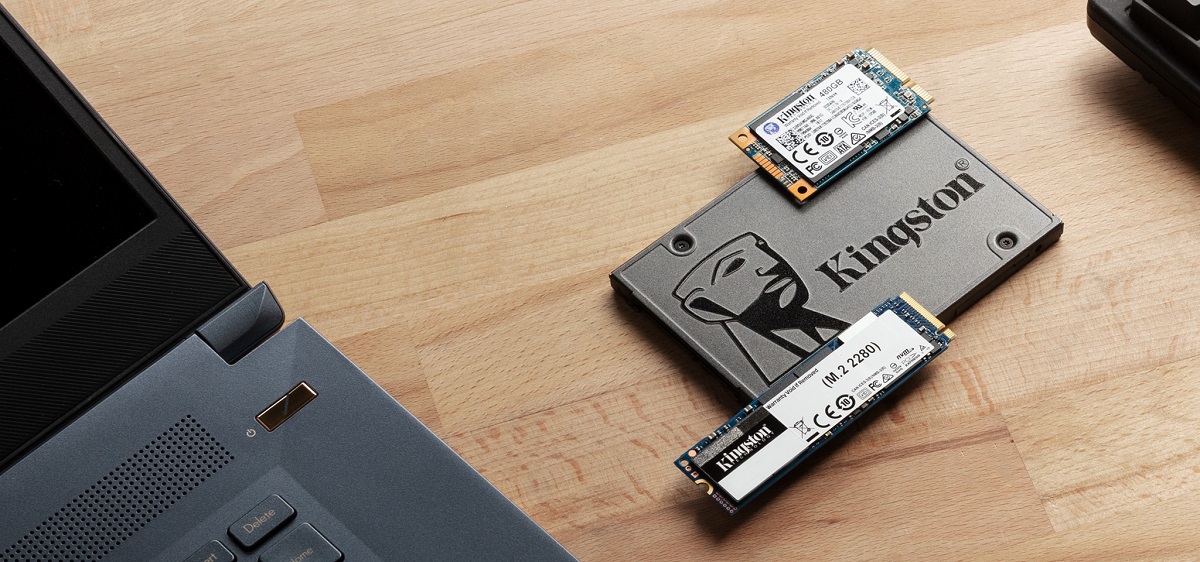
- Connect the cables: Use the appropriate cables or adapters to connect the new SSD to your computer. These connections may vary depending on the interface type of your SSD (e.g., SATA, M.2, PCIe). Refer to the documentation of your SSD and computer for specific instructions.
Once you have successfully prepared your new SSD and connected it to your computer, you are ready to proceed with the next steps in transferring your Windows installation. Take a moment to ensure that the SSD is properly installed and firmly connected, as any loose connections can lead to issues during the migration process.
Now that you have prepared your new SSD, let’s move on to the next step of backing up your data to ensure you don’t lose any important files or settings during the migration process.
Step 2: Backup Your Data
Before proceeding with the migration process, it is crucial to create a backup of all your important data. This will ensure that you have a copy of your files, documents, and settings in case anything goes wrong during the transfer. Here’s how you can back up your data:
- Identify critical files: Determine the files and folders that contain your important data. These may include your documents, photos, videos, music, and any other files that you don’t want to lose.
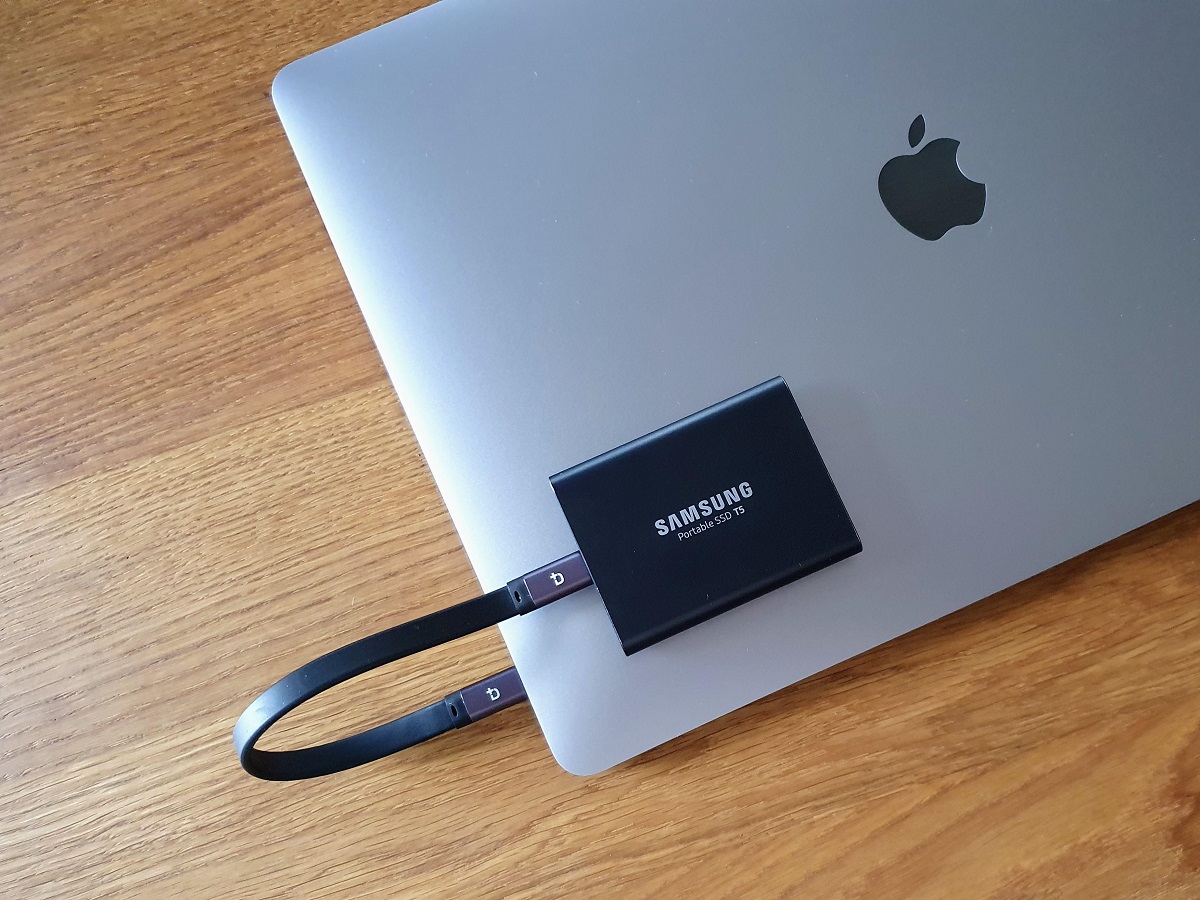
- External storage device: Prepare an external storage device such as a USB flash drive, external hard drive, or cloud storage service, where you will store your backup files. Ensure that the storage device has enough capacity to accommodate all your important data.
- Manual backup: Copy and paste your critical files and folders to the external storage device manually. This involves navigating to each file or folder and dragging them to the appropriate location on the external storage device.
- Backup software: Alternatively, you can use backup software to automate the process. There are various third-party backup tools available that offer features like incremental backups, scheduled backups, and encryption for added security. Choose a backup software that suits your needs and follow the instructions provided by the software.
- Verify the backup: After the backup process is complete, take a moment to verify that your files and settings have been successfully copied to the external storage device. You can do this by opening a few files or folders and ensuring that they are intact and accessible.
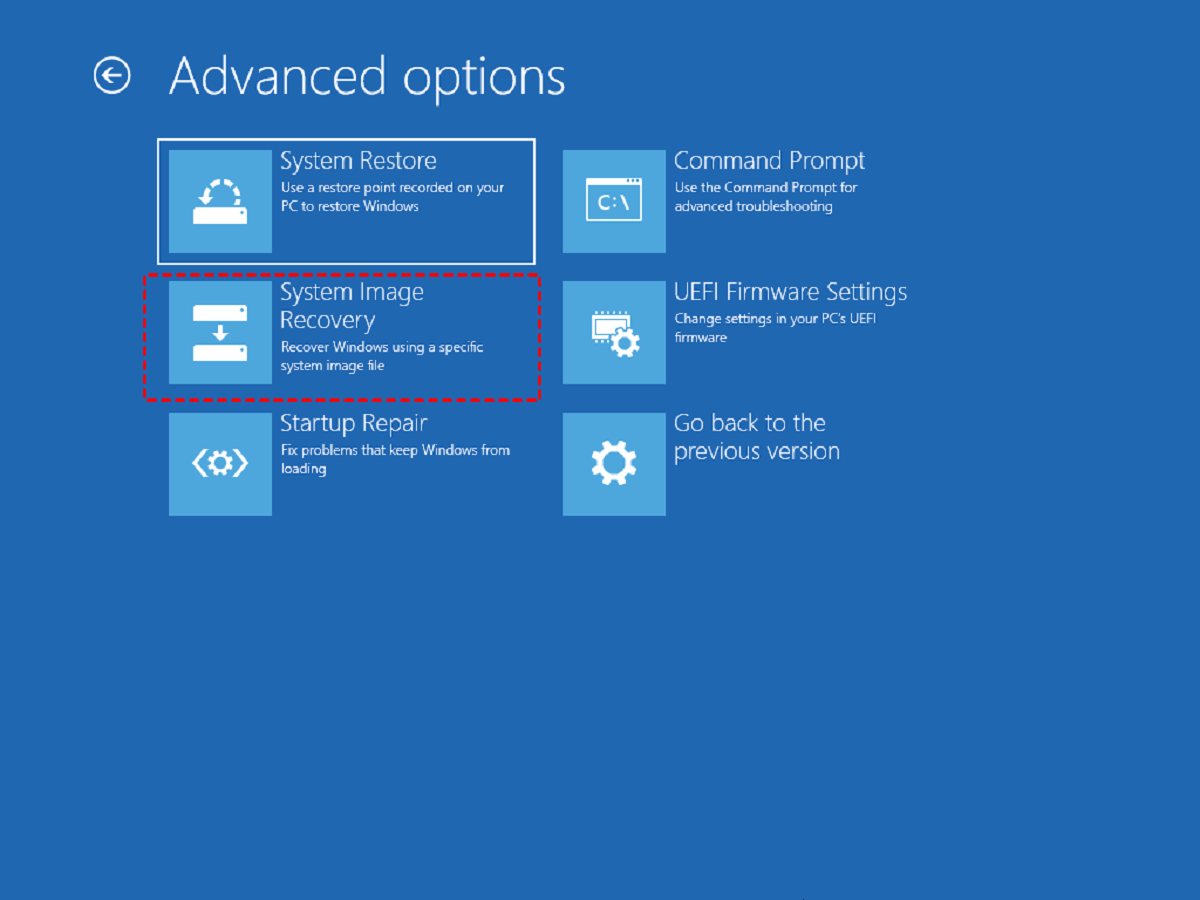
Remember to back up any software license keys, activation codes, or installation files for your applications. It is also recommended to create a system image backup, which will allow you to restore your entire system if needed.
By creating a backup of your data, you can proceed with the migration process knowing that your important files are safely stored. Should any issues arise during the transfer of your Windows installation, you can rely on the backup to restore your data and get your system back up and running.
Step 3: Clone Your Windows Installation
After preparing your new SSD and backing up your data, it’s time to clone your existing Windows installation to the new SSD. Cloning your Windows installation ensures that all your programs, settings, and files are transferred to the new SSD without the need for a clean installation. Follow these steps to clone your Windows installation:
- Choose a cloning tool: There are several reliable cloning tools available, such as Clonezilla, Macrium Reflect, or Acronis True Image. Select the cloning tool that best suits your needs and download/install it on your computer.
- Open the cloning tool: Launch the cloning tool and ensure that both your old SSD (source disk) and new SSD (destination disk) are recognized by the software.
- Select the source and destination disks: In the cloning tool, select your old SSD as the source disk and the new SSD as the destination disk. Be cautious while selecting the disks to avoid any accidental data loss.
- Configure the cloning settings: Depending on the cloning tool you’re using, you may have the option to modify certain settings. In most cases, it is recommended to choose the default settings for a straightforward clone.
- Start the cloning process: Once you have verified the source and destination disks and configured the settings, initiate the cloning process. The cloning tool will start copying all the data from your old SSD to the new SSD. The time required for the cloning process will depend on the size of the data being transferred.
- Monitor the cloning process: Keep an eye on the cloning process to ensure everything is running smoothly. Some cloning tools provide a progress bar or estimated time remaining, which can be helpful in tracking the progress.
It’s important to note that during the cloning process, all data on the destination disk will be erased. Therefore, ensure that you have backed up all important data before starting the cloning process.
Once the cloning process is complete, you will have an exact replica of your Windows installation on the new SSD. However, you still need to physically swap the old SSD with the new one and boot from the new SSD, which will be covered in the next step.
Step 4: Disconnect Old SSD and Connect New SSD
With your Windows installation cloned onto the new SSD, it’s time to physically disconnect the old SSD and connect the new SSD to your computer. Follow these steps to complete this process:
- Shut down your computer: Ensure that your computer is powered off completely before proceeding.
- Open your computer case: Use a screwdriver to remove the screws on the side panel of your computer case. Gently slide the panel off to expose the internal components.
- Locate the old SSD: Identify the old SSD that you want to replace. It will be connected to your computer via a SATA cable or other similar connectors.
- Disconnect the old SSD: Carefully unplug the SATA cable and power connector from the old SSD. Take note of the specific connection type and orientation for future reference.
- Remove the old SSD: Unscrew any mounting brackets holding the old SSD in place inside the computer case. Gently slide the old SSD out of its slot, taking care not to damage any other components.
- Insert the new SSD: Align the new SSD with the vacant slot in the computer case. Slide it into place, ensuring a secure fit. Use the mounting brackets if required and tighten any screws to hold the new SSD in place.
- Connect the new SSD: Attach the SATA cable and power connector to the new SSD, ensuring a snug and secure connection. Refer to the labels or markings on the connectors to ensure the correct orientation.
- Close the computer case: Put the side panel back onto the computer case and secure it with the screws. Ensure that the panel is flush and properly aligned before tightening the screws.
After completing these steps, your new SSD should be physically connected to your computer, ready to be the primary storage device for your Windows system. The next step is to boot your computer from the new SSD and verify the successful migration, which we will cover in the following step.
Step 5: Boot From Your New SSD
Now that you have successfully connected the new SSD to your computer, it’s time to set it as the primary boot device and boot your system from the new SSD. Follow these steps to boot from your new SSD:
- Power on your computer: Ensure that your computer is plugged in and powered on.
- Access the BIOS/UEFI: During the boot process, you will need to access the BIOS or UEFI settings. This is typically done by pressing a specific key, such as F2 or Delete, depending on your computer’s manufacturer.
- Navigate to the Boot menu: Once in the BIOS or UEFI settings, navigate to the “Boot” or “Boot Order” menu. This menu controls the order in which your computer looks for bootable devices.
- Set the new SSD as the first boot device: Locate the option to change the boot order or boot device priority. Set the new SSD as the first boot device. This will ensure that your computer attempts to boot from the new SSD first.
- Save and exit the BIOS/UEFI: After setting the new SSD as the first boot device, save the changes and exit the BIOS or UEFI settings. This will prompt your computer to restart.
- Wait for the system to boot: Allow your computer to restart and boot from the new SSD. Depending on your computer’s configuration, the boot process may take a little longer than usual as it adjusts to the new hardware.
Once the boot process is complete, your computer should now be running the Windows operating system from the new SSD. It is important to note that you may need to reactivate Windows or provide your license key after migrating to a new storage device. This can typically be done through the Windows activation settings.
Now that you have successfully booted from the new SSD, you can proceed to the next step to verify the successful migration and make sure everything is working as expected.
Step 6: Verify the Successful Migration
After booting your computer from the new SSD, it’s essential to verify that the migration process was successful and that everything is working as expected. Follow these steps to verify the successful migration:
- Check for the Windows logo: After your computer finishes booting, you should see the familiar Windows logo on your screen. This indicates that your Windows installation has successfully loaded from the new SSD.
- Ensure normal system operation: Use your computer as you normally would and pay attention to any unusual behavior or errors. Test various applications, open files, and perform common tasks to ensure that everything is functioning as it should.
- Verify the Windows version and activation status: Go to the “Settings” menu in Windows, then navigate to the “System” or “About” section. Check that the correct version of Windows is displayed, along with the activation status. If needed, reactivate Windows using your license key.
- Check the storage capacity: Open the “File Explorer” and navigate to “This PC” or “My Computer.” Verify that the new SSD’s storage capacity is accurately reflected and that you have the expected amount of free space.
- Run disk diagnostic tools: If you want to be thorough, you can run disk diagnostic tools to check the health and performance of the new SSD. Many SSD manufacturers provide their own diagnostic software that you can download and use for this purpose.
- Test file access and speed: Copy some files to and from the new SSD to verify that file access and transfer speeds are at the expected level. This will help ensure that the new SSD is performing optimally.
If you encounter any issues or notice any abnormalities during the verification process, it’s recommended to consult the documentation of your SSD or seek assistance from the manufacturer’s support. They can provide further guidance and troubleshooting steps to help resolve any issues that may arise.
By verifying the successful migration, you can have confidence that your Windows installation is functioning properly on the new SSD and enjoy the improved performance and storage capacity it offers.
Step 7: Reset BIOS Settings (if necessary)
After successfully migrating your Windows installation to the new SSD and verifying its functionality, it’s a good practice to reset the BIOS settings to ensure optimal performance and compatibility with the new hardware. Follow these steps to reset the BIOS settings:
- Restart your computer: If your computer is currently powered on, restart it to access the BIOS settings.
- Access the BIOS/UEFI: During the boot process, press the designated key (usually F2, Delete, or F10) to enter the BIOS or UEFI settings.
- Locate the reset option: Navigate through the BIOS or UEFI menus to find the option for resetting the firmware or BIOS settings. This option may be labeled as “Reset to Default,” “Load Optimized Defaults,” or something similar.
- Select the reset option: Once you’ve located the reset option, select it and confirm your choice when prompted. This will reset all BIOS or UEFI settings to their default values.
- Save and exit: Save the changes made to the BIOS or UEFI settings and exit the settings screen. Your computer will restart again.
Resetting the BIOS or UEFI settings ensures that any outdated configurations or conflicts with the old hardware are cleared, allowing the system to optimize its performance with the new SSD. It also helps in avoiding any compatibility issues that may arise due to hardware changes.
After resetting the BIOS settings, your computer will boot up with the default settings, and you can proceed to use your system as usual. However, if you need to reconfigure any specific settings or preferences, such as boot order, hardware configurations, or overclocking settings, you can do so after the reset.
It’s important to note that not all BIOS or UEFI versions and manufacturers provide the same options or terminology. If you encounter any difficulties with resetting the settings or if you’re unsure about any steps, consult the documentation or support resources specific to your computer’s BIOS or UEFI.
Completing this step ensures that your computer is optimized and ready to fully utilize the new SSD in conjunction with the updated BIOS settings.
Conclusion
Congratulations! You have successfully moved your Windows installation to a new SSD. By following the steps outlined in this guide, you have upgraded your computer’s storage and can now enjoy improved performance and ample storage capacity.
Throughout the process, we covered important steps such as preparing the new SSD, backing up your data, cloning your Windows installation, disconnecting the old SSD, connecting the new SSD, booting from the new SSD, verifying the successful migration, and resetting the BIOS settings if necessary.
It’s important to note that the specific steps may vary based on your computer’s hardware and software configuration. Always consult the documentation provided by the manufacturers or seek professional advice if you have any doubts or concerns.
Remember to keep your old SSD or backup as a failsafe until you have confirmed the successful migration and ensured that you have all your important files and settings on the new SSD.
With your Windows operating system now running smoothly on the new SSD, you can take full advantage of the increased storage capacity and improved performance. Enjoy the benefits of faster boot times, quicker program launches, and seamless multitasking.
Thank you for following this guide. We hope it has been helpful in successfully transferring your Windows installation to a new SSD. If you have any further questions or need additional assistance, feel free to reach out to the appropriate support channels or consult with an expert in computer hardware.