Introduction
Welcome to our guide on how to move photos from iCloud to Google Photos! If you’re looking to switch from iCloud to Google Photos and transfer your precious memories, you’ve come to the right place. Whether you want to free up storage space on your iCloud account or take advantage of the great features offered by Google Photos, this step-by-step tutorial will help you through the process.
iCloud and Google Photos are both popular cloud storage platforms that offer seamless backup and access to your photos across multiple devices. However, transferring your photos from iCloud to Google Photos can be a bit tricky as there is no direct way to do it. But don’t worry, we’ve got you covered with this easy-to-follow guide.
In the following steps, we’ll walk you through the process of signing in to your iCloud account, downloading your photos from iCloud, setting up Google Photos, uploading your photos to Google Photos, and verifying the migration. So, let’s get started!
Step 1: Sign in to your iCloud account
The first step in moving your photos from iCloud to Google Photos is to sign in to your iCloud account. Follow these simple steps:
- Open a web browser on your computer and go to the iCloud website.
- Enter your Apple ID and password to sign in to your account.
- Once you’re logged in, you’ll see the iCloud homepage with various app icons.
Now that you’re signed in to your iCloud account, you’re ready to proceed to the next step and download your photos.
It’s important to note that if you have two-factor authentication enabled for your Apple ID, you might be prompted to enter a verification code sent to your trusted device. Make sure you have access to the device where you’ll receive the code, as you’ll need it to complete the sign-in process.
Step 2: Download photos from iCloud
Now that you’re signed in to your iCloud account, it’s time to download your photos from iCloud. Follow these steps:
- On the iCloud homepage, click on the “Photos” icon to access your photo library.
- In the Photos app, you’ll see all your albums and photos organized by date and location.
- Choose the photos you want to download by selecting individual photos or entire albums.
- Once you’ve selected the photos, click on the download icon (a cloud with an arrow pointing down) located at the top-right corner of the screen.
- A zip file containing your selected photos will be generated and downloaded to your computer.
- Locate the downloaded zip file and extract its contents to a folder on your computer.
Depending on the size of your photo library and your internet connection speed, the download process may take some time. Once the download is complete and the zip file is extracted, you’ll have all your photos from iCloud saved on your computer ready for the next step.
It’s worth mentioning that the photos downloaded from iCloud will maintain their original quality. This ensures that you don’t lose any details or resolution during the migration process.
Step 3: Set up Google Photos
Now that you have downloaded your photos from iCloud, it’s time to set up Google Photos. Follow these steps to get started:
- Open a web browser on your computer and go to the Google Photos website.
- If you don’t have a Google account, click on the “Create account” link and follow the instructions to create one. If you already have a Google account, simply sign in.
- Once you’re signed in, you’ll see the Google Photos interface. Click on the “Upload” button to start uploading your photos.
- You’ll be prompted to choose the uploading method. Select “Computer” to upload the photos you downloaded from iCloud.
- In the file selection window, navigate to the folder where you extracted your iCloud photos. Select all the photos you want to upload, or drag and drop them into the Google Photos window.
- Google Photos will now start uploading your photos. The time it takes will depend on the size of your photo library and your internet connection speed.
- While the photos are being uploaded, you can choose to add them to albums, edit their titles, and add descriptions if desired.
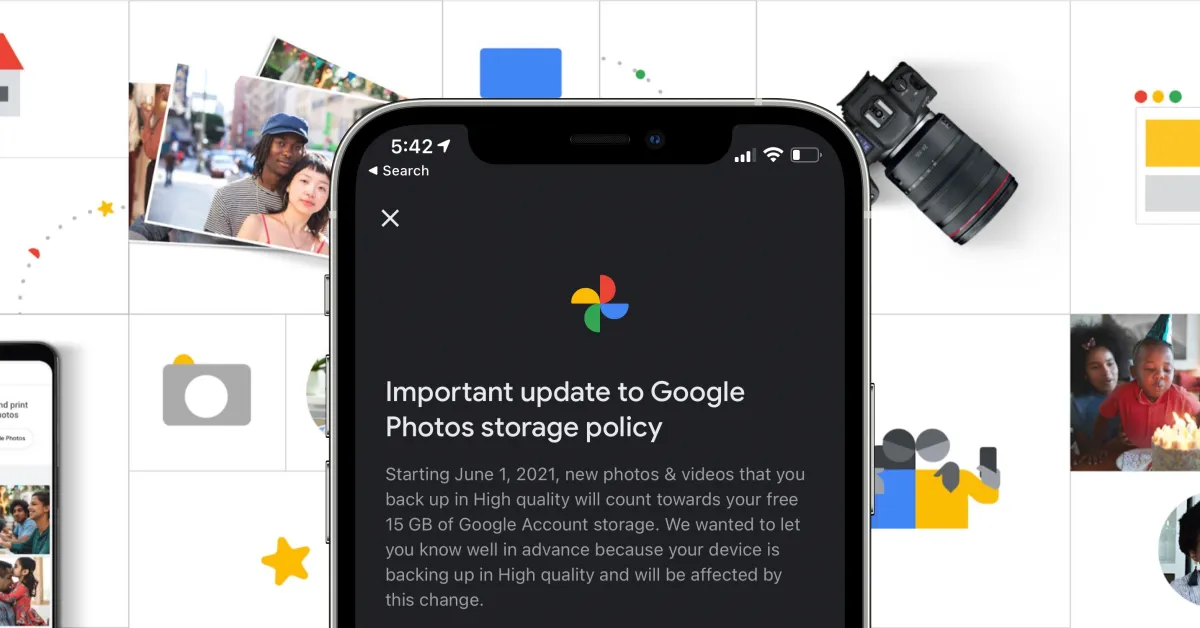
Note that Google Photos offers unlimited free storage for high-quality photos. However, if you want to store your photos in their original quality without any compression, it will count towards your Google Drive storage limit.
Once the uploading process is complete, you now have all your photos from iCloud stored in Google Photos. Now, let’s move on to the next step to verify the migration.
Step 4: Upload photos to Google Photos
With Google Photos set up and your iCloud photos downloaded, it’s time to upload them to your Google Photos account. Follow these steps:
- Open the Google Photos app on your smartphone or tablet. If you don’t have the app, you can download it from the App Store (iOS) or Google Play Store (Android).
- Tap on the “Library” tab at the bottom of the screen to access your photo library.
- Tap on the “Upload” button, usually represented by a cloud with an arrow pointing up.
- Choose the photos you want to upload by selecting individual photos or entire albums from your device’s gallery.
- Tap on the “Upload” button to start uploading your selected photos to your Google Photos account. The upload progress will be displayed on the screen.
- While the photos are being uploaded, you can add them to albums, edit their titles, and add descriptions if desired.
- Once the upload is complete, you’ll see your newly uploaded iCloud photos in your Google Photos library.
It’s important to ensure that you have a stable internet connection and enough free space on your device to successfully upload the photos to Google Photos. Depending on the size of your selected photos and your internet speed, the upload process may take some time.
By following these steps, you have successfully uploaded your iCloud photos to your Google Photos account. You can now enjoy the benefits of Google Photos, such as advanced search options, automatic organization, and easy sharing with friends and family.
Step 5: Verify the migration
After uploading your photos to Google Photos, it’s essential to verify the migration to ensure that all your photos from iCloud successfully transferred. Follow these steps to verify the migration:
- Open the Google Photos app or go to the Google Photos website on your computer.
- Navigate to the album or library where you uploaded your iCloud photos.
- Scroll through your photos and compare them with the ones you had in iCloud.
- Check for any missing photos or discrepancies in the order or arrangement of your photos.
- If you notice any issues or missing photos, check your upload history to see if the photos failed to upload. You can retry uploading them if necessary.
It’s crucial to verify the migration to ensure that all your precious memories are safely transferred to Google Photos. In some cases, due to technical reasons or errors during the upload process, a small number of photos may not successfully migrate. If you encounter any problems, it’s recommended to review the previous steps and repeat the process for the affected photos.
By completing this verification step, you can have peace of mind knowing that your iCloud photos have been successfully migrated to Google Photos, ready to be accessed and shared across your devices.
Conclusion
Congratulations! You have successfully moved your photos from iCloud to Google Photos. By following the step-by-step guide in this tutorial, you were able to sign in to your iCloud account, download your photos, set up Google Photos, upload your photos, and verify the migration. Now, you can enjoy the benefits of Google Photos, including easy access, powerful search capabilities, and seamless synchronization across multiple devices.
Moving your photos from iCloud to Google Photos allows you to free up storage space on your iCloud account and take advantage of the unlimited free storage offered by Google Photos for high-quality photos. Furthermore, Google Photos provides advanced features like automatic organization, intelligent search, and effortless sharing, making it an excellent choice for managing and preserving your photo memories.
Remember, data migration is a one-time process, but it’s always a good practice to regularly back up your photos to ensure their safety. Consider setting up automatic backups or syncing your devices with Google Photos to keep your photo library up to date.
We hope that this guide has been helpful in your journey of moving photos from iCloud to Google Photos. If you have any questions, feel free to explore the help center of both iCloud and Google Photos or reach out to their support teams for further assistance. Enjoy your newly migrated photo collection in Google Photos!