Introduction
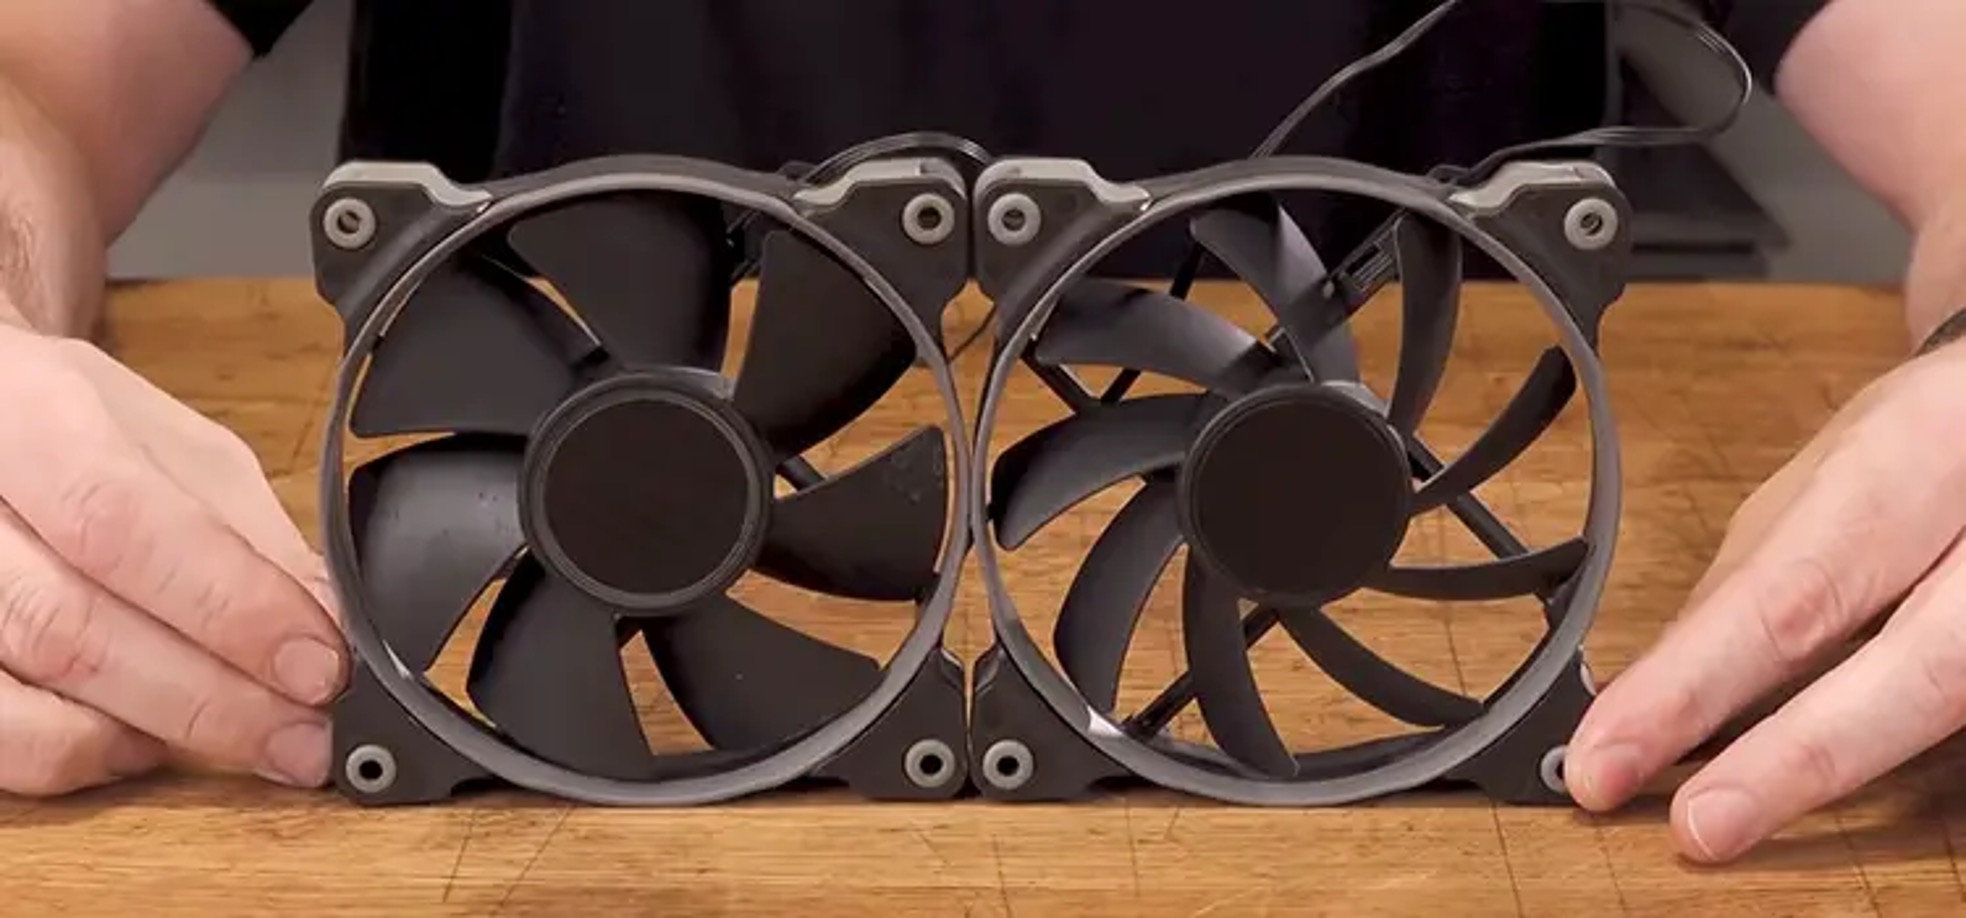
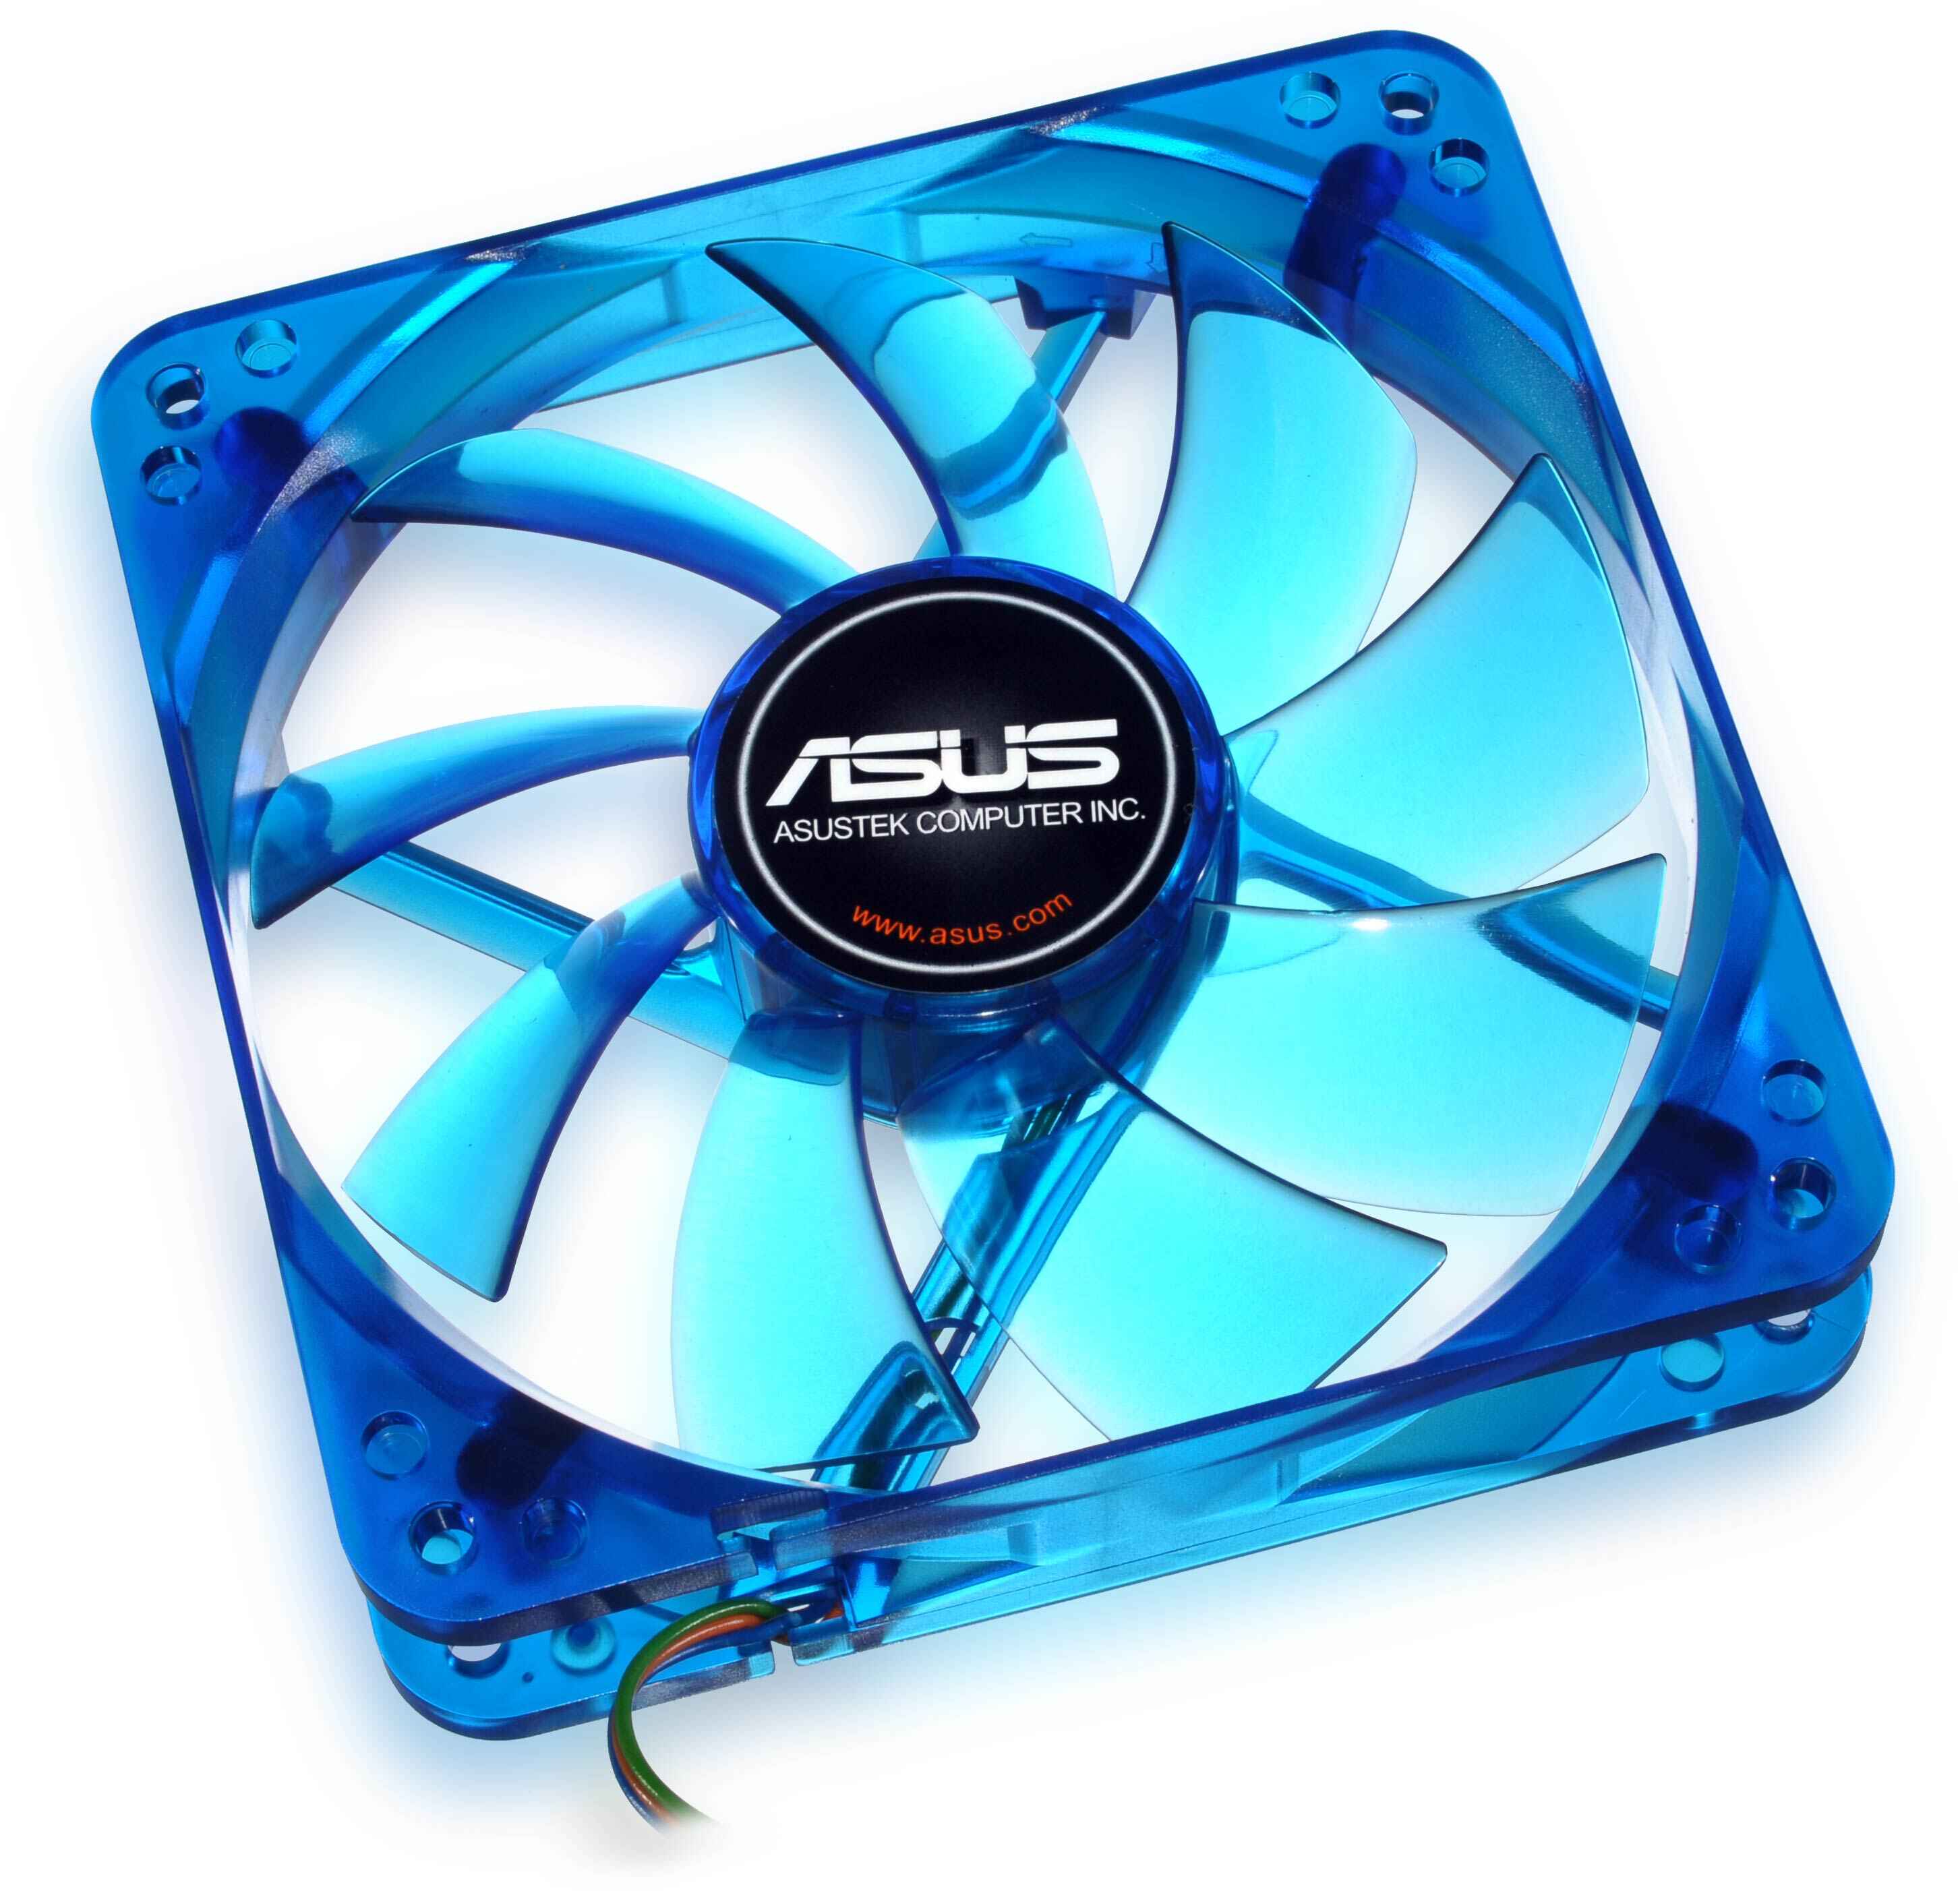
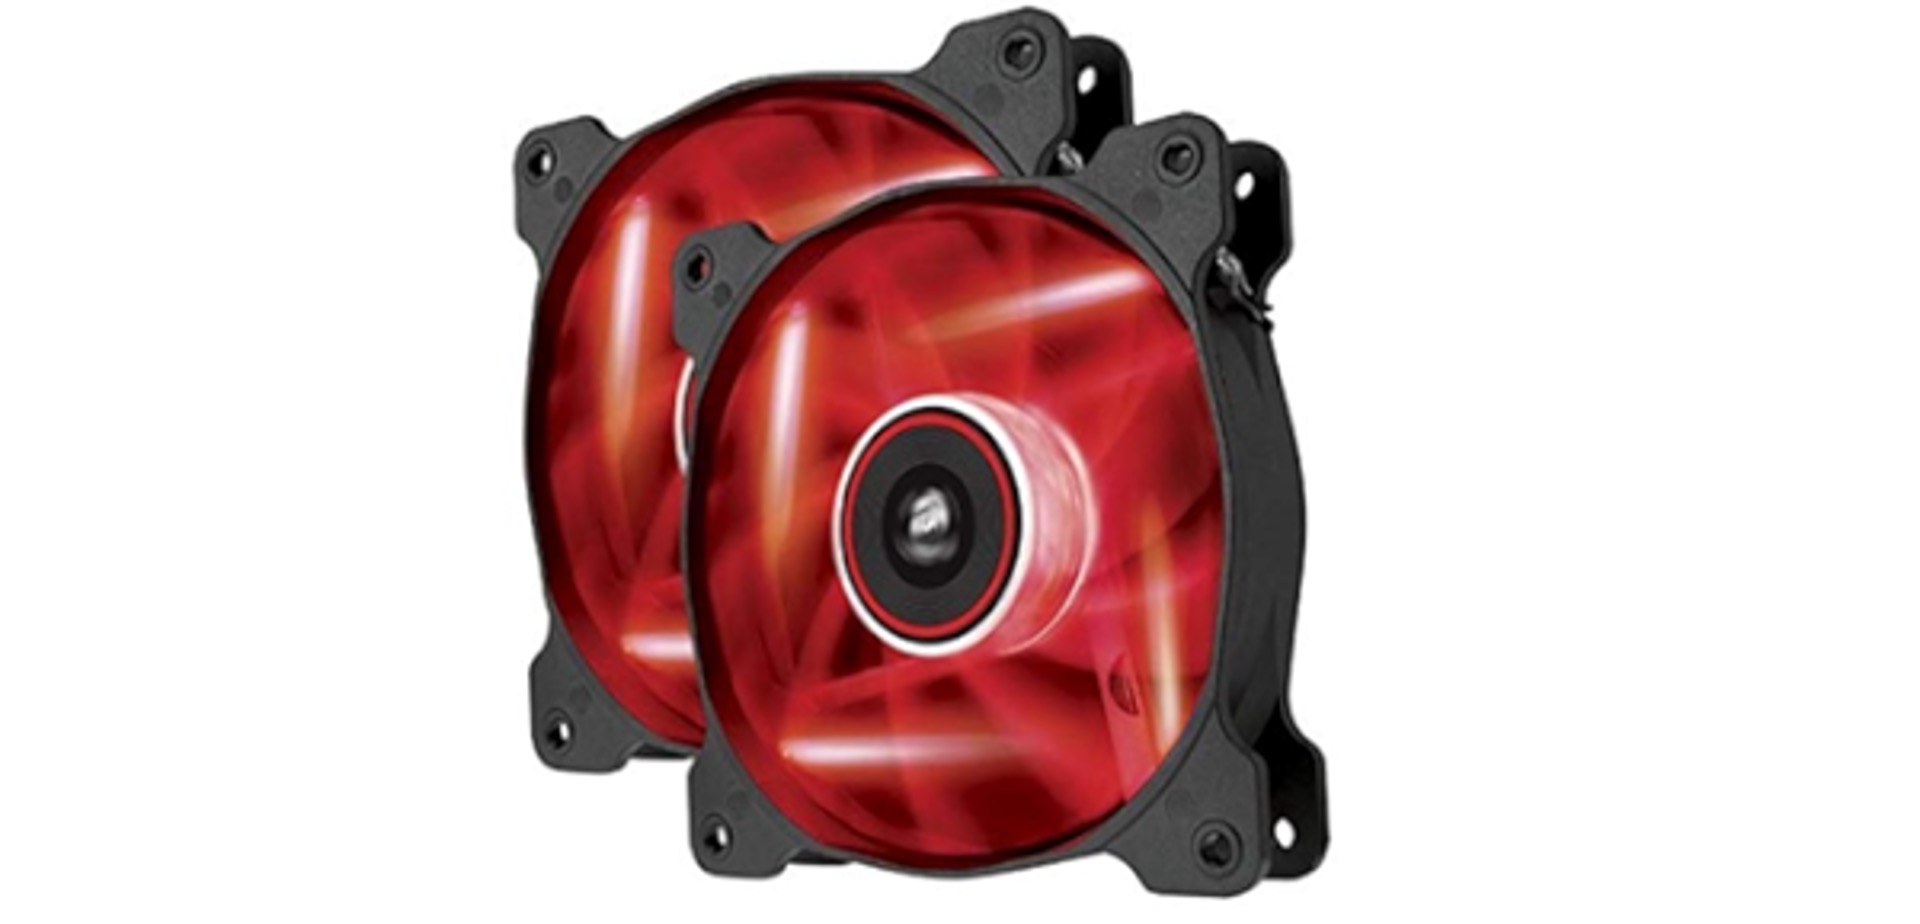
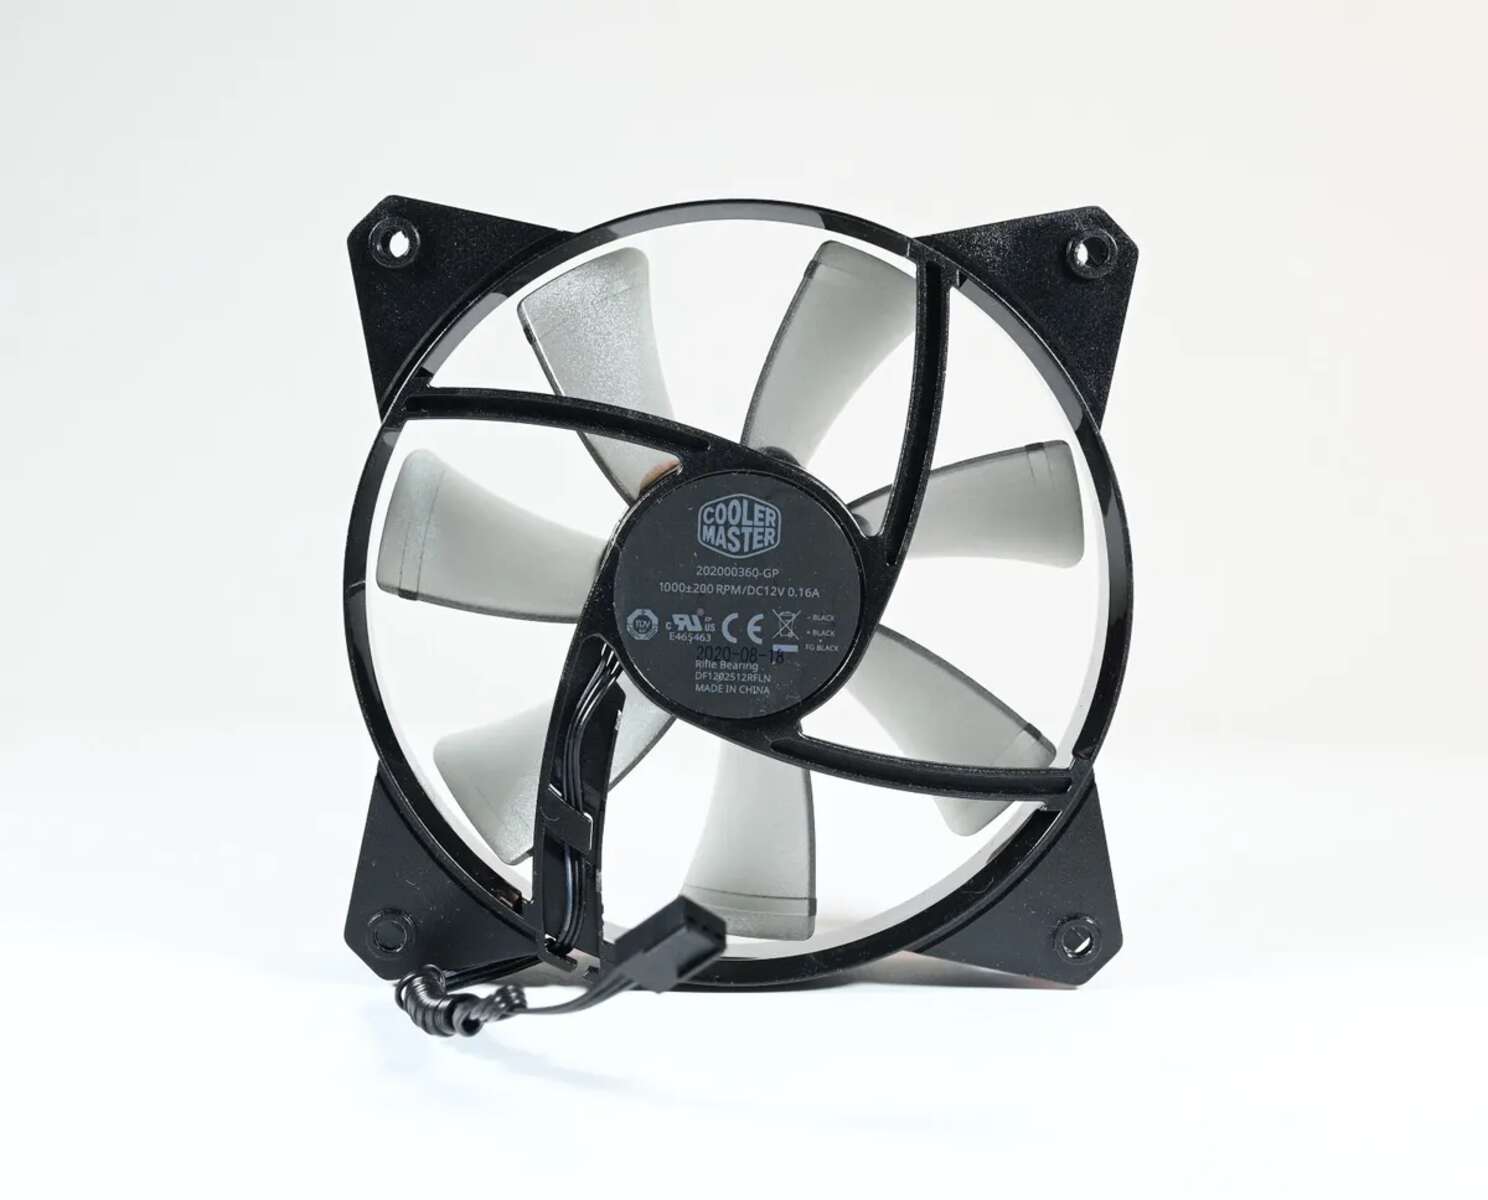
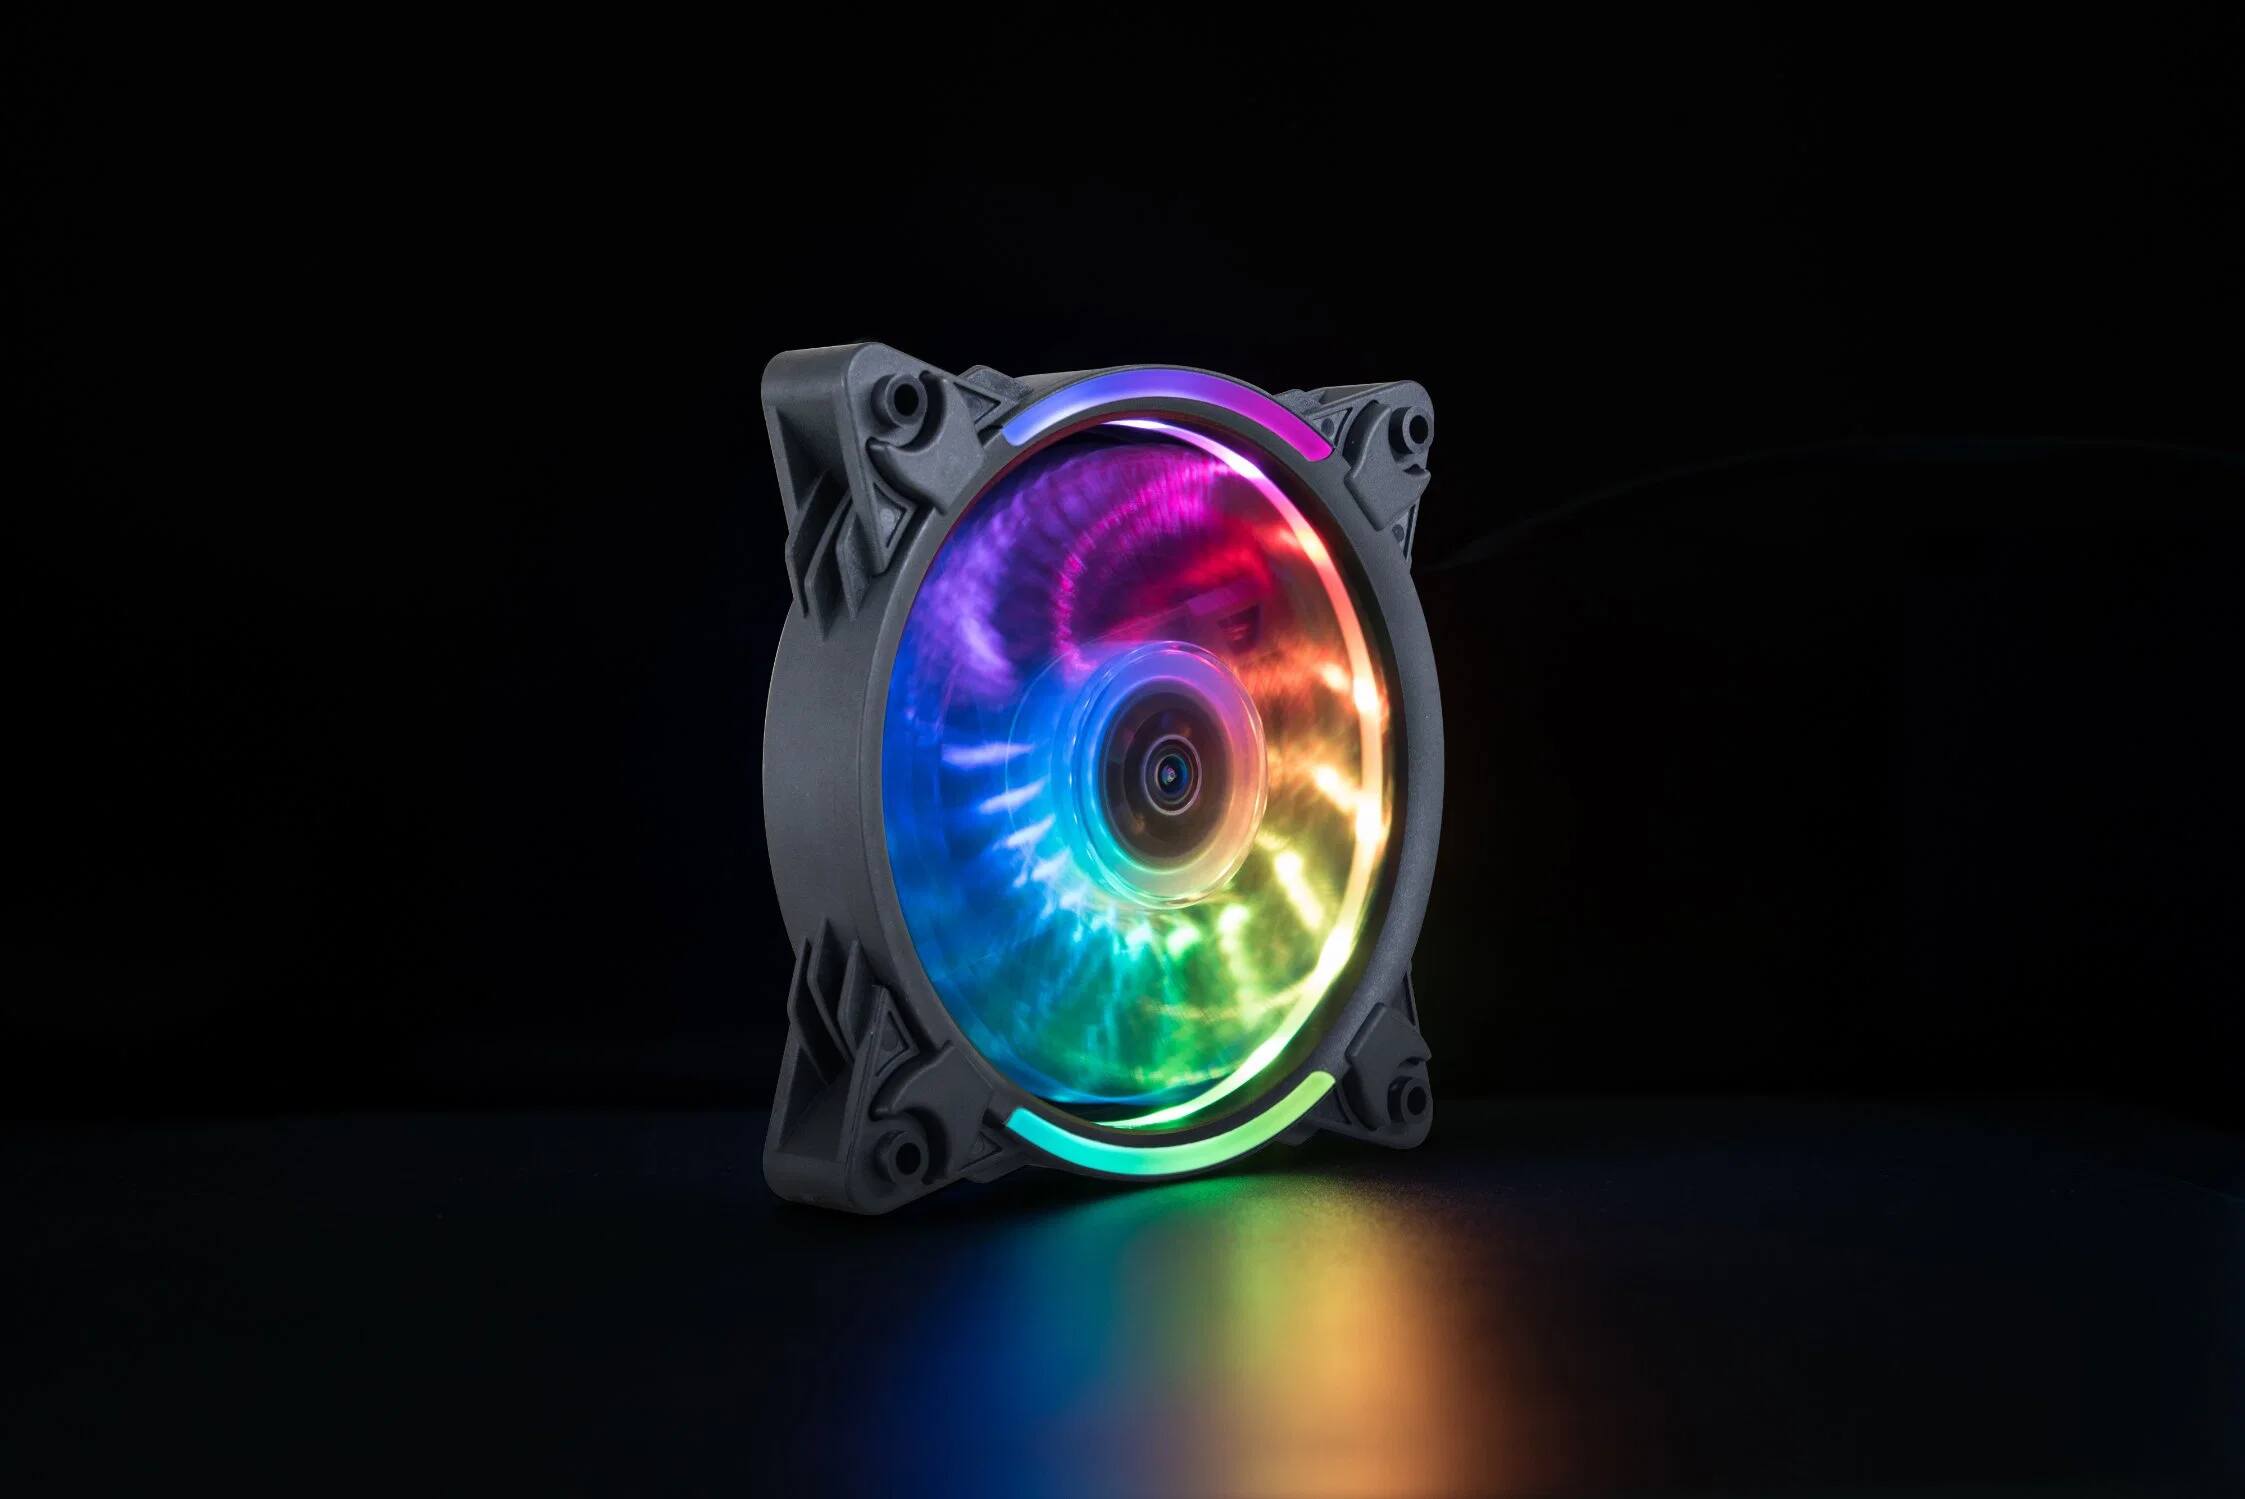
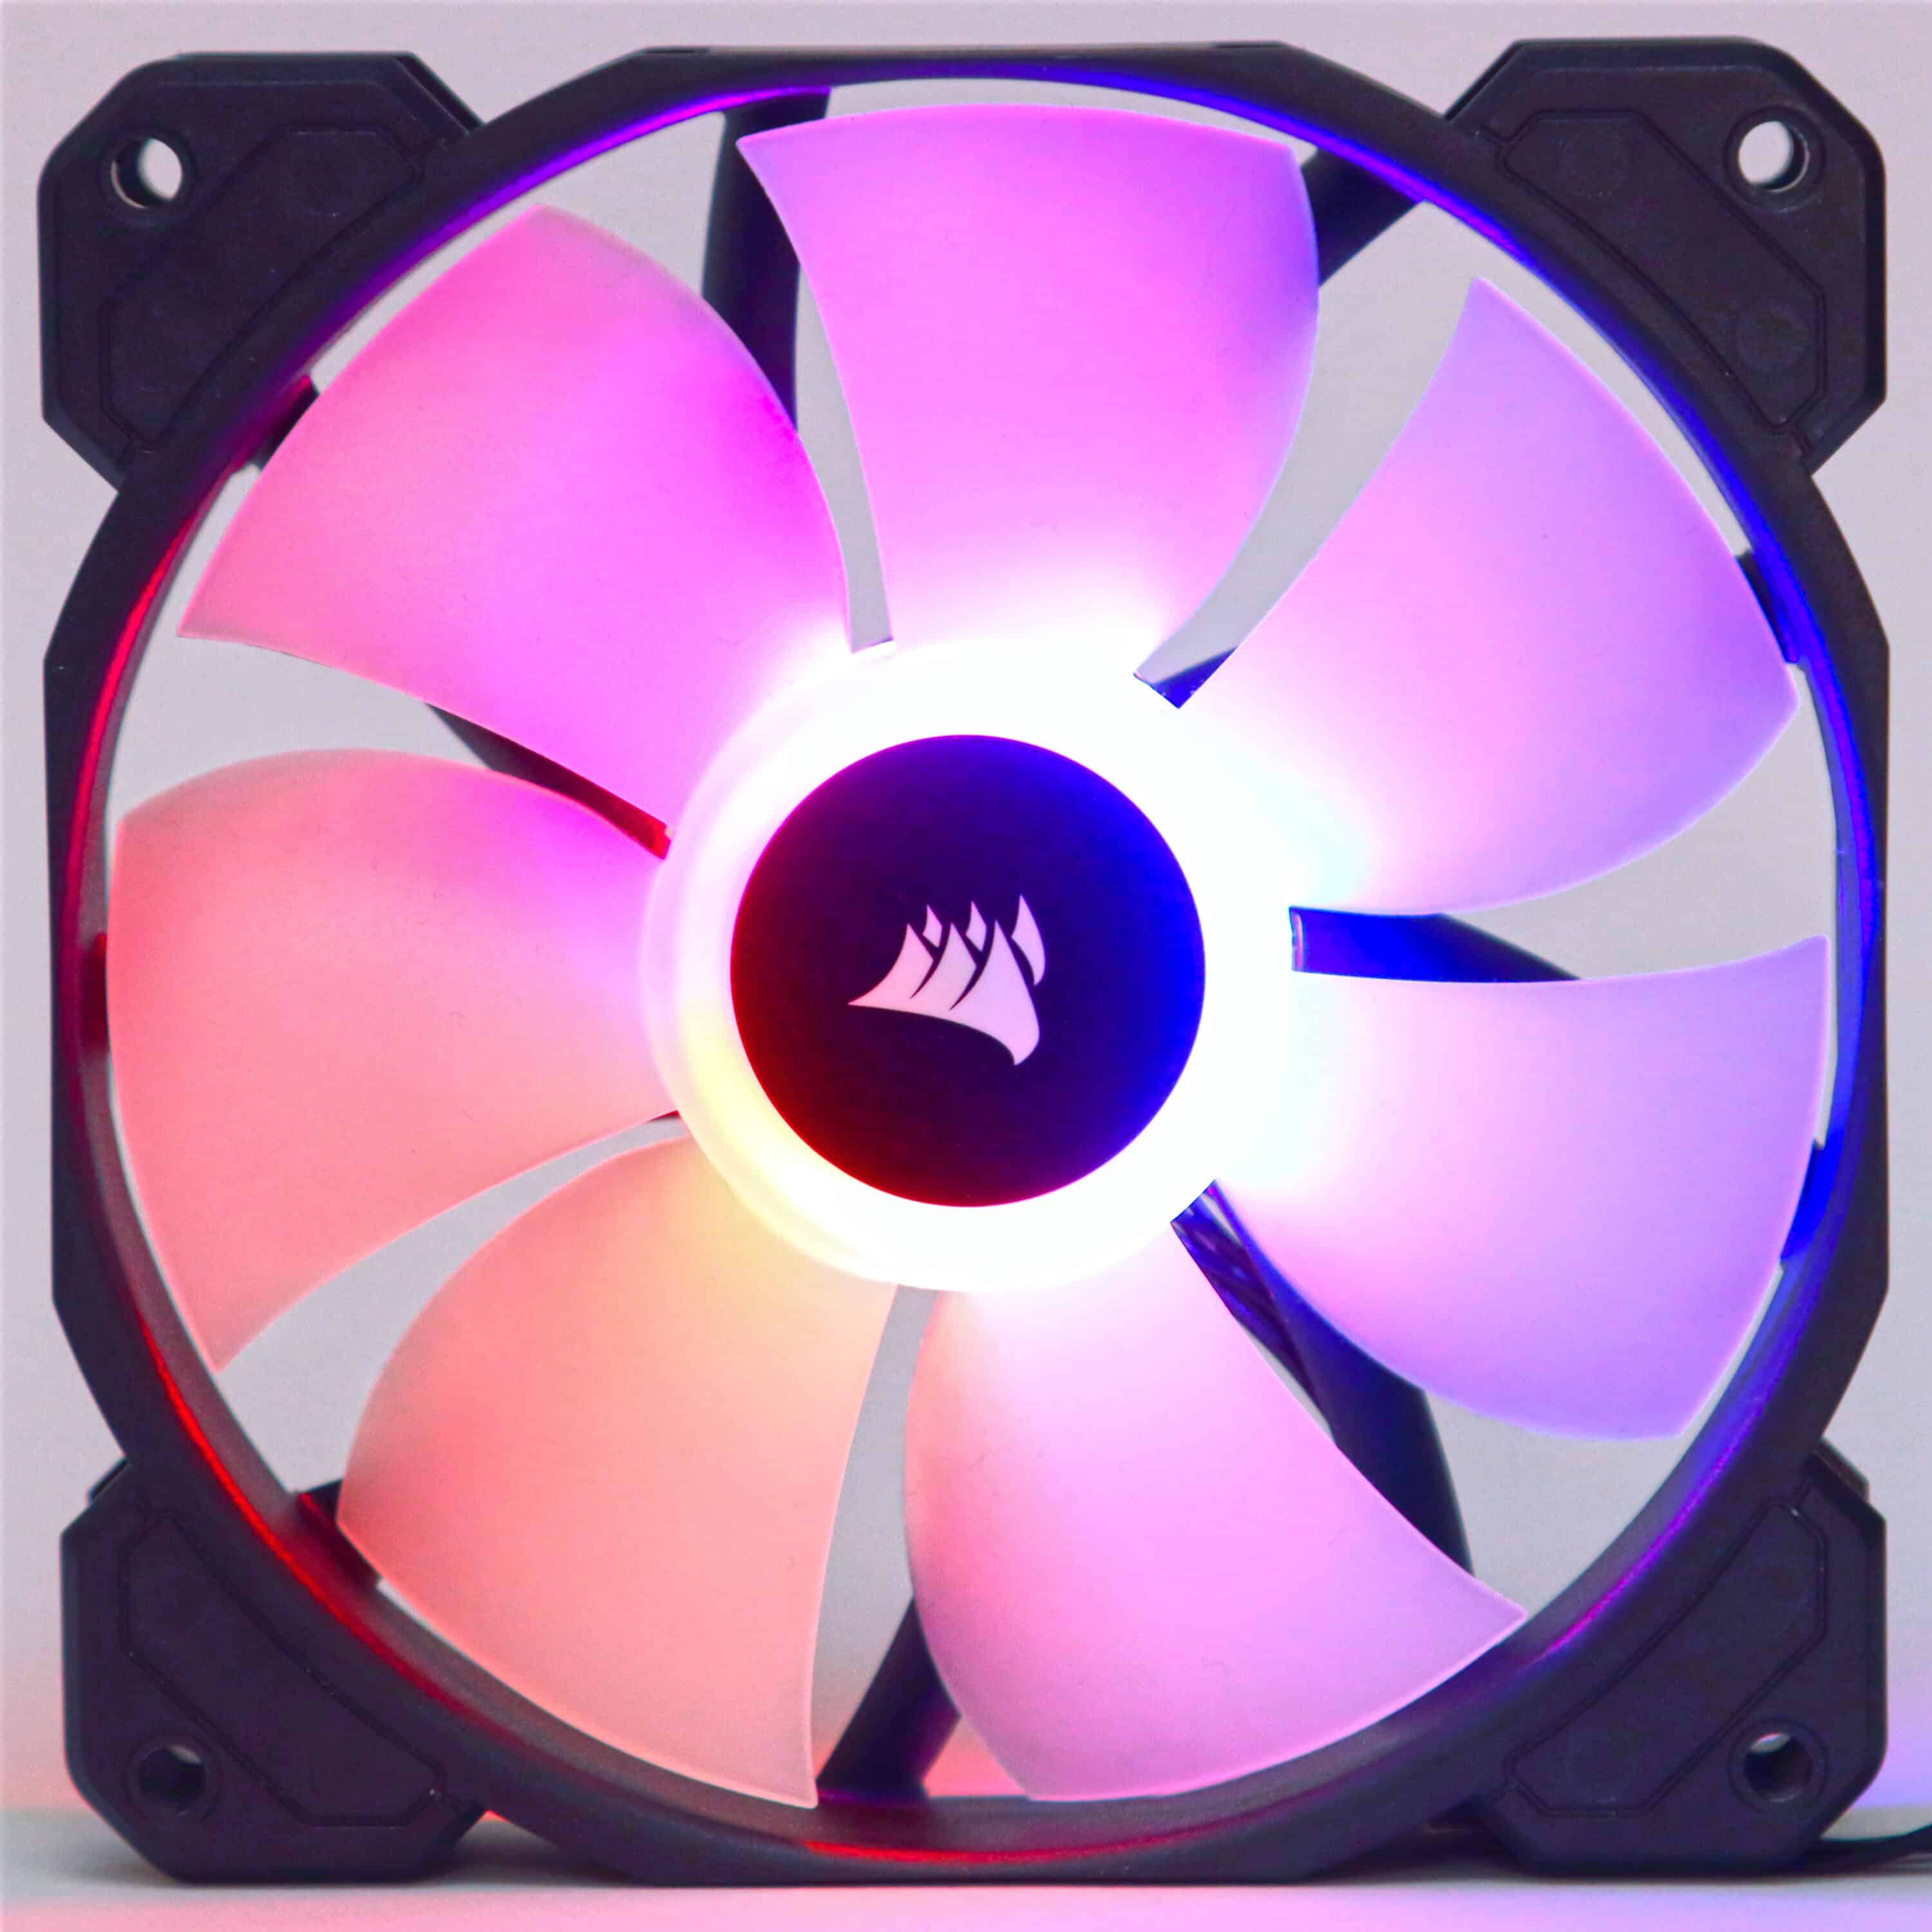
Adding a top case fan to your computer can greatly improve airflow and help maintain a lower temperature, especially if you have a high-performance system. A 120mm top case fan is a popular choice due to its efficiency and quiet operation. Although it may seem daunting, mounting a 120mm top case fan is a straightforward process that can be completed by anyone with basic computer knowledge and a few simple tools.
In this guide, we’ll walk you through the steps to mount a 120mm top case fan in your computer. We’ll discuss the tools and materials you’ll need, as well as provide detailed instructions to ensure the installation process goes smoothly.
Before we get started, it’s important to note that the specific steps and methods may vary depending on your computer case model. Refer to your case’s user manual or manufacturer’s website for any specific instructions that may apply.
Now, let’s gather our tools and materials and get ready to mount that 120mm top case fan!
Tools and Materials Needed
Before you begin mounting the 120mm top case fan, make sure you have the following tools and materials readily available:
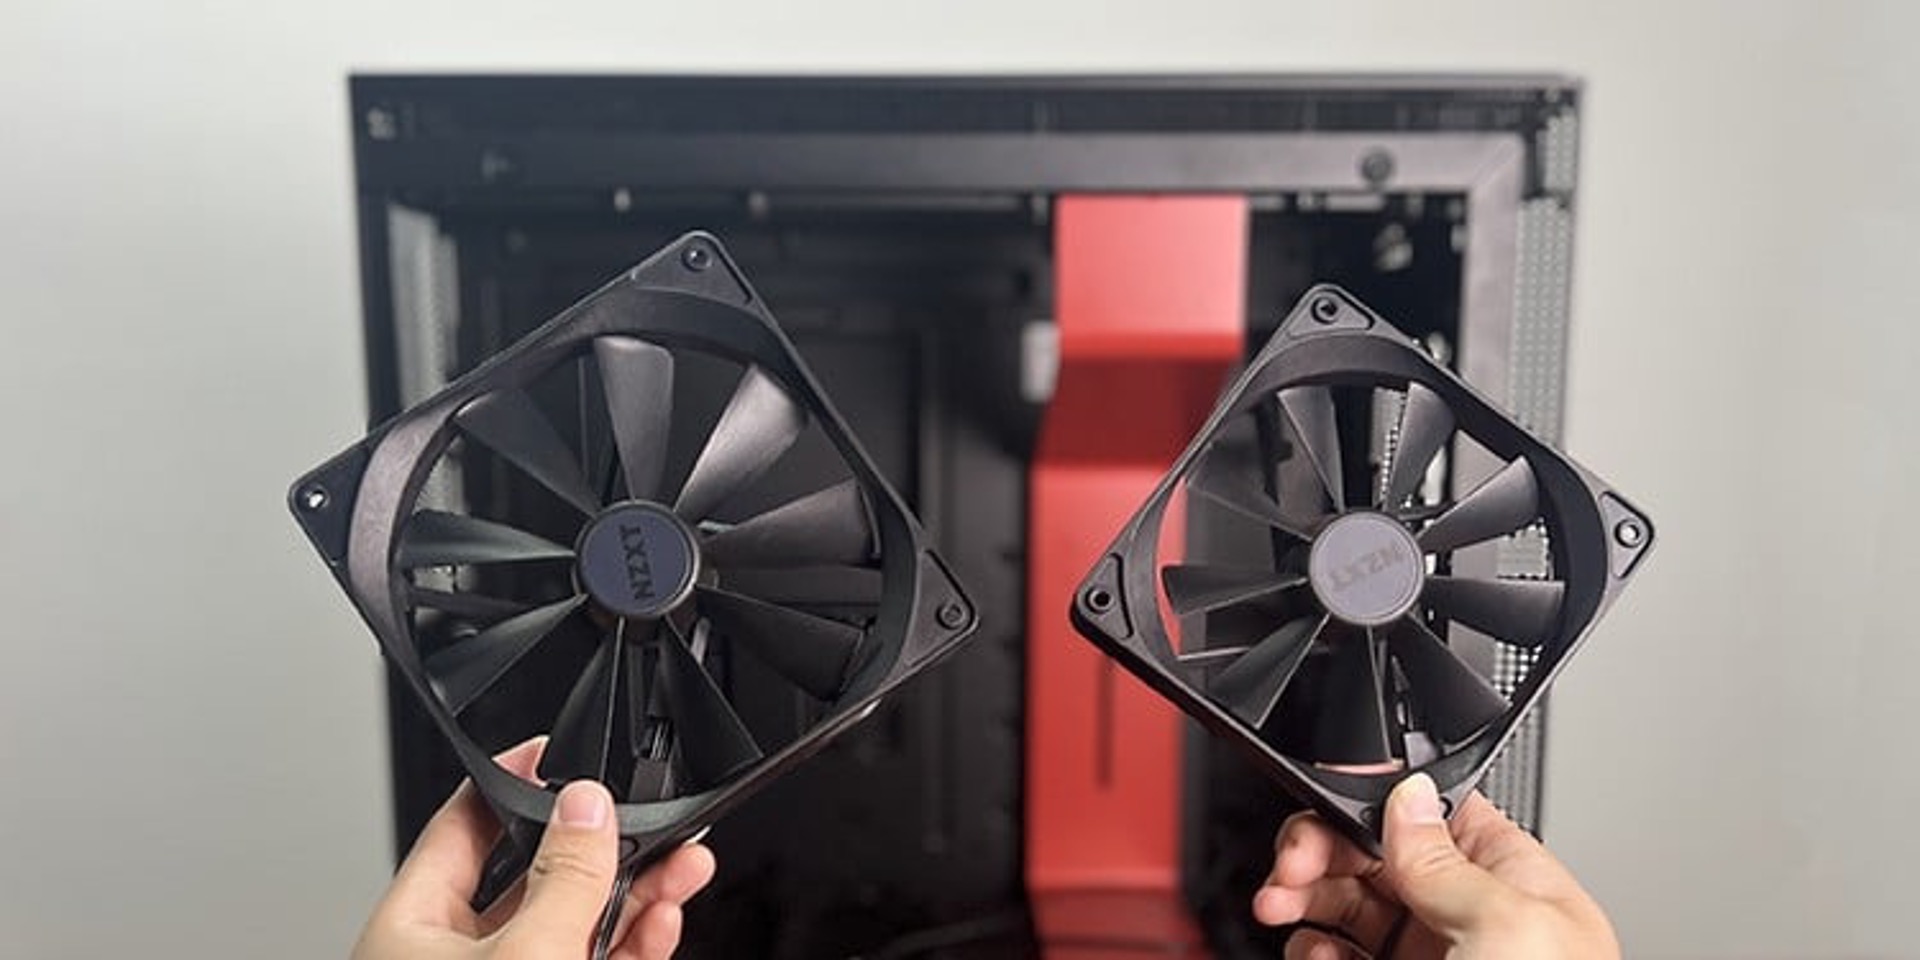
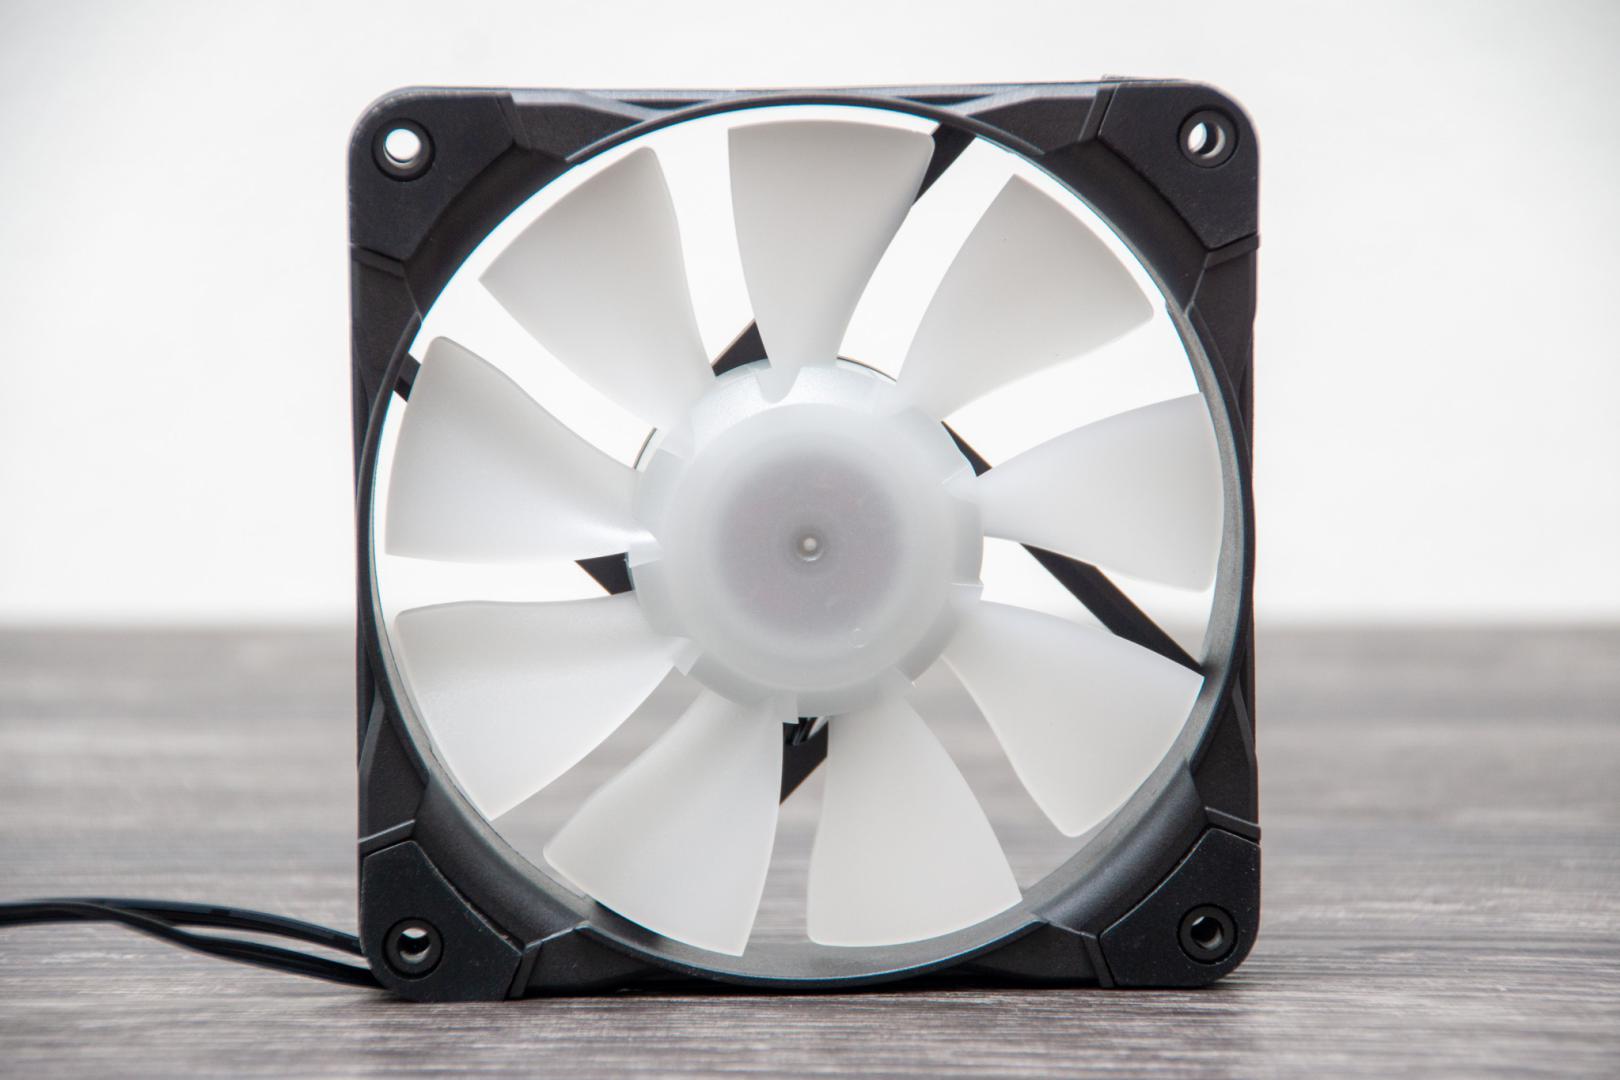
- 120mm top case fan – Choose a high-quality fan that fits your computer case dimensions and has good airflow and noise levels.
- Screwdriver – Depending on your computer case, you may need a Phillips-head or flat-head screwdriver to secure the fan in place.
- Screws – Check the specifications of your computer case to determine the appropriate screws for securing the fan.
- Anti-static wrist strap (optional) – This is recommended to protect your computer’s sensitive components from electrostatic discharge.
- Cable ties (optional) – These can help manage and secure the cables connected to the fan for a cleaner look and improved airflow.
Ensure that you have all these tools and materials ready on your work surface before you start the installation process. This will save you time and frustration throughout the procedure.
Remember, it’s essential to have a clean and static-free work environment when working on your computer. Make sure to ground yourself by touching a metal surface or wearing an anti-static wrist strap before handling any components. This helps prevent static electricity from damaging your computer’s sensitive internal parts.
Once you have gathered all the necessary tools and materials, move on to preparing the case for the installation of the 120mm top case fan.
Step 1: Preparing the Case
Before you mount the 120mm top case fan, it’s important to prepare your computer case to ensure a smooth installation process. Follow these steps:
- Power off your computer – Make sure to shut down your computer properly and unplug it from the power source to avoid any accidents or electrical issues during the installation.
- Open the computer case – Most computer cases have side panels that can be easily removed to access the internal components. Consult your case manual for specific instructions on how to open it.
- Identify the mounting location – Locate the mounting spot where you want to install the top case fan. Usually, there is an empty spot on the top of the case with screw holes designed for fan installation.
- Clean the area – Use compressed air or a soft brush to remove any dust or debris from the mounting location. A clean surface will help the fan operate more efficiently and prevent dust accumulation.
- Remove any existing components, if necessary – If there are any obstructions in the mounting location, such as a hard drive cage or cables, carefully detach or reroute them to create enough space for the fan.
By properly preparing the case, you ensure that the fan installation process will be hassle-free and provide optimal performance. Take your time with this step to ensure a clean and unobstructed installation area.
Now that the case is prepped, let’s move on to the next step—mounting the 120mm top case fan!
Step 2: Mounting the Fan
With the case prepared, it’s time to mount the 120mm top case fan. Follow these step-by-step instructions:
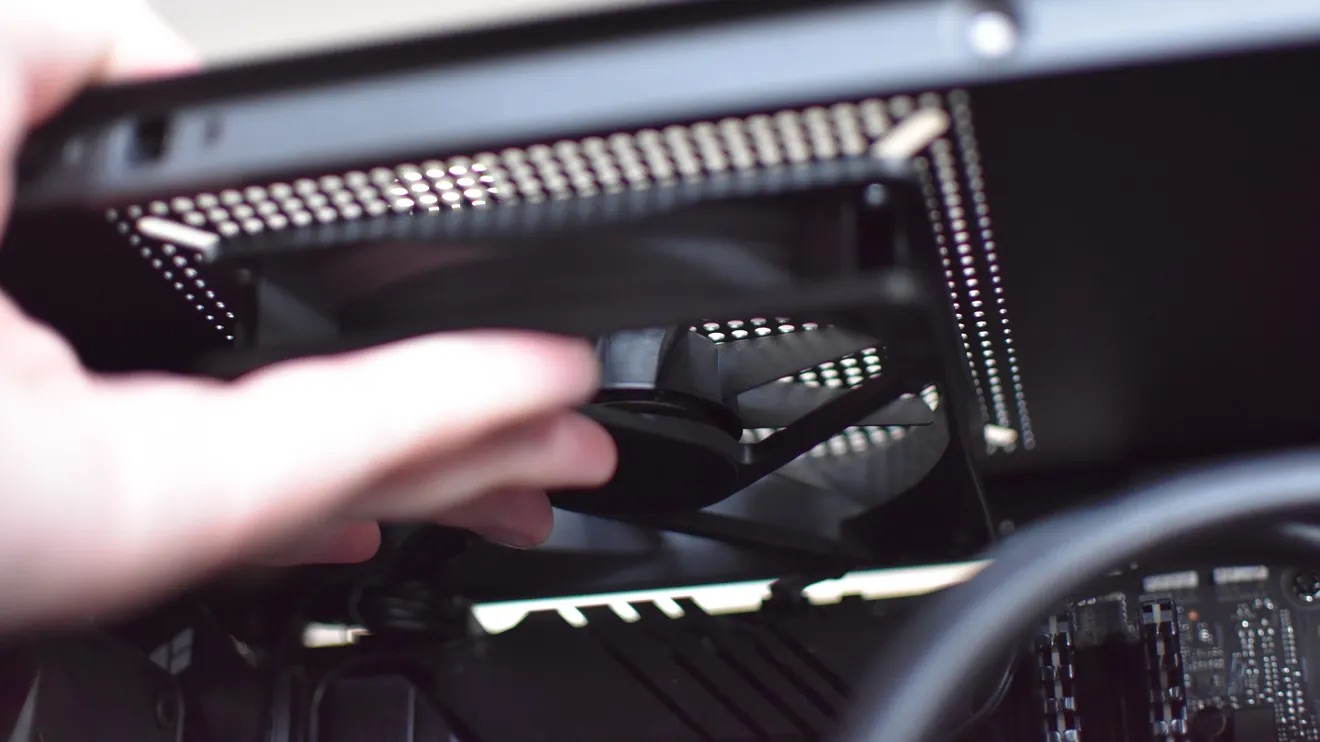
- Align the fan with the mounting holes – Hold the fan above the mounting location and align it with the pre-drilled holes on the case. Make sure the fan’s direction matches your desired airflow (usually indicated by an arrow on the fan).
- Insert screws into the mounting holes – Take the appropriate screws for your case and insert them into the mounting holes, starting with one corner and moving diagonally to ensure even pressure when tightening them.
- Thread the screws into the case – Use a screwdriver to gently tighten the screws on the corners, ensuring that the fan is securely attached to the case. Be careful not to overtighten, as this can damage the fan or the case threads.
- Double-check the alignment – Verify that the fan is properly aligned and flush with the mounting location. Adjust if necessary before proceeding.
Once you have mounted the 120mm top case fan, give it a gentle wiggle to ensure it is securely attached. A properly mounted fan will not move or wobble excessively.
It’s important to note that some computer cases may have specific mechanisms or brackets for mounting fans. Refer to your case’s manual or manufacturer’s instructions to ensure you follow the correct method for mounting the fan.
Congratulations! You have successfully mounted the 120mm top case fan in your computer case. In the next step, we will secure the fan in place to ensure stability and optimal performance.
Step 3: Securing the Fan in Place
Once the 120mm top case fan is mounted, it’s crucial to secure it in place to prevent any vibrations or movement. Follow these steps to ensure the fan stays in position:
- Inspect the screws – Double-check that all screws are tightened securely but avoid overtightening, as it can damage the fan or the case threads. Ensure that the fan is firmly held in place.
- Use rubber or silicone washers (optional) – If your fan includes rubber or silicone washers, position them between the fan and the case. These washers can help absorb vibrations and reduce noise.
- Consider using fan mounts (optional) – Fan mounts, also known as anti-vibration mounts, are flexible rubber or silicone brackets that securely hold the fan in place while dampening vibrations. Attach them to the fan or the case using the provided screws.
- Test the stability – Gently shake the case or tap on the fan to ensure it remains securely fastened. If it wobbles or feels loose, tighten the screws or adjust the mounts until the fan is stable.
Securing the fan is essential to maintain proper airflow and minimize noise. Vibrations can negatively impact the fan’s performance and cause an imbalance in the system. Taking the time to secure the fan will ensure optimal functionality and longevity.
With the fan securely in place, it’s time to move on to the next step—connecting the fan to the motherboard or power supply.
Step 4: Connecting the Fan to the Motherboard
Now that the 120mm top case fan is mounted and secured, the next step is to connect it to the motherboard. This step will ensure the fan receives power and can be controlled for optimal cooling. Follow these instructions:
- Locate the fan header – Look for a 4-pin or 3-pin fan header on your motherboard. These headers are usually labeled “CHA_FAN,” “SYS_FAN,” or something similar. Refer to your motherboard’s manual for the specific location and labeling.
- Connect the fan cable – Take the fan’s connector cable and align it with the fan header pins. Match the pins on the cable with the corresponding pins on the header, ensuring a proper fit.
- Secure the connection – Gently push the fan connector onto the header, ensuring all pins are firmly inserted. Make sure the connection is secure to prevent any accidental disconnections.
Some modern motherboards may have dedicated fan headers that offer additional features, such as PWM (Pulse Width Modulation) control. Refer to your motherboard’s manual or manufacturer’s website to determine the optimal header to use for your fan.
Once connected, you can manage the fan’s performance using your motherboard’s BIOS settings or appropriate software. Adjust the fan speed, monitor temperatures, and fine-tune the fan curve to achieve the ideal balance of cooling and noise levels.
Now that the fan is properly connected to the motherboard, we’re almost done! In the next step, we will test the fan to ensure it’s functioning correctly.
Step 5: Testing the Fan
After the 120mm top case fan is mounted, secured, and connected to the motherboard, it’s time to test its functionality. Follow these steps to ensure the fan is working properly:
- Power on your computer – Plug your computer back into the power source and turn it on.
- Enter the BIOS or use software – Depending on your motherboard, enter the BIOS setup or use appropriate fan control software to monitor and adjust the fan settings.
- Check for fan detection – In the BIOS or software interface, verify that the fan is detected and recognized by the system. It should display the fan speed, temperature readings, and allow you to adjust the fan settings if necessary.
- Listen for noise and vibrations – Pay attention to any strange noises or excessive vibrations coming from the fan. A well-mounted and quality fan should operate quietly and smoothly.
- Monitor temperatures – Monitor the temperatures of your CPU and other components with the fan running. Ensure that the fan provides adequate cooling and keeps the temperatures within acceptable limits.
If everything appears to be functioning correctly, congratulations! You have successfully mounted, secured, and tested your 120mm top case fan. Enjoy the improved airflow and optimal cooling performance it brings to your computer.
However, if you encounter any issues during the test, such as the fan not spinning or abnormal noises, double-check the connections, ensure proper mounting, and review your BIOS or software settings. If the problems persist, consult the fan’s manual or contact the manufacturer for further assistance.
With the fan successfully tested, you have completed the installation process. Take a moment to appreciate your efforts in enhancing your computer’s cooling system.
Conclusion
Mounting a 120mm top case fan is a relatively simple process that can greatly improve your computer’s airflow and cooling performance. By following the steps outlined in this guide, you can ensure a successful installation without any hassle.
We started by preparing the case and creating a clean and unobstructed mounting location for the fan. Then, we walked through the process of securely mounting the fan using screws and optional washers or mounts to minimize vibrations. After that, we connected the fan to the motherboard to provide power and control its settings.
Lastly, we tested the fan’s functionality, checking for proper detection, listening for noise, and monitoring temperatures. With a successful test, you can now enjoy the benefits of improved cooling and system performance.
Remember, every computer case may have slight variations in its mounting method or additional features specific to the case or fan you’re using. Always consult your case and fan manuals for any specific instructions or guidelines that may differ from the general steps provided here.
Installing a 120mm top case fan is a worthwhile investment in keeping your computer running smoothly, efficiently, and quietly. It helps prevent overheating and ensures that your components remain in optimal condition for improved longevity.
We hope this guide has helped you successfully mount a 120mm top case fan in your computer. Enjoy the benefits of improved airflow and cooler temperatures in your system!


