Introduction
Discord is a popular communication platform that allows users to create and manage their own servers for various communities. Within these servers, administrators have the ability to control and customize the settings and permissions for different users. Being an admin on Discord comes with certain responsibilities and privileges, such as managing channels, controlling member permissions, and ensuring that the server runs smoothly.
If you’re a server owner or an existing admin, you may find the need to grant someone else administrative permissions. This can be for a variety of reasons, such as sharing the workload, expanding your team, or recognizing a trusted member within your community. In this article, we’ll walk you through the steps on how to make someone an admin on Discord.
Please note that only server owners and administrators have the ability to grant administrative permissions. If you don’t already have these permissions, you won’t be able to perform the steps outlined in this guide.
Now, let’s dive into the process of making someone an admin on Discord and explore the various steps involved. By the end of this article, you’ll have a solid grasp of how to effectively assign administrative roles to deserving individuals within your Discord server.
Step 1: Open Discord
The first step in making someone an admin on Discord is to open the Discord application on your computer or launch the Discord website in your preferred web browser. Ensure that you are logged into your Discord account with the appropriate credentials.
If you haven’t installed the Discord application on your computer, you can download it from the official Discord website. Simply follow the instructions provided and complete the installation process.
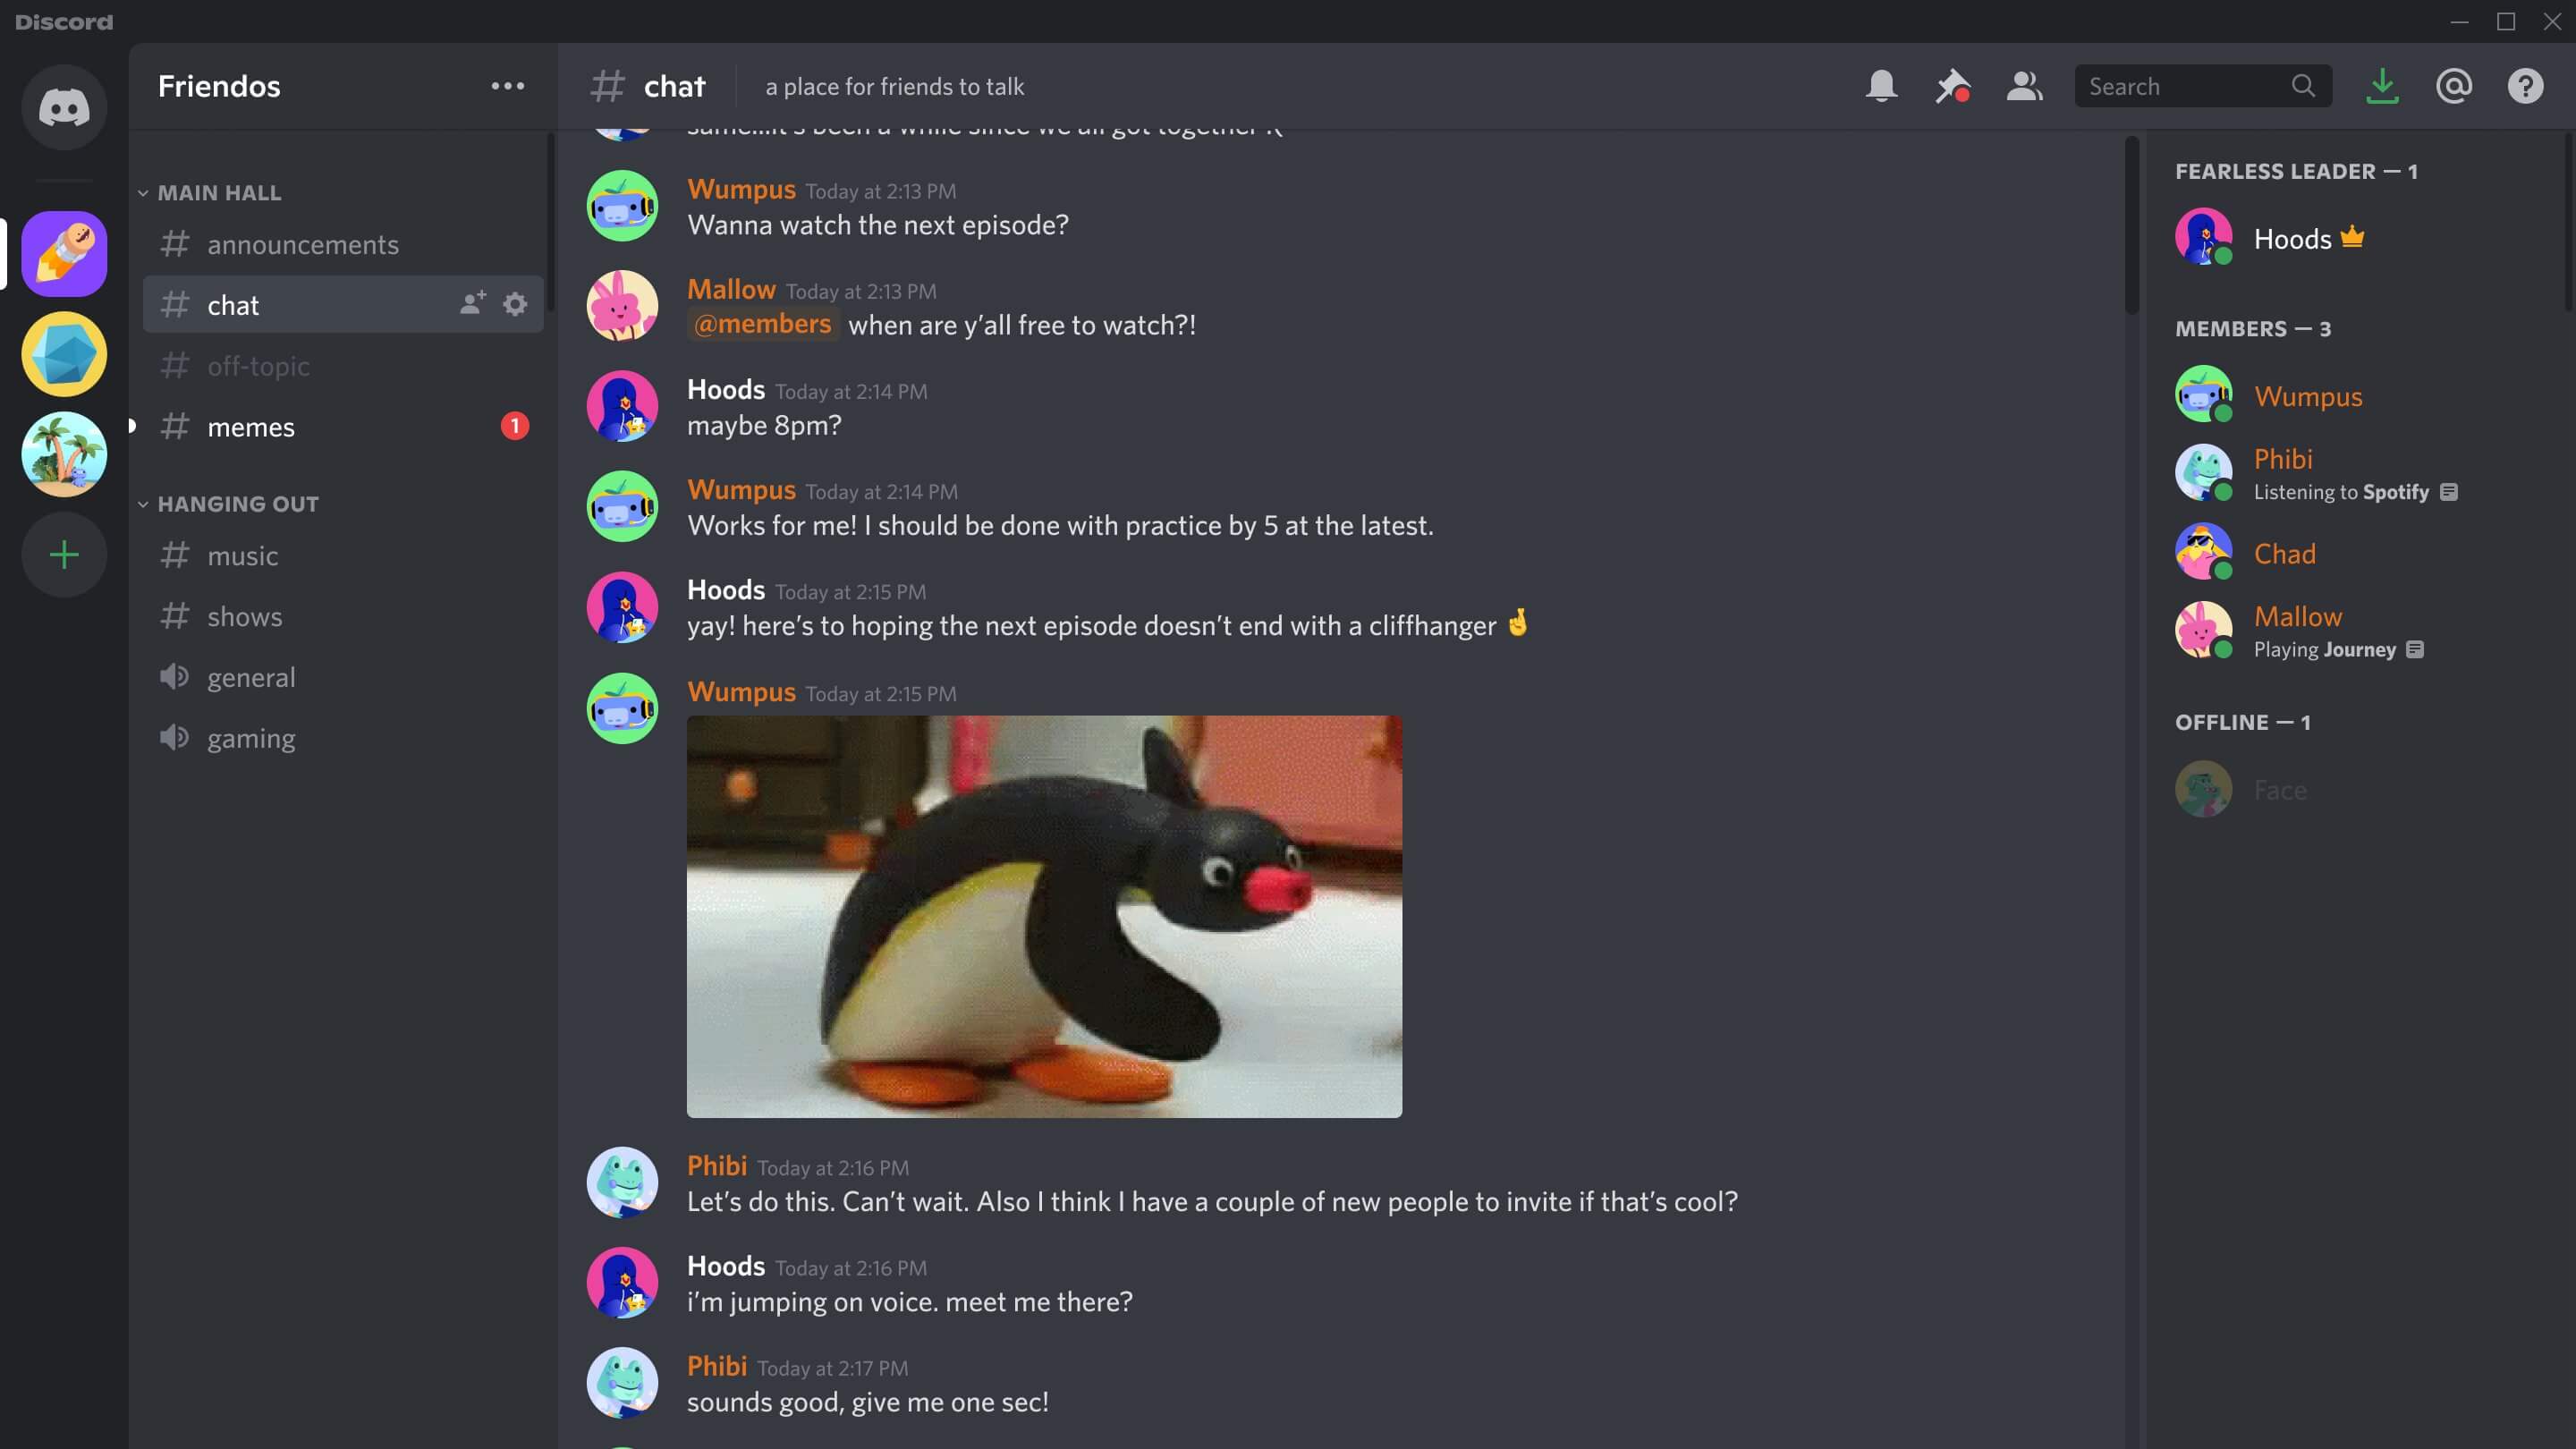
Once you have launched Discord, you will be greeted with the Discord home screen. This screen displays all the servers that you are a member of, as well as any private messages or group chats you may have. Take a moment to familiarize yourself with the various features and options available in the Discord interface.
If you are using the Discord website, simply visit the website and login using your Discord credentials. The website interface closely resembles the Discord application, so you will be able to follow the steps outlined in this guide regardless of whether you are using the application or the website.
Now that you have Discord open and are logged into your account, you are ready to proceed to the next step.
Step 2: Select the Server
After opening Discord, the next step in making someone an admin is to select the server where you want to grant administrative permissions. Discord allows users to be part of multiple servers, so it’s important to choose the correct one.
Take a look at the left-hand panel of the Discord interface. Here, you will see a list of servers that you are a member of. Each server is represented by an icon or thumbnail, along with the server’s name. Simply click on the server’s name to select it.
If you are a part of many servers, you can use the search bar located at the top of the left-hand panel to quickly find the desired server. Type in the name of the server you wish to select, and Discord will filter the results accordingly.
Once you have selected the desired server, you will be redirected to the server’s homepage. Here, you can interact with other members, join different channels, and access various server settings.
If you are unsure about the name or icon of the server you want to select, you can also hover over each server icon in the left-hand panel to view a tooltip that displays the server’s name. This can be helpful if you have difficulty identifying a particular server at a glance.
Now that you have selected the server where you want to assign administrative permissions, you can proceed to the next step.
Step 3: Open Server Settings
Now that you have selected the server where you want to make someone an admin, it’s time to open the server settings. These settings allow you to customize various aspects of the server, including roles, permissions, channels, and more.
To access the server settings, look for the server’s name at the top-left corner of the Discord interface. Next to the server’s name, you will find a small downward-facing arrow. Click on this arrow to reveal a dropdown menu.
In the dropdown menu, you will see a list of options. Look for and select the “Server Settings” option. This will take you to the server settings page, where you can make changes to the server’s configuration.
If you have administrative permissions, you will be able to view and modify various settings on this page. Take a moment to familiarize yourself with the different options and tabs available. Here, you can adjust server information, member roles, permissions, and manage other server-specific settings.
It’s important to note that only server owners and administrators have access to the server settings. If you don’t have the necessary permissions, you won’t be able to proceed with the following steps.
Once you have opened the server settings page, you are now ready to move on to the next step and navigate to the roles section.
Step 4: Navigate to Roles
After opening the server settings, the next step in making someone an admin is to navigate to the roles section. Roles in Discord allow you to assign different permissions to users, giving them certain privileges and responsibilities within the server.
In the server settings page, you will find a list of tabs on the left-hand side. Look for and click on the “Roles” tab. This will take you to the roles section where you can manage and create new roles for your server.
Within the roles section, you will see a list of existing roles that are already set up in your server. Each role is represented by a name and an associated set of permissions. These roles can be assigned to different members based on their responsibilities and privileges within the community.
Roles in Discord have a hierarchical structure, with higher roles having more permissions than lower roles. The default roles typically include “@everyone” and may also include other roles such as moderators, admins, and more.
Take a moment to review the existing roles and familiarize yourself with their permissions. This will help you determine the appropriate role to assign to the user you want to make an admin.
Additionally, within the roles section, you have the ability to create new roles by clicking on the “Add Role” button or customize the permissions of existing roles. This allows you to tailor roles to the specific needs and responsibilities of your server.
Once you are in the roles section and have an understanding of the existing roles, you are ready to move on to the next step and create a new role.
Step 5: Create a New Role
After navigating to the roles section, the next step in making someone an admin on Discord is to create a new role. This new role will be specifically assigned to the user you want to grant administrative permissions.
To create a new role, look for the “Add Role” button within the roles section and click on it. This will open a dialog box where you can define the name, color, and permissions of the role.
First, enter a name for the role. It is recommended to choose a descriptive name that indicates its purpose or the responsibilities it entails. For example, you can name it “Admin” or “Moderator” to signify that it is an administrative role.
Next, you can choose a color for the role. Discord offers a variety of colors to choose from, which can help visually distinguish the role within the member list and chat interface. Choose a color that aligns with your server’s theme or preferences.
Now comes an important part – setting the permissions for the role. Click on the checkboxes next to the desired permissions to grant those specific abilities to users assigned with this role. These permissions can include managing channels, deleting messages, kicking or banning members, and more.
It’s crucial to carefully consider and assign the appropriate permissions to the administrative role. Ensure that the user you are granting this role to has the necessary responsibilities and trustworthiness to handle these permissions.
Once you have defined the name, color, and permissions for the new role, click on the “Save” or “Create” button to create the role. Congratulations! You have successfully created the new role that will be used to make someone an admin on Discord.
In the next step, we will explore how to customize the permissions of the newly created role to specifically grant administrative privileges.
Step 6: Customize Permissions
Now that you have created the new role, the next step is to customize its permissions to grant administrative privileges. This will ensure that the user assigned with this role has the necessary abilities to perform administrative tasks within the Discord server.
To customize the permissions of the newly created role, locate the role within the roles section of the server settings page. You can identify it by the name and color you assigned earlier.
Click on the role to access its settings and permissions. Here, you will see a list of checkboxes corresponding to different permissions that can be granted to the role.
It’s important to carefully select the permissions that align with the administrative responsibilities you want to assign to the user. These permissions may include managing channels, editing server settings, creating and deleting roles, and more.
Consider the specific needs and requirements of your server when customizing the permissions. You may want to confer with existing admins or server owners to ensure that the assigned permissions are appropriate.
If you are unsure about the impact of a particular permission, you can hover over the information icon or refer to Discord’s documentation for more details on each permission.
Once you have reviewed and adjusted the permissions accordingly, be sure to save the changes. This will apply the customized permissions to the newly created role.
It’s important to periodically review and update the permissions of admin roles to maintain the security and proper functioning of the server. Additionally, remember that the permissions you assign can have a significant impact on the server’s dynamics and member interactions.
With the customized permissions in place, you are now ready to proceed to the final step and assign the admin role to the user you want to make an admin.
Step 7: Assign Admin Role to User
You’ve reached the final step in making someone an admin on Discord – assigning the admin role to the chosen user. This step will grant them the administrative permissions necessary to fulfill their responsibilities within the server.
To assign the admin role to a user, return to the server settings page and navigate to the “Members” or “Members List” section. Here, you will find a list of all the members currently in the server.
Look for the user you want to make an admin and locate their name within the member list. Hover over their name to reveal a small menu of options.
Click on the “Roles” or “Assign Roles” option to access the role selection menu for that user. This menu will display a list of all the available roles within the server, including the admin role you created earlier.
Select the admin role from the list by clicking on the checkbox next to its name. This will assign the role to the selected user, granting them the administrative permissions associated with that role.
Once you have assigned the admin role to the user, they will immediately gain the prescribed permissions. They will now have the ability to perform administrative tasks and manage the server according to the permissions you have set for the admin role.
It’s important to remind the newly assigned admin about their responsibilities and the appropriate use of their permissions. They should be aware of the impact their actions can have on the server and its members.
Remember that having multiple admins can distribute the workload and provide better server management. However, it’s essential to ensure that everyone is on the same page and working together harmoniously to create a positive and inclusive community environment.
With the admin role successfully assigned to the user, they can now start fulfilling their duties and contributing to the growth and success of the Discord server.
Conclusion
In conclusion, making someone an admin on Discord involves a series of steps that enable you to assign administrative permissions and responsibilities to trusted individuals within your server. By following the steps outlined in this guide, you can ensure a smooth and efficient process.
Starting with opening Discord and selecting the desired server, you can then access the server settings and navigate to the roles section. Here, you have the option to create a new role specifically for administrative purposes.
After creating the role, it’s important to customize its permissions to align with the administrative tasks you want to assign. Take the time to carefully choose and adjust the permissions to ensure a balance between control and member collaboration.
Finally, you can assign the admin role to the selected user by accessing the member list and assigning the role through the roles menu. This will grant them the necessary permissions to perform their administrative duties.
Remember, being an admin comes with certain responsibilities. It’s crucial to maintain open communication with your team and establish guidelines for the appropriate use of permissions. Regularly reviewing and updating roles and permissions will help ensure the smooth operation of your Discord server.
By making someone an admin, you not only empower them to contribute to server management, but you also create a sense of trust, ownership, and community involvement. Collaborative efforts among admins can lead to a thriving and engaged community within your Discord server.
So, take the initiative to make someone an admin and see how their contributions can help elevate your Discord server to new heights of success.


