Introduction
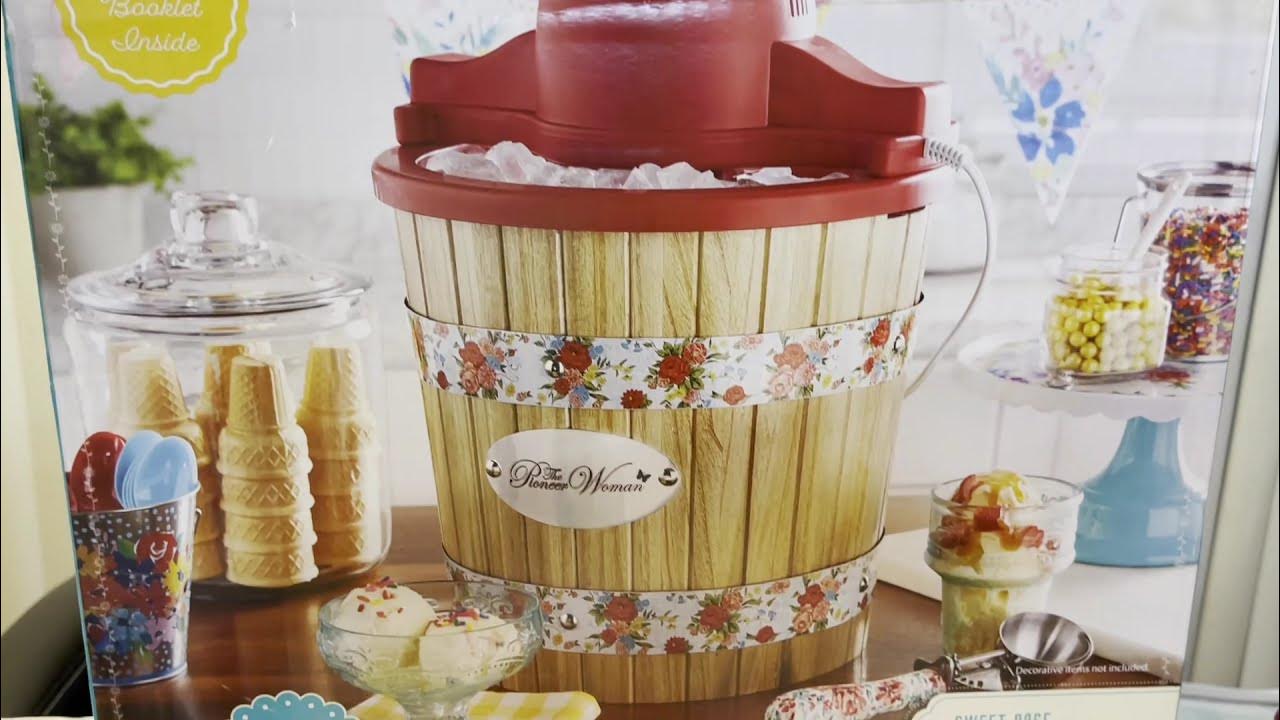
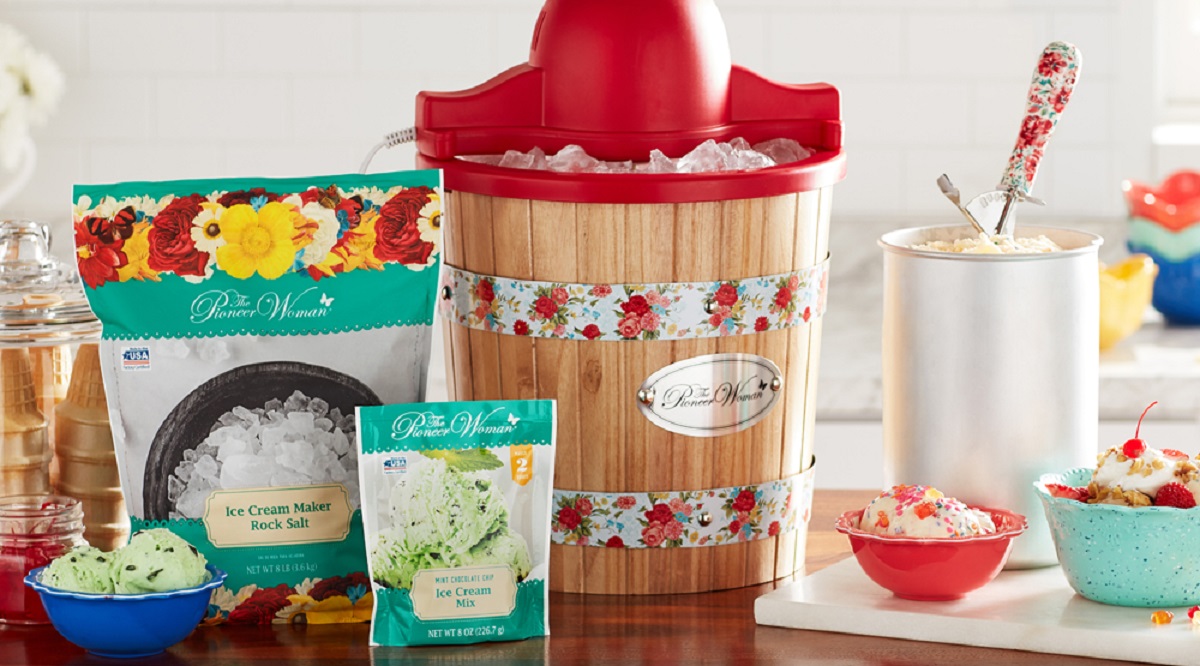
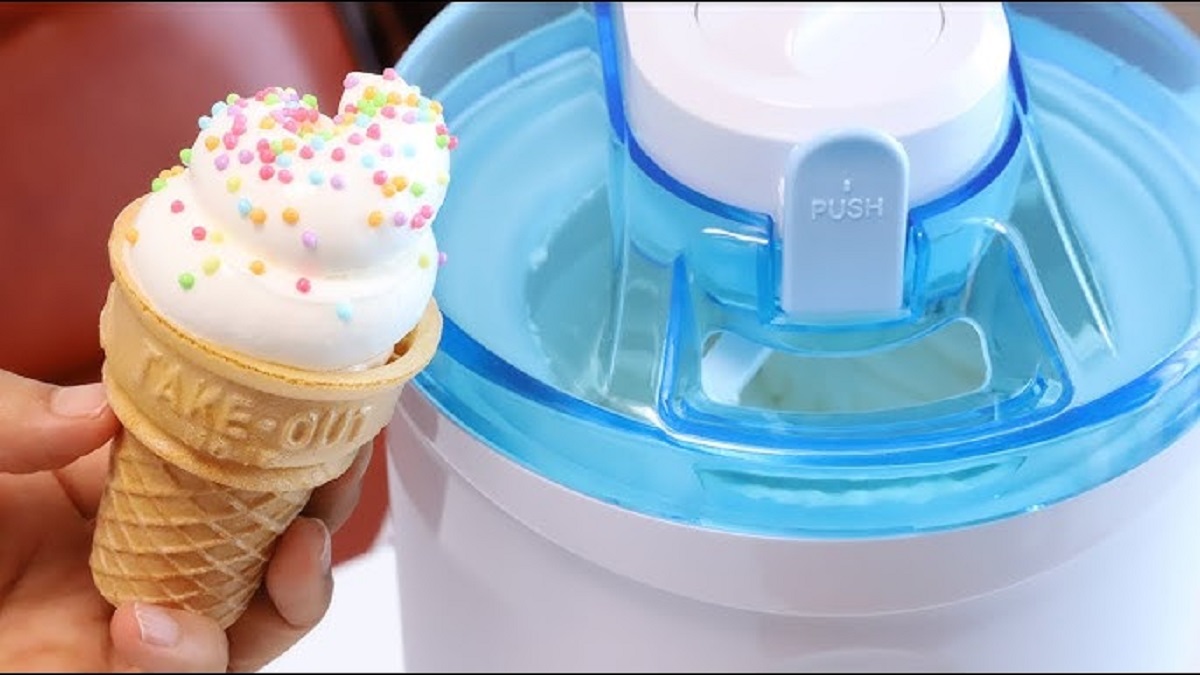
Welcome to the wonderful world of homemade ice cream! There’s nothing quite like the creamy, sweet goodness of a bowl of freshly-made ice cream on a hot summer day. If you’re ready to take your ice cream game to the next level, then the Pioneer Woman Ice Cream Maker is the perfect tool for you. This handy machine allows you to easily whip up your favorite flavors and experiment with exciting mix-ins.
The Pioneer Woman Ice Cream Maker is a must-have appliance for any ice cream lover. Its user-friendly design and efficient churning mechanism make it a breeze to create delicious frozen treats right in your own kitchen. Whether you’re hosting a summer BBQ, planning a family gathering, or simply craving a late-night indulgence, this ice cream maker will quickly become your new go-to gadget.
With its compact size and attractive retro-inspired design, the Pioneer Woman Ice Cream Maker not only churns out amazing ice cream but also adds a touch of charm to any kitchen countertop. So, put on your apron, gather your ingredients, and get ready to embark on a delightful journey of ice cream making.
In this comprehensive guide, we will walk you through all the steps to creating your own homemade ice cream using the Pioneer Woman Ice Cream Maker. From assembling and churning the mixture to adding fun mix-ins and storing the finished product, we’ll cover everything you need to know to create your own ice cream masterpiece.
So, without further ado, let’s dive into the world of creamy, dreamy ice cream and discover how to make the most out of your Pioneer Woman Ice Cream Maker!
Equipment Needed
Before you embark on your ice cream-making adventure, it’s important to gather all the necessary equipment. Here’s a list of items you’ll need to ensure a smooth and successful process:
- Pioneer Woman Ice Cream Maker: The star of the show, this appliance consists of a motor base, a freezer bowl, a mixing paddle, and a transparent lid. Make sure all the components are clean and in good working condition.
- Freezer space: The freezer bowl of the ice cream maker needs to be frozen before use, so ensure you have enough space in your freezer to accommodate it.
- Measuring cups and spoons: Accurate measurements are crucial in ice cream making, so have measuring cups and spoons on hand for both liquid and dry ingredients.
- Mixing bowls: You’ll need a few mixing bowls of different sizes to prepare and store the ice cream mixture.
- Whisk or hand mixer: A whisk or hand mixer will come in handy to combine the ingredients and ensure a smooth ice cream base.
- Spatula: A rubber spatula will help you scrape down the sides of the bowl and ensure all the ingredients are well incorporated.
- Funnel: If you plan to add mix-ins or flavorings to your ice cream, a funnel will make it easier to pour them into the machine during the churning process.
- Ice cream containers: Once your ice cream is done, you’ll need containers to store it in the freezer. Opt for airtight containers to keep your ice cream fresh and prevent freezer burn.
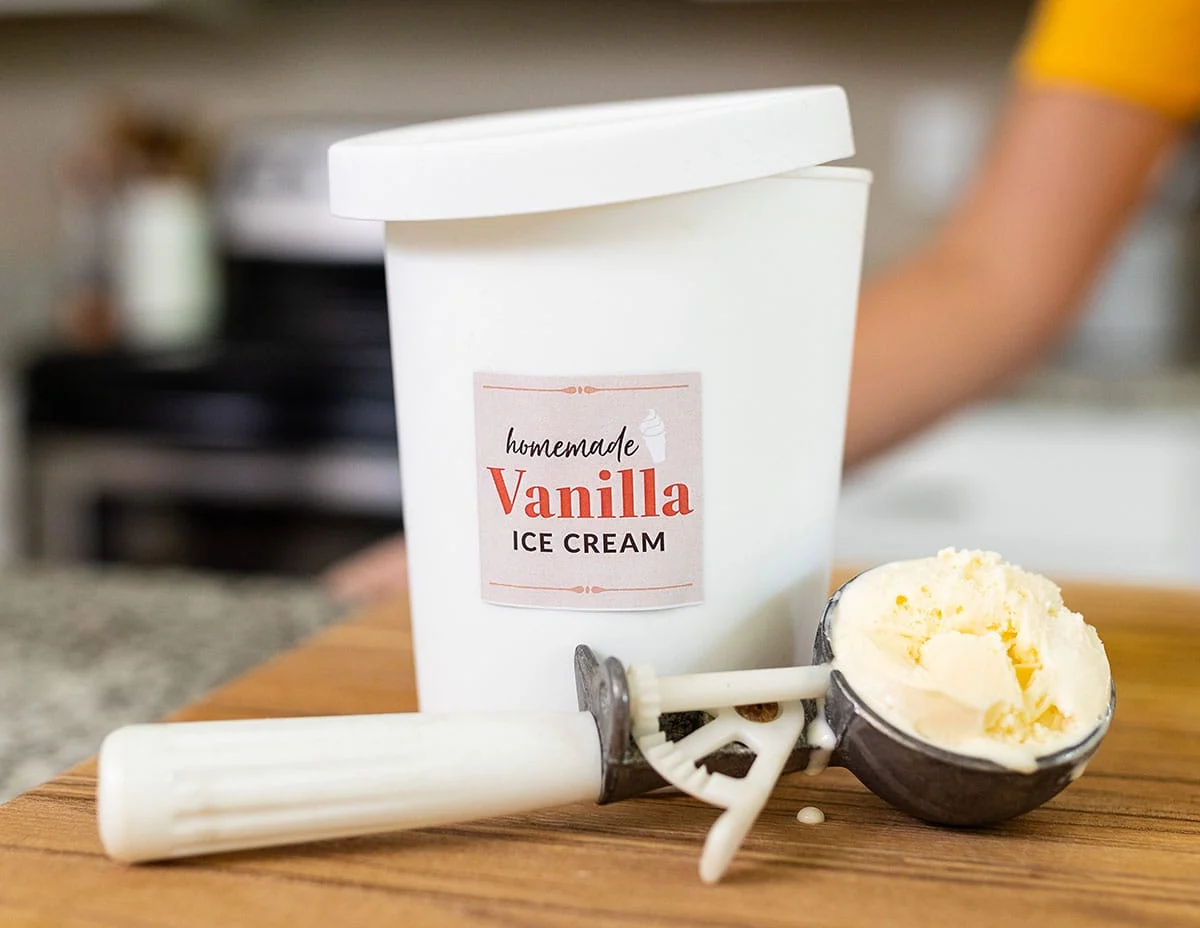
- Ice cream scoop: Finally, don’t forget to have an ice cream scoop on hand for serving up luscious scoops of your homemade creation!
By gathering these essential items before you begin, you’ll ensure that your ice cream-making experience is both efficient and enjoyable. So, take a quick inventory of your kitchen supplies, tick off the items on the list, and get ready to whip up some delicious homemade ice cream with the Pioneer Woman Ice Cream Maker!
Ingredients Required
Now that you have all the necessary equipment ready, it’s time to gather the ingredients for your homemade ice cream. The beauty of making your own ice cream is that you have complete control over the flavors and can customize them to suit your preferences. Here are the basic ingredients you’ll need to get started:
- Heavy cream: This forms the base of your ice cream and gives it its rich and creamy texture. Look for heavy cream with a high fat content for the best results.
- Whole milk: Adding whole milk helps to balance the richness of the cream and create a smooth consistency in the ice cream.
- Sugar: Choose granulated sugar or caster sugar to sweeten your ice cream. The amount of sugar you use can be adjusted based on your desired level of sweetness.
- Egg yolks: Adding egg yolks helps to stabilize the ice cream and give it a luxurious, custard-like texture.
- Vanilla extract: A splash of vanilla extract enhances the flavor of your ice cream and adds a delightful aroma.
- Salt: A pinch of salt helps to balance the sweetness and enhance the overall flavor profile.
These are the basic ingredients for a classic vanilla ice cream. However, feel free to experiment with different flavors and add exciting mix-ins like chocolate chips, crushed cookies, fruit puree, or nuts to create your own unique creations.
It’s important to note that some recipes may call for additional ingredients depending on the flavor you’re aiming for. For example, if you’re making a chocolate-based ice cream, you’ll need cocoa powder or melted chocolate. If you’re going for a fruit-flavored ice cream, you’ll need fresh or frozen fruits and possibly some citrus juice.
Ultimately, the ingredients you choose will depend on your personal taste preferences and the flavor combinations you want to explore. So, grab your shopping list, head to the grocery store, and gather all the ingredients you need to make your very own delectable homemade ice cream!
Preparing the Mixture
Now that you have your ingredients ready, it’s time to start preparing the ice cream mixture. This step is crucial as it sets the foundation for the flavor and texture of your homemade ice cream. Here’s how to do it:
- Begin by combining the heavy cream and whole milk in a saucepan over medium heat. Stir occasionally to prevent scorching, and heat the mixture until it starts to steam. Do not let it boil.
- In a separate bowl, whisk together the egg yolks and sugar until they are well combined. This step helps to create a smooth and creamy custard base.
- Slowly pour a small amount of the warm milk mixture into the egg yolk mixture while continuously whisking. This process, known as tempering, prevents the eggs from curdling. Gradually add the rest of the milk mixture, whisking until well combined.
- Return the combined mixture to the saucepan and cook over low heat, stirring constantly, until it thickens slightly. The mixture should be thick enough to coat the back of a spoon.
- Remove the saucepan from the heat and stir in the vanilla extract and a pinch of salt. This adds depth of flavor to your ice cream and enhances its overall taste.
- Transfer the mixture to a bowl and cover it with plastic wrap, making sure the plastic wrap touches the surface of the mixture. This prevents a skin from forming on the custard as it cools. Let the mixture cool to room temperature.
- Once cooled, refrigerate the mixture for at least 4 hours, or until it is completely chilled. Chilling the mixture helps the flavors meld together and allows for a smoother freezing process in the ice cream maker.
During the chilling process, you can take this time to prepare any additional mix-ins or flavorings you plan to add to your ice cream. Chop up chocolate, toast nuts, or puree fruits to have them ready for the next step.
By following these steps, you’ll create a luscious ice cream base that is ready to be transformed into your favorite frozen treat. So, take your time, infuse love into your mixture, and get excited for the next step: churning the ice cream using the Pioneer Woman Ice Cream Maker!
Assembling the Pioneer Woman Ice Cream Maker
With your ice cream mixture chilled and ready, it’s time to assemble the Pioneer Woman Ice Cream Maker and get ready to churn your homemade treat. Follow these simple steps to ensure a smooth setup:
- Take the frozen freezer bowl out of the freezer and place it onto the motor base of the ice cream maker. Ensure that the bowl is securely and properly aligned with the base.
- Insert the mixing paddle into the bowl. The paddle should fit snugly into the opening in the center of the bowl, ensuring that it can freely rotate during the churning process.
- Place the transparent lid on top of the ice cream maker, making sure it is securely in place. The lid allows you to monitor the churning process and prevent any potential spills.
Once you’ve assembled the Pioneer Woman Ice Cream Maker, it’s time to move on to the exciting part – churning your ice cream!
Remember to always consult the instruction manual that comes with your specific model of the Pioneer Woman Ice Cream Maker for any specific assembly instructions.
Now that your ice cream maker is assembled, you’re one step closer to enjoying homemade ice cream. Prepare yourself for the delightful experience of watching your mixture transform into a creamy, frozen dessert as the Pioneer Woman Ice Cream Maker does its magic!
Churning the Ice Cream
Now that your Pioneer Woman Ice Cream Maker is assembled and ready, it’s time to start churning your ice cream! This step is where the magic happens and your mixture transforms into a delicious creamy treat. Follow these steps to churn your ice cream to perfection:
- Ensure that the freezer bowl of your ice cream maker is frozen solid. It’s recommended to freeze the bowl for at least 24 hours prior to churning to ensure optimal results.
- Take your chilled ice cream mixture out of the refrigerator and give it a good stir to make sure it is well blended.
- With the motor running, pour the ice cream mixture into the freezer bowl of the Pioneer Woman Ice Cream Maker through the opening in the lid.
- Allow the ice cream maker to churn the mixture for the recommended amount of time, usually around 20-30 minutes. The exact time may vary depending on your model and the consistency you desire.
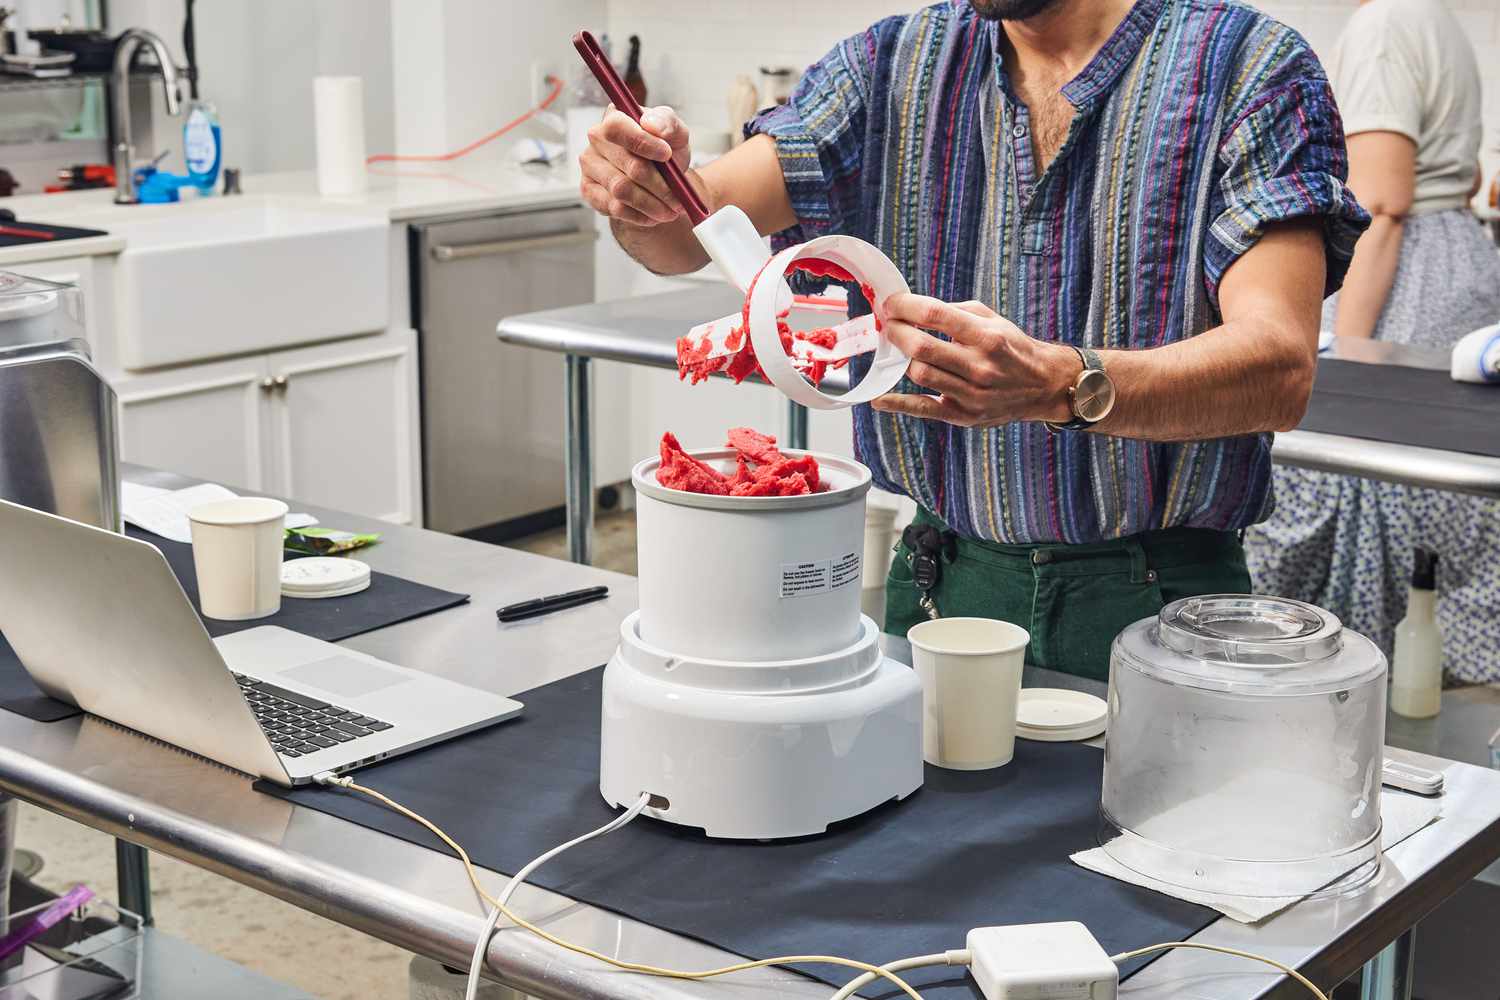
- As the mixture churns, you’ll start to notice it thickening and freezing around the edges of the bowl. Use a spatula to scrape down the sides and incorporate any frozen bits back into the mixture. This helps to ensure a smooth and creamy texture.
- Continue churning until the ice cream reaches your desired consistency. It should be thick, creamy, and hold its shape. Avoid over-churning, as it can result in a grainy texture.
While the ice cream churns, you are welcome to add any desired mix-ins, such as chocolate chips, crushed cookies, or fruit puree. Add them gradually into the ice cream maker during the last few minutes of churning.
Once you’ve achieved the desired consistency and mix-ins are incorporated, it’s time to taste-test a spoonful of your freshly churned ice cream. Revel in the smooth texture and savor the burst of flavors that your homemade creation has to offer.
Remember that the churning time and process may vary depending on your specific model of the Pioneer Woman Ice Cream Maker, so be sure to refer to the instruction manual for any model-specific guidelines.
Now that your ice cream is churned to perfection, it’s time to move on to the next step – adding any additional mix-ins or flavors if desired.
Adding Mix-Ins (Optional)
Adding mix-ins to your homemade ice cream can take it to a whole new level of deliciousness and personalization. This step allows you to customize your ice cream with your favorite flavors and textures. Here’s how to incorporate mix-ins into your churned ice cream:
- If you haven’t already, prepare your desired mix-ins. This could include anything from chocolate chunks and cookie crumbs to fresh fruit or nuts. Chop or crush the mix-ins into small, bite-sized pieces for even distribution throughout the ice cream.
- Once your ice cream has reached the desired consistency during the churning process, it’s time to add the mix-ins. With the motor still running, gradually add the mix-ins through the opening in the lid of the ice cream maker.
- Be careful not to overload the ice cream with mix-ins, as it can affect the freezing and consistency of the final product. Add the mix-ins a little at a time, allowing the ice cream maker to distribute them evenly.
- Use a spatula to gently fold the mix-ins into the ice cream, ensuring they are well incorporated without overmixing and deflating the ice cream.
- Continue churning for a couple more minutes to ensure the mix-ins are evenly distributed. This will give your ice cream a delightful medley of flavors and textures.
Remember that the addition of mix-ins is optional and entirely based on your preferences. Get creative and experiment with different combinations to create your own signature ice cream flavors. The possibilities are endless!
Once you’ve added the mix-ins, your ice cream is almost ready to enjoy. All that’s left to do is transfer it to a suitable container and give it a proper setting in the freezer.
Now that you’ve added your favorite mix-ins, get ready to indulge in a creamy and delicious homemade ice cream experience. The next step is to properly store and serve your frozen creation.
Storing and Serving the Ice Cream
Now that you’ve churned your homemade ice cream with the Pioneer Woman Ice Cream Maker, it’s time to store it and get ready to indulge in a delightful frozen treat. Follow these steps to ensure your ice cream stays fresh and is served just right:
- Transfer the churned ice cream into an airtight container. Choose a container that is freezer-safe and has a lid to prevent the formation of ice crystals and to keep the ice cream from absorbing any unwanted flavors from the freezer.
- Smooth out the top of the ice cream using a spatula or the back of a spoon. This helps to create an even surface and prevents any air pockets from forming.
- Place a sheet of plastic wrap directly on the surface of the ice cream before securing the lid. This extra layer of protection helps to prevent freezer burn and maintain the ice cream’s creamy texture.
- Label the container with the flavor and date of preparation. This will help you keep track of your ice cream creations and ensure you enjoy them at their best quality.
- Store the ice cream in the coldest part of your freezer, preferably at a temperature of -18°C (-0°F) or lower. This ensures that the ice cream remains solid, smooth, and delicious.
- Allow the ice cream to freeze for at least 4 hours, or until it is firm enough to scoop. This resting time allows the flavors to develop and the ice cream to set properly.
- When it’s time to serve the ice cream, remove it from the freezer and let it sit at room temperature for a few minutes to soften slightly. This makes scooping easier and allows the flavors to fully blossom.
- Use an ice cream scoop to portion out generous and enticing scoops of your homemade creation into bowls, cones, or dishes. Garnish with your favorite toppings, such as chocolate sauce, fresh fruit, or sprinkles, for an extra touch of indulgence.
Enjoy your homemade ice cream immediately or savor it slowly, savoring each delightful bite. Remember, homemade ice cream is best enjoyed within a few weeks of preparation for optimal taste and texture.
Now that you know how to store and serve your homemade ice cream, it’s time to dig in and relish the fruits of your labor. So go ahead, treat yourself to a scoop (or two!) of your delicious creation.
Troubleshooting Tips
While making homemade ice cream with the Pioneer Woman Ice Cream Maker is a fun and satisfying process, it’s not uncommon to encounter a few hiccups along the way. Don’t worry! We’ve got you covered with some troubleshooting tips to help you overcome common challenges and ensure delicious results:
- If your ice cream mixture doesn’t thicken during the cooking process, double-check the temperature of your stove. The mixture should reach a gentle simmer but should not boil. Adjust the heat accordingly to achieve the desired consistency.
- If your ice cream turns out icy or grainy, it could be due to a few factors. Make sure you’re using the correct ratio of ingredients, particularly the fat content in the cream. Additionally, ensure that the ice cream mixture is properly chilled before churning. If possible, leave it in the fridge for an extra hour or two to ensure it is thoroughly cooled.
- If your ice cream melts quickly or does not hold its shape well, it may be due to insufficient churning time. Ensure that you follow the recommended churning time specified in the recipe or the Pioneer Woman Ice Cream Maker manual.
- If your ice cream comes out too soft, it is likely due to inadequate freezing time in the freezer after churning. Allow the ice cream to freeze for a longer period to achieve the desired consistency. Alternatively, you can transfer the churned ice cream into a shallow dish to increase the surface area and aid in the freezing process.
- If your ice cream develops ice crystals, it may be due to insufficient mixing during the churning process or improper storage. Be sure to thoroughly mix the ice cream mixture before churning and store it in an airtight container with a layer of plastic wrap pressed against the surface of the ice cream to prevent ice crystals from forming.
- If you’re having trouble removing the frozen ice cream from the freezer bowl, allow the bowl to sit at room temperature for a few minutes to slightly soften. Then use a rubber spatula to gently loosen the ice cream from the sides before transferring it to a storage container.
Remember, practice makes perfect, and don’t be discouraged if your first few attempts don’t turn out exactly as planned. Adjustments, experimentation, and learning from each experience will help you master the art of making homemade ice cream with the Pioneer Woman Ice Cream Maker.
Now armed with these troubleshooting tips, you’re ready to tackle any challenges that may arise and continue your journey towards creating mouthwatering homemade ice cream.
Conclusion
Congratulations on becoming a homemade ice cream aficionado with the Pioneer Woman Ice Cream Maker! With this handy appliance, you have the power to create endless flavors and combinations of delicious frozen treats right in your own kitchen.
In this guide, we’ve covered everything from the essential equipment and ingredients needed to the step-by-step process of making homemade ice cream. Remember to always refer to the instruction manual that accompanies your specific model of the Pioneer Woman Ice Cream Maker for any model-specific guidelines or tips.
Whether you’re craving a classic vanilla, a decadent chocolate, or a refreshing fruit flavor, your ice cream-making adventures are bound to be filled with excitement and creativity. Don’t be afraid to experiment with different mix-ins, flavors, and techniques to create your own signature creations.
As you embark on this delightful journey, keep in mind the importance of patience and attention to detail. Take pride in each batch of ice cream you create, and don’t be discouraged by any challenges you may encounter along the way. Learning from each experience will only make you a better ice cream maker.
Now, armed with your newfound knowledge, tools, and creativity, it’s time to unleash your inner ice cream maestro and delight family and friends with the sensational flavors and textures that only homemade ice cream can provide.
So go ahead, gather your ingredients, assemble your Pioneer Woman Ice Cream Maker, and let your culinary instincts guide you on a delicious, frozen adventure that will leave everyone wanting more of your homemade ice cream creations.
Get ready to scoop up the magic of homemade ice cream and savor every delightful bite!


