Introduction
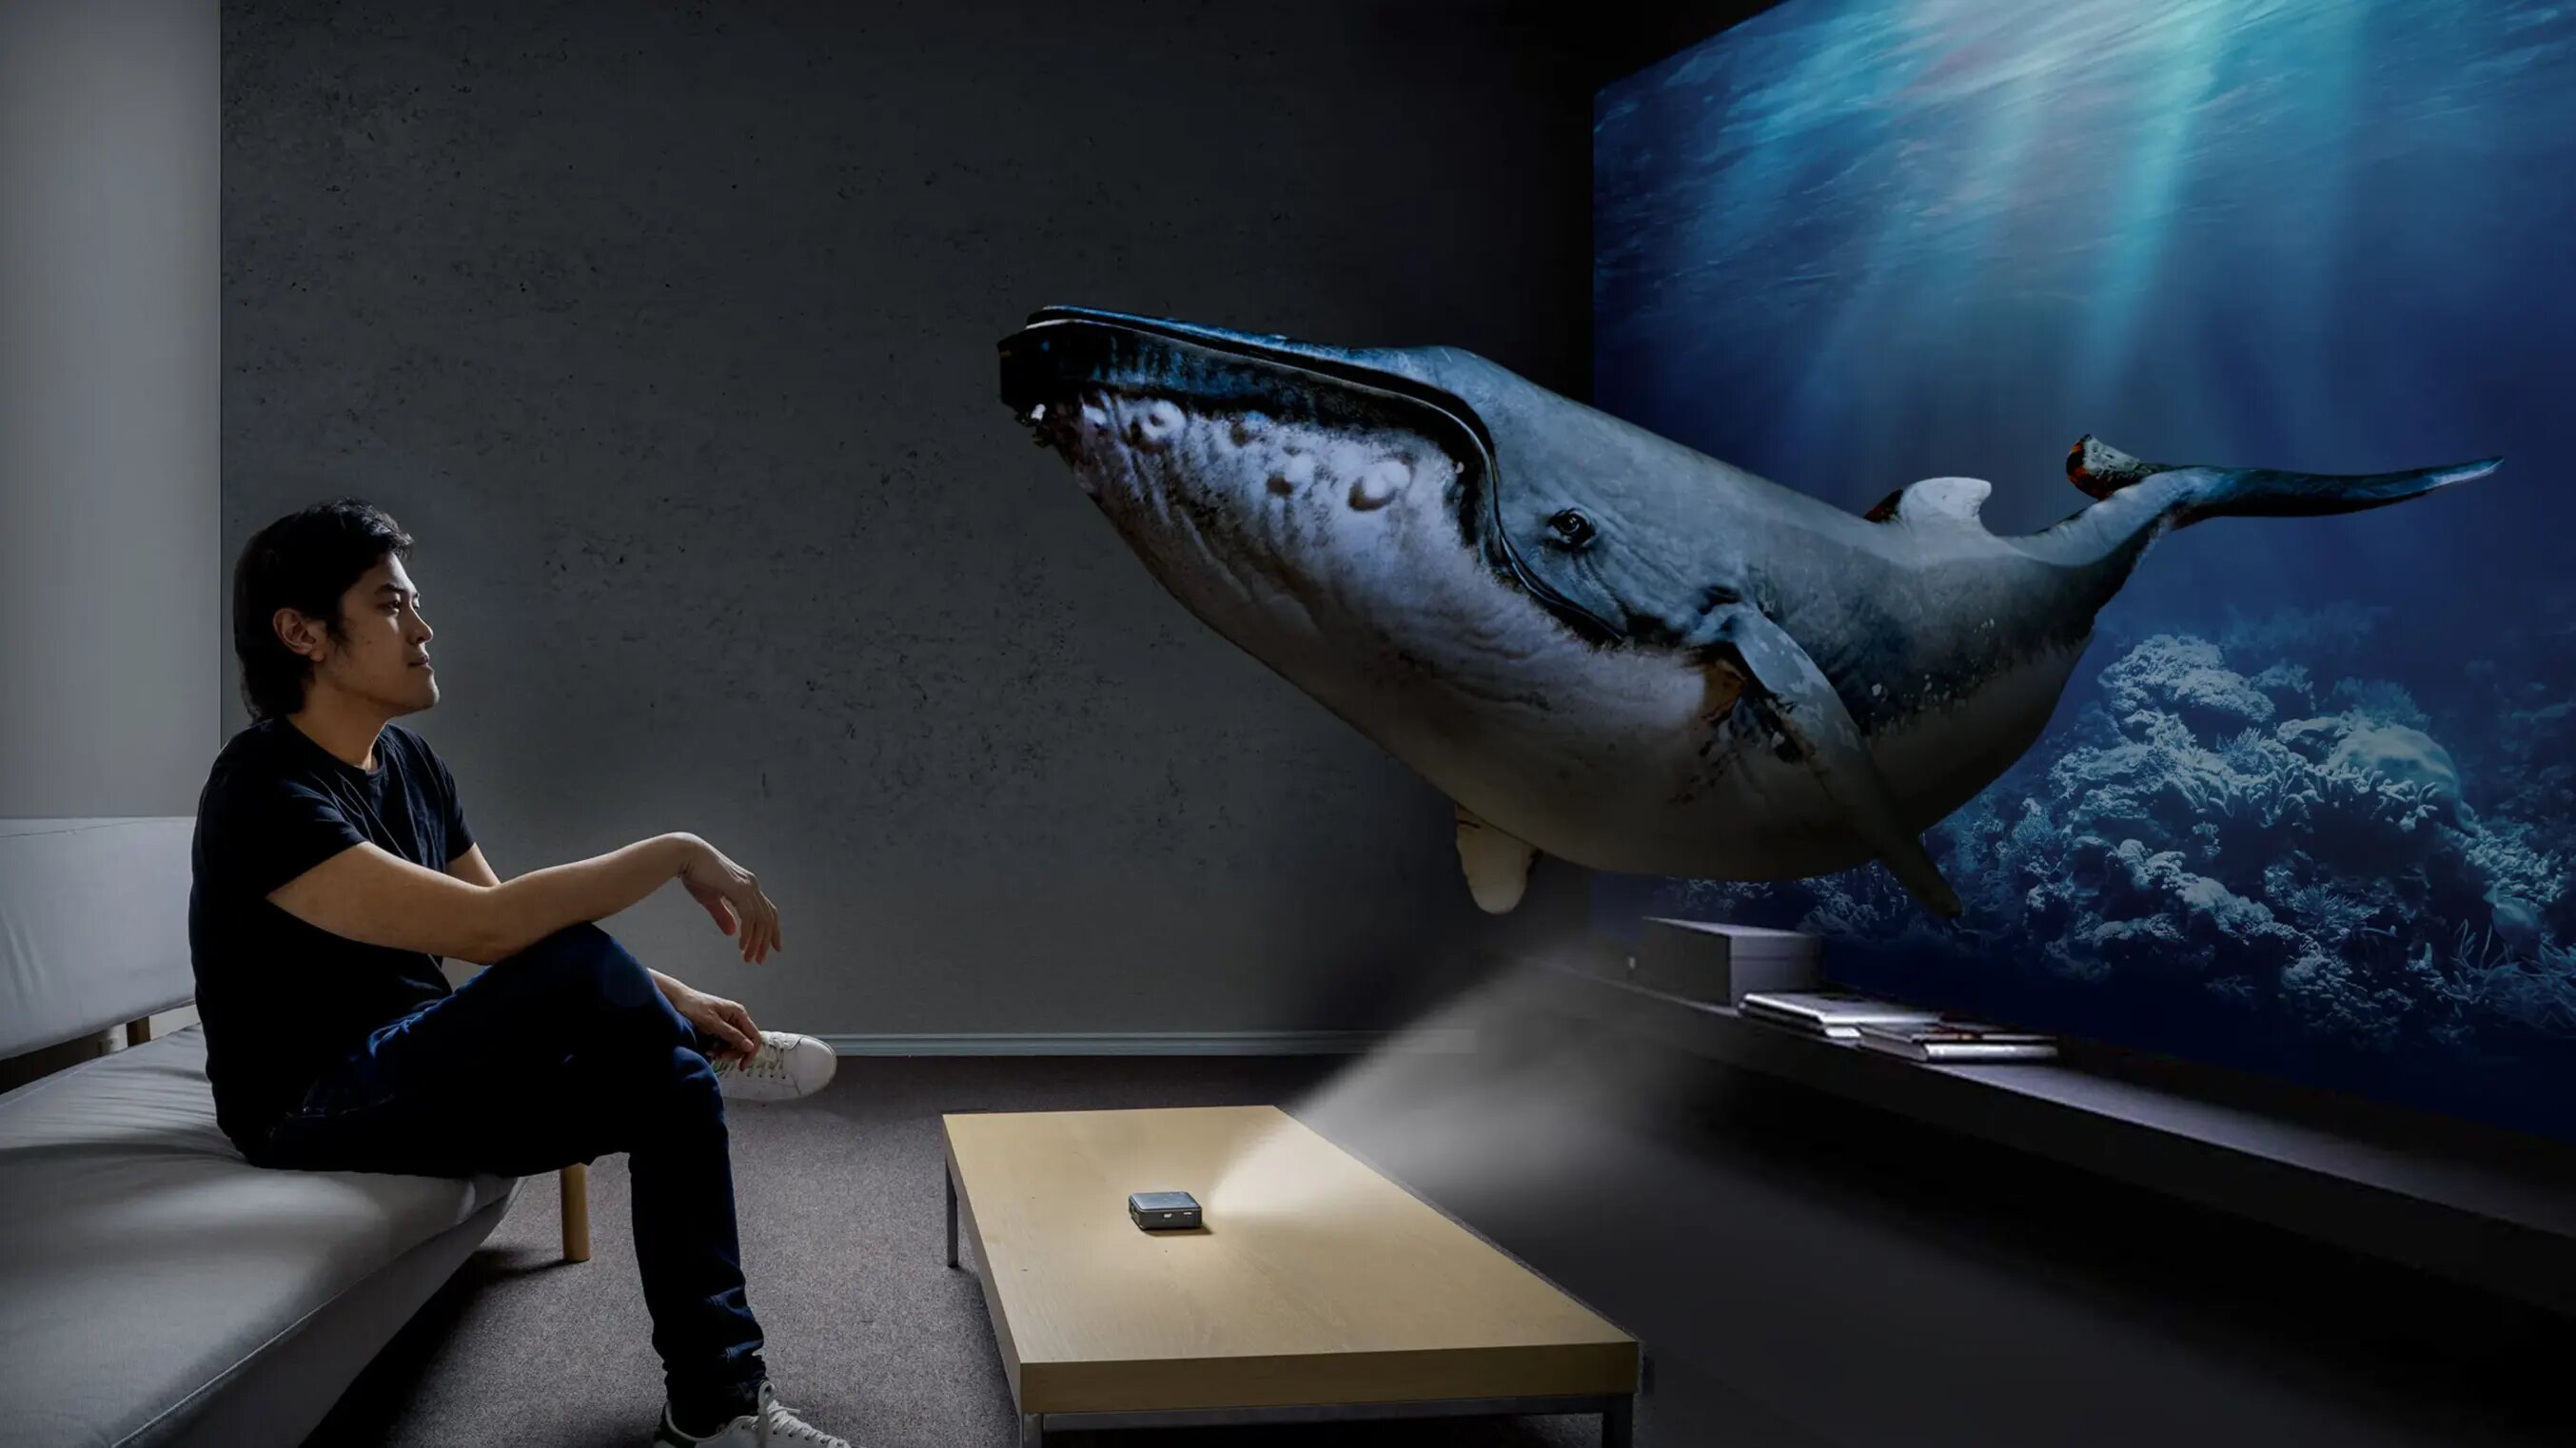
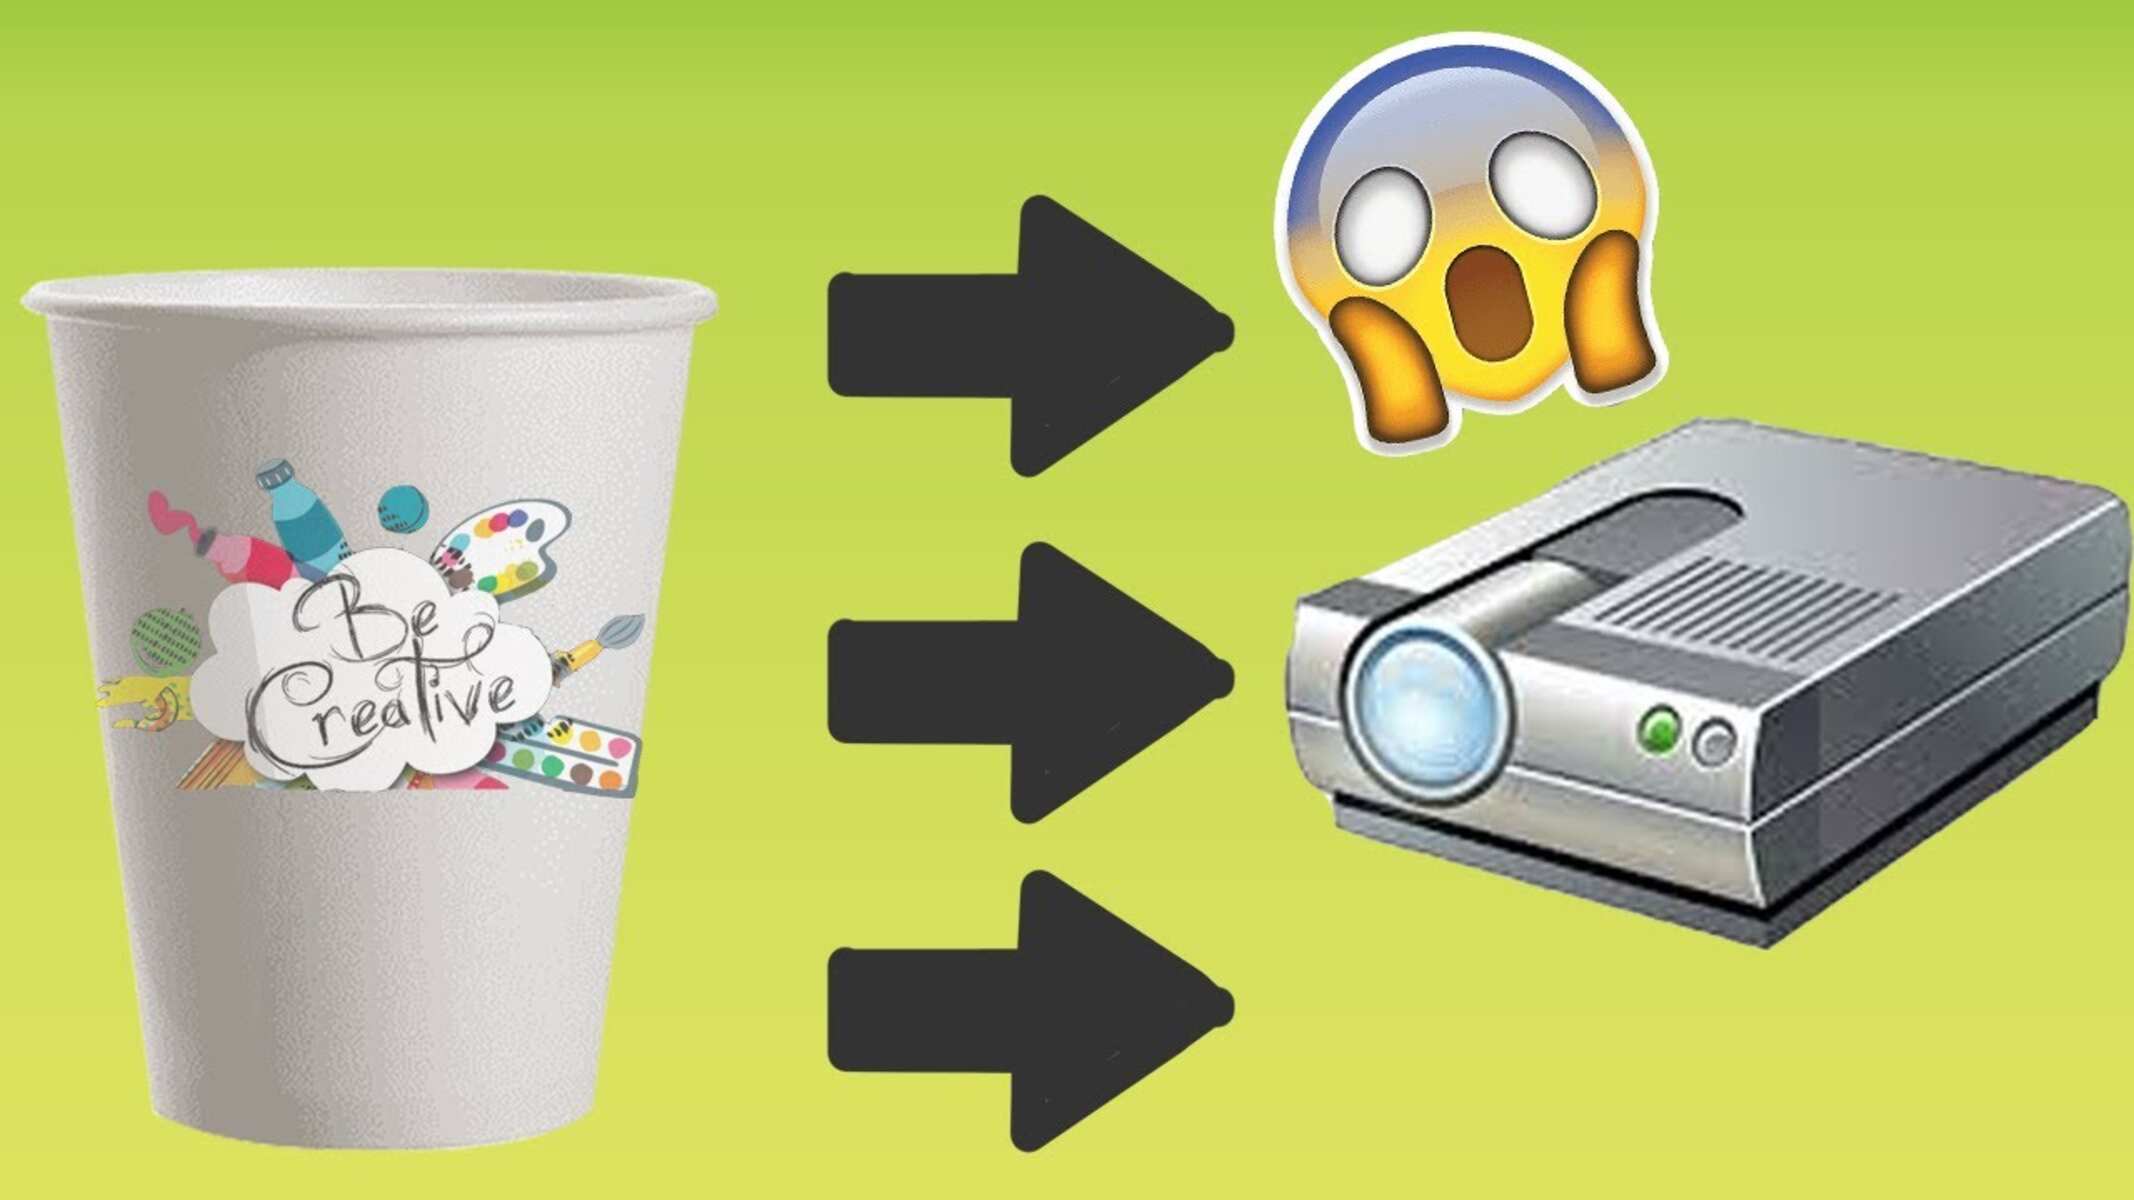
Welcome to the world of DIY projectors! Imagine being able to enjoy your favorite movies and videos on a big screen without spending a fortune. With just a few simple materials and a bit of creativity, you can create your very own projector using a glass cup! This ingenious and budget-friendly DIY project is perfect for movie nights, parties, or just to impress your friends.
In this step-by-step guide, we will walk you through the process of making a projector with a glass cup. Whether you’re a tech-savvy DIY enthusiast or a beginner looking for a fun and unique project, this tutorial is perfect for you. So, gather your materials and let’s get started!
But before we dive into the details, it’s important to note that this DIY projector is not meant to compete with professional projectors in terms of image quality or brightness. However, it does provide a fun and cost-effective way to enjoy multimedia content on a larger screen. Plus, the satisfaction you’ll get from building your own projector is priceless!
Now, let’s talk about the materials you’ll need to complete this project. Don’t worry; most of them can be easily found around your house or purchased at a local store.
Step 1: Gathering Materials
Before we can begin constructing our homemade projector, we need to gather all the necessary materials. You’ll be surprised to find that many of these items are likely already available in your home. Here’s what you’ll need:
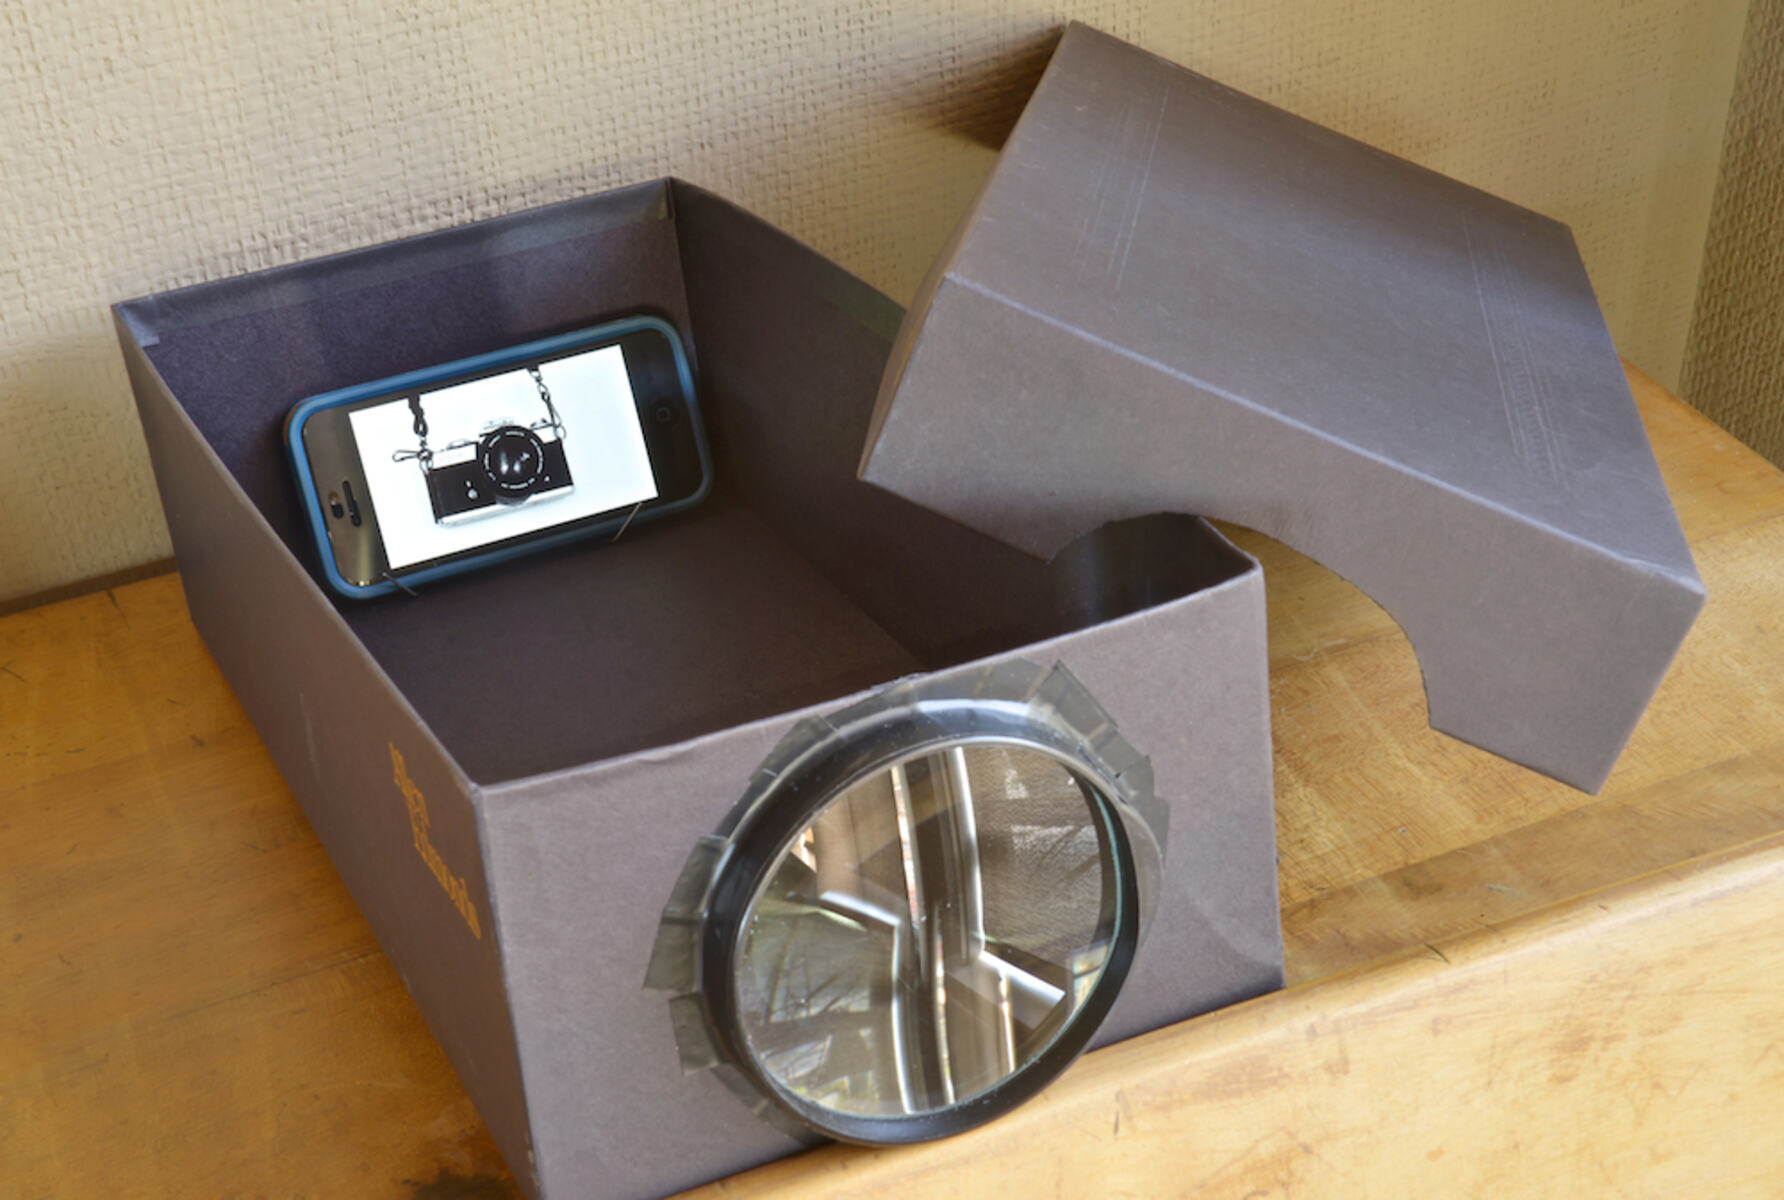
- A glass cup: This will serve as the main body of our projector.
- A smartphone: Any smartphone with a decent display size will work.
- A magnifying lens: You can find a magnifying lens in old magnifying glasses or purchase one online or at a local store.
- A sturdy cardboard or foamboard: This will be used to create the lens holder.
- Duct tape or adhesive putty: This will be used to secure the lens onto the holder.
- A marker or pen: This will come in handy for marking and cutting the cardboard or foamboard.
- A hobby knife or scissors: You’ll need these to cut the cardboard or foamboard.
- A ruler or measuring tape: This will help ensure accurate measurements for cutting the cardboard or foamboard.
- A dark room or dimming materials: To enhance the quality of your projected image.
Now that you have all the necessary materials, you’re ready to move on to the next step, where we’ll prepare the glass cup for our projector.
Step 2: Preparing Your Glass Cup
In this step, we will prepare the glass cup to be used as the body of our DIY projector. Follow these simple instructions:
- Start by cleaning the glass cup thoroughly to remove any dust, fingerprints, or smudges. This will ensure a clear projection.
- Next, take your smartphone and measure its length and width. This will help you determine the size of the opening you’ll need to cut in the cup’s base.
- With the measurements in mind, use a marker or pen to trace an outline on the base of the glass cup. Make sure the outline matches the size of your smartphone.
- Using a hobby knife or scissors, carefully cut along the traced line to create a rectangular opening in the cup’s base. Take your time and be cautious to avoid any accidents.
- Once the opening is cut, check if your smartphone fits snuggly inside. It should fit comfortably without feeling too tight or loose. If needed, adjust the size of the opening accordingly.
- After confirming the smartphone fits, remove it from the cup.
- Lastly, give the cup another wipe to remove any debris or particles that may have accumulated during the cutting process.
By following these steps, you have successfully prepared your glass cup to be used as the main body of the projector. Now, let’s move on to the next step where we’ll create the lens holder.
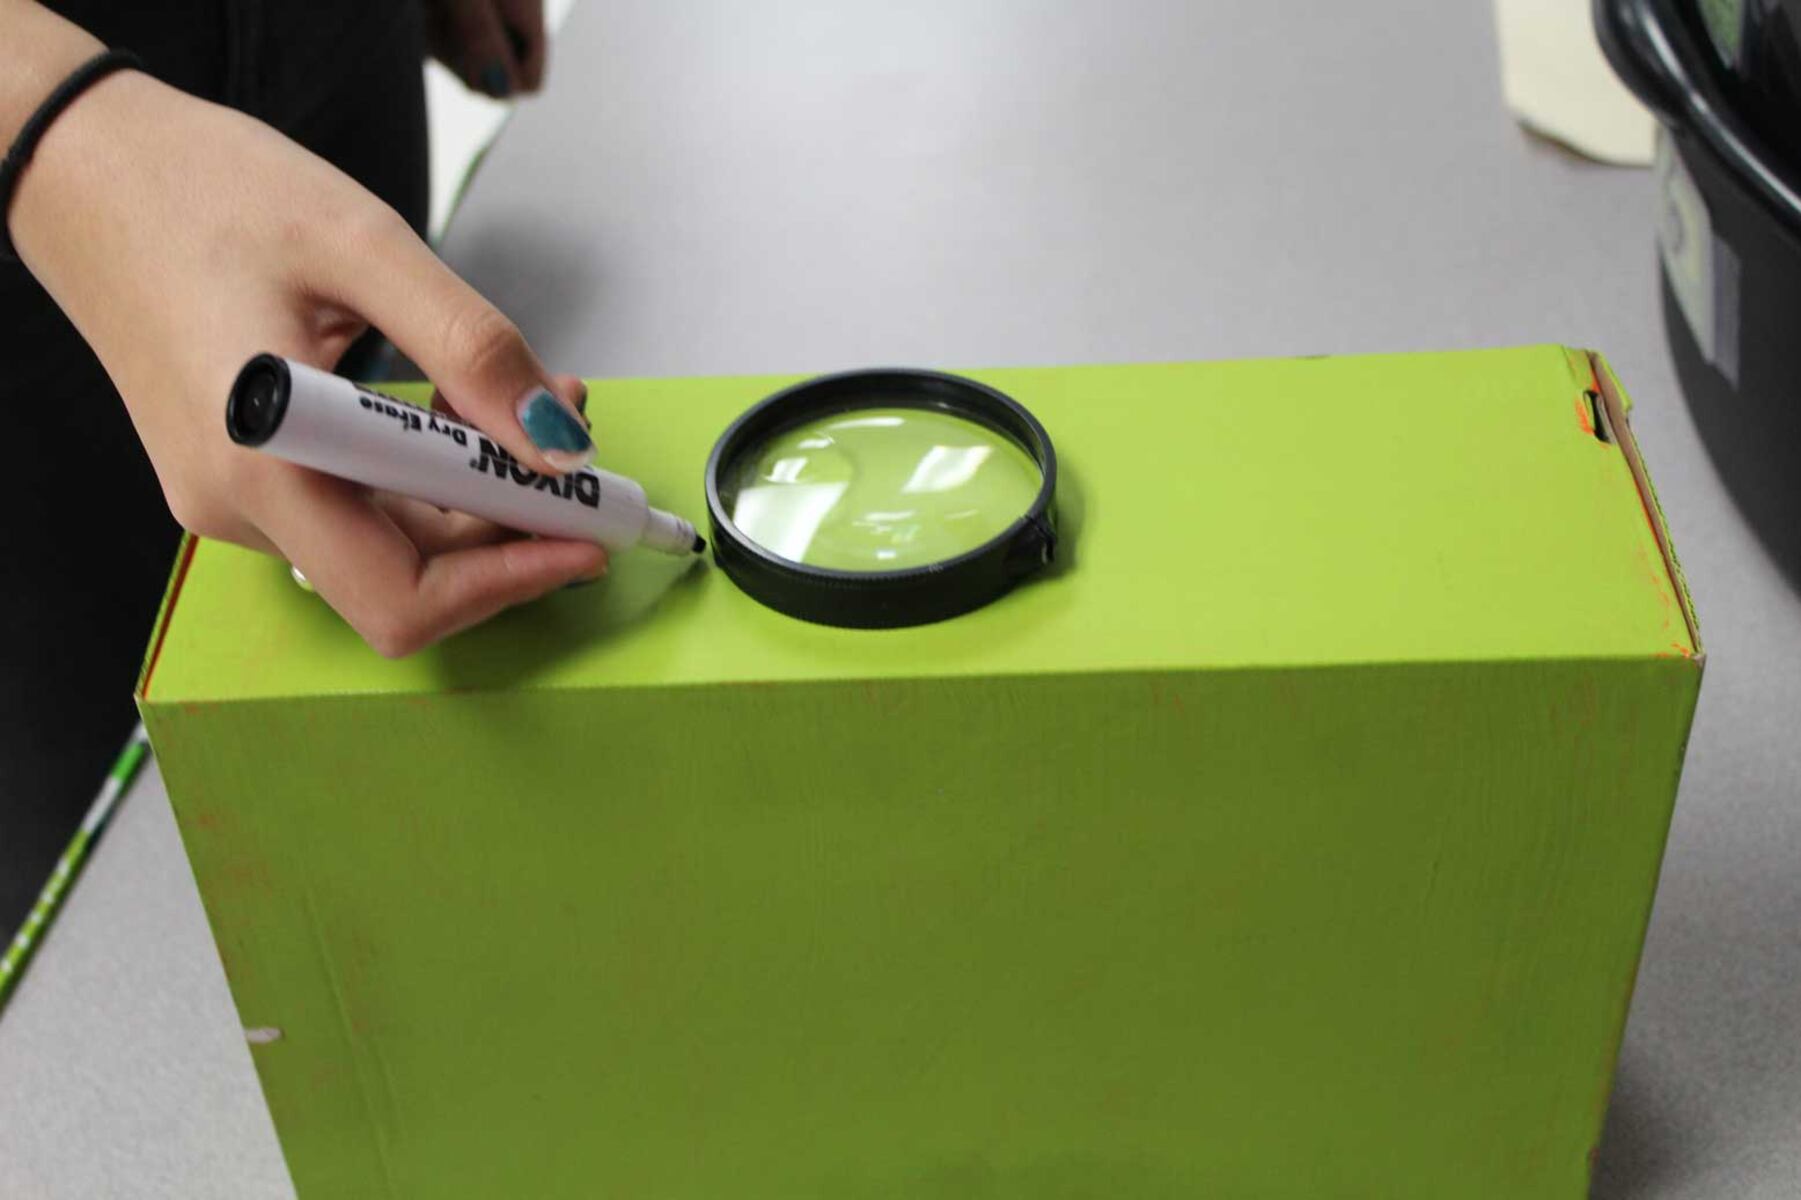
Step 3: Creating the Lens Holder
Now that the glass cup is prepared, it’s time to create the lens holder. The lens holder will securely hold the magnifying lens in place, allowing for a clear and focused projection. Follow the instructions below to create the holder:
- Take the sturdy cardboard or foamboard and measure its length and width. The measurements should be slightly larger than the size of the magnifying lens.
- Using a marker or pen, trace a rectangle with the measured dimensions on the cardboard or foamboard. This will be the base of the lens holder.
- Next, measure and mark the distance from one end of the base to create two small rectangular flaps. These flaps will serve as supports to hold the lens in place.
- Carefully cut along the traced lines using a hobby knife or scissors. Take your time and ensure that the cuts are precise and clean.
- Once the base and flaps are cut, fold the flaps upwards to a 90-degree angle. This will create a secure ledge for the lens to rest on.
- Position the lens on the ledge and ensure that it fits snugly. Depending on the size of your magnifying lens, you may need to make adjustments to the width or height of the flaps.
- Once you’re satisfied with the fit, use duct tape or adhesive putty to firmly secure the lens to the flaps. Ensure that the lens is centered on the base and well-supported by the flaps.
With the lens holder completed, you’re one step closer to having your homemade projector. In the next step, we’ll insert the lens into the glass cup to complete the projection setup.
Step 4: Inserting the Lens
Now that we have the lens holder ready, it’s time to insert the magnifying lens into the glass cup. Follow these steps to ensure the lens is properly positioned:
- Take the glass cup and turn it upside down.
- Insert the lens holder into the opening at the base of the cup. The flaps should be facing upwards.
- Ensure that the lens holder is centered and rests securely inside the cup.
- Hold the lens holder in place while rotating the cup upright. This will allow the lens holder to slide down slightly, ensuring a snug fit.
- Gently push the lens holder towards the bottom of the cup until it is firmly seated. The lens should be facing outwards, towards the opening of the cup.
- Double-check that the lens is centered and aligned within the cup. Adjust the position if necessary.
- Once you’re satisfied with the placement, use duct tape or adhesive putty to secure the lens holder in place. Apply the adhesive around the base of the cup to ensure stability.
With the lens properly inserted into the glass cup, we’ve made significant progress towards completing our homemade projector. In the next step, we’ll focus on mounting your smartphone for projection.
Step 5: Mounting Your Smartphone
Now that the lens is securely in place, it’s time to mount your smartphone onto the glass cup for projection. Follow these steps to ensure a stable and adjustable setup:
- Place your smartphone on top of the lens holder, with the screen facing down.
- Adjust the position of your smartphone so that the lens aligns with the center of the screen. This will ensure an optimal projection.
- Once the alignment is correct, use duct tape or adhesive putty to secure the edges of the smartphone to the cup. Be sure to avoid covering the screen or any important buttons or ports.
- Test the stability of the smartphone by gently tapping on the sides. It should stay in place without wobbling or shifting.
- If desired, you can also use a smartphone holder or stand to provide additional support and adjustability.
With your smartphone securely mounted onto the glass cup, you’re now ready to move on to the next step: adjusting the focus of your homemade projector.
Step 6: Adjusting the Focus
Now that your smartphone is mounted, it’s time to fine-tune the focus of your homemade projector. Follow these steps to get a clear and sharp projection:
- Turn off any overhead lights or switch to a dimly lit room. This will help improve the visibility of the projected image.
- Start playing a video or displaying an image on your smartphone.
- Gradually move the glass cup back and forth until the projected image appears sharp and in focus.
- You can also adjust the position of your smartphone within the cup to further refine the focus.
- Take your time to find the optimal distance and position that produces the clearest projection.
It’s important to note that the quality of the projected image may vary depending on the size of the cup and the lens used. Experiment with different distances and positions to achieve the best results.
Once you are satisfied with the focus, you’re ready to move on to the next step, where we’ll discuss how to dim the surroundings for an enhanced viewing experience.
Step 7: Dimming the Surroundings
Creating a dark or dimly lit environment is crucial for a better viewing experience with your homemade projector. By reducing ambient light, you can enhance the visibility and contrast of the projected image. Follow these steps to effectively dim the surroundings:
- Close the curtains or blinds in the room to block out any natural light.
- Switch off or dim any overhead lights to reduce the overall brightness.
- If necessary, cover windows or other light sources with blackout curtains, blankets, or cardboard to prevent unwanted light from entering the room.
- You can also create a mini “theater” ambiance by using string lights or LED candles to provide a soft, atmospheric glow.
- Ensure that there are no distractions or bright objects in the direct line of sight between the projector and the projection surface.
By implementing these measures, you’ll be able to create a more immersive and enjoyable viewing experience with your DIY projector.
Now that you have successfully dimmed the surroundings, let’s move on to the final step: testing your homemade projector!
Step 8: Testing Your Homemade Projector
Congratulations! You have reached the final step of creating your homemade projector. It’s time to put your creation to the test and enjoy some projected content. Follow these steps to ensure a successful test:
- Choose a video, movie, or any multimedia content on your smartphone that you’d like to project.
- Position your glass cup projector on a stable surface, aiming it towards a blank wall or a projection screen.
- Turn on your smartphone and start playing the chosen content.
- Adjust the distance, focus, and position of the glass cup to achieve the best projection quality.
- Enjoy your homemade projector experience! Sit back, relax, and immerse yourself in the larger-than-life image.
Keep in mind that the quality of the projection may not match that of professional projectors, but it’s a fun and creative way to enjoy multimedia content on a bigger screen.
Feel free to experiment with different types of content and settings to explore the full potential of your homemade projector. And don’t forget to share your creation with friends and family to spread the DIY spirit!
Now that you have successfully tested your homemade projector, you can continue to refine and improve it based on your preferences and creativity. Enjoy your movie nights, gaming sessions, or any other multimedia activities on the big screen!
Conclusion
Congratulations on successfully creating your own homemade projector using a glass cup! This DIY project allows you to enjoy multimedia content on a larger screen without breaking the bank. By following the step-by-step instructions outlined in this guide, you have transformed a simple glass cup into a unique and functional projector.
Throughout the process, you’ve learned how to gather the necessary materials, prepare the glass cup, create a lens holder, insert the magnifying lens, mount your smartphone, adjust the focus, dim the surroundings, and finally, test your homemade projector. Each step has contributed to the overall success of your project, and you can now sit back and enjoy the fruits of your labor.
While your homemade projector may not deliver the same image quality and brightness as professional projectors, it provides a budget-friendly and fun way to enjoy multimedia content on a larger scale. Whether you’re hosting a movie night, sharing presentations, or simply immersing yourself in your favorite videos, this DIY projector can add a unique touch to your entertainment experience.
Remember, this project is also a great opportunity for you to unleash your creativity and make modifications based on your preferences. Experiment with different materials, lens types, or projection surfaces to further enhance the quality of your homemade projector.
So gather your friends and family, dim the lights, and enjoy the immersive experience of your homemade projector. Get ready for hours of entertainment and the satisfaction of knowing that you’ve built something truly unique.
Now, it’s time to sit back, relax, and immerse yourself in the big screen experience with your very own homemade glass cup projector!