Introduction
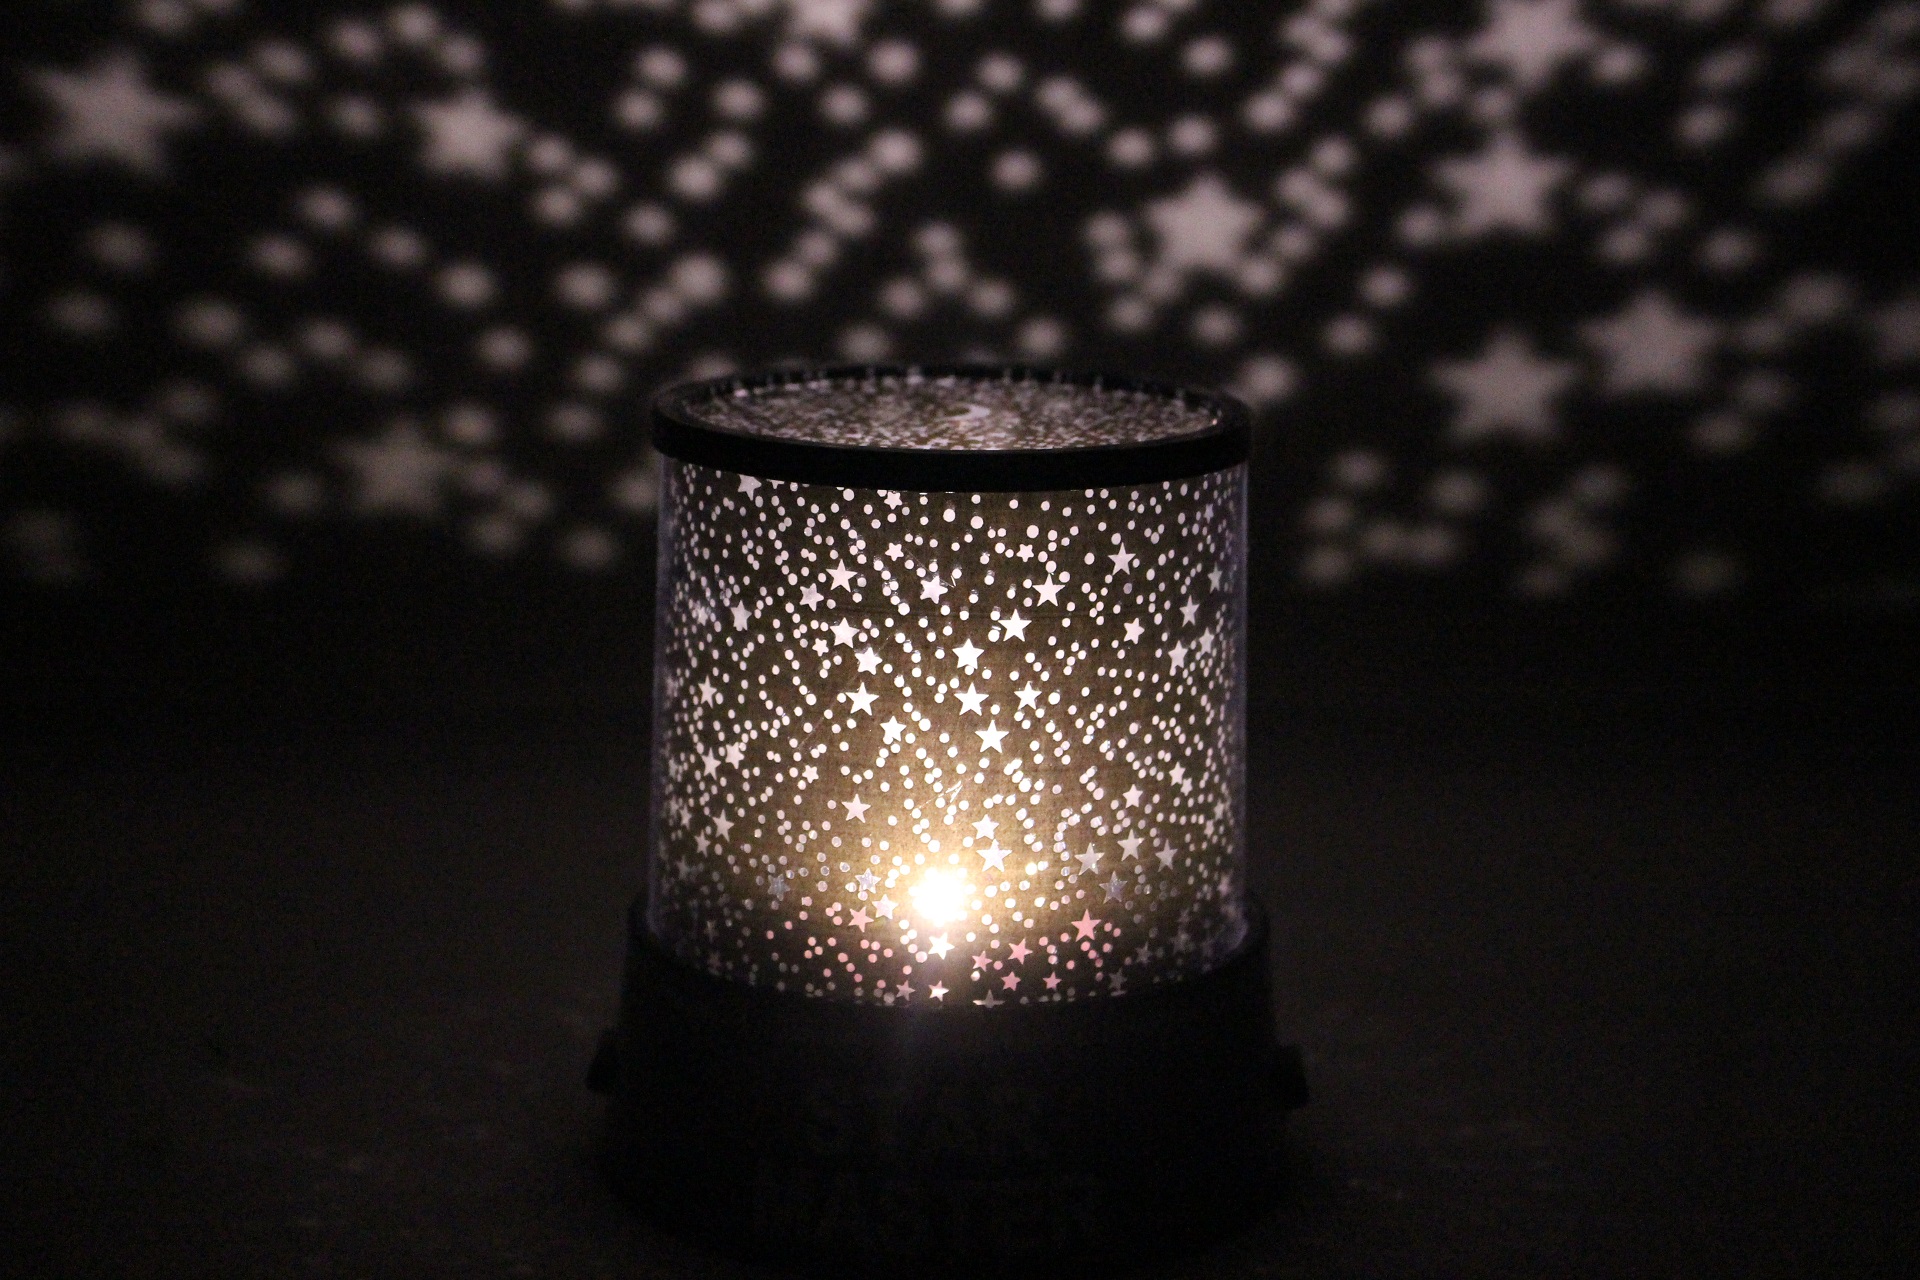
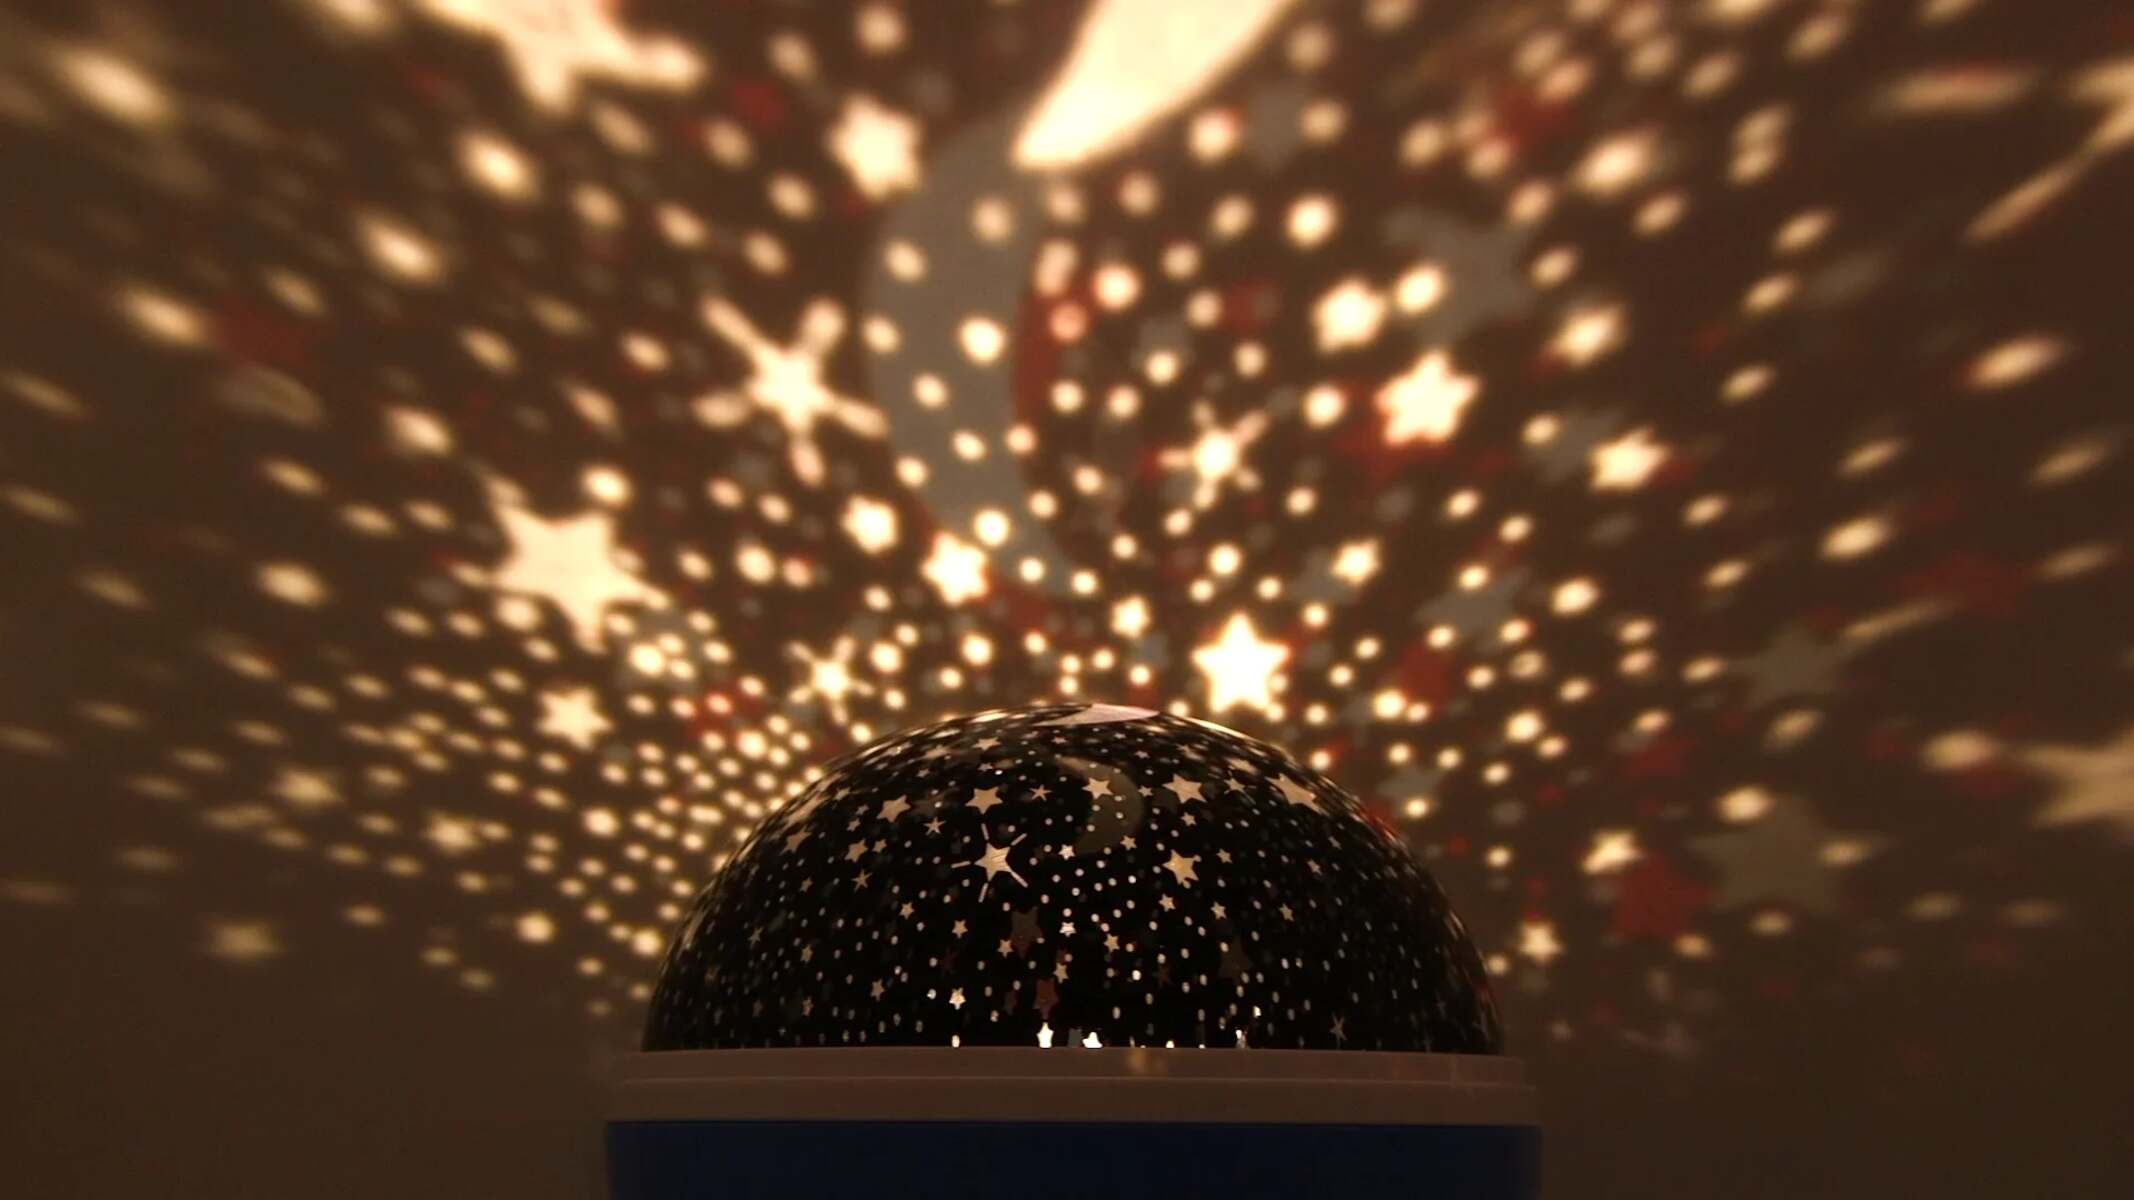
Are you looking for a unique and mesmerizing lighting project? Look no further than creating your own star lamp projector. This DIY project combines the soothing beauty of starry night lights with the fun of hands-on crafting. Whether you’re looking to add a touch of celestial magic to your bedroom or create a captivating centerpiece for a special occasion, a star lamp projector is a perfect choice.
With just a few materials and some basic electrical knowledge, you can create a stunning starry sky indoors. Not only will it provide a tranquil ambiance, but it will also be a conversation starter and a source of wonder for anyone who sees it.
In this guide, we will walk you through the step-by-step process of making your very own star lamp projector. From preparing the materials to assembling the circuit and adding the finishing touches, we will cover it all. This project is suitable for hobbyists of all skill levels, so don’t worry if you’re new to DIY crafting. Just follow the instructions, unleash your creativity, and enjoy the rewarding experience of creating your own star lamp projector.
So, without further ado, let’s gather the materials and embark on this exciting journey to create your very own star lamp projector.
Materials Needed
Before getting started, let’s gather all the necessary materials for creating your star lamp projector. Here’s a list of what you’ll need:
- Glass jar: A clear glass jar will serve as the base for your lamp projector.
- LEDs: Opt for small, bright LEDs that emit a cool white or warm white light. You’ll need around 20-30 LEDs, depending on the size of your jar.
- Resistors: Select appropriate resistors based on the voltage and current requirements of your LEDs.
- Breadboard: This will be used to connect the LEDs and the circuit.
- Battery pack: Get a battery pack that can supply the necessary voltage and current to power the LEDs.
- Switch: A simple on/off switch will allow you to control the power supply to the circuit.
- Star projection film: This special film will create the illusion of a starry sky when light passes through.
- Electrical wires: Use wires of appropriate gauge to connect the components.
- Soldering iron: You’ll need a soldering iron to solder the connections between the components.
- Solder: High-quality solder will ensure secure and reliable connections.
- Hot glue gun: Use a hot glue gun to attach the LEDs to the glass jar.
These are the basic materials you’ll need to create your star lamp projector. Additionally, you may want to consider decorative elements such as ribbons, stickers, or paint to enhance the appearance of your lamp. Let your creativity guide you in personalizing your projector to make it uniquely yours.
Now that you have all the materials ready, let’s move on to the next step of the process: preparing the materials.
Step 1: Prepare the Materials
Before diving into the construction process, it’s important to ensure that all your materials are ready and in good condition. This step will help you organize your workspace and make the assembly process much smoother. Here’s how you can prepare the materials:
- Gather all the materials listed in the previous section. Double-check if you have everything in place.
- Inspect the glass jar for any cracks or chips. Make sure it’s clean and free from any residue.
- Check the LEDs if they are functioning correctly. Test them by connecting them to a power source briefly.
- Ensure that you have the right resistors for your LEDs. Refer to the LED datasheet or use an online resistor calculator to determine the appropriate resistor values.
- Verify that the breadboard is in good condition and free from any loose connections.
- Check if the battery pack is working and has sufficient power to run the LEDs.
- Test the switch to ensure it’s functional and can easily turn the power on and off.
- Inspect the star projection film for any defects or scratches. Handle it with care to avoid damaging the delicate surface.
- Ensure that you have the necessary electrical wires for connecting the components. Trim them to appropriate lengths for easy installation.
- Heat up the soldering iron and prepare the solder for the upcoming soldering process.
- Have the hot glue gun ready for attaching the LEDs to the glass jar.
By properly preparing the materials, you can avoid any unnecessary delays or complications during the assembly process. Take your time to verify each item, and make any necessary adjustments or replacements as needed. With everything in order, you’re now ready to move on to the next step: preparing the glass jar.
Step 2: Prepare the Glass Jar
The glass jar will serve as the enclosure for your star lamp projector. In this step, you’ll prepare the jar to ensure it’s suitable for holding the LED lights and creating a beautiful projection effect. Follow these steps to get the glass jar ready:
- Thoroughly clean the glass jar with warm soapy water to remove any dirt or residue. Dry it completely before proceeding.
- If desired, you can add decorative elements to the jar. Consider painting the exterior with translucent paint or applying adhesive stickers to create a unique design. Let the paint dry completely before moving on.
- Decide where you want the LEDs to be positioned inside the jar. This will depend on your preferred projection effect and the design you have in mind.
- Using a hot glue gun, carefully attach the LEDs around the inside of the jar. Ensure the LEDs are evenly spaced and facing outward for optimal projection.
- Avoid gluing the LEDs too close to each other or to the sides of the jar, as this can cause uneven lighting or shadows.
- Allow the hot glue to cool and harden before handling the jar again.
- Take a moment to check the positioning of the LEDs and make any adjustments if needed. This is your opportunity to ensure the projected light will be evenly distributed.
By preparing the glass jar properly, you’ll create a solid foundation for your star lamp projector. The clean and decorated jar, with LEDs securely attached, sets the stage for a stunning projection of starry lights. With the jar prepared, it’s time to move on to the next step: assembling the circuit.
Step 3: Assemble the Circuit
An essential part of creating a star lamp projector is assembling the circuit that will power the LEDs. In this step, you’ll connect the components together to ensure a seamless electrical system. Follow these instructions to assemble the circuit:
- Start by placing the breadboard on a stable and non-conductive surface. Orient it so that the long rows of holes are horizontal.
- Identify the positive (+) and negative (-) rails on the breadboard. These are usually marked by red and blue lines, respectively.
- Take the battery pack and connect its positive (+) and negative (-) wires to the appropriate rails on the breadboard. Ensure the connections are secure.
- Place the switch on the breadboard and make connections to control the power supply. Connect one terminal of the switch to the positive (+) rail and the other to a free row on the breadboard.
- Now, insert the resistors into the breadboard, connecting them to the same row as the switch. Connect the other ends of the resistors to the negative (-) rail.
- Take the positive legs of the LEDs and insert them into different rows on the breadboard, ensuring they are evenly spaced and positioned according to your desired light distribution.
- Connect the positive legs of the LEDs to the same row as the resistors, ensuring a secure connection.
- Finally, connect the negative legs of the LEDs to the negative (-) rail on the breadboard.
During this process, double-check all connections to ensure they are secure and properly placed. The breadboard provides a convenient and temporary way to assemble and test the circuit before making any permanent connections.
With the circuit assembled, you’ve made significant progress towards creating your star lamp projector. However, it’s not complete without connecting the LEDs. In the next step, we’ll cover how to connect the LEDs to the circuit, so let’s move on to step 4.
Step 4: Connect the LEDs
Now that you have assembled the circuit, it’s time to connect the LEDs and bring your star lamp projector to life. Follow these steps to connect the LEDs to the circuit:
- Identify the positive (+) and negative (-) legs of each LED. The longer leg is typically the positive (+) leg, while the shorter leg is the negative (-) leg.
- Using small electrical wires or jumper cables, connect the positive (+) legs of the LEDs to the resistors on the breadboard. Make sure each connection is secure and properly seated.
- Next, connect the negative (-) legs of the LEDs to the negative (-) rail on the breadboard. Double-check these connections as well.
As you connect the LEDs, ensure that they are properly spaced and positioned inside the glass jar. Adjust their angles if necessary to achieve the desired light projection effect. Take your time to make these connections neatly and securely, as they will contribute to the overall functionality and appearance of your star lamp projector.
Once all the LEDs are connected, you’re ready to move on to the next step: attaching the LEDs to the glass jar. This step will bring everything together and allow you to see the stunning starry effect of your projector. Let’s proceed to step 5.
Step 5: Attach the LEDs to the Jar
Now that the LEDs are connected to the circuit, it’s time to attach them to the glass jar. This step ensures that the LEDs are securely positioned and aligned for an optimal starry projection. Follow these steps to attach the LEDs to the jar:
- Apply a small amount of hot glue to the back or bottom of each LED.
- Carefully place the LED onto the inside of the glass jar. Press it firmly against the surface for a few seconds to allow the glue to bond.
- Repeat this process for all of the LEDs, evenly spacing them around the interior of the jar.
- Ensure that the LEDs are facing outward and pointing towards the inner sides of the jar. This will help project the light in a more dispersed and enchanting manner.
- Take your time to arrange the LEDs in a pattern that suits your preferences. You can create a cluster of stars or spread them out for a more scattered effect.
- Be mindful of the wire connections as you position the LEDs. Avoid placing any excessive strain on the connections to prevent them from coming loose.
Remember to be cautious when working with hot glue to prevent any burns. Carefully handle the glass jar while attaching the LEDs to ensure your safety and the integrity of the project.
Once all the LEDs are securely attached, take a moment to admire your progress. The jar now contains the magical essence of starlight waiting to illuminate any space you choose.
With the LEDs properly positioned, it’s time to enhance the projection effect even further with a star projection film. This will create a captivating and dreamy display. Let’s move on to step 6 to complete this celestial masterpiece.
Step 6: Add the Star Projection Film
To enhance the projection effect of your star lamp projector, it’s time to add the star projection film. This film will create a mesmerizing display of stars when light passes through it. Follow these steps to add the star projection film:
- Measure the height and circumference of the inside of the glass jar.
- Using these measurements, carefully cut a piece of star projection film in a size that will fit snugly inside the jar.
- Before placing the film, ensure the interior surface of the jar is clean and free from any debris or fingerprints.
- Carefully insert the star projection film into the jar. Make sure it sits flat against the glass and covers the entire inner surface.
- Take your time to position the film evenly and smooth out any wrinkles or air bubbles. This will ensure a clear and crisp projection.
- If needed, use a small amount of double-sided tape or adhesive dots to secure the edges of the film to the jar.
Adding the star projection film completes the visual transformation of your star lamp projector. The film will create a captivating display of stars when the LEDs illuminate it from behind. You’re now one step closer to enjoying the enchanting beauty of a starry night right in your own home.
Once the film is securely in place, it’s time to put your star lamp projector to the test. Move on to step 7 to see the magic unfold before your eyes.
Step 7: Test the Projector
With the assembly and preparation complete, it’s time to test your star lamp projector and witness the enchanting projection of stars. Follow these steps to test your projector:
- Ensure that the battery pack is fully charged or has fresh batteries installed.
- Flip the switch on the circuit to turn on the power supply for the LEDs.
- Take a step back and admire the mesmerizing display of stars that illuminates the room.
- If the projection appears dim or uneven, you may need to adjust the positioning of the LEDs or the star projection film.
- Experiment with different angles to achieve the desired effect. You can also adjust the distance between the LEDs and the film to fine-tune the projection.
- Take note of any areas where you might want to add more LEDs or make adjustments for a more captivating starry display.
Testing the projector allows you to make any necessary adjustments to optimize the overall effect. Don’t be afraid to experiment and get creative with the positioning and arrangement of the LEDs to achieve your desired starry sky projection. Enjoy the magical ambiance and the sense of wonder that your creation brings.
Once you’re satisfied with the test results, you can proceed to the final step: decorating the lamp to add a personal touch and make it truly unique. Let’s move on to step 8 to put the finishing touches on your star lamp projector.
Step 8: Decorate the Lamp
Now that your star lamp projector is fully functional, it’s time to add some personal flair and make it even more visually appealing. Decorating the lamp allows you to customize the final look and create a unique piece of art. Follow these steps to decorate your lamp:
- Consider the overall theme or aesthetic you want to achieve. You can go for a celestial theme with stars and galaxies, or opt for a more whimsical approach with colorful patterns and designs.
- Use ribbons, lace, or fabric to wrap around the base of the glass jar to add a touch of elegance.
- Apply adhesive rhinestones, glitter, or other decorative elements directly onto the glass jar to create a sparkling effect.
- Add small figurines or miniatures around the base of the jar to create a magical scene.
- If you’re feeling artistic, use paints or markers to draw unique designs on the glass jar. Let your creativity flow and create a one-of-a-kind masterpiece.
- Consider placing the lamp on a decorative stand or tray to elevate its appearance and create a focal point in the room.
- Take a step back and assess the overall look of your decorated lamp. Make any additional adjustments or additions as needed until you are satisfied.
Decorating your lamp allows you to add a personal touch and make it an eye-catching centerpiece in any room. Let your imagination run wild and create a design that reflects your style and personality.
With the lamp beautifully decorated, you’ve completed the final step of the process. Your star lamp projector is now ready to add a touch of magic to any space it graces. Enjoy the mesmerizing beauty of the starry projection and feel proud of the craftsmanship that went into creating your very own star lamp projector.
Conclusion
Congratulations on successfully creating your very own star lamp projector! Through careful assembly, creativity, and attention to detail, you’ve transformed a simple glass jar into a mesmerizing source of celestial beauty. This DIY project not only provides a tranquil and enchanting ambiance but also showcases your crafting skills and personal flair.
Throughout the process, you’ve learned how to prepare the materials, attach the LEDs to the glass jar, assemble the circuit, add a star projection film, and test and decorate the lamp. Each step has contributed to the final result, ensuring a stunning display of starry lights that brings the magic of the night sky indoors.
Remember, your star lamp projector can be a versatile addition to your home or a captivating centerpiece for special occasions. It can create a calming atmosphere in your bedroom, serve as the perfect accent for a cozy reading nook, or become the focal point of a celestial-themed party or event.
Feel free to experiment and make adjustments to achieve your desired projection effect and personal style. Explore different placements, angles, and decorations to make your star lamp projector a unique expression of your creativity.
As you enjoy the warm and enchanting glow of your star lamp projector, take a moment to appreciate the time, effort, and care that went into creating it. You’ve crafted a truly special piece that will bring joy and wonder to anyone who experiences its magical glow.
Now, it’s time to bask in the celestial beauty of your creation and let it illuminate your world with the wonders of the starry sky.