Introduction
Welcome to the world of Kahoot, an interactive learning platform that allows users to create and share quizzes, surveys, and discussions. Whether you’re a student looking to share your knowledge with others or a teacher who wants to engage your students in a fun and interactive way, making your Kahoot public is a great way to reach a wider audience.
In this article, we will guide you through the steps to make your Kahoot public as a student. By making your Kahoot public, you can share it with classmates, friends, or even the entire Kahoot community, providing them with an opportunity to learn and have fun at the same time.
Creating a public Kahoot allows you to contribute to the Kahoot library, where users from around the world can discover and play your quiz. Who knows, your Kahoot might become the next viral sensation!
So, without further ado, let’s dive into the process of making your Kahoot public as a student. Follow these steps, and you’ll be sharing your knowledge in no time!
Step 1: Create a Kahoot Account
Before you can make your Kahoot public, you’ll need to create an account on the Kahoot platform. Follow these simple steps to get started:
- Visit the Kahoot website on your computer or download the Kahoot app on your mobile device.
- Click on the “Sign up” or “Get started” button to begin the registration process.
- You’ll be presented with different sign-up options. Choose the one that suits you best, whether it’s signing up with your email, Google account, or Microsoft account.
- Fill in the required information, such as your name, email address, and create a secure password.
- Read and agree to the terms and conditions and privacy policy of Kahoot. It’s important to understand how your information will be used and protected.
- Click on the “Create my account” button to finalize the registration process.
- Verify your account by clicking on the confirmation link sent to your email. If you signed up with your Google or Microsoft account, this step may not be necessary.
- Once your account is verified, you’ll have full access to the features and functionalities of Kahoot.
Congratulations! You now have a Kahoot account and can start creating your own quizzes and sharing them with others. Let’s move on to the next step to learn how to create a Kahoot quiz.
Step 2: Create a Kahoot Quiz
Now that you have your Kahoot account, it’s time to unleash your creativity and create your very own Kahoot quiz. Follow these steps to get started:
- Log in to your Kahoot account using your credentials.
- On the dashboard, click on the “Create” button to begin creating a new Kahoot.
- You’ll be prompted to choose a type of Kahoot: Quiz, Survey, or Discussion. For the purpose of making a quiz public, select “Quiz.”
- Give your Kahoot quiz a catchy and descriptive title. This will help others understand the topic or theme of your quiz.
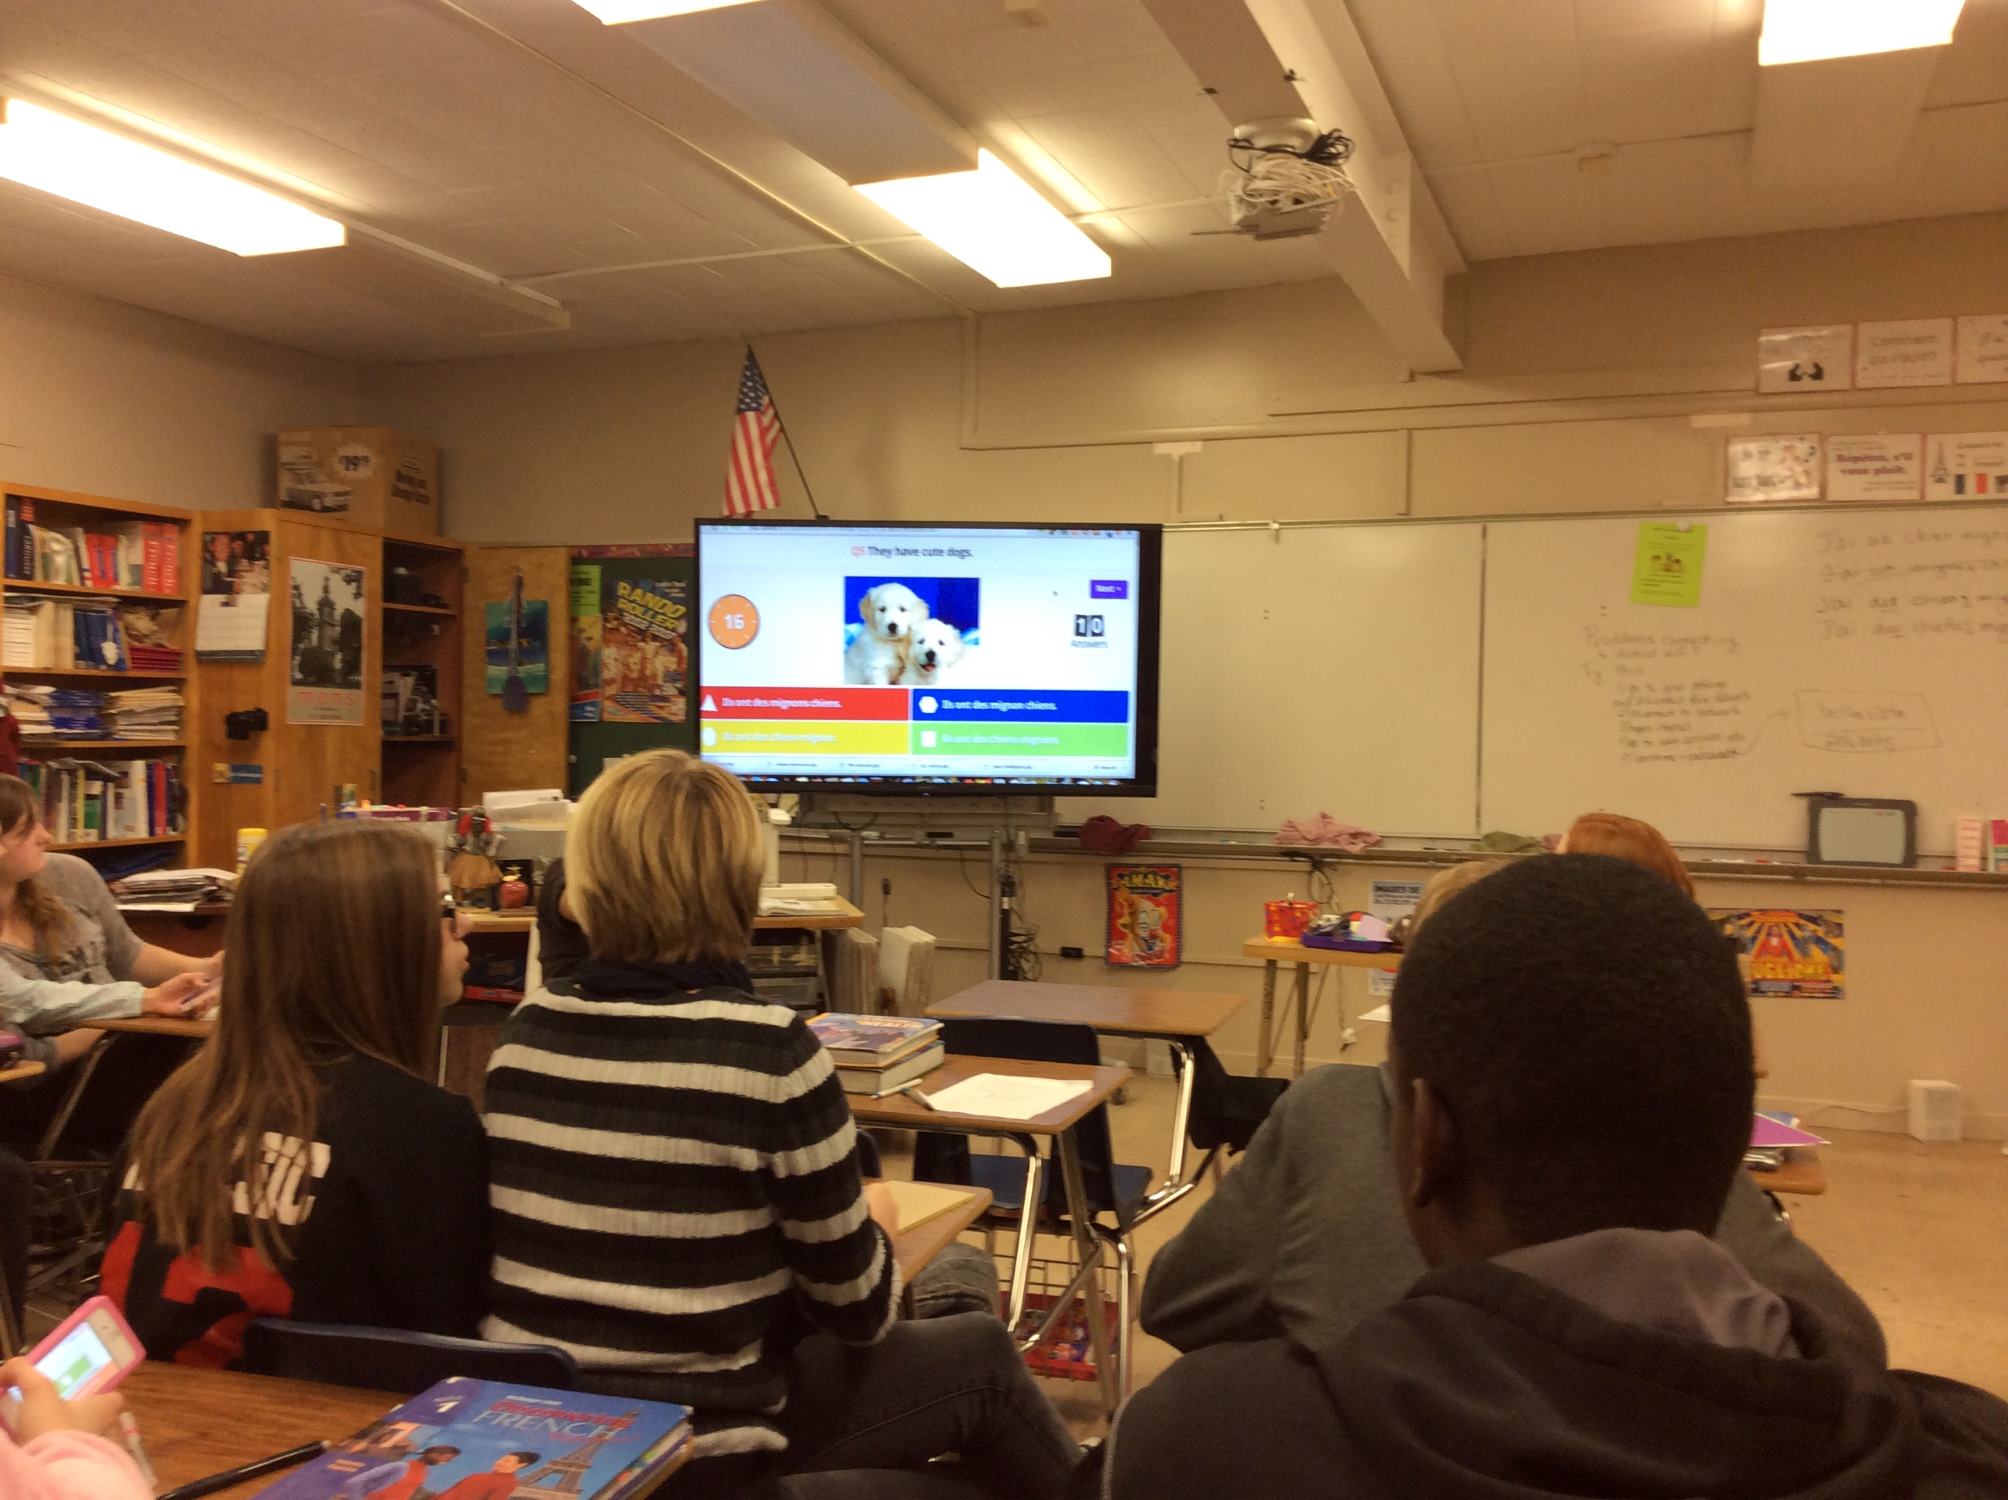
- Add questions to your quiz by clicking on the “Add question” button. You can choose from multiple-choice, true/false, or puzzle types of questions.
- For each question, provide the options or statements and mark the correct answer. You can also add images or videos to make the quiz more engaging.
- Continue adding questions until you’re satisfied with the length and content of your quiz.
- Once you’re done adding questions, review your quiz to ensure accuracy and clarity.
- Click on the “Save and continue” button to proceed to the next step.
Creating a Kahoot quiz is a fun and interactive process. Don’t be afraid to experiment with different question formats and multimedia elements to make your quiz stand out. Now that you have your quiz ready, let’s move on to the next step to learn how to customize your Kahoot.
Step 3: Customize your Kahoot
Now that you’ve created your Kahoot quiz, it’s time to give it a unique and personalized touch. Follow these steps to customize your Kahoot:
- On the quiz creation page, click on the “Customize” tab located at the top of the screen. This will allow you to customize the look and feel of your Kahoot.
- Choose a theme for your Kahoot quiz. You can select from the pre-designed themes provided by Kahoot or create your own custom theme.
- Customize the background color, font styles, and other visual elements to match the aesthetic you envision for your Kahoot.
- Add images or videos to each question or as background visuals to make your quiz more visually appealing and engaging.
- Consider adding music or sound effects to enhance the overall experience of playing your Kahoot quiz.
- Take some time to preview your customized Kahoot to ensure that everything looks and sounds the way you want it to.
- Make any necessary adjustments or fine-tuning to perfect your Kahoot’s customization.
- Once you’re satisfied with the customization, click on the “Save and continue” button to proceed to the next step.
Customizing your Kahoot is a great way to add a personal touch and make it more appealing to your target audience. Whether you’re creating a Kahoot for educational purposes or simply for fun, take advantage of the customization options available to make it truly unique. With your Kahoot customized to your liking, let’s move on to the next step to learn how to publish it.
Step 4: Publish your Kahoot
Now that you have created and customized your Kahoot quiz, it’s time to make it available to others by publishing it. Follow these steps to publish your Kahoot:
- On the quiz creation page, click on the “Save and continue” button if you haven’t already done so. This will save your progress and take you to the final steps before publishing.
- Review your Kahoot quiz one last time to ensure that all the questions, answers, and customization settings are in place.
- Provide a clear and concise description for your Kahoot quiz. This will help others understand the purpose and content of your quiz.
- Add relevant tags to your Kahoot to make it easier for others to discover and search for it.
- Decide whether you want to allow comments on your Kahoot. Enabling comments can encourage engagement and discussion among users.
- Check the option to include your Kahoot in the public Kahoot library, which will make it accessible to the wider Kahoot community.
- Once you’re satisfied with the settings, click on the “Publish” button to make your Kahoot available to others.
- Wait for the publishing process to complete. This may take a few moments depending on the size of your Kahoot.
Congratulations! You have successfully published your Kahoot quiz. Now, let’s proceed to the next step to learn how to share your Kahoot with others.
Step 5: Share your Kahoot with Others
Now that you have published your Kahoot quiz, it’s time to share it with others and let them join in on the fun. Follow these steps to share your Kahoot:
- After publishing your Kahoot, you’ll be redirected to the quiz details page. From here, you can copy and share the unique URL of your Kahoot.
- Paste the Kahoot URL in an email, messaging app, or social media platform to share it with specific individuals or groups.
- Encourage your friends, classmates, or fellow students to play your Kahoot quiz by sending them the link and inviting them to join.
- Consider sharing your Kahoot quiz with your teacher or instructor so they can use it in class or share it with other students.
- Utilize the “Challenge” feature on the Kahoot platform to send a direct invitation to others to play your Kahoot using their own devices.
- Share your Kahoot on relevant online communities or forums, such as educational groups or Kahoot-specific platforms, to reach a wider audience.
- Encourage others to share your Kahoot with their networks, creating a chain of engagement and expanding the reach of your quiz.
- Monitor the engagement and feedback you receive from others who play your Kahoot. This will help you grow as a creator and make improvements for future quizzes.
Sharing your Kahoot with others is an essential step to maximize its impact and reach. By spreading the word and inviting others to join, you can create a collaborative and interactive learning experience. Now, let’s move on to the final step to learn how to make your Kahoot public.
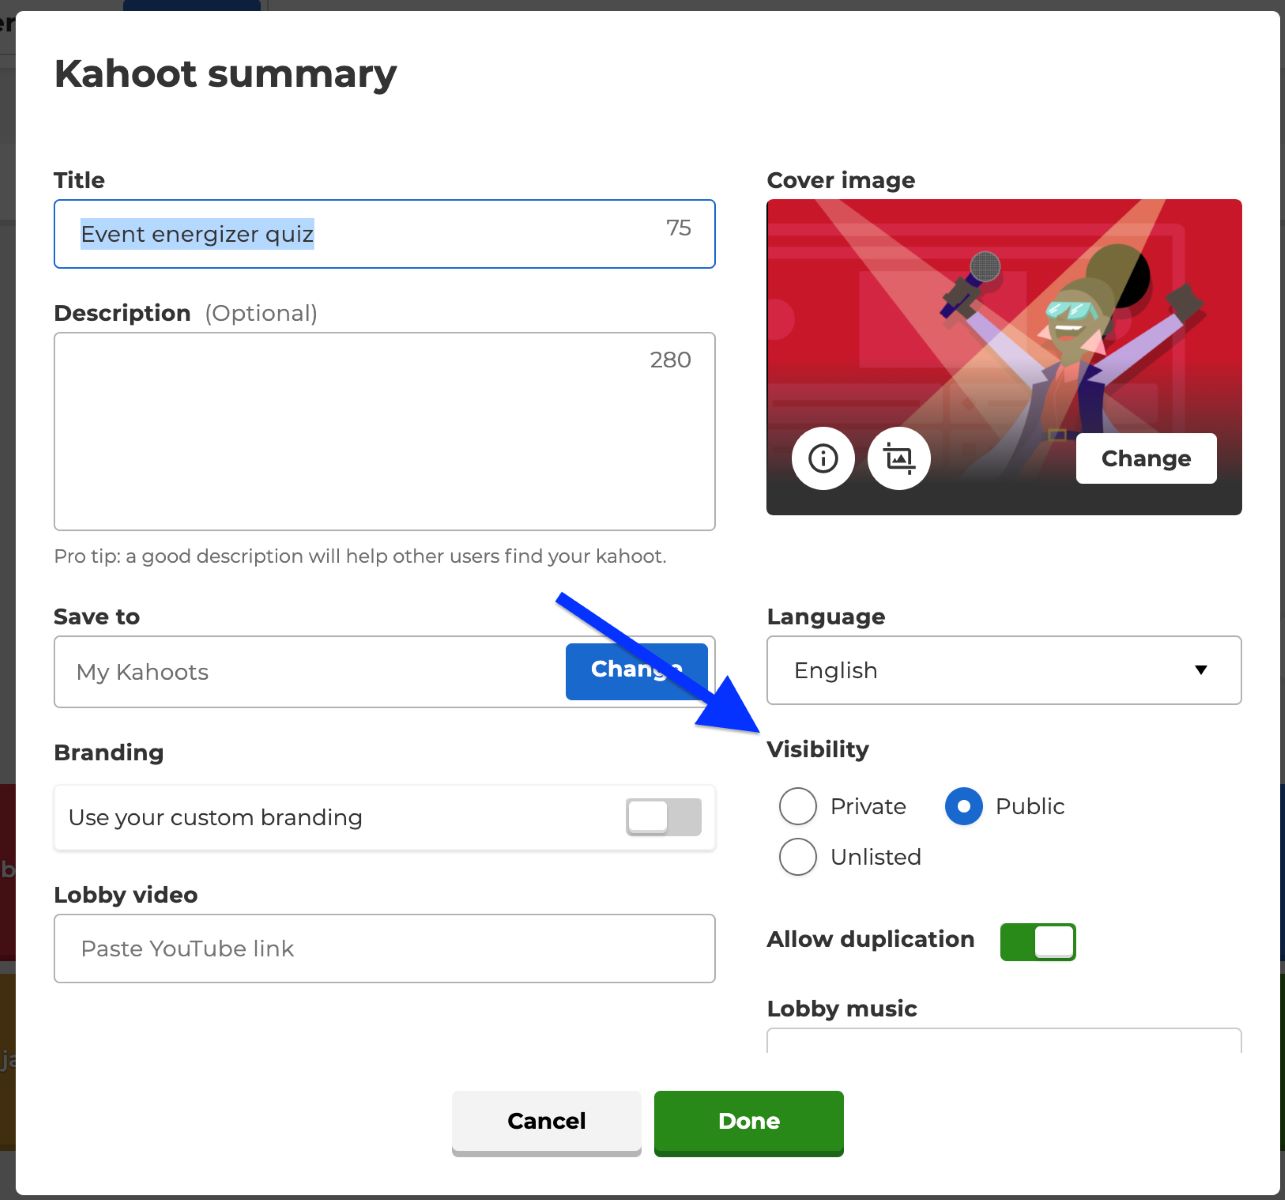
Step 6: Make your Kahoot Public
The final step in making your Kahoot public is to ensure that it is visible and accessible to the wider Kahoot community. Follow these steps to make your Kahoot public:
- Go to the quiz details page of your published Kahoot.
- Click on the “Manage” button located at the top-right corner of the page.
- From the dropdown menu, select “Visibility.”
- Make sure the “Public” option is selected. This will allow your Kahoot to be discoverable and playable by anyone on the Kahoot platform.
- If you want to restrict access to your Kahoot to only specific individuals or groups, you can choose the “Private” option instead. This will require others to have the direct link to access and play your Kahoot.
- Once you have selected the appropriate visibility setting, click on the “Save” button to apply the changes.
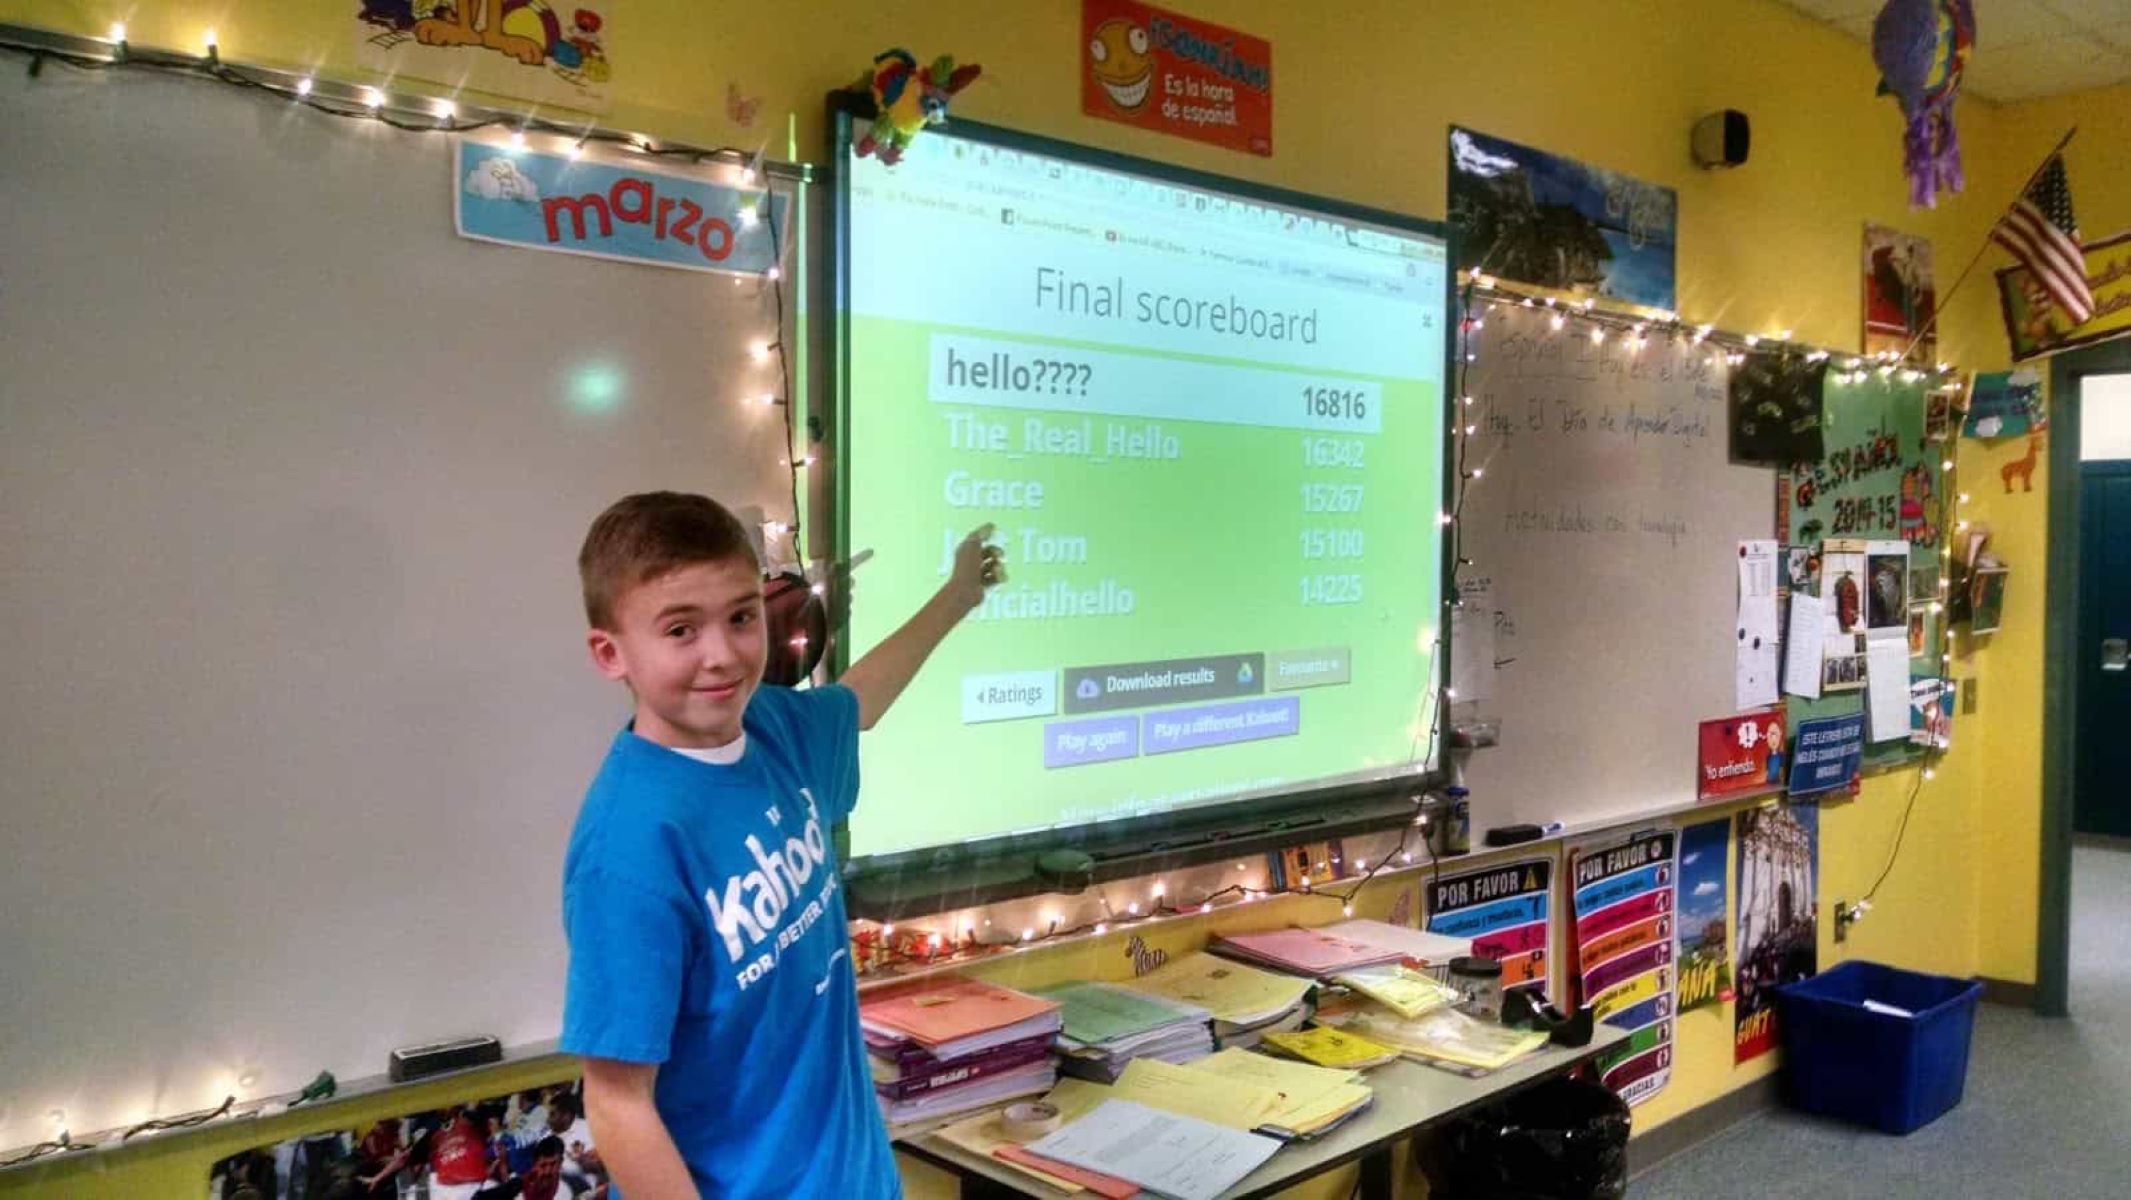
By making your Kahoot public, you are opening it up to a wider audience, allowing others from around the world to discover and play your quiz. This can lead to increased engagement, feedback, and even collaboration with other Kahoot users.
Keep in mind that by making your Kahoot public, it may be featured in the public Kahoot library, where other users can search for and find your quiz. This can further enhance the visibility and reach of your Kahoot.
Congratulations! You have successfully made your Kahoot public. Now, sit back and watch as others engage with and enjoy your interactive quiz. Remember to stay active on the Kahoot platform, explore other quizzes created by the community, and continue to enhance your Kahoot creations.
Conclusion
Congratulations on successfully making your Kahoot public as a student! By following the steps outlined in this guide, you have learned how to create a Kahoot account, create an engaging quiz, customize it to your liking, publish it for others to enjoy, share it with your friends and classmates, and make it accessible to the wider Kahoot community.
Sharing your knowledge and creativity through public Kahoots is a fantastic way to contribute to the Kahoot library and make a positive impact on the learning experiences of others. Whether you’re creating a Kahoot quiz for educational purposes, for studying with friends, or simply for fun, the possibilities are endless.
Remember to keep refining your Kahoot creation skills, experimenting with different question formats, incorporating multimedia elements, and seeking feedback from others. This will help you continuously improve your quizzes and engage your players in a meaningful way.
So go ahead, create, share, and inspire others with your very own public Kahoots. Join the thriving community of Kahoot creators and players, and have fun while learning in an interactive and collaborative environment.
Thank you for reading this guide, and we hope you have an amazing time exploring the world of public Kahoots!