Introduction
Welcome to the world of Kahoot, the popular game-based learning platform that brings fun and interactivity to classrooms, meetings, and social gatherings. Whether you’re a teacher looking to engage your students or a host planning a trivia night, Kahoot offers a wide range of options to create and play interactive quizzes.
While Kahoot games are typically played in a public setting with participants joining using a game pin, there are times when you may want to make your Kahoot game private. Whether it’s for a closed group of students, a team-building exercise, or a private event, making your Kahoot game private provides you with more control over who can participate and ensures a secure and personalized experience.
In this article, we will guide you through the process of setting up a private Kahoot game and enabling additional privacy features. We will also address troubleshooting common issues you may encounter along the way. So let’s dive in and discover how to make your Kahoot game private!
Setting up a Private Kahoot Game
When creating a Kahoot game, the default setting is public, allowing anyone with the game pin to join. However, if you want to restrict access to your game and make it private, follow these steps:
- Log in to your Kahoot account or create a new one if you don’t have one already.
- Click on the “Create” button on the top-right corner of the screen to start creating a new Kahoot game.
- Give your Kahoot game a catchy title and add description and cover image if desired. These details will help participants identify and set the context for the game.
- Next, add your questions, answer options, and any additional media such as images or videos to make it visually appealing. Make sure to make the questions engaging and relevant to your intended audience.
- Once you have finished creating the questions, click on the “Settings” icon on the top right to access the game settings.
- In the game settings, you will find an option called “Game options.” Click on it to expand the section.
- Under “Visibility,” toggle the switch to make the game “Private.”
- After selecting “Private,” you will have the option to set a “Time limit” for each question and choose whether you want to hide the leaderboard during the game. These settings can enhance the privacy and focus of your game.
- Finally, click on the “Save” button to save your game and exit the game settings.
Once you have completed these steps, your Kahoot game will be set to private, ensuring that only participants with the game pin will be able to join and play the game. Now, it’s time to share the game pin with your intended participants!
Sharing the Game Pin with Participants
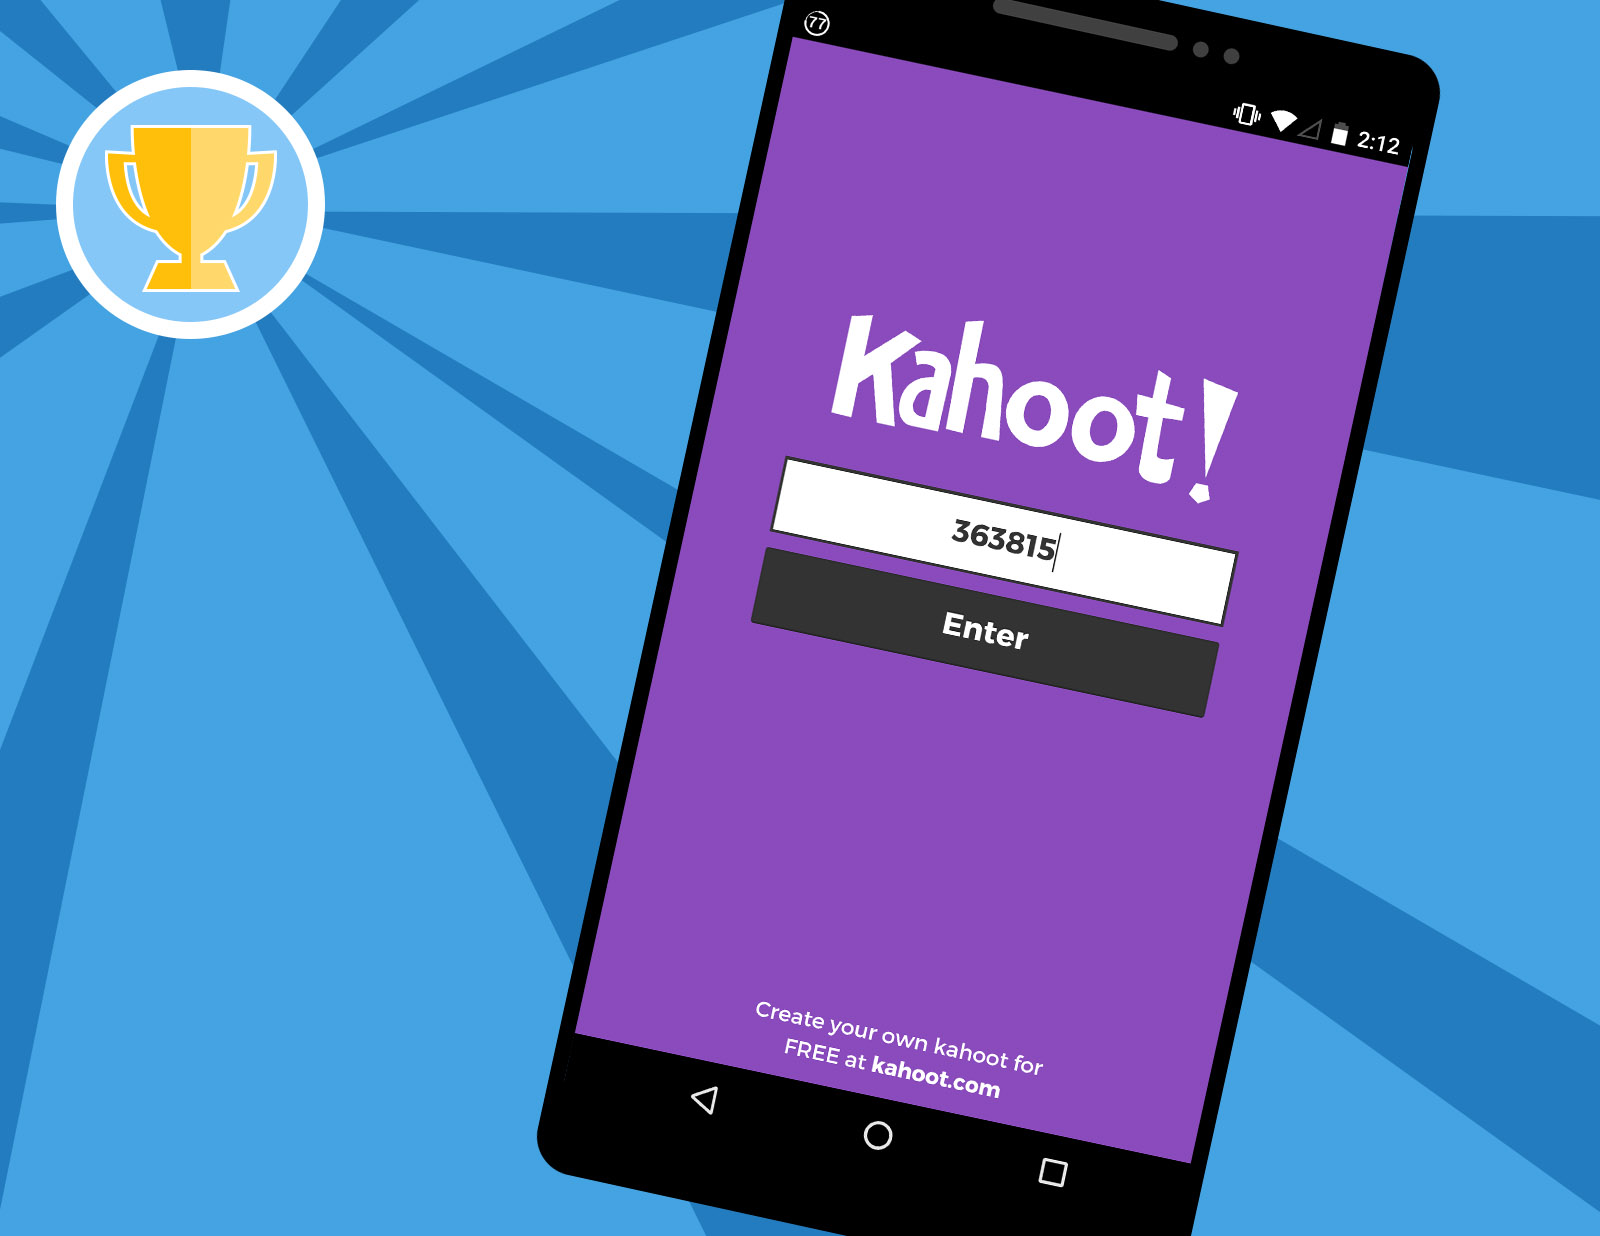
Now that you have created a private Kahoot game, it’s time to share the game pin with your participants. The game pin is a unique code that allows players to join your game.
Here are a few easy ways to share the game pin:
- Share it digitally: One of the easiest and most common ways to share the game pin is through digital platforms like email, messaging apps, or online collaboration tools. Simply send the game pin along with instructions on how to join the game to your participants’ email addresses or mobile numbers. This method is convenient and ensures that only the intended participants have access to the game pin.
- Display it in-person: If you’re hosting a game in a physical setting like a classroom or a conference room, you can display the game pin on a projector or whiteboard. Participants can then enter the game pin manually on their devices to join the game. This method works well for smaller groups or events where everyone is physically present.
- Use a QR code: Kahoot also provides the option to generate a QR code for your game pin. You can print out the QR code and display it or share it digitally with participants. Participants can scan the QR code using their mobile devices, which will automatically direct them to the game pin entry screen. This method adds a fun and convenient way for participants to join the game.
- Send a direct link: Kahoot allows you to generate a direct link to your private game. You can copy and share this link through email or other messaging apps. When participants click on the link, it will take them directly to the game pin entry screen, eliminating the need to manually enter the game pin.
Remember to communicate the method of sharing the game pin clearly to your participants to avoid any confusion. Once your participants have the game pin, they can enter it on their devices to join your private Kahoot game and start having fun!
Enabling Additional Privacy Features
In addition to setting up your Kahoot game as private, there are additional privacy features you can enable to further enhance the security and control over your game. Here are some options you can consider:
- Require sign-in: By default, participants can join a Kahoot game without signing in to their accounts. However, if you want to ensure that only authenticated users can participate, you can enable the “Require sign-in” option. This will prompt participants to sign in with their Kahoot accounts before joining the game, adding an extra layer of security.
- Enable two-step join: Two-step join is a privacy feature that requires participants to enter a nickname and a separate game pin before joining the game. This can prevent unauthorized users from joining the game and maintain the privacy of your session.
- Enable player identifiers: Player identifiers allow you to assign unique codes or nicknames to your participants, making it easier to track their progress and ensuring that only authorized players are participating in the game. You can enable player identifiers in the game settings under the “Player identifiers” section.
- Disable name generator: Kahoot has a built-in name generator that generates random nicknames for participants. While this can add a fun element to the game, you may want to disable it in a private setting to ensure that participants use identifiable names that you can recognize.
- Moderate player content: If you want to have control over the content that participants can submit during the game, you can enable the “Moderate player content” option. This allows you to review and approve or reject participant-submitted answers and other content before it is displayed to the rest of the players.
Before enabling these additional privacy features, consider the specific needs and requirements of your game. Some features, like requiring sign-in, may limit participation to only those with Kahoot accounts, while others, like player identifiers, can enhance tracking and monitoring.
By leveraging these additional privacy features, you can ensure a secure and controlled environment for your private Kahoot game.
Troubleshooting Private Kahoot Games
While setting up a private Kahoot game is straightforward, you may encounter some issues along the way. Here are a few common troubleshooting tips to help you resolve any problems:
- Double-check the game pin: If participants are having trouble joining your private Kahoot game, ensure that you have shared the correct game pin with them. Verify the game pin and communicate it clearly to ensure participants enter it accurately.
- Confirm the game settings: If participants are unable to join the game despite using the correct game pin, double-check your game settings. Make sure that the visibility is set to “Private” and that no other settings are blocking access to the game.
- Check internet connectivity: If participants are experiencing connectivity issues or are unable to load the game, ensure that they have a stable internet connection. Poor internet connectivity can disrupt the game experience or prevent participation. Advise participants to check their network connection and try again.
- Test the game as a participant: Before sharing the game pin with participants, it’s always a good idea to test the game yourself as a participant. Join the game using a different device or browser to ensure that everything is functioning as expected. This will help you identify and fix any issues before participants encounter them.
- Contact Kahoot support: If you have tried all the troubleshooting steps and are still experiencing issues with your private Kahoot game, reach out to Kahoot support for further assistance. They have a dedicated support team that can help resolve technical problems or provide guidance on the best course of action.
Remember, troubleshooting is a normal part of any technological process, and it’s important to remain patient and persistent when resolving issues. By following these tips and reaching out for support when needed, you can ensure a smooth and enjoyable experience for yourself and your participants.
Conclusion
Creating a private Kahoot game adds a layer of privacy and control to your game-playing experience. Whether you’re hosting a closed group activity or want to ensure a secure environment for your students, making your Kahoot game private allows you to choose who can participate and maintain a personalized experience.
In this article, we discussed how to set up a private Kahoot game by adjusting the game settings to make it private and explored additional privacy features you can enable, such as requiring sign-in or moderating player content. We also provided tips for sharing the game pin with your participants and troubleshooting common issues that may arise when running a private Kahoot game.
By following these steps and considering the specific needs of your audience, you can create a private Kahoot game that promotes engagement, learning, and fun in a secure and controlled environment.
So, go ahead and get creative with your private Kahoot game! Engage your students, challenge your friends, or bring the team together for an interactive and enjoyable experience. With the right settings and privacy features in place, the possibilities for learning and entertainment are endless.