Introduction
Welcome to this guide on how to publish a Kahoot draft! Kahoot is a fun and interactive learning platform that allows you to create, play, and share educational quizzes and games. By following this step-by-step guide, you’ll learn how to transform your draft into a fully published and shareable Kahoot experience.
Whether you’re an educator looking to engage your students, a trainer aiming to create interactive quizzes for your audience, or simply a Kahoot enthusiast eager to share your knowledge, this guide will walk you through the process. By the end, you’ll be able to confidently publish your Kahoot draft and start playing and sharing it with others.
Creating a Kahoot draft is just the first step in the journey towards creating an exciting and interactive quiz or game. In the following sections, we’ll explore each step in detail, from adding questions and answers to customizing the Kahoot to publishing and sharing it.
Before we dive in, it’s essential to understand the power of Kahoot in fostering learning and engagement. Kahoot allows you to gamify the learning experience, making it both educational and enjoyable. It promotes active participation, encourages healthy competition, and provides valuable insights into participants’ knowledge and progress.
So, whether you’re a teacher, a corporate trainer, or anyone looking to create an interactive quiz or game, let’s get started and learn how to publish your Kahoot draft!
Step 1: Creating a Kahoot Draft
The first step in publishing a Kahoot is to create a draft. To do this, you’ll need to access your Kahoot account or create one if you haven’t already. Once you’re logged in, follow these steps:
- Click on the “Create” button on the top right corner of the screen.
- Select the type of Kahoot you want to create, whether it’s a quiz, a survey, a discussion, or a jumble.
- Give your Kahoot a catchy and descriptive title. This will help participants understand the theme or topic of your Kahoot.
- Choose a cover image for your Kahoot. This image will appear as the thumbnail when you share your Kahoot with others.
- Decide if you want to make your Kahoot public or private. Making it public allows anyone to discover and play your Kahoot, while making it private means you can only invite specific people to access it.
- Click on the “Create” button to begin building your Kahoot draft.
Once you’ve completed these steps, your Kahoot draft will be ready for you to customize and add questions and answers.
Creating a Kahoot draft is an exciting process as it lays the foundation for an interactive and engaging learning experience. But before we move on to the next step, take a moment to think about the target audience for your Kahoot. Consider their age, educational level, and interests. By tailoring your Kahoot to their specific needs, you’ll ensure a more meaningful and impactful learning experience.
Now that you’ve created your Kahoot draft, let’s move on to the next step – adding questions and answers!
Step 2: Adding Questions and Answers
Adding questions and answers is the core of creating an engaging Kahoot experience. Follow these steps to add questions and answers to your Kahoot draft:
- Click on the “Add question” button to begin adding a new question.
- Choose the type of question you want to add, such as multiple-choice, true or false, or open-ended.
- Write the question in a clear and concise manner, keeping in mind the level of difficulty and the knowledge of your target audience.
- Add the possible answers for the question. For multiple-choice questions, provide at least two options, but you can include more if needed.
- Select the correct answer from the options provided.
- Repeat the above steps to add more questions to your Kahoot draft. You can add as many questions as you want to make your Kahoot longer and more challenging or keep it short and focused.
Keep in mind that variety and diversity in your questions will enhance the overall experience. Include different question formats, such as fill in the blanks, image-based questions, or even puzzles, to make your Kahoot more interactive and enjoyable.
In addition to adding questions and answers, you can also add images, videos, and other media to enhance the visual appeal and engagement factor of your Kahoot. Don’t hesitate to be creative and explore the various customization options available.
Remember to save your progress regularly as you add questions and answers to your Kahoot draft. This will ensure that no changes are lost and that you can easily pick up where you left off.
Now that you have added questions and answers to your Kahoot, it’s time to move on to the next step – customizing your Kahoot!
Step 3: Customizing the Kahoot
Customizing your Kahoot is an important step in creating a unique and immersive experience for your audience. Here are the key customization options to consider:
- Choose a theme: Kahoot offers a range of themes to suit different moods and topics. Select a theme that aligns with the content of your Kahoot and enhances the visual appeal.
- Add background music: To make your Kahoot more engaging, you can include background music. Choose from Kahoot’s library of music or upload your own to create the desired atmosphere.
- Set time limits: Determine how much time participants have to answer each question. This adds a sense of urgency and keeps the game moving at a brisk pace. You can customize the time limits for individual questions or set a global time limit for the entire Kahoot.
- Enable points and correct answers: Choose whether you want participants to earn points for correct answers and display the correct answers immediately after each question. This feature allows participants to track their progress and learn from their mistakes.
- Add additional media: Supplement your questions and answers by including images, videos, or other media. This can help reinforce concepts and make the Kahoot more visually engaging.
- Personalize player names: Give participants the option to create their own player names or use anonymity to encourage participation without any pressure.
By customizing your Kahoot, you can create a tailored experience that aligns with your educational goals, engages participants, and makes learning enjoyable. Experiment with different customization options, and don’t be afraid to get creative!
Once you have customized your Kahoot to your liking, it’s time to move on to the final steps – publishing and sharing your Kahoot draft.
Step 4: Publishing the Kahoot Draft
After creating and customizing your Kahoot draft, it’s time to publish it and make it available for others to play. Follow these steps to publish your Kahoot draft:
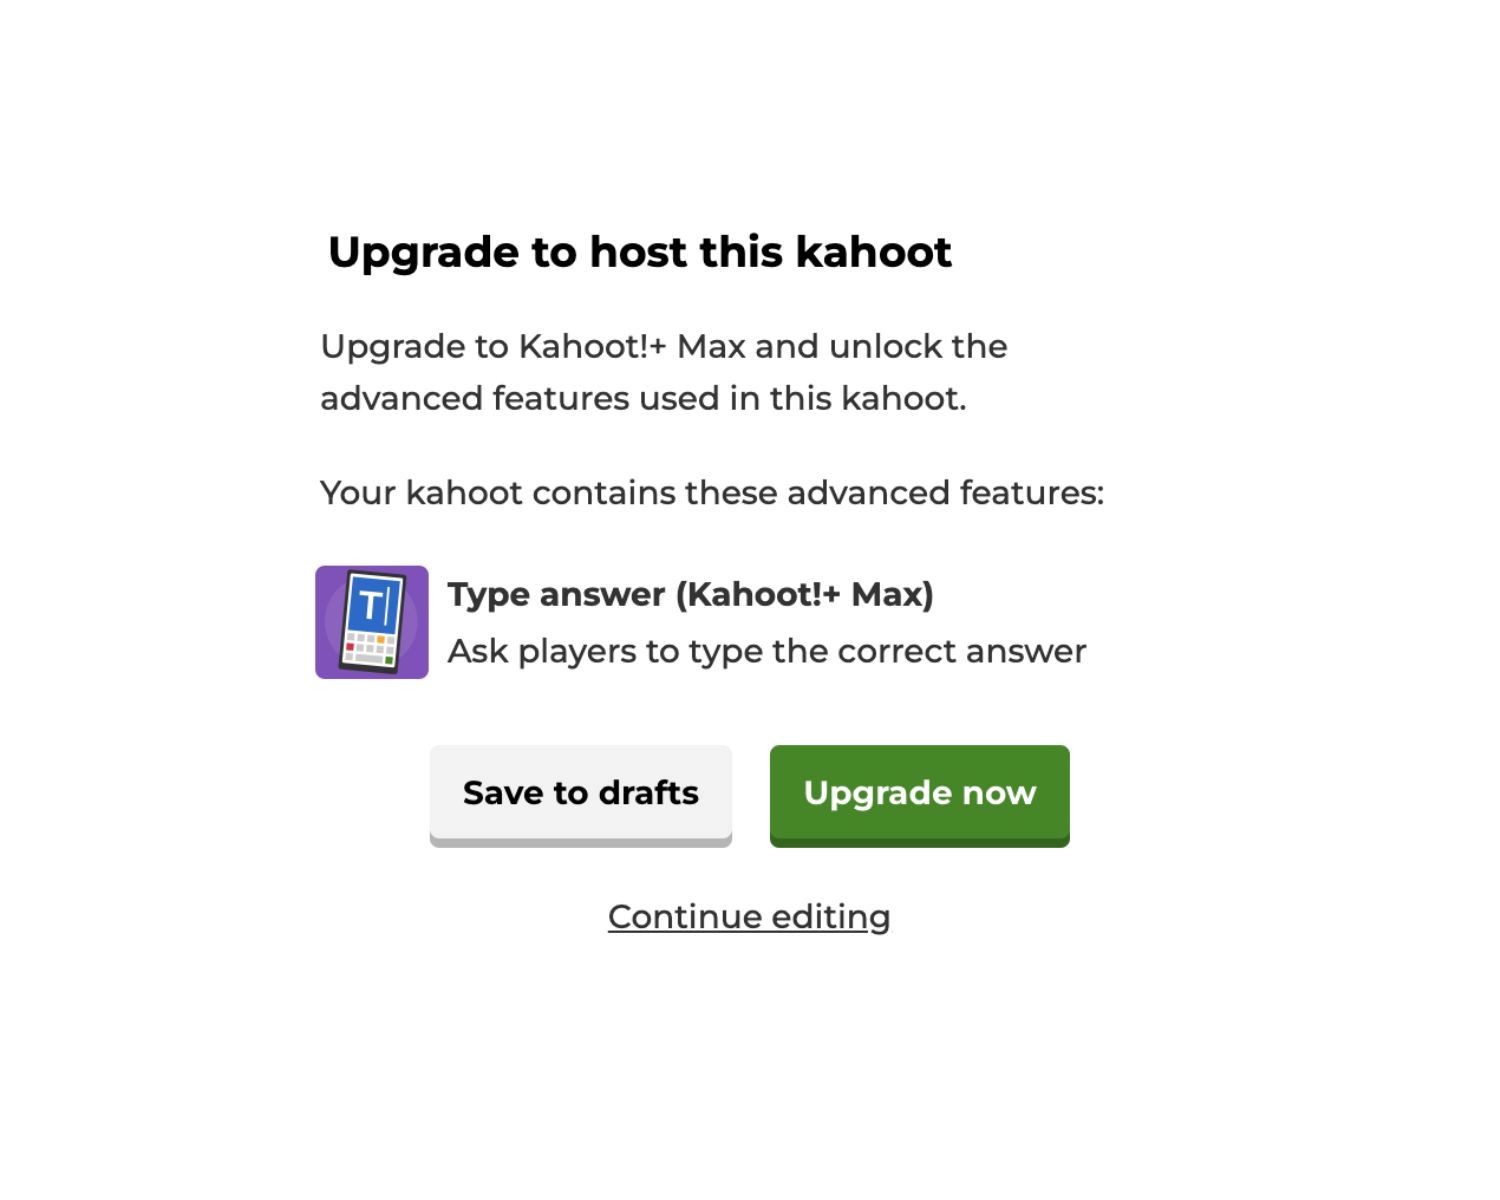
- Click on the “Save” button to ensure all your changes are saved.
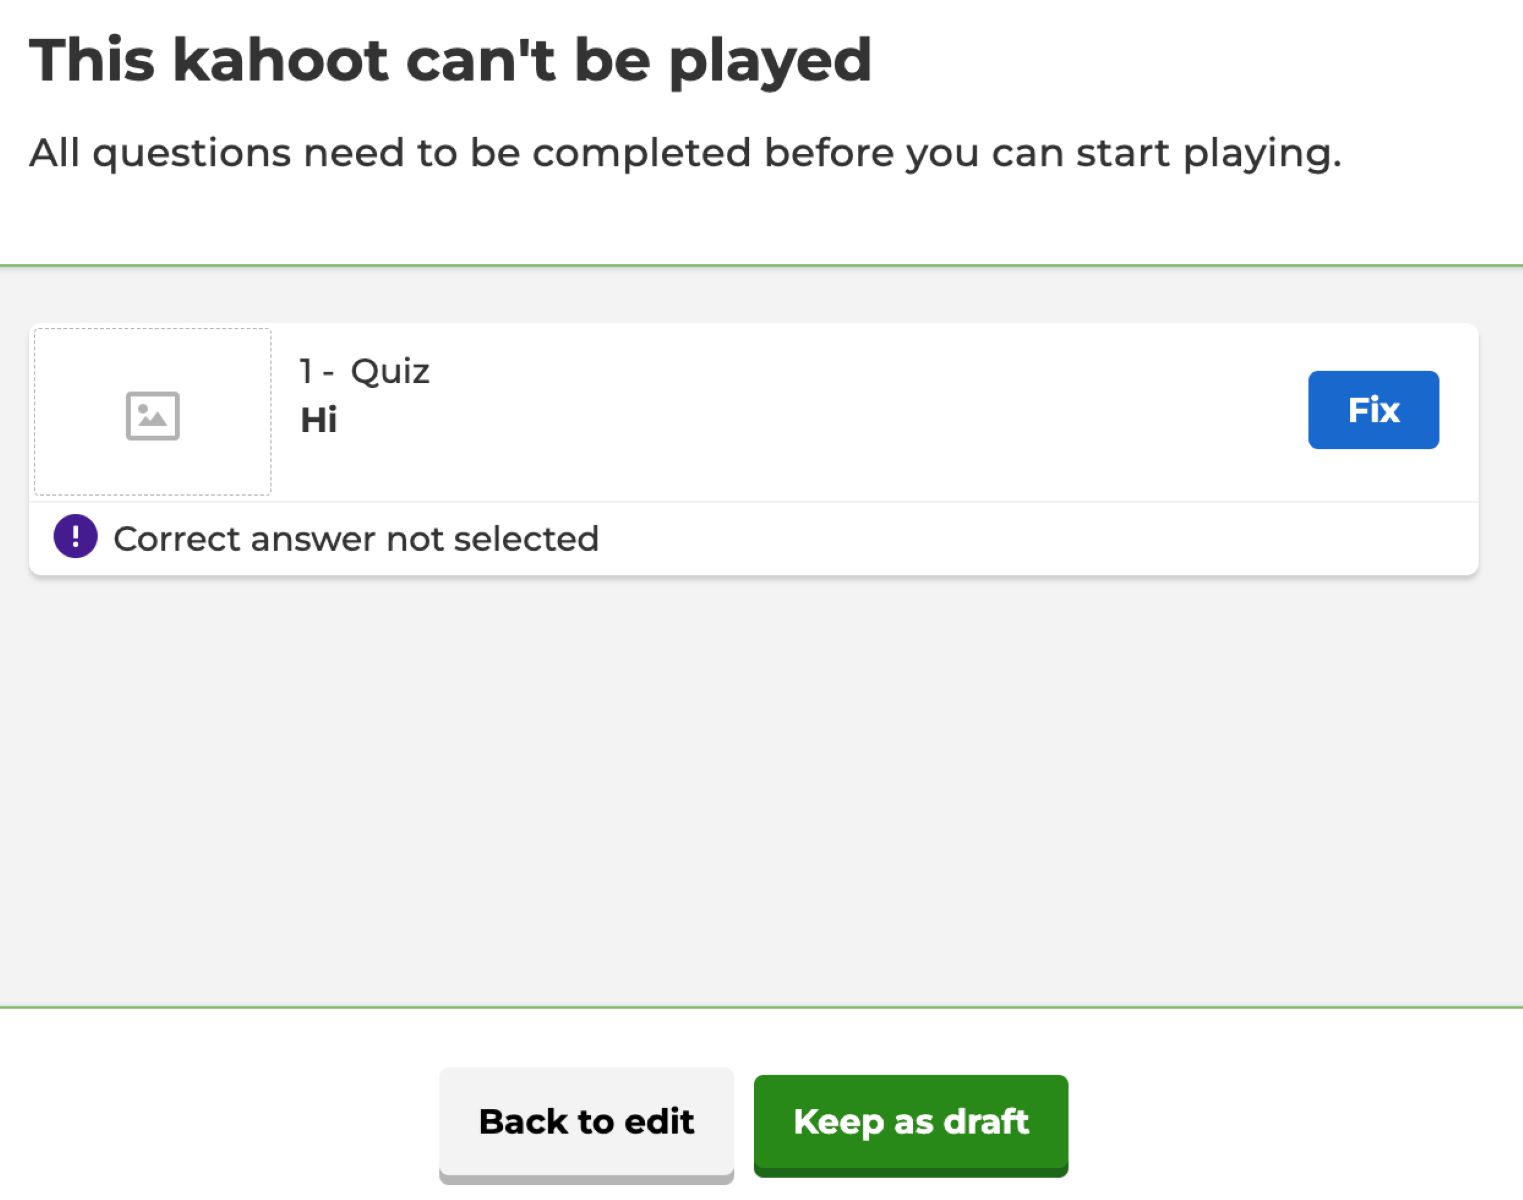
- Review your Kahoot draft to make sure everything looks and functions as intended. Double-check the questions, answers, customization settings, and any additional media you’ve added.
- When you’re confident with your Kahoot, click on the “Publish” button. This will finalize your Kahoot and make it available for others to play.
- Choose the audience for your Kahoot – whether it’s for your students, colleagues, or the general public. You can specify who can access your Kahoot by adjusting the privacy settings.
Once your Kahoot is published, you can share it with others via various methods:
- Share the unique Kahoot link with others via email, messaging apps, or social media.
- Embed the Kahoot on a website or learning management system, if applicable.
- Use the Kahoot app to host live games with participants joining from their devices.
Sharing your Kahoot allows others to play and engage with your creation, whether it’s in a classroom, a corporate training session, or a fun gathering. The more you share, the more people can benefit from your educational content or simply enjoy a fun quiz or game.
Remember to periodically check the analytics and feedback from participants to gauge the impact of your Kahoot. Leverage this information to improve and refine future creations.
Congratulations! You have successfully published your Kahoot draft. Now, let’s move on to the final step – sharing and playing the Kahoot!
Step 5: Sharing and Playing the Kahoot
Now that you have published your Kahoot, it’s time to share and play it with your intended audience. Follow these steps to share and enjoy your Kahoot:
- Share the Kahoot link: Copy the unique link of your Kahoot and share it with your participants through email, messaging apps, or other communication channels. You can also post the link on social media platforms or your website for wider reach.
- Instruct participants to access the Kahoot: Provide instructions to your participants on how to access the Kahoot. They can simply click on the shared link, which will direct them to the Kahoot game.
- Join the game: Participants can join the game by entering the game PIN displayed on the screen. They can access the Kahoot using their smartphones, tablets, or computers.
- Play the Kahoot: Once all participants have joined the game, start playing the Kahoot! The questions will appear on the shared screen, and participants will select their answers on their devices.
- Show the results: After completing all the questions, the results will be displayed, indicating the winners and their scores. The leaderboard adds a competitive element and motivates participants to engage actively.
During the game, you can monitor the progress and engagement of the participants through the live results displayed. This allows you to engage with your audience, provide feedback, and facilitate learning discussions throughout the process.
Remember to encourage participants to provide feedback on their experience with the Kahoot. This valuable feedback can help you improve and refine your future Kahoot creations.
Sharing and playing a Kahoot is an exciting and interactive experience. It promotes collaboration, knowledge retention, and a lively learning environment. So, gather your participants, share the Kahoot, and enjoy the experience together!
Conclusion
Congratulations! You have successfully learned how to publish a Kahoot draft and create an engaging and interactive learning experience. By following the steps outlined in this guide, you are now equipped to share your knowledge, engage your audience, and foster a fun and educational environment.
Creating a Kahoot draft allows you to tailor your quizzes and games to fit the specific needs of your audience, whether you are an educator, trainer, or Kahoot enthusiast. By adding questions and answers, customizing the Kahoot, and publishing it, you can create a unique and personalized learning experience.
Remember, as you customize your Kahoot, consider the interests and knowledge level of your participants. Variety in question formats, media, and customization options can enhance engagement and make the experience more enjoyable.
Once your Kahoot is published, share it with others through various channels. Whether it’s sending the Kahoot link or hosting live games through the Kahoot app, the more you share, the more people can benefit from your creation.
Playing the Kahoot with your participants allows for an interactive and competitive environment. Monitor participants’ progress, provide feedback, and encourage discussion to maximize the learning experience.
Now that you have learned how to publish a Kahoot draft, it’s time to get creative and design captivating quizzes and games that inspire learning and engagement. So go ahead, create your Kahoot, share it with the world, and enjoy the exciting journey of interactive learning!