Introduction
8mm film projectors have been a beloved tool for film enthusiasts, allowing them to experience the magic of old movies and home videos. Whether you’re a seasoned pro or a beginner, knowing how to properly load your 8mm film projector is essential to ensuring a smooth and enjoyable viewing experience.
Proper loading of the film not only prevents damage to the film itself, but also to the projector mechanism. It ensures that the film feeds through the projector smoothly, without any interruptions or snags. In this article, we will guide you through the step-by-step process of loading your 8mm film projector, from gathering the necessary supplies to troubleshooting common issues. By following these guidelines, you’ll be able to enjoy your favorite movies on the big screen with ease.
Before we dive into the details, it’s important to note that different models of 8mm film projectors may have slight variations in their loading mechanisms. Therefore, it’s always a good idea to refer to the manufacturer’s instructions specific to your projector. However, the general principles and steps outlined in this article will provide you with a solid foundation for loading your 8mm film correctly.
Importance of Proper Film Loading
Proper film loading is of utmost importance when using an 8mm film projector. It not only ensures the smooth operation of the projector but also protects the film from damage. Here are a few reasons why proper film loading is crucial:
- Prevents film damage: When the film is not loaded correctly, it can get scratched, torn, or tangled in the projector mechanism. This can lead to irreversible damage to the film and diminish the overall quality of the projected image.
- Ensures uninterrupted playback: A well-loaded film ensures that the projector feeds the film continuously without any interruptions or pauses. Proper threading prevents film jams and ensures a seamless viewing experience.
- Preserves film lifespan: The film itself is a valuable piece of history, and proper loading helps to preserve its lifespan. By avoiding unnecessary wear and tear caused by improper handling, you can prolong the longevity of your film collection.
- Prevents projector damage: Improperly loaded film can put unnecessary strain on the projector’s mechanisms and components. By following the correct loading process, you can protect your projector from potential damage and costly repairs.
- Improves image and sound quality: When the film is loaded properly, it ensures that the frames align correctly with the projector’s lens and the film is properly tensioned. This results in a clearer, sharper image and better audio synchronization.
By understanding the importance of proper film loading, you can better appreciate the significance of taking the time and care to ensure that the process is done correctly. Not only does it protect your film and projector, but it also enhances the overall viewing experience and allows you to fully immerse yourself in the magic of 8mm film projection.
Step 1: Gather the Necessary Supplies
Before you begin loading your 8mm film projector, it’s essential to gather all the necessary supplies. Having everything ready beforehand will help streamline the process and prevent any interruptions. Here are the supplies you will need:
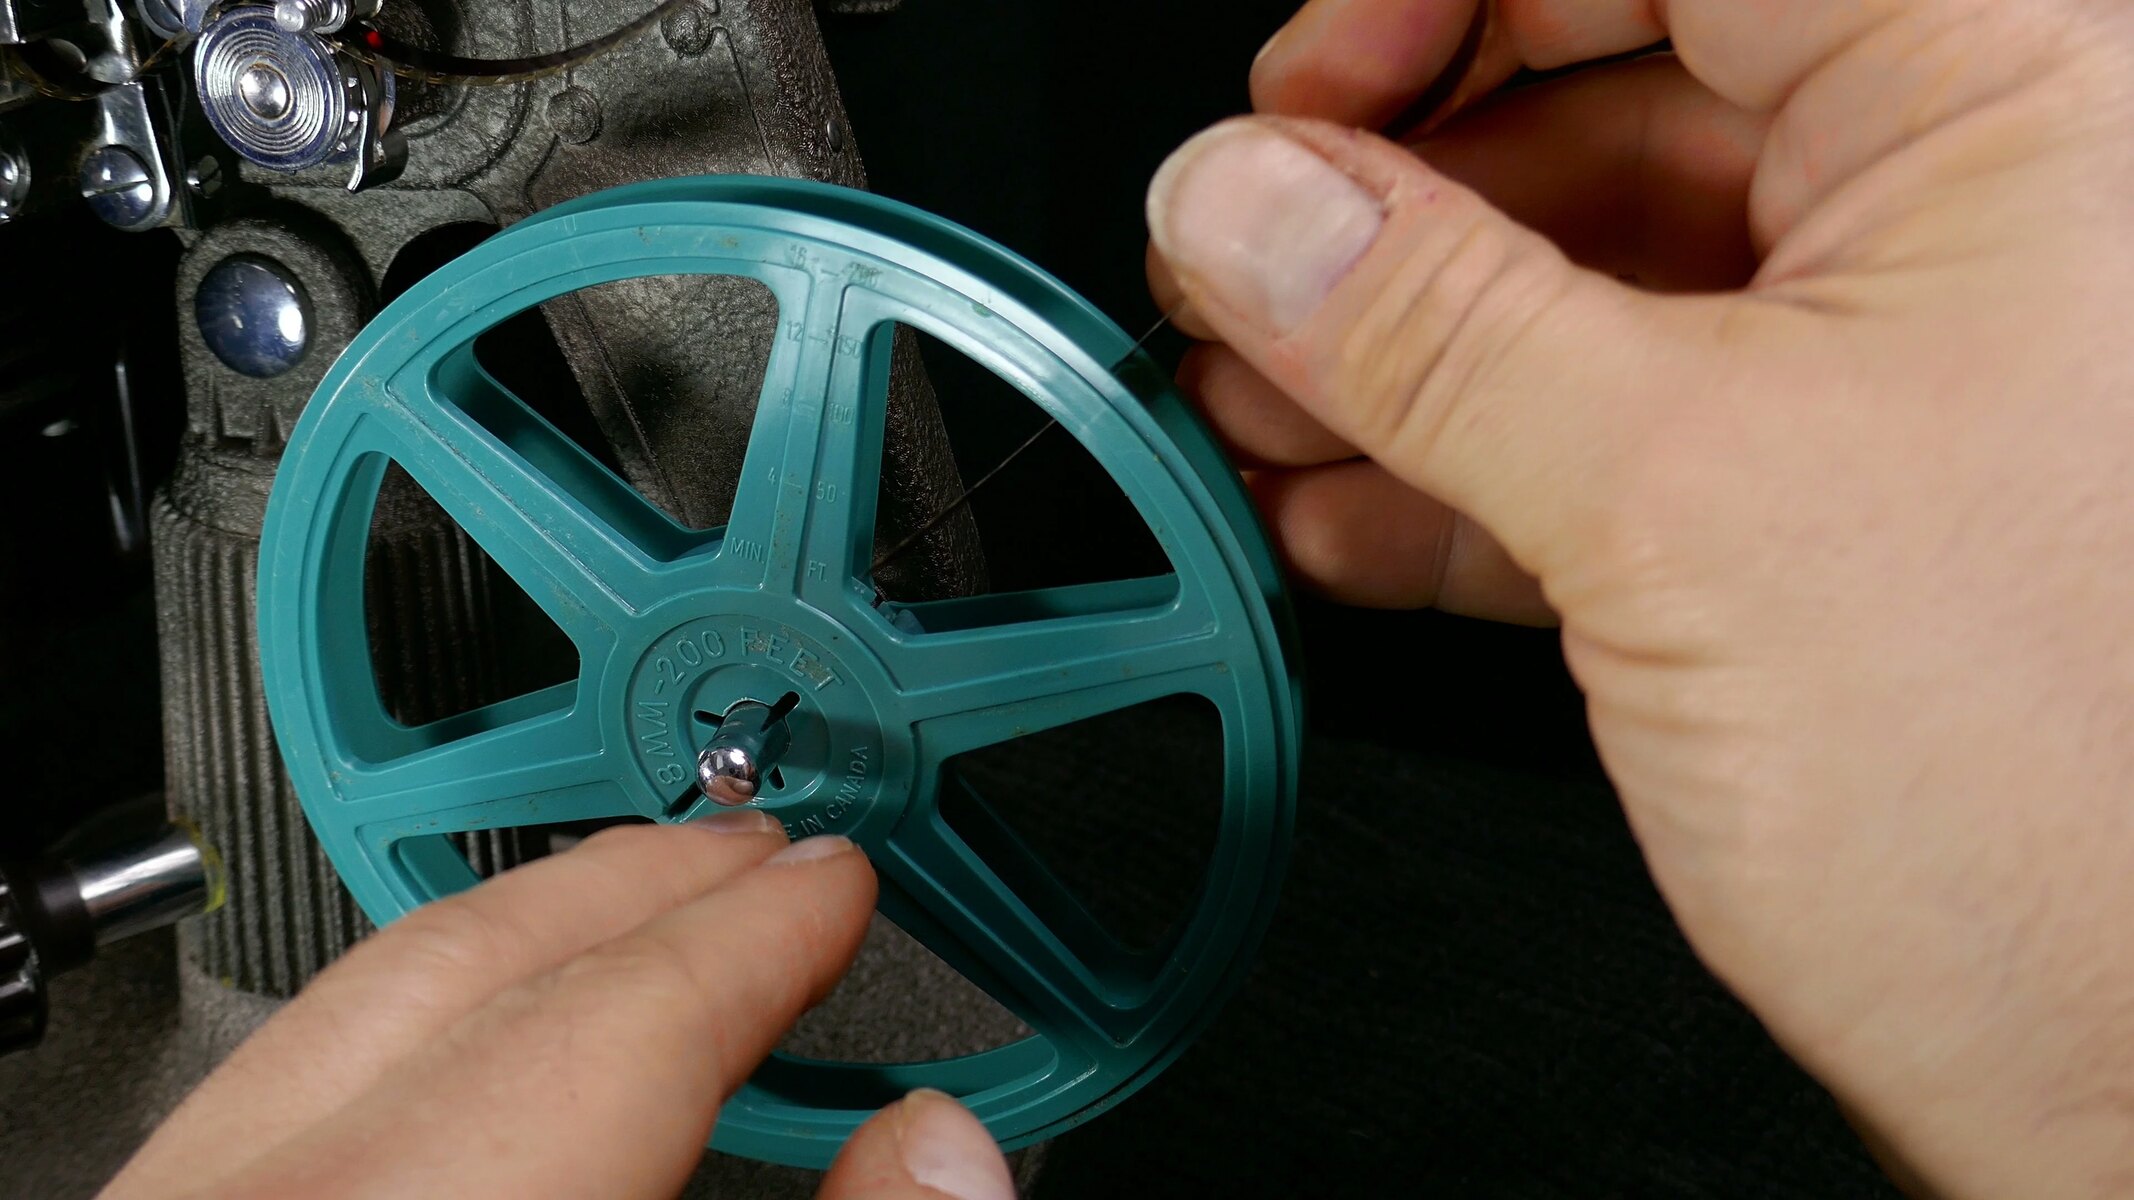
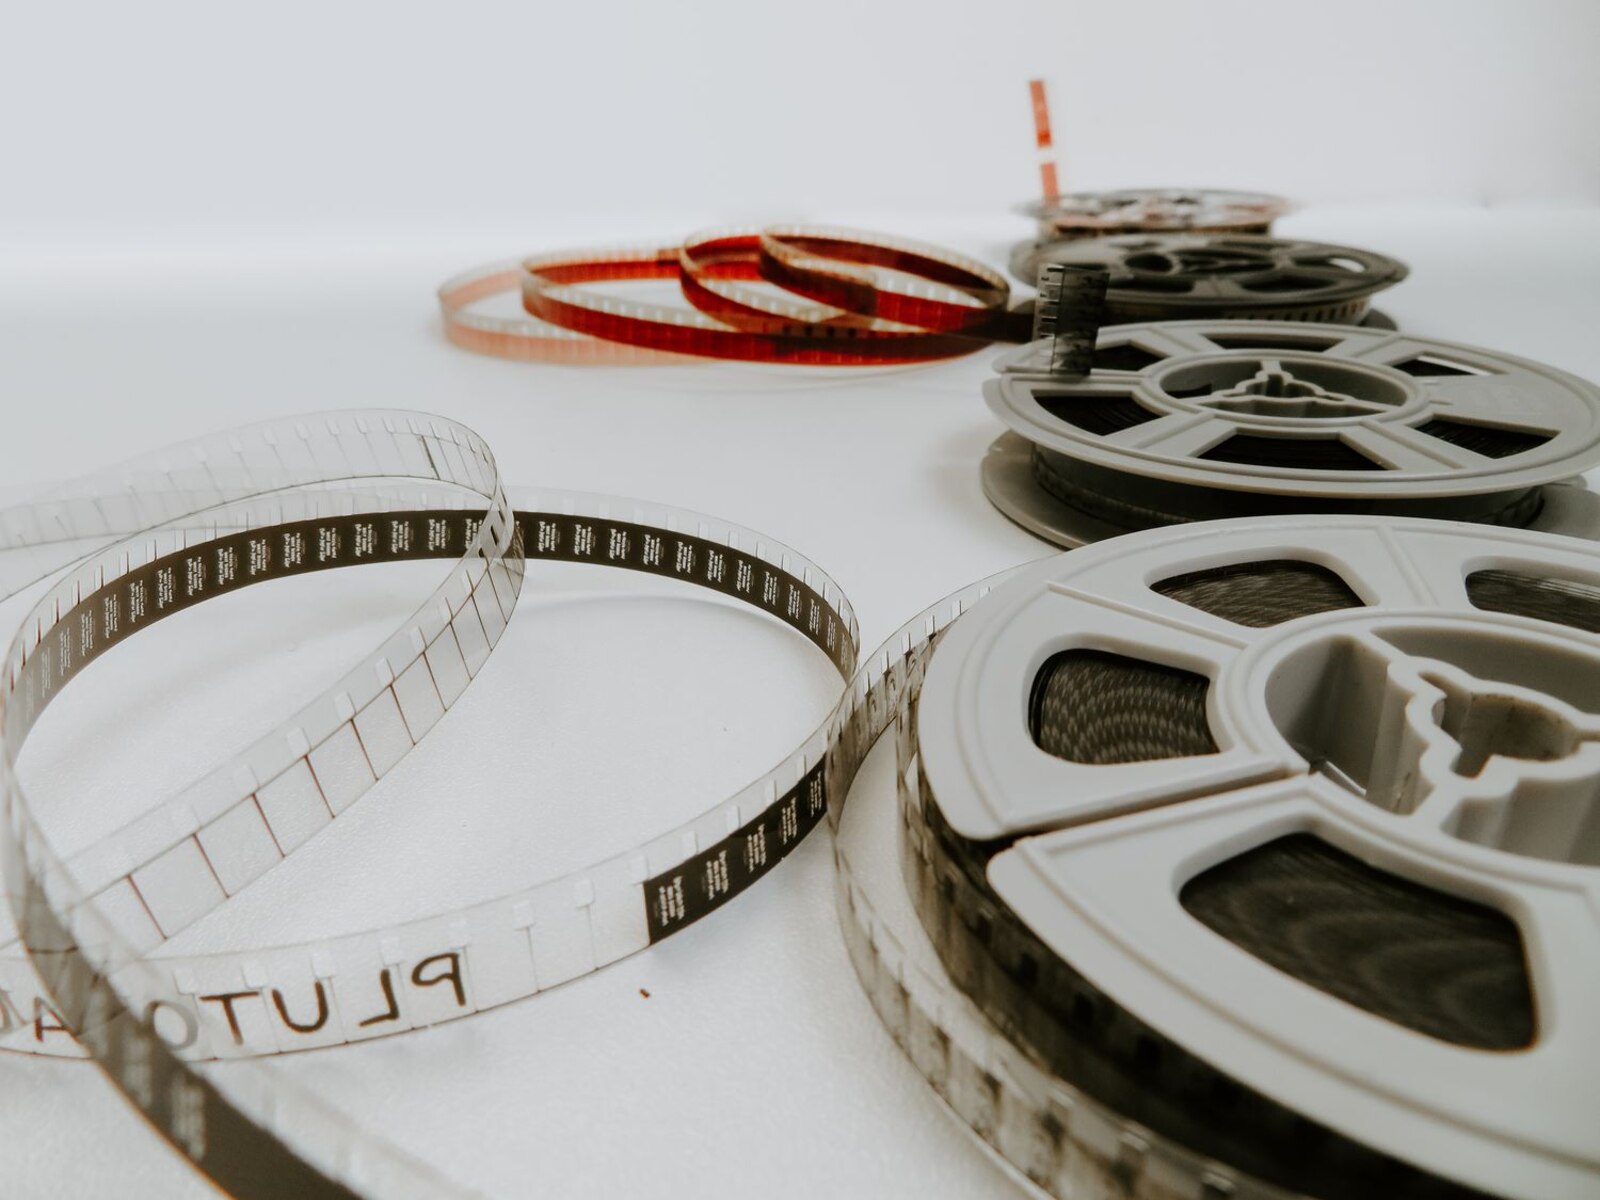
- 8mm film reel: Ensure that you have the film reel containing the movie you want to project. Make sure it’s in good condition without any tears or damage.
- Empty take-up reel: This reel will collect the film as it is projected. It should be clean and in good working condition.
- Projector bulb: Check if the projector bulb is in working order. If it’s dim or blown out, replace it before proceeding.
- Clean cloth: Have a clean, lint-free cloth ready to wipe any dust or debris from the film and projector.
- Scissors: You may need scissors to trim the film leader or make any necessary adjustments.
- Film cleaner (optional): If the film is dirty or dusty, a film cleaner can help improve image quality.
Ensure that the room is dimly lit to minimize any potential light leaks during the loading process. It’s also a good idea to have the instruction manual for your specific 8mm film projector on hand, just in case you need to refer to it.
By gathering these supplies and preparing the space beforehand, you’re setting yourself up for a smooth and hassle-free film loading process. Now that you have everything you need, let’s move on to the next step: preparing the film.
Step 2: Prepare the Film
Once you have gathered all the necessary supplies, it’s time to prepare the 8mm film for loading into the projector. Properly preparing the film ensures that it’s in the best condition possible and ready for playback. Follow these steps to prepare the film:
- Inspect the film: Carefully examine the film for any signs of damage, such as tears or breaks. If you come across any issues, consider repairing or splicing the film before proceeding.
- Remove any debris: Use a clean, lint-free cloth or a gentle film cleaner to remove any dust, smudges, or fingerprints from both sides of the film.
- Check the film leader: The film leader is the unexposed portion of the film that is used to thread the projector. Trim any excess leader length if necessary, making sure it doesn’t exceed the recommended length specified in your projector’s manual.
- Inspect the perforations: Ensure that the perforations (small holes along the edges of the film) are intact and free from any obstructions. Obstructions can cause feeding issues and may damage the film or projector.
- Align the film emulsion side: 8mm films have an emulsion side that contains the recorded image. Ensure that the emulsion side is facing the correct direction as specified by your projector’s manual.
By properly preparing the film, you can help prevent any potential issues during the loading process and ensure the best possible playback quality. Take your time to inspect, clean, and align the film before moving on to the next step of loading it into the projector.
Step 3: Open the Film Gate
Now that you have prepared the 8mm film, it’s time to open the film gate of your projector. The film gate is the area where the film will pass through during projection. Follow these steps to open the film gate:
- Refer to the manufacturer’s manual: Different 8mm film projectors have varying mechanisms for opening the film gate. Consult the manual specific to your projector model to understand the exact steps to open the film gate.
- Switch off the projector: Before opening the film gate, make sure to switch off the projector and unplug it from the power source. This ensures your safety and prevents any accidental damage.
- Locate the film gate: The film gate is typically located at the front or top of the projector. It is usually marked or labeled for easy identification.
- Unlock or release the film gate: Depending on your projector, you may need to unlock or slide a latch to release the film gate. Carefully follow the instructions in the manual to avoid any damage.
- Open the film gate: Once the film gate is unlocked or released, gently open it using the designated handle or mechanism. Be cautious not to force it open or apply excessive pressure.
Opening the film gate allows you to access the film threading area and ensures that you can properly thread the film through the projector. Take your time to familiarize yourself with your specific projector’s film gate mechanism and follow the instructions carefully to avoid any mishaps.
Step 4: Thread the Film Through the Projector
With the film gate open, you’re now ready to begin threading the 8mm film through the projector. Proper threading is crucial for smooth film feeding and uninterrupted playback. Follow these steps to thread the film:
- Locate the film path: Look for the film path, which is the designated pathway through which the film travels inside the projector. It is often marked or indicated in the projector’s manual.
- Thread the film leader: Take the film leader, the trimmed portion of the film, and feed it into the film path. Ensure that the emulsion side of the film is facing the correct direction as indicated in the manual.
- Follow the threading pattern: Consult the manufacturer’s manual to understand the correct threading pattern for your specific projector. The pattern may involve passing the film through various guides, rollers, and sprockets.
- Ensure proper tension: As you thread the film, make sure it has proper tension. It should be neither too loose nor too tight. Improper tension can result in film jams or erratic feeding.
- Thread the film onto the take-up reel: Once the film is properly threaded through the projector, guide it onto the empty take-up reel. Ensure that the film winds smoothly and evenly onto the reel.
Take your time while threading the film, following the instructions provided in the manufacturer’s manual. It may require a bit of patience and practice to master the threading process. Double-check your work to ensure the film is correctly threaded before moving on to the next step.
Step 5: Secure the Film Properly
Now that you have successfully threaded the 8mm film through the projector, it’s essential to secure the film to ensure it stays in place during projection. Properly securing the film prevents it from slipping or becoming loose, which can lead to interruptions or damage. Follow these steps to secure the film:
- Locate the film guides and tension arm: Identify the film guides and tension arm within the projector. These components are responsible for maintaining proper tension and alignment of the film.
- Align the film: Ensure that the film is properly aligned with the film guides and tension arm. It should run smoothly along the designated pathway without any twists or folds.
- Engage the tension arm: Carefully engage the tension arm to hold the film in place. This arm helps maintain consistent tension on the film throughout the projection process.
- Check for secure threading: Double-check that the film is securely threaded through all the guides, rollers, and sprockets. Verify that there are no loose or hanging portions of the film that could cause issues during projection.
By securing the film properly, you ensure that it remains in the correct position throughout the projection. This enhances the stability of the film feed and helps produce a smooth, uninterrupted viewing experience. Take your time to ensure that the film is securely fastened before proceeding to the next step.
Step 6: Close the Film Gate
After securing the 8mm film in the projector, it’s time to close the film gate. Closing the film gate ensures that the film is properly enclosed and protected within the projector’s mechanism. Follow these steps to close the film gate:
- Double-check the film threading: Before closing the film gate, double-check that the film is correctly threaded and properly aligned within the projector. Ensure that there are no loose or tangled portions.
- Gently close the film gate: Use care and precision to gently close the film gate. Avoid applying excessive force, as it can cause damage to the film or the projector’s mechanisms.
- Secure the latch or locking mechanism: Once the film gate is closed, secure the latch or locking mechanism as instructed by the manufacturer’s manual. This ensures that the film gate remains firmly closed during projection.
- Test the film gate: After closing the film gate, lightly tug on the film to ensure that it is held securely in place. If the film moves or comes loose, reopen the film gate and repeat the threading process.
Closing the film gate is an important step in the loading process as it safeguards the film and prevents it from being exposed to external elements or getting damaged. Take your time to ensure that the film gate is closed securely before proceeding to the next step of testing the film threading.
Step 7: Test the Film Threading
After closing the film gate, it’s crucial to test the film threading to ensure that it is correctly positioned and will feed smoothly during projection. Testing the film threading allows you to catch any potential issues before starting the actual projection. Follow these steps to test the film threading:
- Switch on the projector: Toggle the power switch of the projector to turn it on. Ensure that all the necessary settings are adjusted for proper playback.
- Engage the film transport: Activate the film transport function of the projector and check if the film moves smoothly through the projector’s mechanism. Observe the film path to see if there are any signs of misalignment, tension issues, or binding.
- Observe the framing: If your projector has a framing guide or adjustable frame settings, observe the projected image to ensure that it is framed properly and aligned within the screen or projection surface.
- Listen for any unusual noises: Pay attention to any unusual or excessive noises coming from the projector during the test. Unusual sounds could indicate issues with the film threading or projector mechanism.
- Inspect the film path: While the film is running in the projector, visually inspect the film path to ensure that it is properly threaded and guided through all the necessary components.
Testing the film threading allows you to catch any potential problems and make necessary adjustments before starting the actual projection. If you notice any issues with the film threading during the test, stop the projector, open the film gate, and rethread the film following the instructions in the manufacturer’s manual.
Once you are satisfied with the film threading and everything is running smoothly during the test, you are now ready to begin the actual projection. Keep in mind that regular monitoring of the film feeding is essential during the projection to ensure a seamless and enjoyable screening experience.
Step 8: Begin the Projection
After testing the film threading and ensuring that everything is running smoothly, it’s time to start the projection and bring your 8mm film to life. Follow these steps to begin the projection:
- Set the desired screen or projection surface: Position and set up the screen or projection surface in a suitable location. Ensure that it’s clean and properly aligned for optimal viewing.
- Adjust the projector settings: Make any necessary adjustments to the projector settings, such as brightness, focus, and sound volume, according to your preference and the specific requirements of the film.
- Switch on the projector: Turn on the projector and allow it a few moments to warm up. Ensure that the bulb is working and that the film transport is engaged.
- Check the projection: Observe the projected image on the screen or projection surface to ensure that it is clear, properly framed, and aligned. Adjust the focus or framing settings if necessary.
- Start the film: Begin the projection by starting the film transport function of the projector. Ensure that the film feeds smoothly and evenly from the supply reel to the take-up reel.
- Monitor the projection: Keep an eye on the projection throughout the screening, periodically checking for any issues such as skipped frames, film jams, or any signs of deterioration or damage to the film.
By following these steps, you can initiate a successful projection of your 8mm film. Pay attention to the details, such as image quality, framing, and smooth film feeding, to ensure a captivating and enjoyable viewing experience. Monitor the projection closely to address any issues that may arise and adjust the settings or make necessary adjustments as needed.
Remember to always handle the projector with care, ensuring that it remains stable and secure during the projection. Enjoy the magic of your 8mm film as it comes to life on the screen and creates a nostalgic ambiance for you and your audience.
Step 9: Monitor the Film Feeding
During the projection of your 8mm film, it’s important to continuously monitor the film feeding to ensure a smooth and uninterrupted playback. By actively observing the film feeding, you can quickly address any issues that may arise and make necessary adjustments. Follow these guidelines to effectively monitor the film feeding:
- Watch for film tension: Pay attention to the tension of the film as it moves through the projector. It should be neither too loose nor too tight. Adjust the tension if necessary, following the instructions in the manufacturer’s manual.
- Listen for unusual sounds: Be attentive to any unusual sounds or noises coming from the projector during the film feeding. Unusual sounds could indicate that the film is not moving smoothly or there are issues with the projector’s mechanism.
- Check for film jams: Keep an eye out for any signs of film jams, such as pauses or sudden stops in the film movement. If you notice a film jam, immediately stop the projector and safely clear the jam before continuing.
- Inspect the film path: Periodically inspect the film path to ensure that the film is properly guided through all the necessary components, such as guides, rollers, and sprockets. Look for any signs of misalignment or obstruction.
- Monitor the frame accuracy: Continuously observe the projected frames to ensure that there are no skipped or misaligned frames. If you notice any inconsistencies, make adjustments to the film threading or projector settings as required.
By consistently monitoring the film feeding, you can address any issues proactively, ensuring a seamless and uninterrupted viewing experience. Regular observations and quick action can help prevent damage to the film, address mechanical problems, and maintain the film projection’s overall quality.
Remember to always follow proper safety precautions while monitoring the film feeding, and do not put your fingers or any objects near the film path or projector’s interior while it is in operation.
Step 10: Troubleshooting Common Issues
During the projection of your 8mm film, it’s possible to encounter some common issues that may affect the viewing experience. Knowing how to troubleshoot these issues can help you quickly resolve them and continue enjoying your film. Here are some common issues and their potential solutions:
- Film skipping or uneven feed: If the film skips or feeds unevenly, check for any obstructions in the film path, such as dirt or debris. Clean the film path with a gentle cloth or use a film cleaner if necessary. Make sure the film is properly tensioned and aligned within the projector.
- Poor image quality: If the projected image appears fuzzy, dim, or distorted, check the projector’s focus and brightness settings. Adjust them to achieve better image quality. If the film itself is damaged or deteriorated, consider transferring it to digital format or using a film restoration service.
- Sprocket hole damage: If the sprocket holes of your film are damaged or torn, carefully repair them using archival tape or consult a professional film restoration service for assistance.
- Film jams: Film jams can occur when the film gets tangled or caught in the projector’s mechanisms. If a film jam occurs, safely and carefully turn off the projector and gently remove the film from the affected area. If the jam persists, consult the manufacturer’s manual or seek professional assistance.
- Audio synchronization issues: If you experience audio synchronization problems, check the audio settings on the projector and in the film source. Ensure that they are properly synced and make adjustments as necessary. If the audio continues to be out of sync, consider using an external audio source or consult a professional for further assistance.
Remember, if you encounter any issues during the projection, it’s always advisable to consult the manufacturer’s manual specific to your projector model. Additionally, seeking assistance from a professional or knowledgeable film enthusiast can provide valuable guidance and support in troubleshooting complex issues.
By being prepared to troubleshoot common issues, you can overcome any challenges that may arise during the projection of your 8mm film and ensure a seamless and enjoyable viewing experience.
Conclusion
Loading and projecting 8mm film can be an immersive and nostalgic experience, bringing back the charm of classic movies and precious memories captured on film. By following the step-by-step guide outlined in this article, you can confidently load your 8mm film projector and enjoy seamless playback.
From gathering the necessary supplies to troubleshooting common issues, each step plays a crucial role in ensuring the smooth operation of your projector and the preservation of your 8mm film. Proper film loading not only protects the film from damage but also enhances the quality of the projected image and sound.
Remember to refer to the manufacturer’s manual specific to your 8mm film projector for detailed instructions and any model-specific recommendations. Additionally, seeking guidance from experienced film enthusiasts or professionals can provide invaluable insights and assistance when needed.
Be patient and take your time throughout the process, paying attention to details and addressing any issues that arise promptly. By maintaining a well-maintained projector, properly cleaned and prepared film, and closely monitoring the film feeding, you can create an immersive experience for yourself and others.
Now that you have the knowledge and understanding of how to load your 8mm film projector, it’s time to revisit those cherished films and relive the magic of the past. Embrace the captivating world of 8mm film projection and continue to enjoy the unique, vintage charm it brings to your film-watching experience.


