Introduction
In today’s digital age, where software programs become increasingly complex and demanding, it is not uncommon to encounter situations where a particular program utilizes a significant amount of CPU resources. This can result in sluggish system performance, reduced efficiency, and even system crashes. It becomes imperative, then, to find ways to limit CPU usage for some programs to maintain optimal system operation.
CPU usage refers to the amount of processing power a program consumes. It is measured as a percentage and indicates how much of the CPU’s capabilities are being utilized. When a program takes up a high percentage of CPU usage, it leaves less available for other processes, leading to a slow or unresponsive system overall.
The importance of limiting CPU usage becomes evident when seeking to run resource-intensive programs alongside other applications or processes. For example, you may want to run a graphics-intensive video game while also streaming music and browsing the internet. In such cases, limiting the CPU usage of non-essential programs can help provide a smoother gaming experience and prevent stuttering or lag.
Moreover, reducing CPU usage can also be beneficial for older systems or those with lower processing power. It can help alleviate strain on the CPU and prevent overheating, extending the lifespan of the hardware and improving overall system stability.
There are various methods available to limit CPU usage for specific programs. Some involve adjusting priority levels, setting CPU affinity, or using built-in system tools like the Task Manager. Alternatively, there are also third-party software options specifically designed to manage and restrict CPU usage.
In this article, we will explore these different methods in detail and provide step-by-step instructions for implementing each one. By the end, you will have a comprehensive understanding of how to limit CPU usage for specific programs, allowing you to regain control over your system’s performance and responsiveness.
Understanding CPU Usage
Before diving into the methods of limiting CPU usage for programs, it’s essential to have a clear understanding of CPU usage and its implications. CPU usage refers to the amount of processing power that a program or process requires to run properly. It is measured as a percentage and indicates the portion of the CPU’s capabilities being utilized at any given time.
The CPU, or Central Processing Unit, is often referred to as the “brain” of the computer. It carries out instructions and performs calculations for all the programs running on the system. Each program you open or process you initiate demands a specific amount of CPU usage to complete its tasks.
When a program utilizes a high percentage of CPU usage, it means that it’s using a significant portion of the CPU’s processing power. This can result in slower system performance, decreased responsiveness, and a noticeable slowdown in other programs or processes running simultaneously.
CPU usage can vary depending on the nature of the program or process. Some programs, such as video editing software or 3D rendering applications, are inherently resource-intensive and may require a substantial amount of CPU power to function properly. On the other hand, simple tasks like browsing the internet or checking emails typically require minimal CPU usage.
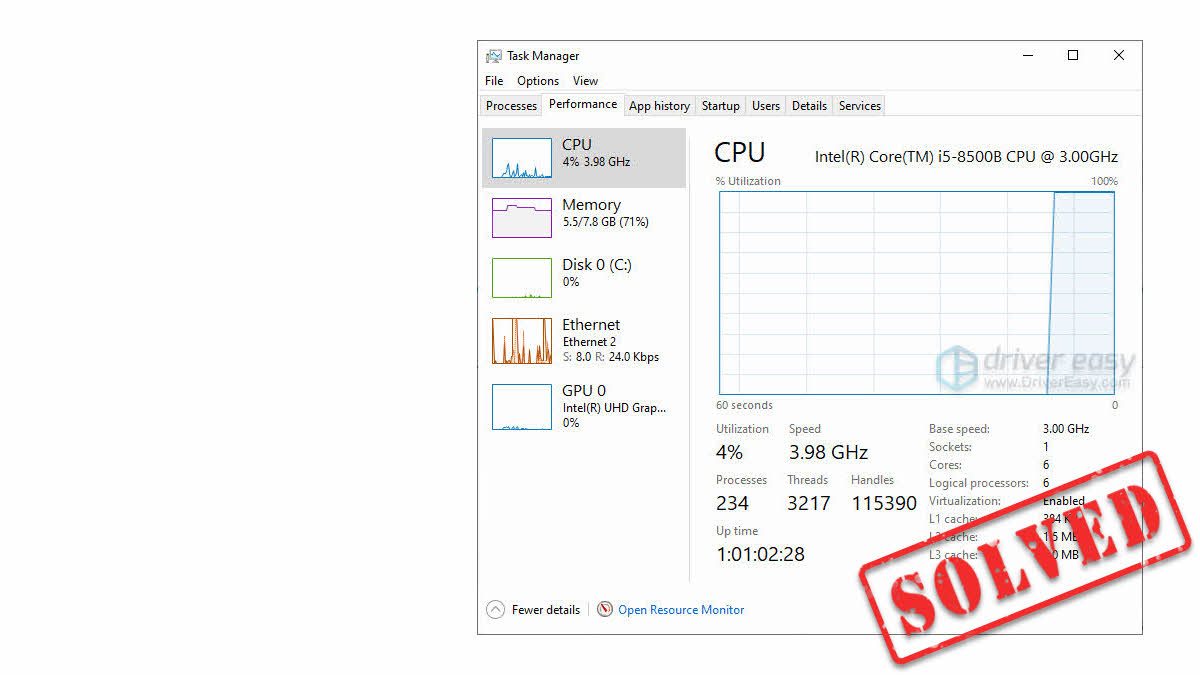
CPU usage is often depicted graphically through various system monitoring tools, such as the Windows Task Manager or third-party software. These tools provide real-time information on CPU utilization, allowing users to monitor the performance of their system and identify any programs or processes that may be causing high CPU usage.
It’s important to note that while high CPU usage can hinder system performance, it doesn’t necessarily indicate a problem. Sometimes, certain tasks or programs naturally require higher CPU usage, and this is normal. However, in cases where CPU usage is persistently high for a specific program, it may be worth exploring ways to limit it, especially if it interferes with overall system functionality.
In the following sections, we will discuss various methods that allow you to limit CPU usage for specific programs. These methods can be helpful in situations where you want to prioritize certain applications or ensure smoother system operation, especially when running resource-intensive or demanding programs alongside other tasks.
Why Limit CPU Usage?
Limiting CPU usage for certain programs can bring several benefits to your system’s overall performance and efficiency. Here are a few reasons why you might want to consider implementing CPU usage limitations:
1. Improve System Responsiveness: When a program utilizes a significant amount of CPU resources, it can cause the system to become sluggish and unresponsive. By limiting CPU usage for non-essential programs, you can free up valuable processing power and ensure that your system remains responsive, even when running resource-intensive applications.
2. Prevent System Crashes: Excessive CPU usage can push your computer’s hardware to its limits, increasing the risk of crashes and freezes. By limiting CPU usage for specific programs, you can prevent these issues and maintain a stable operating environment.
3. Optimize Multitasking: If you often find yourself running multiple programs simultaneously, limiting CPU usage for some programs can ensure a smoother multitasking experience. This allows you to carry out different tasks without one program impacting the performance of others.
4. Reduce Overheating: When a program excessively utilizes CPU resources, it can generate more heat, putting additional strain on your computer’s cooling system. By limiting CPU usage, you can help prevent overheating and protect your hardware from potential damage.
5. Extend Battery Life: If you’re using a laptop or a portable device, limiting CPU usage can help conserve battery power. By reducing the amount of processing power certain programs consume, you can extend your device’s battery life and increase the time between charges.
6. Preserve Hardware Lifespan: Constantly running resource-intensive programs at high CPU usage levels can put excessive wear and tear on your hardware, potentially reducing its lifespan. By limiting CPU usage, you can minimize strain on your computer’s components and ensure their longevity.
By implementing CPU usage limitations, you can effectively manage system resources, enhance the performance of critical applications, and achieve a better overall user experience. The next section will delve into different methods you can employ to limit CPU usage for specific programs.
Method 1: Adjust Priority Levels
Adjusting the priority levels of a program is one method to limit its CPU usage on your computer. Priority levels determine the importance of a program’s execution, allocating resources accordingly. By lowering the priority of a particular program, you can reduce its CPU usage and allocate more resources to other critical processes. Here’s how you can adjust priority levels:
- Open the Task Manager: To begin, right-click on the taskbar and select “Task Manager” from the context menu. Alternatively, you can press “Ctrl + Shift + Esc” to directly open the Task Manager window.
- Navigate to the Processes tab: In the Task Manager window, switch to the “Processes” tab. Here, you’ll find a list of currently running processes on your system.
- Identify the program: Locate the program for which you want to adjust the CPU usage. You can sort processes by CPU usage to identify any programs that are consuming a significant amount of resources.
- Right-click on the program: Once you find the program, right-click on it to open the context menu.
- Choose “Set Priority”: In the context menu, hover over the “Set Priority” option. You’ll see a list of priority levels, ranging from “Realtime” (highest) to “Low” (lowest).
- Select a lower priority: Choose a lower priority level for the program. Typically, “Below Normal” or “Low” priorities are sufficient to limit the CPU usage while ensuring the program can still function properly.
- Confirm the changes: Once you’ve selected the appropriate priority level, click on it to confirm the changes. The program’s priority level will be adjusted accordingly.
It’s important to note that adjusting priority levels might affect the overall performance of the program. Setting a priority level too low might cause the program to run slower or potentially impact its functionality. Therefore, it’s recommended to carefully consider the impact on the program’s performance before allocating a lower priority level.
This method is effective for temporarily limiting the CPU usage of a specific program. However, keep in mind that priority levels are reset once you close the program. If you want to permanently limit CPU usage, continue reading the next section for an alternative method.
Method 2: Set CPU Affinity
Setting CPU affinity is another method to limit CPU usage for specific programs. CPU affinity allows you to assign specific CPU cores or threads to a particular program, restricting its execution to those designated resources. By doing so, you can effectively control the CPU usage of the program and prevent it from utilizing all available cores. Here’s how you can set CPU affinity:
- Open the Task Manager: Begin by opening the Task Manager. Right-click on the taskbar and select “Task Manager” from the context menu. Alternatively, you can press “Ctrl + Shift + Esc” to directly open the Task Manager window.
- Navigate to the Processes tab: In the Task Manager window, switch to the “Processes” tab to view the list of processes currently running on your system.
- Identify the program: Locate the program for which you want to set CPU affinity. Identify the program in the list, considering its CPU usage and resource requirements.
- Right-click on the program: Once you find the program, right-click on it to open the context menu.
- Select “Set Affinity”: In the context menu, hover over the “Set Affinity” option and click on it. A new dialog box will appear.
- Choose CPU cores/threads: In the CPU Affinity dialog box, you will see a list of available CPU cores or threads. By default, all cores are selected. Uncheck the cores that you want to exclude from the program’s usage. Leaving only a few cores selected will limit CPU usage for that program.
- Apply the changes: Once you’ve chosen the desired CPU cores, click on the “OK” button to apply the changes. The program will now be limited to using only the selected CPU cores or threads.
Setting CPU affinity provides more granular control over CPU usage compared to adjusting priority levels. It allows you to distribute the workload of a program across specific cores, ensuring that other processes have access to unused resources. However, keep in mind that you should carefully select the cores to avoid overloading any single core or creating an imbalance in the system.
It’s important to note that like adjusting priority levels, CPU affinity settings are not permanent and will reset once you close the program. If you want to permanently limit CPU usage or prefer a more automated solution, the next section will introduce you to the use of Task Manager to achieve this goal.
Method 3: Use Task Manager
The Task Manager, a built-in tool in Windows operating systems, offers a convenient way to limit CPU usage for specific programs. It allows you to control processes and applications running on your computer, effectively managing their resource utilization. Here’s how you can use Task Manager to limit CPU usage:
- Open the Task Manager: To begin, right-click on the taskbar and select “Task Manager” from the context menu. Alternatively, you can press “Ctrl + Shift + Esc” to directly open the Task Manager window.
- Navigate to the Processes or Details tab: In the Task Manager window, switch to either the “Processes” or “Details” tab. Here, you’ll find a list of currently running processes or programs.
- Identify the program: Locate the program for which you want to limit CPU usage. You can sort processes by CPU usage to identify any programs that are consuming a high amount of resources.
- Select the program: Once you find the program, right-click on it to open the context menu.
- Choose “Set Affinity” or “Set Priority”: In the context menu, you’ll see options such as “Set Affinity” or “Set Priority,” depending on your version of Windows. Select the appropriate option.
- Set CPU affinity or priority: In the subsequent dialog box, you can adjust the CPU affinity by selecting specific cores or threads, or you can modify the priority level to lower the program’s CPU usage. Make your desired changes.
- Apply the changes: Click on the “OK” button to apply the changes. The program’s CPU usage will now be limited according to your settings.
Using the Task Manager provides a flexible and user-friendly way to control CPU usage for specific programs. It allows you to customize settings on the go, making it convenient to manage resource allocation when needed.
However, similar to the previous methods, Task Manager’s CPU affinity and priority settings are not permanent. You will need to adjust them each time you launch the program. If you require a more persistent solution or prefer a dedicated software for managing CPU usage, the next method will introduce you to third-party software options.
Method 4: Use Third-Party Software
If you’re looking for a more comprehensive and automated approach to limit CPU usage for specific programs, you can consider using third-party software. There are several applications available that specialize in managing and controlling CPU usage, providing additional features and flexibility. Here’s how you can use third-party software to limit CPU usage:
- Research and choose a reliable software: Start by researching different third-party software options that specifically focus on CPU usage management. Look for reputable software with positive reviews and features that align with your requirements.
- Download and install the software: Once you’ve selected a suitable software, download it from the official website and follow the installation instructions provided.
- Launch the software: After installation, launch the software on your computer.
- Explore the features: Familiarize yourself with the software’s interface and available features. Most CPU usage management software provides options to set CPU affinity, adjust priority levels, and even create profiles for specific programs or processes.
- Select the program: Identify the program that you want to limit CPU usage for within the software’s interface.
- Apply the CPU usage restrictions: Use the software’s controls to set the desired CPU affinity, priority levels, or any other available restrictions for the selected program.
- Save the settings: Once you’ve made the necessary adjustments, save the settings within the software.
- Configure startup options (if available): Some CPU usage management software allows you to configure the settings to automatically apply when you start your computer or launch the specific program.
Using third-party software can provide a more streamlined and automated way to limit CPU usage. It offers advanced features, customization options, and the convenience of having all CPU usage management controls in one place.
However, when selecting third-party software, it is essential to ensure that you download from trusted sources to avoid malware or potentially harmful programs. Additionally, keep in mind that some third-party software may be paid, so it’s essential to check for any trial versions or pricing information before committing to a particular application.
Now that you have an understanding of various methods to limit CPU usage for specific programs, you can choose the most suitable approach based on your preferences and requirements. Remember to exercise caution when manipulating CPU usage settings to ensure the stability and functionality of your system.
Conclusion
Managing and limiting CPU usage for specific programs can greatly improve the performance and efficiency of your computer system. Whether you want to optimize multitasking, prevent system crashes, reduce overheating, or extend battery life, there are several methods at your disposal.
In this article, we explored four methods for limiting CPU usage:
- Adjusting priority levels: By lowering the priority of a program, you can allocate more CPU resources to other critical processes.
- Setting CPU affinity: This method allows you to assign specific CPU cores or threads to a program, restricting its execution to those designated resources.
- Using Task Manager: Task Manager provides a built-in solution to manage CPU usage for programs, allowing you to customize CPU affinity and priority settings.
- Utilizing third-party software: There are various third-party applications available that offer more advanced features and automation for managing CPU usage, providing additional flexibility and control.
Each method has its own advantages and considerations. The choice of method depends on your specific needs, the level of control you require, and the complexity of your system.
Remember, it’s essential to approach CPU usage limitations with caution. Adjusting priorities or CPU affinity too aggressively may result in reduced program performance or functionality. Always be mindful of the impact on system stability and ensure that critical processes have sufficient resources to function optimally.
By implementing the appropriate methods to limit CPU usage for specific programs, you can significantly enhance system responsiveness, prevent crashes, optimize multitasking, reduce overheating, and ultimately improve the overall performance of your computer system.