Introduction
Adding LED lighting to your PC case is a fantastic way to personalize your gaming setup and create a stunning visual display. Not only does it enhance the aesthetics of your computer, but it also allows you to showcase your unique style and personality.
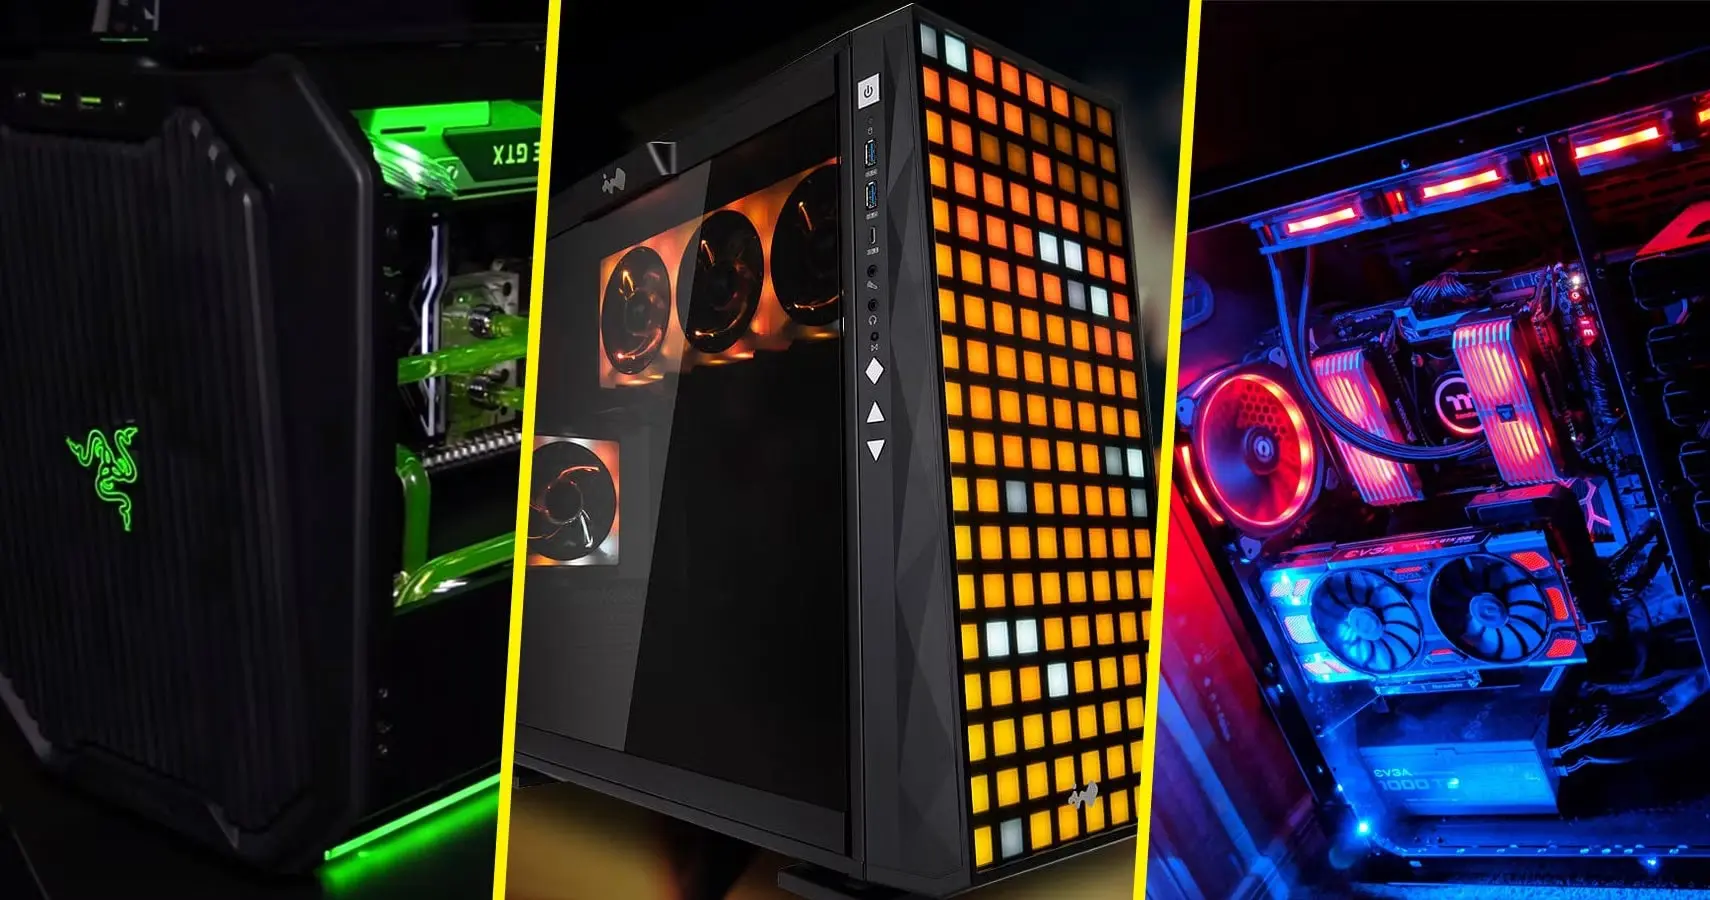
With a wide range of LED strips available in the market today, you have the freedom to design and create mesmerizing lighting effects that will make your PC case truly stand out. Whether you prefer a vibrant rainbow display or a soothing single-color glow, the options are limitless.
In this article, we will guide you through the process of lighting up your PC case, from planning your setup to troubleshooting common issues. By following these steps, you will transform your computer into a dazzling masterpiece that will amaze your friends and elevate your gaming experience to a whole new level.
Before we dive into the details, it’s important to note that while adding LED lighting to your PC case is not a complex task, it requires careful planning and a basic understanding of electrical connections. If you are uncomfortable working with electronic components or are unsure about any step, it’s always best to consult a professional.
So, let’s get started on this exciting journey of illuminating your PC case and turning it into a visual masterpiece that will awe and inspire!
Planning Your Lighting Setup
Before diving into the installation process, it’s essential to spend some time planning your lighting setup. This will ensure that you achieve the desired aesthetic and make the installation process smoother.
Firstly, consider the overall theme or vibe you want to create. Do you prefer a vibrant and colorful setup or a more subtle and minimalistic look? Understanding your desired outcome will help you choose the right LED strips and lighting effects.
Next, carefully examine your PC case to identify the optimal locations to place your LED strips. Take note of any grooves, corners, or gaps where the strips can be easily tucked away to avoid obstructing other components. Additionally, think about how the lighting will interact with different parts of your setup, such as the motherboard, graphics card, or CPU cooler.
Take measurements to determine the length of LED strips required to cover each area. It’s advisable to have slightly more length than necessary to account for any bends or cuts that might be required during installation.
Consider the power source for your LED strips. Will you be connecting them directly to the power supply or using a separate controller? Ensure that the power supply has enough capacity to support the additional load.
Another crucial aspect to consider is the control mechanism for your LED strips. Some LED strips come with a built-in controller, while others require an external controller that can provide additional customization options. Determine your preference and choose LED strips accordingly.
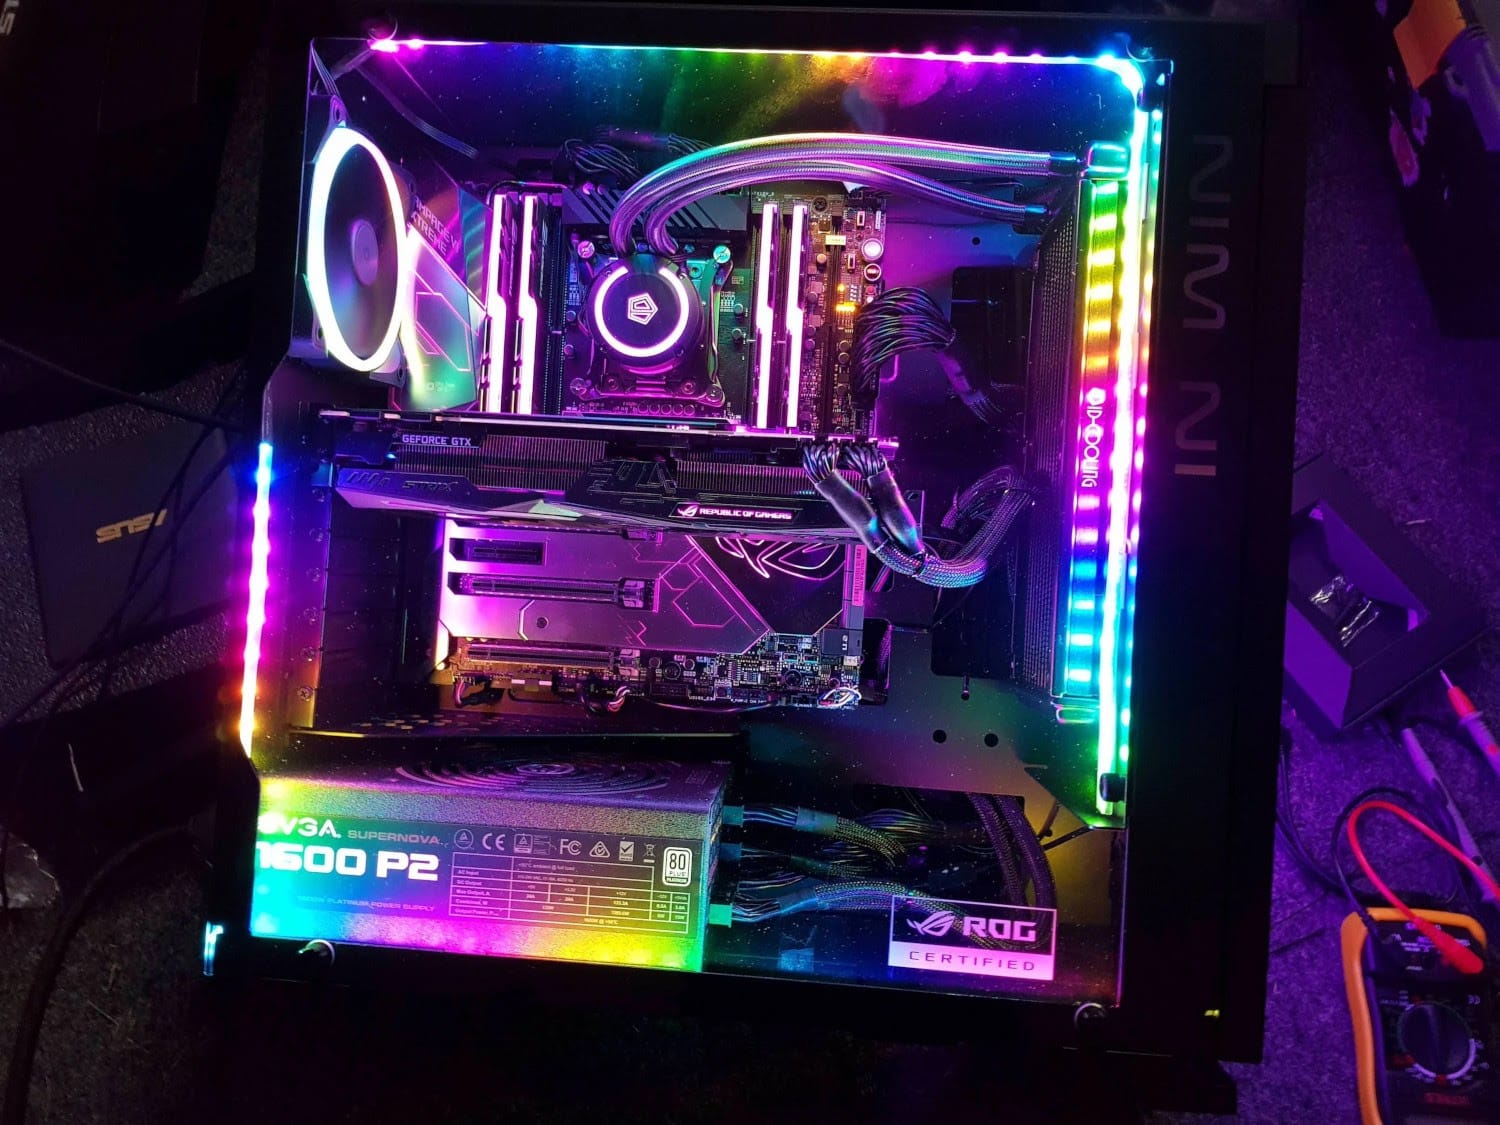
Lastly, think about the aesthetics of your setup as a whole. Will you be incorporating other lighting elements, such as RGB fans or liquid cooling systems? Ensure that the colors and effects of the LED strips complement the rest of your components and peripherals.
By planning your lighting setup beforehand, you’ll have a clear vision of how you want your PC case to look and function. This will make the installation process much smoother and ensure that you achieve the desired result without any hiccups.
Choosing the Right LED Strips
When it comes to choosing LED strips for your PC case, there are several factors to consider to ensure that you get the desired lighting effects and functionality. Here are some key factors to keep in mind:
1. Brightness: Consider the level of brightness you want to achieve with your LED strips. Higher brightness levels can create a more eye-catching display, but make sure they are not too overpowering, especially if you intend to use your PC in a dark environment.
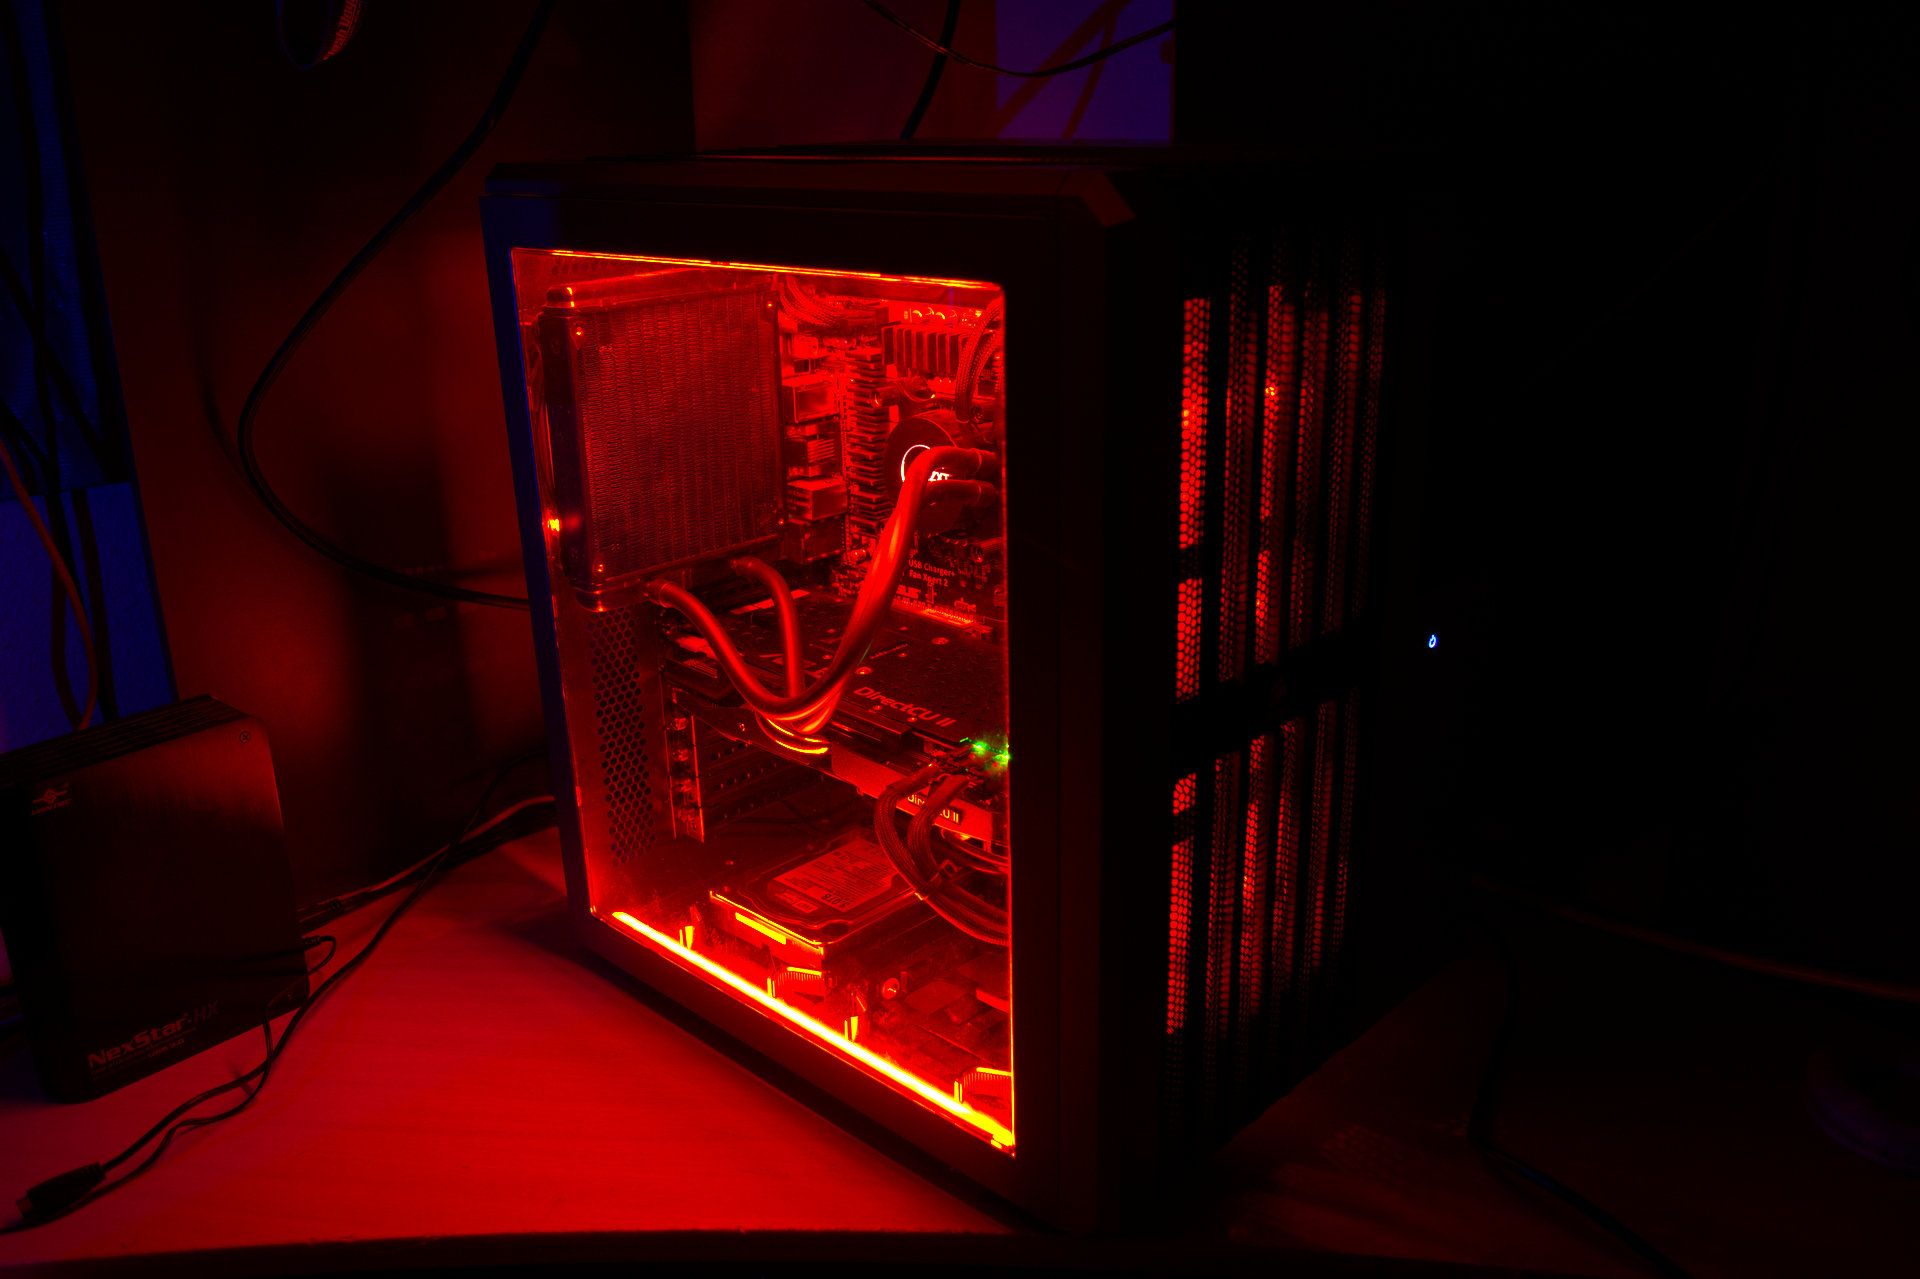
2. Color: LED strips come in a variety of colors, including single-color options like red, blue, or green, as well as RGB (Red, Green, Blue) strips that offer a spectrum of customizable colors. Choose the color that best suits your theme or allows for versatile customization.
3. Length: Measure the areas of your PC case where you intend to place the LED strips to determine the required length. It’s advisable to have some extra length to accommodate any bends or cuts that may be needed during installation.
4. Adhesive backing: Check if the LED strips come with adhesive backing for easy installation. This will ensure that the strips securely adhere to the desired locations within your PC case.
5. Waterproofing: If you plan to use LED strips in areas where there may be exposure to moisture or liquid, it’s essential to choose waterproof LED strips. This will prevent any damage or malfunction caused by accidental spills or condensation.
6. Compatibility: Ensure that the LED strips you choose are compatible with your power supply and control mechanism. Some LED strips require a specific voltage or connector type, so double-check the specifications before making a purchase.
7. Additional features: Explore any additional features that LED strips may offer, such as customizable lighting effects, remote control options, or synchronization with other RGB components. These features can add an extra level of customization and control to your lighting setup.
By carefully considering these factors, you can select LED strips that align with your vision for your PC case lighting. Remember to check customer reviews and ratings to gauge the quality and reliability of the product before making a final decision.
Preparing Your PC Case
Before you begin installing the LED strips, it’s important to prepare your PC case to ensure a smooth and successful installation process. Here are some steps to follow:
1. Clean the case: Start by thoroughly cleaning the inside of your PC case. Remove any dust, debris, or cables that may obstruct the installation or interfere with the LED strips. A clean and clutter-free case will make it easier to install and showcase the lighting effects.
2. Plan the routing: Plan the routing of the LED strips within your PC case. Determine the most efficient paths for the strips, avoiding areas with high heat sources, sharp edges, or moving parts. It’s important to route the strips in a way that they are visible and provide even illumination without obstructing the airflow or causing any damage to other components.
3. Prepare the surface: Ensure that the surface where you will be attaching the LED strips is clean and free of any dust or residue. This will help the adhesive backing of the LED strips to establish a secure bond with the surface of your PC case.
4. Test fit the strips: Before removing the backing of the adhesive, test fit the LED strips in the desired locations within your PC case. This will allow you to make any necessary adjustments or changes in positioning before final installation.
5. Plan the cable routing: Consider the cable routing for the LED strips and plan how to hide or manage the wiring to maintain a clean and organized look. Tuck the cables away from any moving parts or components that generate heat to prevent any interference or damage.
6. Secure loose cables: Secure any loose cables within your PC case using cable ties or clips. This will prevent them from tangling with the LED strips or obstructing the airflow within your PC.
By taking the time to prepare your PC case, you will ensure that the installation process goes smoothly and that the LED strips are positioned and routed in the most effective and visually pleasing way.
Installing the LED Strips
Now that you have prepared your PC case, it’s time to install the LED strips. Follow these step-by-step instructions for a successful installation:
1. Remove the adhesive backing: Carefully remove the adhesive backing from the LED strips, exposing the sticky side.
2. Align the strips: Align the LED strips with the planned positioning within your PC case. Start from one end and slowly press the strip against the surface, ensuring that it adheres firmly and smoothly.
3. Apply pressure: Apply gentle pressure along the entire length of the LED strip to strengthen the bond between the strip and the surface of your PC case. This will prevent any loose areas or potential peeling in the future.
4. Cut and bend if necessary: If the LED strip is longer than the area you intended to cover, use scissors or a designated cutting tool to trim the strip to the desired length. Ensure that you cut along the designated cutting lines, usually marked on the strip itself.
5. Bend the strip to fit: If you need to navigate corners or angles within your PC case, carefully bend the LED strip using gentle force. Most LED strips are flexible and can be bent to a certain extent without damaging the lights.
6. Repeat the process: Repeat the above steps for each section of LED strip that you planned to install in your PC case, ensuring a consistent and uniform display of lighting effects.
7. Secure loose ends: If you encounter any loose ends or sections of the LED strip that do not adhere properly, use adhesive tape or cable ties to secure them in place. This will prevent any movement or potential damage.
8. Double-check alignment: Once all the LED strips are installed, double-check their alignment and make any necessary adjustments to ensure they are placed exactly as intended.
By following these installation steps, you will successfully install the LED strips and bring your PC case to life with vibrant and eye-catching lighting effects.
Connecting the LED Strips to the Power Supply
Now that you have installed the LED strips in your PC case, it’s time to connect them to the power supply. Follow these steps to ensure a safe and proper connection:
1. Identify the power source: Determine the type of connector required to connect the LED strips to the power supply. Most LED strips come with either a standard 4-pin connector or a 3-pin connector. Refer to the user manual or manufacturer’s instructions to identify the correct connector type.
2. Locate the connector on the LED strip: Look for the connector on the end of the LED strip. It is usually marked with an arrow indicating the direction of the connection.
3. Align and connect: Align the connector on the LED strip with the corresponding connector on the power supply. Ensure that the pins match and the connectors fit together snugly.
4. Secure the connection: Once the connectors are properly aligned, gently push them together until they click into place. This ensures a secure and reliable connection.
5. Double-check the connection: After connecting the LED strip to the power supply, double-check the connection to ensure that it is secure and there are no loose or exposed wires. A loose connection can cause the LEDs to flicker or malfunction.
6. Turn on the power: Once the LED strips are connected, turn on the power supply and check if the lights illuminate as expected. If the lights do not turn on, double-check the connection and make sure the power supply is functioning correctly.
7. Test the lighting effects: If your LED strips come with a built-in controller, test different lighting effects and colors to ensure that they are functioning properly. If you are using an external controller, follow the manufacturer’s instructions to customize the lighting effects.
It’s important to note that electrical connections should be handled with care. If you are unsure about any step or are uncomfortable working with electronic components, it’s recommended to consult a professional to avoid any potential harm or damage.
By following these steps, you will successfully connect the LED strips to the power supply and bring the mesmerizing lighting effects to life within your PC case.
Customizing Your Lighting Effects
After connecting the LED strips to the power supply, you can now unleash your creativity and customize the lighting effects to suit your preference. Here are some ways to personalize and create stunning lighting displays:
1. Built-in controller: If your LED strips come with a built-in controller, familiarize yourself with the different settings and modes available. Experiment with various colors, patterns, and brightness levels, and find the combination that best reflects your style and enhances your PC case’s aesthetics.
2. External controller software: Some LED strips require an external controller that can be managed using dedicated software. Install the software provided by the manufacturer and explore the customization options it offers. From preset lighting effects to creating your own unique patterns, the software allows for endless possibilities.
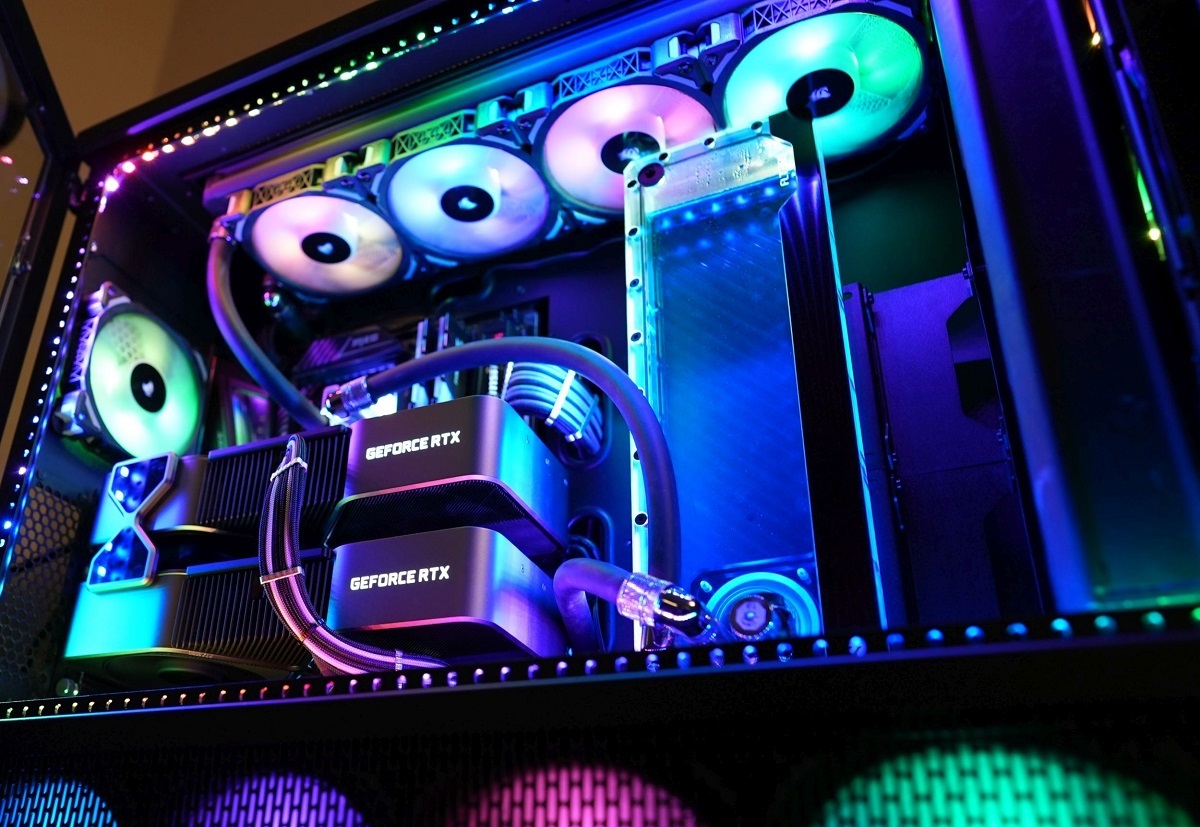
3. Synchronization: If you have other RGB components in your setup, such as RGB fans or a keyboard, consider syncing the lighting effects to create a unified and visually pleasing display. Synchronization software or hardware allows you to control all the RGB components together, providing a harmonious lighting experience.
4. Music sync: For an immersive experience, select LED strips that are capable of syncing with your music or sound effects. This feature analyzes the audio input and adjusts the lighting effects to match the rhythm, providing a dynamic and captivating visual representation of your audio.
5. Color schemes: Experiment with different color schemes to set the mood and create a unique atmosphere. Opt for a single color for a sleek and minimalistic look, or explore multi-color combinations to add vibrancy and excitement to your PC case.
6. Dynamic effects: Many LED strips offer dynamic lighting effects, such as fading, strobing, or pulsating. Customize the speed and intensity of these effects to create a dynamic and eye-catching display that reflects your style and captivates attention.
7. Presets and profiles: Take advantage of any preset lighting profiles provided by the manufacturer or create your own profiles. Save your favorite configurations to easily switch between different lighting effects based on your mood or preference.
Remember to take breaks between customization sessions to rest your eyes and evaluate the impact of the lighting effects in different lighting conditions. Play around with different settings until you achieve the perfect balance that enhances your PC case’s aesthetics and showcases your creativity.
Troubleshooting Common Issues
While installing and customizing LED strips for your PC case is an exciting process, you may encounter some common issues along the way. Here are a few troubleshooting tips to help you overcome potential problems:
1. LEDs not turning on: If the LED strips do not light up after connecting them to the power supply, double-check the connection to ensure that the connectors are properly inserted and secured. If the issue persists, verify that the power supply is functioning correctly and providing power to the LED strips.
2. Uneven lighting: If you notice that certain areas of the LED strips are brighter or dimmer than others, it could be due to a loose connection or a power supply issue. Check the wiring to ensure that all connections are secure and properly aligned. Additionally, check if the power supply can handle the load of the LED strips.
3. Flickering lights: Flickering lights can be attributed to loose connections or inadequate power supply. Ensure that the connectors are securely fastened and the power supply can deliver enough power to the LED strips. It is also worth checking for any damaged or faulty LED strips that may be causing the flickering.
4. Inconsistent colors: If the LED strips are displaying inconsistent colors or not responding to the selected settings, it could be a controller issue. Check if the controller is properly connected and functioning correctly. If using software or an external controller, ensure that the settings are properly configured and applied.
5. Heat issues: LEDs can generate heat, especially if used for extended periods. If you notice excessive heat buildup, ensure that the LED strips are not obstructing airflow within your PC case. Consider adding additional cooling solutions, such as fans or liquid cooling, to maintain optimal temperatures.
6. Electrical safety: When working with electrical components, prioritize safety. Ensure that all connections are made with the power supply turned off to prevent any electrical shocks. Avoid touching exposed wires or connectors while the power supply is operational.
If you encounter any difficulties troubleshooting or are unsure about any step, don’t hesitate to seek assistance from a professional or reach out to the manufacturer’s customer support for guidance. They will be able to provide further instructions and help resolve any issues you may face.
Remember, patience and careful troubleshooting will allow you to overcome common issues and turn your PC case into a stunning display of customized lighting effects.
Conclusion
Adding LED lighting to your PC case is an exciting and creative way to enhance its visual appeal and showcase your personal style. By following the steps outlined in this guide, you can successfully light up your PC case and create dazzling lighting effects that will make your gaming setup truly stand out.
Start by planning your lighting setup, considering the overall theme or style you want to achieve. Select the right LED strips based on brightness, color, length, and additional features that align with your vision. Prepare your PC case by cleaning it, planning the routing of the LED strips, and ensuring a clean and secure surface for installation.
Install the LED strips carefully, adhering them firmly to the desired locations and making any necessary cuts or bends. Connect the LED strips to the power supply, ensuring a secure and reliable connection. Customize the lighting effects using built-in or external controllers, synchronization options, color schemes, and dynamic effects to create a visually stunning display.
If you encounter any issues along the way, troubleshoot common problems such as LEDs not turning on, uneven lighting, flickering lights, inconsistent colors, heat issues, and electrical safety concerns. Seek professional assistance or contact customer support if needed.
By successfully installing and customizing LED strips in your PC case, you can create an immersive gaming environment that reflects your unique personality and enhances your overall experience. So, get ready to light up your PC case and enjoy the mesmerizing world of customized lighting effects!