Introduction
Welcome to this guide on how to install Surfshark VPN on your Samsung Smart TV. With the increasing need for online privacy and security, using a VPN on your Smart TV can help protect your data, access geo-restricted content, and ensure a secure and private streaming experience.
Samsung Smart TVs are renowned for their advanced features and high-quality displays. However, these devices do not natively support VPN applications. But don’t worry, there is still a way to enjoy the benefits of a VPN on your Samsung Smart TV.
In this article, we will walk you through the necessary steps to set up Surfshark VPN on your Samsung Smart TV. This process involves setting up a VPN connection on your router and then connecting your Smart TV to that router. By doing so, you can route all your internet traffic through the VPN and ensure that your Samsung Smart TV enjoys the same privacy and security as any other device on the network.
Before we dive into the installation process, it is essential to note that certain Samsung Smart TV models may not be compatible with using a VPN. Therefore, our first step will be to check if your Samsung Smart TV is compatible with Surfshark VPN.
Now, let’s get started and learn how to install Surfshark VPN on your Samsung Smart TV!
Step 1: Check if your Samsung Smart TV is compatible with Surfshark VPN
Before proceeding with the installation, it’s important to determine if your Samsung Smart TV is compatible with Surfshark VPN. While many Samsung Smart TVs support VPN connections, there are some models that don’t have this capability.
To check if your Samsung Smart TV is compatible, follow these steps:
- Turn on your Samsung Smart TV and navigate to the home screen.
- Using your TV’s remote, go to the “Settings” menu. This can usually be found by clicking the gear icon.
- Look for the “Network” or “Network Settings” option and select it.
- Within the Network settings, locate the “Network Status” or “Network Connection” option and choose it.
- You should now see the network connection status. Take note of your TV’s IP address.
- Now, grab a device that is connected to the same network as your Samsung Smart TV, such as a smartphone or computer.
- Open a web browser and visit the Surfshark VPN website.
- In the website’s search bar, type in “Smart TV compatibility” and hit enter.
- Surfshark VPN’s support page should appear, providing you with a list of compatible Smart TV brands and models.
- Scroll through the list and search for your specific Samsung Smart TV model.
- If your model is listed as compatible, great! You can proceed with the installation process. If not, unfortunately, your TV may not support Surfshark VPN.
It’s important to note that even if your Samsung Smart TV model is not listed as compatible with Surfshark VPN, there might still be alternative methods to set up a VPN connection using your router. You can explore other VPN providers or do some additional research to find a solution that works for your specific TV model.
Now that you have confirmed the compatibility of your Samsung Smart TV with Surfshark VPN, you can move on to the next step – setting up a VPN connection on your router.
Step 2: Set up a VPN connection on your router
In order to enable a VPN connection for your Samsung Smart TV, you will need to set up a VPN connection on your router. This will ensure that all devices connected to the router, including your Smart TV, can benefit from the VPN’s features.
Follow these steps to set up a VPN connection on your router:
- Access your router’s settings by typing in the router’s IP address into a web browser. The IP address is usually printed on the router or can be found in the router’s manual.
- Enter your router’s username and password when prompted. If you haven’t changed the default login credentials, you can find them in the router’s manual or on the manufacturer’s website.
- Once you have logged in to your router’s settings, look for the VPN configuration options. Depending on your router’s brand and model, this option might be labeled as “VPN,” “VPN Passthrough,” or “OpenVPN.”
- Click on the VPN configuration option and select the VPN protocol you want to use. Surfshark VPN supports various protocols such as OpenVPN, IKEv2, and WireGuard. Choose the one that best fits your needs and is supported by your router.
- Next, you will need to enter the server details provided by Surfshark VPN. This includes the server address, username, password, and any other required information. You can find this information on the Surfshark website or in your account dashboard.
- Save the changes and apply the VPN settings on your router.
- Wait for the router to establish a connection with the VPN server. This may take a few moments.
- Once the connection is established, verify that the VPN status on your router indicates a successful connection.
With the VPN connection successfully set up on your router, you have now created a secure tunnel for all your internet traffic, including your Samsung Smart TV.
In the next step, we will guide you through the process of connecting your Samsung Smart TV to the VPN-enabled router, so you can start enjoying the benefits of Surfshark VPN.
Step 3: Connect your Samsung Smart TV to the VPN-enabled router
Now that you have set up a VPN connection on your router, it’s time to connect your Samsung Smart TV to the VPN-enabled router. This will ensure that all the internet traffic from your Smart TV is routed through the VPN tunnel.
Follow these steps to connect your Samsung Smart TV to the VPN-enabled router:
- Turn on your Samsung Smart TV and navigate to the home screen.
- Using your TV’s remote, go to the “Settings” menu.
- Within the settings menu, select the “Network” or “Network Settings” option.
- Choose the “Wireless” or “Wi-Fi” option and select your home Wi-Fi network from the available list.
- Enter your Wi-Fi password if prompted.
- Once connected to your home Wi-Fi network, go back to the “Network” or “Network Settings” menu.
- Under the network settings, look for the “IP Settings” or “Network Status” option.
- Select the “IP Settings” or “Network Status” option, which will display the network configuration details of your Samsung Smart TV.
- Change the “IP Mode” to “Static” and manually enter the IP address, subnet mask, default gateway, and DNS server addresses provided by your VPN-enabled router.
- Save the changes and exit the menu.
- Restart your Samsung Smart TV for the changes to take effect.
Once your Samsung Smart TV has rebooted, it will be connected to the VPN-enabled router and all its internet traffic will pass through the VPN tunnel.
Now that your Smart TV is properly connected to the VPN, it’s time to install the Surfshark VPN app on your Samsung Smart TV. In the next step, we will guide you through the process.
Step 4: Download and install Surfshark VPN app on your Samsung Smart TV
Now that your Samsung Smart TV is connected to the VPN-enabled router, it’s time to download and install the Surfshark VPN app on your Smart TV. This app will allow you to easily connect to and manage your VPN connection.
Follow these steps to download and install the Surfshark VPN app on your Samsung Smart TV:
- Turn on your Samsung Smart TV and ensure that it is connected to the internet.
- Using your TV’s remote, go to the Samsung Smart Hub. You can usually find it by pressing the Home button on your remote.
- In the Smart Hub, navigate to the “Apps” section. This is where you can download and install new apps on your Smart TV.
- Search for the “Surfshark VPN” app in the Apps section. You can either type in the name using the on-screen keyboard or use the voice search feature if available.
- Select the Surfshark VPN app from the search results.
- Click on the “Download” or “Install” button to start the installation process. The app will begin downloading and installing on your Samsung Smart TV.
- Once the installation is complete, go back to the Smart Hub and navigate to the “Apps” section again.
- You should now see the Surfshark VPN app listed among your installed apps. Select it to launch the app.
Congratulations! You have successfully downloaded and installed the Surfshark VPN app on your Samsung Smart TV. In the next step, we will guide you through the process of signing in to your Surfshark VPN account on the Smart TV app.
Step 5: Sign in to your Surfshark VPN account on the Smart TV app
Now that you have installed the Surfshark VPN app on your Samsung Smart TV, it’s time to sign in to your Surfshark VPN account. By signing in, you will gain access to all the features and benefits of using Surfshark VPN on your Smart TV.
Follow these steps to sign in to your Surfshark VPN account on the Smart TV app:
- Launch the Surfshark VPN app on your Samsung Smart TV. You can find it in the installed apps section of your Smart TV or by using the Smart Hub.
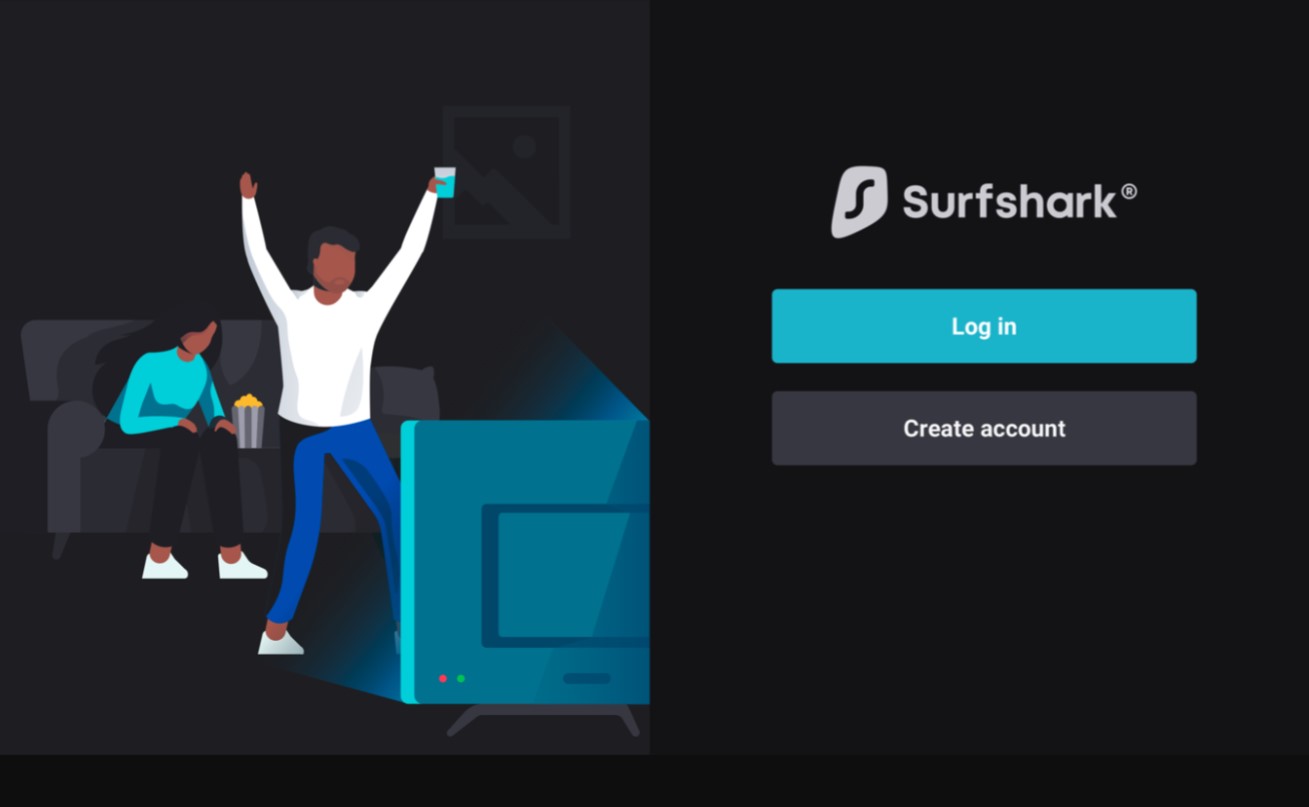
- On the app’s home screen, you will be prompted to sign in to your Surfshark VPN account. Use the on-screen keyboard or the remote control to enter your login credentials.
- Enter your Surfshark VPN username or email address in the provided field.
- Next, enter your Surfshark VPN password in the appropriate field.
- Once you have entered your username and password, double-check for any errors, and then click on the “Sign In” or “Login” button.
- If your login credentials are correct, the Surfshark VPN app will sign you in and display the main dashboard or server selection screen.
That’s it! You have successfully signed in to your Surfshark VPN account on the Smart TV app. In the next step, we will guide you through the process of connecting to a VPN server location of your choice.
Step 6: Connect to a VPN server location of your choice
Now that you are signed in to your Surfshark VPN account on the Smart TV app, it’s time to connect to a VPN server location of your choice. By connecting to a VPN server, you can mask your IP address, encrypt your internet traffic, and access content from different regions.
Follow these steps to connect to a VPN server location on the Surfshark VPN app:
- Open the Surfshark VPN app on your Samsung Smart TV if it’s not already open.
- In the app’s main dashboard or server selection screen, you will see a list of available VPN server locations.
- Using your remote control or the on-screen navigation, scroll through the available server locations to find the one you want to connect to. You can choose locations based on country, region, or server load.
- Once you have selected a server location, click on it to initiate the connection.
- The Surfshark VPN app will now attempt to establish a secure VPN connection with the chosen server location.
- Wait for a few moments while the connection is being established. You may see a connecting animation or loading screen.
- Once the connection is established, you will see a confirmation message indicating that you are connected to the selected VPN server location.
- You are now successfully connected to a VPN server location of your choice! Your Samsung Smart TV’s internet traffic is now securely routed through the VPN tunnel.
Take note that you can disconnect from the VPN server location by clicking on the Disconnect or Disconnect VPN button in the app interface.
Congratulations! You have successfully connected to a VPN server location on your Samsung Smart TV using the Surfshark VPN app. In the next step, we will guide you through the process of testing your VPN connection on the Smart TV.
Step 7: Test your VPN connection on Samsung Smart TV
After connecting to a VPN server location on your Samsung Smart TV, it’s important to test your VPN connection to ensure that it is working correctly. Testing your VPN connection will help verify that your internet traffic is indeed being encrypted and routed through the VPN tunnel.
Follow these steps to test your VPN connection on your Samsung Smart TV:
- Open a web browser on your Samsung Smart TV.
- Visit a website that can detect your IP address, such as “whatismyip.com”.
- Check the displayed IP address on the website. This IP address should be different from your actual IP address and should correspond to the VPN server location you selected.
- If the IP address matches the location you chose and is different from your actual IP, it means your VPN connection is successful.
- In addition to checking your IP address, you can also test your VPN connection by accessing region-restricted content. Try accessing a streaming service or website that is usually not available in your current location. If you are able to access it, then your VPN connection is working correctly.
If you encounter any issues or if the test results are not as expected, make sure to double-check your VPN settings and connections. Verify that you are connected to the correct VPN server location and that your Smart TV’s network settings are properly configured.
By testing your VPN connection, you can be confident that your Samsung Smart TV is securely connected to the Surfshark VPN network. You can now enjoy a safer and more private streaming experience while accessing content from around the world.
Now that you have successfully tested your VPN connection, you are ready to enjoy all the benefits of using Surfshark VPN on your Samsung Smart TV.
Conclusion
Installing Surfshark VPN on your Samsung Smart TV allows you to enjoy a secure and private internet experience while expanding your entertainment options. Through this guide, we have walked you through the steps necessary to set up and configure Surfshark VPN on your Smart TV.
We started by checking the compatibility of your Samsung Smart TV with Surfshark VPN, ensuring that your device is capable of supporting a VPN connection. We then proceeded to set up a VPN connection on your router, enabling all devices on the network to benefit from the VPN’s features.
After connecting your Samsung Smart TV to the VPN-enabled router, we guided you through the process of downloading and installing the Surfshark VPN app on your Smart TV. We then showed you how to sign in to your Surfshark VPN account and connect to a VPN server location of your choice.
Finally, we emphasized the importance of testing your VPN connection to ensure that it is working correctly. By verifying your VPN connection, you can enjoy a safer and more private streaming experience on your Samsung Smart TV.
Remember, Surfshark VPN provides you with security, privacy, and access to region-restricted content. It encrypts your internet traffic, protects your personal information, and allows you to bypass geo-restrictions, giving you the freedom to stream your favorite shows and movies from around the world.
With Surfshark VPN installed on your Samsung Smart TV, you can enjoy peace of mind knowing that your online activities are protected and your data is secure. So, whether you’re streaming, browsing, or gaming, Surfshark VPN has got you covered.
Now, go ahead and experience the benefits of using Surfshark VPN on your Samsung Smart TV – happy streaming!