Introduction
Welcome to our guide on how to install new GPU drivers. Whether you’re a seasoned gamer, a graphics designer, or simply a computer enthusiast, keeping your GPU drivers up to date is crucial for optimal performance and compatibility with the latest software. GPU drivers, or Graphics Processing Unit drivers, are software programs that facilitate communication between your operating system and the graphics card installed in your computer.
Having outdated or incompatible GPU drivers can lead to poor graphics performance, system crashes, and even compatibility issues with certain applications or games. Fortunately, updating your GPU drivers is a straightforward process, and this guide will walk you through the necessary steps.
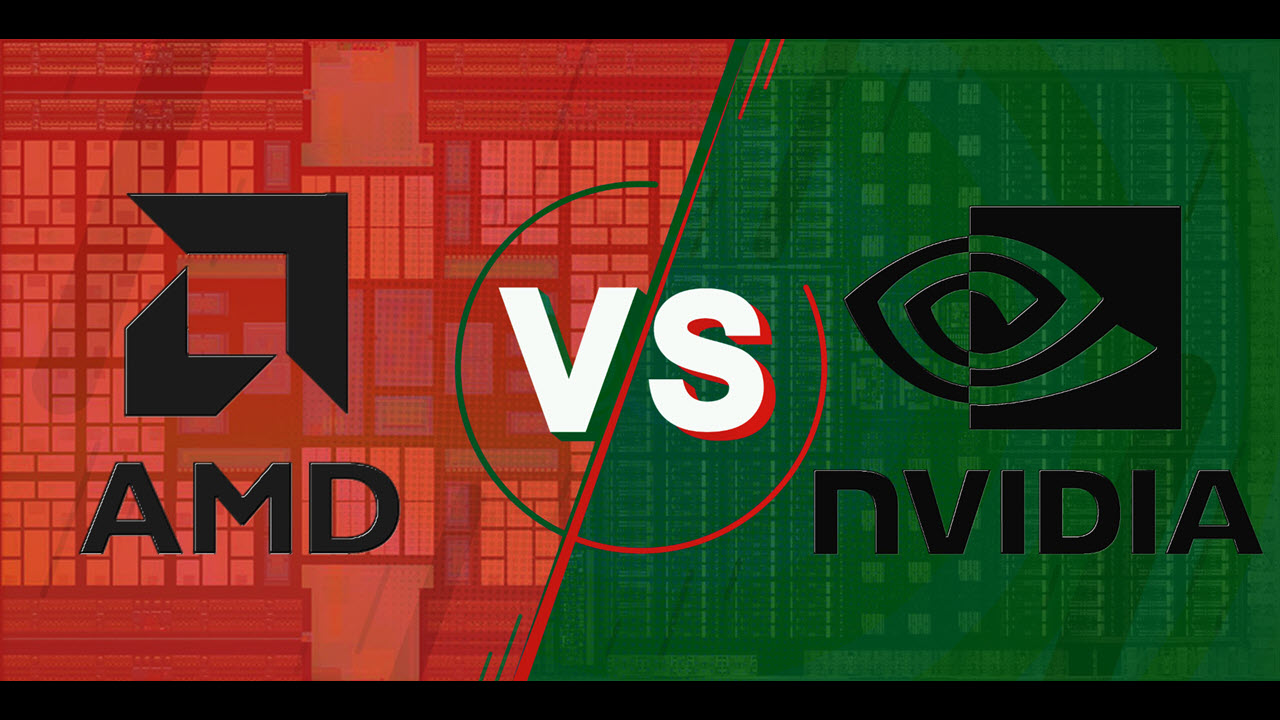
Before we dive into the installation process, it’s essential to note that there are two major GPU manufacturers in the market: NVIDIA and AMD. Each manufacturer has its own dedicated driver software. Therefore, it’s crucial to identify your GPU manufacturer before proceeding.
In this guide, we will provide step-by-step instructions for both NVIDIA and AMD graphics cards. So, regardless of your GPU brand, you’ll find the information you need to update your GPU drivers properly.
Additionally, we’ll also cover some troubleshooting tips if you encounter any issues during the installation process. Let’s get started with checking your current GPU driver version to determine if an update is necessary.
Checking Your Current GPU Driver Version
Before you proceed with installing new GPU drivers, it’s essential to check your current driver version. This step will help you determine whether an update is necessary and ensure that you’re installing the correct driver version.
Here’s how you can check your current GPU driver version:
- For NVIDIA Graphics Cards:
- Right-click on your desktop and select “NVIDIA Control Panel” from the context menu.
- In the NVIDIA Control Panel, click on the “System Information” option on the left-hand side.
- Look for the “Driver Version” under the “Display” tab. This will display the current driver version installed on your system.
- For AMD Graphics Cards:
- Right-click on your desktop and select “AMD Radeon Software” from the context menu.
- In the Radeon Software window, click on the “Settings” icon in the top-right corner.
- Select “System” from the sidebar and click on the “Software” tab.
- Under the “Driver Version” section, you can find the current driver version installed on your system.
Make a note of your current driver version. If it’s outdated or if you’re experiencing issues that might be related to the driver, it’s time to update it. Keep in mind that newer drivers often come with bug fixes, performance improvements, and compatibility updates. So, it’s generally recommended to keep your GPU drivers up to date.
Now that you have checked your current GPU driver version, it’s time to identify your GPU manufacturer and proceed with downloading the latest driver for your graphics card. We’ll cover this in the next section.
Identify Your GPU Manufacturer
Before you can download the latest GPU driver for your graphics card, you need to identify the manufacturer of your GPU. There are two major GPU manufacturers in the market: NVIDIA and AMD. Each manufacturer has its own dedicated driver software that is specific to their graphics cards.
To determine your GPU manufacturer, follow these steps:
- For Windows:
- Open the “Device Manager” by right-clicking on the “Start” button and selecting it from the menu.
- In the Device Manager window, expand the “Display Adapters” category.
- You will see the name of your graphics card listed under the “Display Adapters” category. It will mention either NVIDIA or AMD, indicating the manufacturer of your GPU.
- For macOS:
- Click on the Apple menu and select “About This Mac.”
- In the window that appears, click on the “System Report” button.
- Under the “Graphics/Displays” section, you will find the name of your graphics card. This will indicate whether it’s an NVIDIA or AMD GPU.
Once you’ve identified your GPU manufacturer, you’ll need to move on to the next step, which involves downloading the latest driver specific to your graphics card and operating system. We will explore this in the next section.
Downloading the Latest Driver
After identifying your GPU manufacturer, it’s time to download the latest driver for your graphics card. Both NVIDIA and AMD provide official websites where you can find and download the most up-to-date drivers for their respective GPUs.
Follow these steps to download the latest driver:
- For NVIDIA Graphics Cards:
- Visit the official NVIDIA website at https://www.nvidia.com/Download/index.aspx.
- Select your graphics card series, model, and operating system from the dropdown menus provided.
- Click on the “Search” button to view the available driver options.
- Review the listed drivers and select the latest version compatible with your system.
- Click on the “Download” button to start the download process.
- For AMD Graphics Cards:
- Head to the official AMD website at https://www.amd.com/en/support.
- Select your product family, product line, and operating system from the provided dropdown menus.
- Click on the “Submit” button to get a list of available driver options.
- Find the latest driver version and click on the “Download” button next to it.
Once the driver download is complete, you can proceed to the next section, which covers the uninstallation process of the current GPU driver.
Uninstalling the Current GPU Driver
Before installing the new GPU driver, it is important to remove the existing driver from your system. This ensures a clean installation and helps prevent any conflicts or compatibility issues. Here’s how you can uninstall the current GPU driver:
- For Windows:
- Open the “Device Manager” by right-clicking on the “Start” button and selecting it from the menu.
- In the Device Manager window, expand the “Display Adapters” category.
- Right-click on your graphics card and select “Uninstall device.”
- Check the box that says “Delete the driver software for this device” and click “Uninstall.”
- Follow any additional prompts to complete the uninstallation process.
- For macOS:
- Click on the Apple menu and select “System Preferences.”
- Choose “Displays” and then click on the “Display” tab.
- Hold down the Option key and click on the “Gather Windows” button.
- Uncheck the box that says “Use all displays in mirror mode.”
- Click on the display that corresponds to your graphics card, and then click on the “Detect Displays” button.
- Finally, click on the “Advanced” button and choose the “Graphics/Displays” tab.
- Select your graphics card and click on the “-” button in the bottom-left corner to remove it.
Once you have successfully uninstalled the current GPU driver, you are ready to proceed with the installation of the new driver. We will cover this in the next section.
Installing the New GPU Driver
Now that you have uninstalled the old GPU driver, it’s time to install the new driver. Follow these steps to install the latest GPU driver for your graphics card:
- For Windows:
- Locate the downloaded driver file on your computer. It is usually saved in your Downloads folder.
- Double-click on the driver file to start the installation process.
- Follow the on-screen instructions to install the driver. Make sure to select the appropriate installation options and agree to any license agreements.
- Once the installation is complete, restart your computer to apply the changes.
- For macOS:
- Locate the downloaded driver file on your computer. It is typically saved in your Downloads folder.
- Double-click on the driver file to start the installation process.
- Follow the on-screen instructions to install the driver.
- Once the installation is complete, restart your Mac to apply the changes.
After restarting your system, the new GPU driver will be installed and ready to use. It’s recommended to check your GPU driver version again to verify the successful installation. If you encounter any issues during the installation or if your system does not function properly after the installation, refer to the troubleshooting tips in the next section.
Troubleshooting Tips
While installing new GPU drivers is usually a smooth process, there may be occasions when you encounter issues or face difficulties. Here are some troubleshooting tips to help you resolve common problems:
- Restart Your Computer: If you experience any issues after installing the new driver, try restarting your computer. This can often resolve minor glitches and ensure that the driver is properly initialized.
- Clean Install: If you continue to experience problems, consider performing a clean install of the GPU driver. This involves uninstalling the driver again and then reinstalling it, ensuring that all previous files and settings are completely removed.
- Compatibility Issues: Make sure that the driver you are installing is compatible with your operating system and GPU model. Check the manufacturer’s website for compatibility information and ensure that you are downloading the correct driver version.
- Verify Downloaded File: Before installing the driver, verify the integrity of the downloaded file. Check the file size and compare it to the size stated on the manufacturer’s website. If they do not match, redownload the driver to avoid potential installation issues.
- Disable Anti-Virus Software: Anti-virus software can sometimes interfere with the driver installation process. Temporarily disable your anti-virus software before installing the new driver and re-enable it once the installation is complete.
- Seek Manufacturer Support: If you encounter persistent issues or have specific questions related to your GPU model or driver installation, contact the support channels provided by your GPU manufacturer. They are best equipped to assist you with troubleshooting and resolving any driver-related problems you may encounter.
By following these troubleshooting tips, you will be better equipped to handle any issues that may arise during the installation of new GPU drivers. Remember to exercise caution and ensure that you have a backup of your important files before making any system changes.
Conclusion
Updating your GPU drivers is a critical task to ensure optimal performance and compatibility with the latest software. This guide has provided you with step-by-step instructions on how to install new GPU drivers for both NVIDIA and AMD graphics cards.
Before beginning the installation process, it is important to check your current GPU driver version to determine if an update is necessary. Identifying your GPU manufacturer is also crucial as NVIDIA and AMD have their own dedicated driver software.
Once you have identified your GPU manufacturer, downloading the latest driver from their official website is the next step. Ensure that you select the correct driver version for your operating system and graphics card model.
Before installing the new driver, it is important to uninstall the current GPU driver to ensure a clean installation. Following this, you can proceed with installing the new driver by running the downloaded file and following the on-screen instructions.
If you encounter any issues during the installation process, refer to the troubleshooting tips provided to help resolve common problems. Restarting your computer, performing a clean install, and verifying the compatibility and integrity of the downloaded file can help address issues that may arise.
Remember to keep your GPU drivers up to date as new versions often come with bug fixes, performance improvements, and compatibility updates. Regularly checking for updates and staying on top of the latest driver releases is essential for maintaining a smooth and optimized system.
By following the steps outlined in this guide, you can easily install new GPU drivers and ensure that your computer’s graphics performance is at its best. Enjoy improved visuals, enhanced stability, and compatibility with the latest software and games.


