Introduction
Welcome to this guide on how to install Mac OS X on a new SSD! If your old solid-state drive (SSD) is running out of space or starting to slow down, replacing it with a new one can significantly improve your Mac’s performance. Installing Mac OS X on a new SSD is a straightforward process that can be completed with just a few steps.
Upgrading your SSD will not only provide you with more storage space but also give your Mac a fresh start. It allows you to start anew and enjoy the benefits of a faster and more efficient operating system. By following this guide, you’ll be able to harness the full potential of your Mac and experience a smoother and more responsive computing experience.
Before we begin, it’s essential to note that installing Mac OS X on a new SSD will wipe out all the data on your current drive. Therefore, it’s crucial to back up your data to avoid any potential loss. Once you’ve backed up your data, you can proceed with the installation process.
Throughout this guide, we’ll provide you with step-by-step instructions on how to install Mac OS X on a new SSD. We’ll cover everything from creating a bootable macOS installer to replacing your old SSD and installing the operating system on the new drive. By the end of this guide, you’ll have a fully functional Mac with a brand new SSD.
Ready to get started? First, let’s take a look at the list of items you’ll need for the installation process. Make sure to gather these before proceeding to ensure a smooth and hassle-free installation.
What You’ll Need
Before you begin the process of installing Mac OS X on a new SSD, gather the following items:
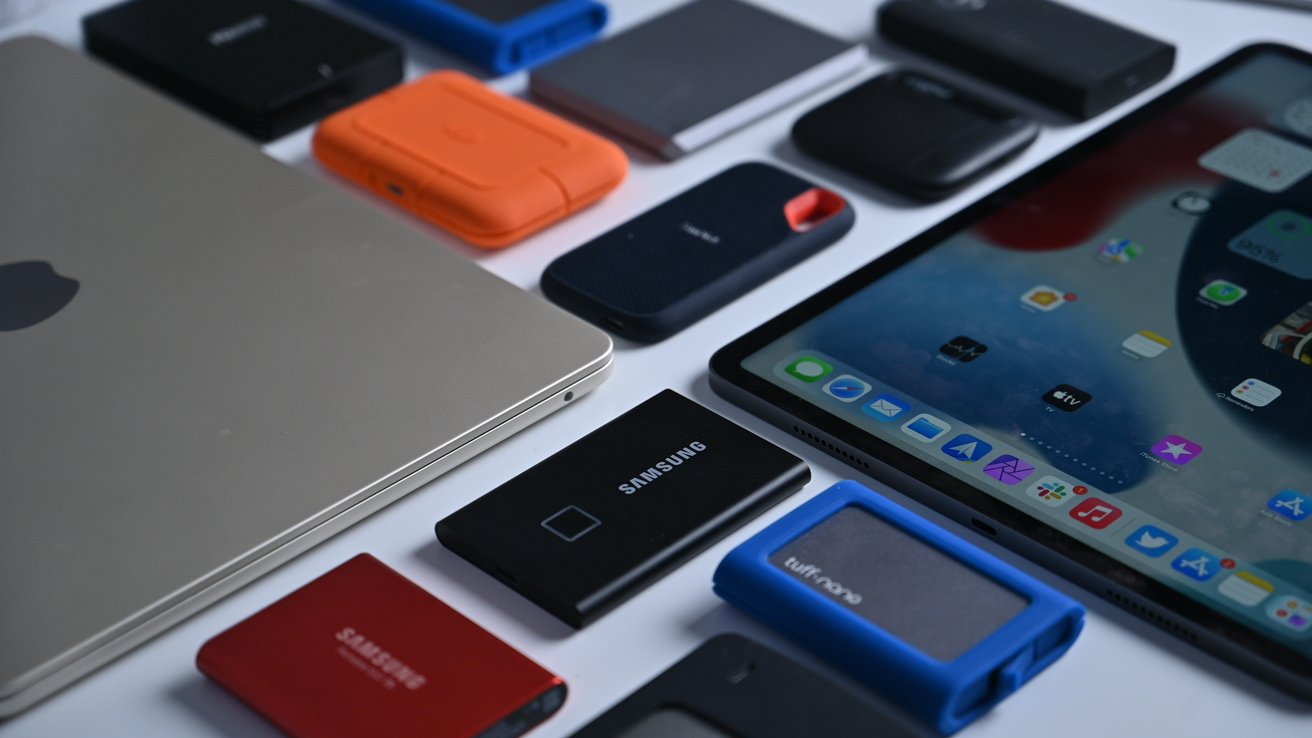
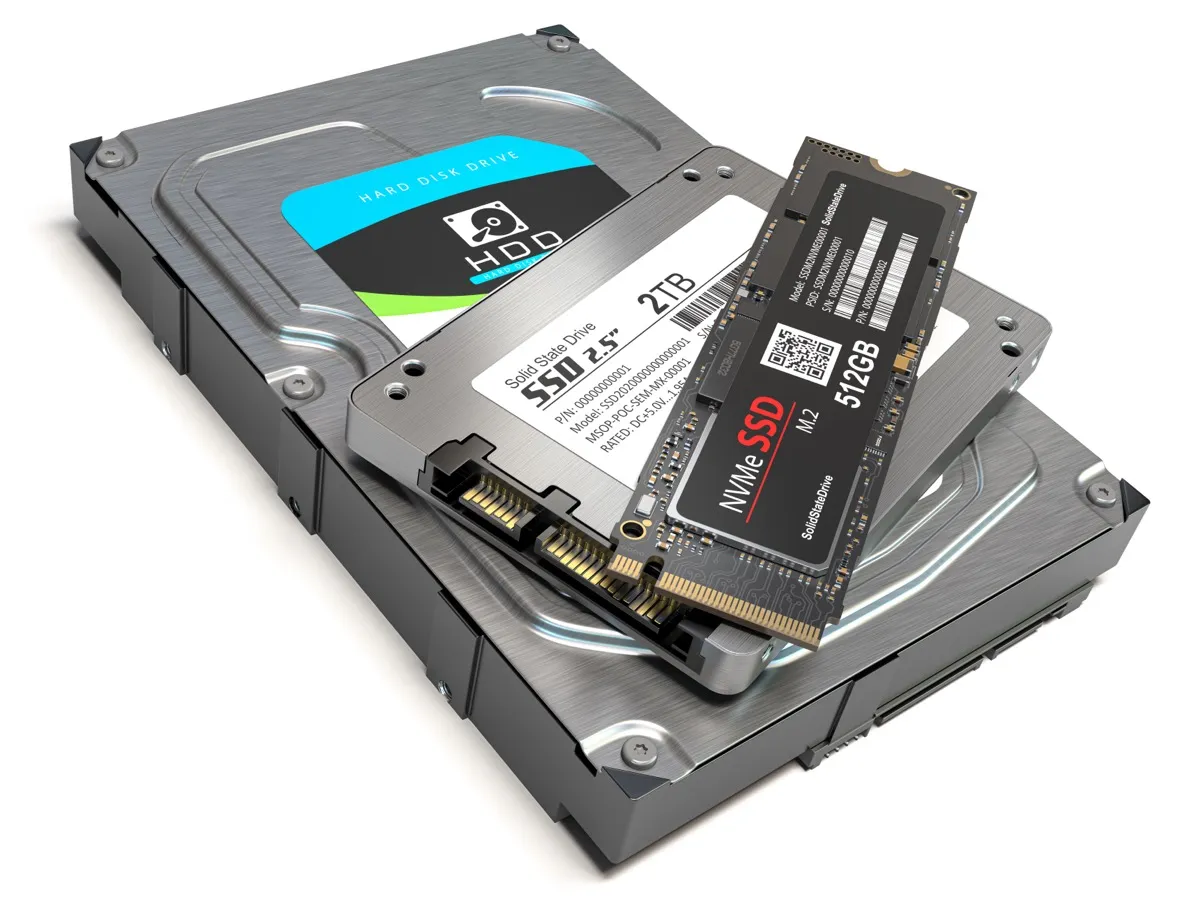
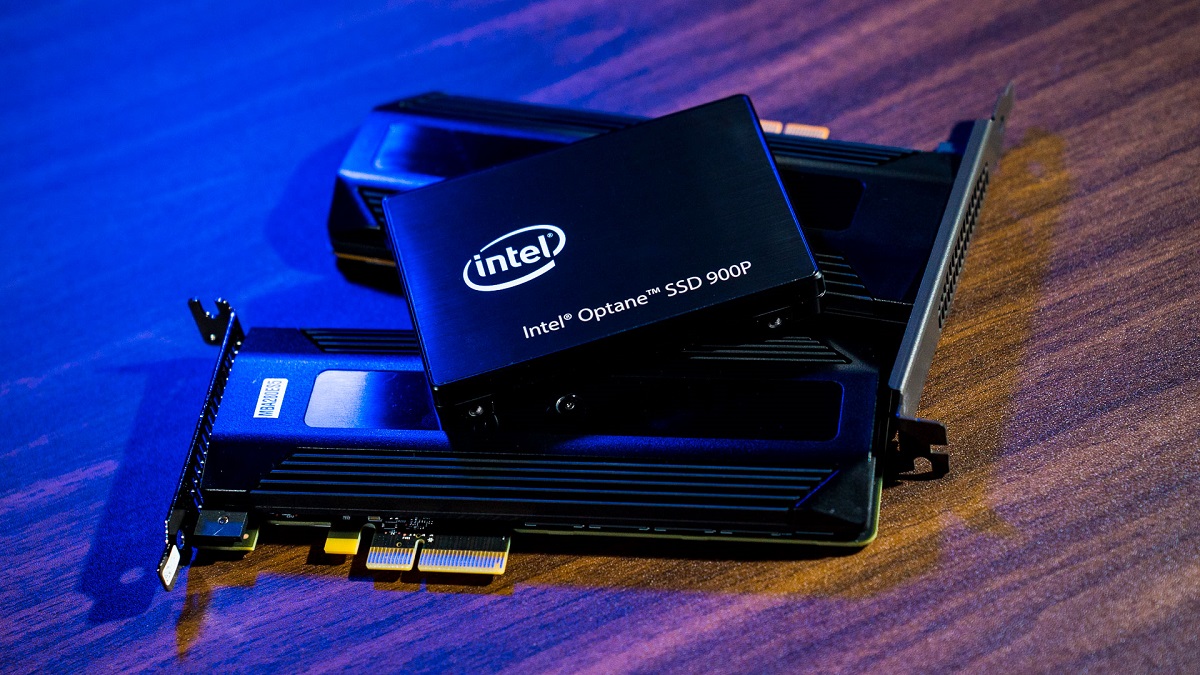
- A new SSD: Ensure that the new SSD is compatible with your Mac model. Check the specifications and choose a reliable and high-quality SSD.
- A screwdriver: You may need a screwdriver to open your Mac and replace the old SSD with the new one.
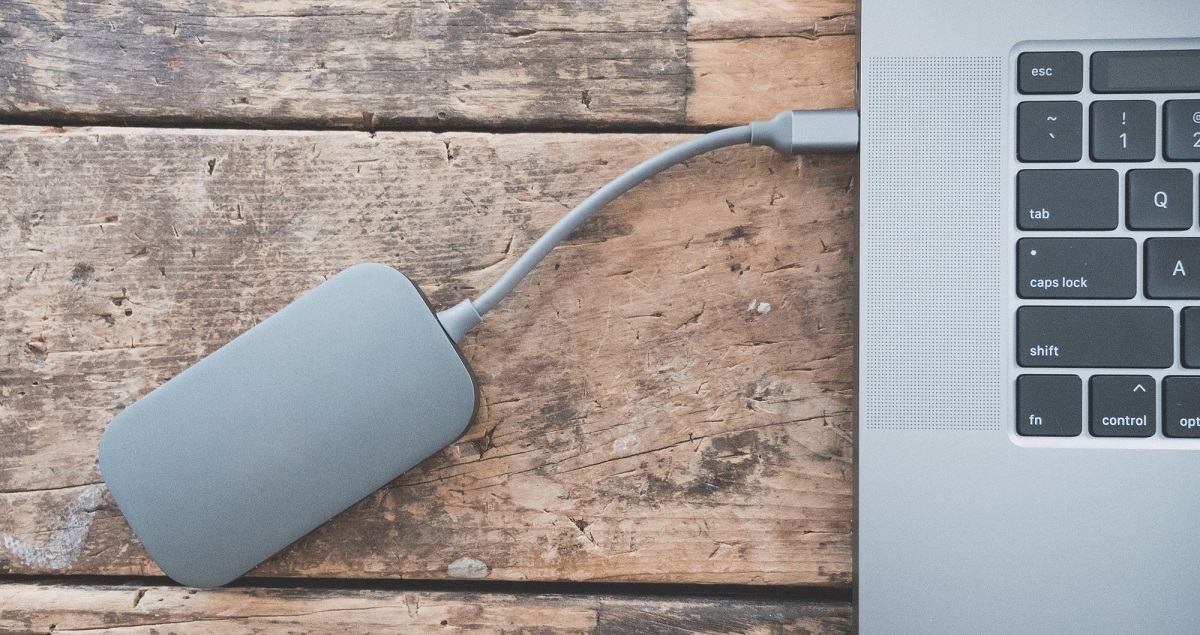
- An external drive: This will be used to back up your data from the old SSD. Make sure the external drive has enough storage space to accommodate all your files and applications.
- A USB flash drive: You’ll need this to create a bootable macOS installer. Make sure the flash drive has a capacity of at least 16GB.
- A reliable internet connection: This is necessary for downloading the macOS installation files and any required updates.
- A macOS installer: Ensure that you have access to a macOS installer file. You can download this from the Mac App Store or through other sources.
Once you have gathered all the necessary items, you’re ready to move on to the next step: backing up your data to ensure that nothing is lost during the installation process.
Remember, it’s essential to follow these steps carefully to avoid any data loss or other potential issues. Let’s proceed to the next section where we’ll discuss how to back up your data before the installation.
Step 1: Back Up Your Data
Before proceeding with the installation of Mac OS X on your new SSD, it is crucial to back up all your important data. This ensures that no files or documents are lost during the process. Follow these steps to back up your data:
- Connect your external drive to your Mac.
- Open the Time Machine application. If Time Machine is not already set up, you can do so through System Preferences > Time Machine.
- Click on “Select Backup Disk” and choose your external drive as the backup destination.
- Click on “Backup Now” to initiate the backup process. Time Machine will start backing up all your files and folders.
- Wait for the backup to complete. The duration will depend on the size of your data.
- Verify that the backup was successful by checking the Time Machine icon in the menu bar.
It is recommended to keep your external drive connected until the installation is complete. This way, you can easily restore your data when needed.
Backing up your data provides an extra layer of security and ensures that even if something goes wrong during the installation process, you’ll have a copy of all your important files. Once your data is safely backed up, you can proceed to the next step: creating a bootable macOS installer.
Step 2: Make a Bootable macOS Installer
In order to install Mac OS X on your new SSD, you’ll need to create a bootable macOS installer. This will allow you to easily install the operating system on the new drive. Follow these steps to create a bootable macOS installer:
- Connect your USB flash drive to your Mac.
- Open the Mac App Store on your Mac.
- Search for the macOS version you want to install (e.g., macOS Mojave or macOS Catalina).
- Click on the “Download” button to start downloading the macOS installation file.
- Once the download is complete, the installation process will start automatically. Close the installation window when it appears.
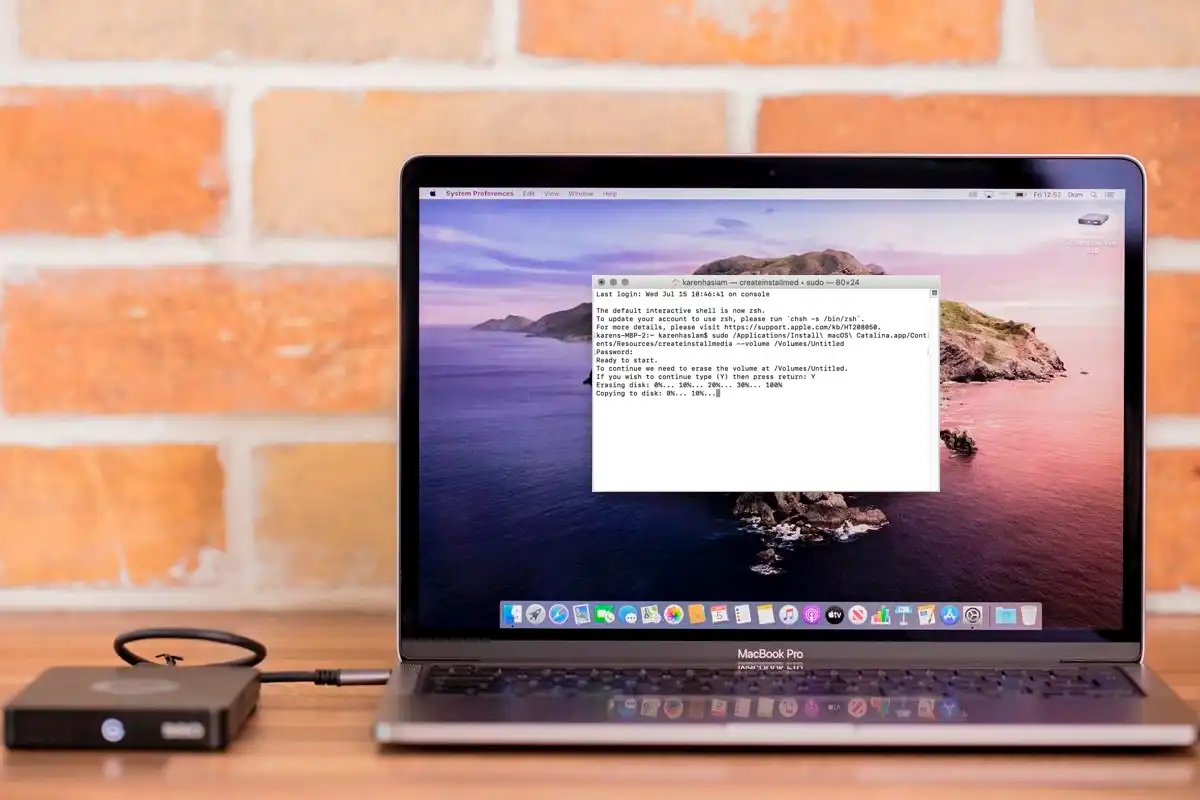
- Open the Terminal application. You can find it in the Utilities folder within the Applications folder.
- Type the following command into the Terminal window:
sudo /Applications/Install\ macOS\ [version].app/Contents/Resources/createinstallmedia --volume /Volumes/[USB drive name] - Replace “[version]” with the name of the macOS version you downloaded (e.g., “/Applications/Install\ macOS\ Mojave.app/Contents/Resources/createinstallmedia –volume /Volumes/USB”). Also replace “[USB drive name]” with the name of your USB flash drive.
- Press Enter and then enter your administrator password when prompted. The Terminal will create a bootable macOS installer on your USB flash drive.
- Wait for the process to complete. This may take some time depending on the speed of your computer and the size of the macOS installation file.
- Once the process is finished, you can close the Terminal.
Now you have a bootable macOS installer on your USB flash drive. This will be used to install Mac OS X on your new SSD. In the next step, we’ll guide you through replacing your old SSD with the new one.
Step 3: Replace Your Old SSD with the New One
Now that you have a bootable macOS installer, it’s time to replace your old SSD with the new one in order to install Mac OS X. Follow these steps to successfully replace your old SSD:
- Shut down your Mac and unplug all cables.
- Flip your Mac upside down and locate the screws holding the bottom panel in place.
- Using a screwdriver, carefully remove the screws and set them aside.
- Remove the bottom panel to expose the inside of your Mac.
- Locate the old SSD and unplug the connector cable.
- Remove any screws securing the old SSD in place and carefully take it out.
- Take your new SSD and insert it into the slot. Make sure it is firmly seated.
- Secure the new SSD by tightening any screws if necessary.
- Reattach the connector cable to the new SSD.
- Replace the bottom panel of your Mac and screw it back into place.
- Plug in all cables and turn on your Mac.
Your old SSD has now been replaced with the new one. In the next step, we’ll guide you through the installation of Mac OS X on the new SSD using the bootable macOS installer.
Step 4: Install macOS on the New SSD
With your new SSD in place, it’s time to install macOS on it using the bootable installer you created. Follow these steps to successfully install macOS on your new SSD:
- Make sure your Mac is powered on and connected to a reliable power source.
- Insert the USB flash drive with the bootable macOS installer into one of the USB ports on your Mac.
- Restart your Mac and hold down the Option key as it boots up.
- A list of available startup disks will appear. Select the USB flash drive with the bootable macOS installer.
- Your Mac will now boot from the USB flash drive and display the macOS Utilities window.
- Click on “Install macOS” to start the installation process.
- Follow the on-screen instructions to select your language, agree to the terms and conditions, and choose the SSD as the installation destination.
- Click on “Install” to begin the installation. The process may take some time, so be patient.
- Once the installation is complete, your Mac will restart automatically.
Congratulations! You have successfully installed macOS on your new SSD. Your Mac will now boot up using the new drive. In the next step, we’ll guide you through the process of setting up and personalizing your new SSD.
Step 5: Set Up and Personalize Your New SSD
Now that you have successfully installed macOS on your new SSD, it’s time to set up and personalize your system. Follow these steps to get started:
- After your Mac restarts, you’ll be prompted to set up your Mac. Select your country or region and click “Continue”.
- Choose your preferred keyboard layout and click “Continue”.
- If you have an internet connection, choose your Wi-Fi network and enter the password to connect.
- Once connected, your Mac will check for updates. If updates are available, click on “Continue” and follow the prompts to install them.
- Next, sign in with your Apple ID. This will allow you to access iCloud, the App Store, and other Apple services. If you don’t have an Apple ID, you can create one.
- Agree to the terms and conditions and set up features such as Siri and Touch ID if applicable.
- You’ll be prompted to transfer your files, apps, and settings from another Mac, a Time Machine backup, or a Windows PC. Choose the option that fits your situation or select “Don’t transfer any information now” to start fresh.
- Set up your user account by entering your full name, account name, password, and password hint.
- Decide whether you want to enable location services, diagnostics, and usage data sharing, and click “Continue”.
- Set up your screen resolution and choose whether you want to use the Light or Dark mode.
- Finally, your Mac will complete the setup process. Once completed, you’ll be taken to the desktop of your newly installed macOS on the new SSD.
Congratulations! You have successfully set up and personalized your new SSD. Take some time to customize your preferences, install your favorite apps, and transfer any remaining data from your backup. Enjoy the fast and responsive performance of your upgraded Mac!
Conclusion
By following the steps outlined in this guide, you have successfully installed Mac OS X on a new SSD. This upgrade not only provides you with additional storage space but also improves the overall performance and responsiveness of your Mac. With a fresh installation of macOS, you can enjoy a smoother and more efficient computing experience.
Remember, before starting the installation process, it’s important to back up your data to avoid any potential loss. Creating a bootable macOS installer allows you to easily install the operating system on your new SSD. Replacing your old SSD with the new one ensures that you are starting with a clean slate.
After the installation, take the time to set up and personalize your new SSD. Configure your preferences, sign in with your Apple ID, and transfer any necessary files and settings. This will help make your Mac feel familiar and customized to your needs.
With your new SSD and freshly installed Mac OS X, you can now enjoy improved performance, faster boot times, and ample storage space for your files and applications. Whether you use your Mac for work, creative projects, or leisure activities, this upgrade will enhance your overall computing experience.
Thank you for following this guide. We hope it has been helpful in successfully installing Mac OS X on your new SSD. If you have any further questions or need additional assistance, don’t hesitate to reach out for support.