How to Install Dell Server Rack Panels
Introduction
Welcome to this step-by-step guide on installing Dell server rack panels. Whether you’re setting up a new server room or upgrading your existing infrastructure, properly installing rack panels is essential for ensuring the safety and organization of your equipment. Dell server rack panels are designed to optimize space and protect your valuable hardware, while also providing easy access for maintenance and troubleshooting.
In this guide, we will walk you through the installation process, from gathering the necessary tools and materials to connecting the cables and wires. By following these steps carefully, you’ll be able to install Dell server rack panels quickly and efficiently.
Before we dive into the installation process, it is important to note that server racks come in various sizes and configurations. Make sure you have accurately measured your server rack and have purchased the appropriate Dell rack panels for your specific setup. Additionally, it is recommended to read through the user manual or installation guide provided by Dell for your specific rack model.
Now, let’s get started with the first step: gathering the necessary tools and materials.
Step 1: Gather necessary tools and materials
Before you begin the installation process, it is important to gather all the necessary tools and materials. Having everything prepared will make the process smoother and more efficient.
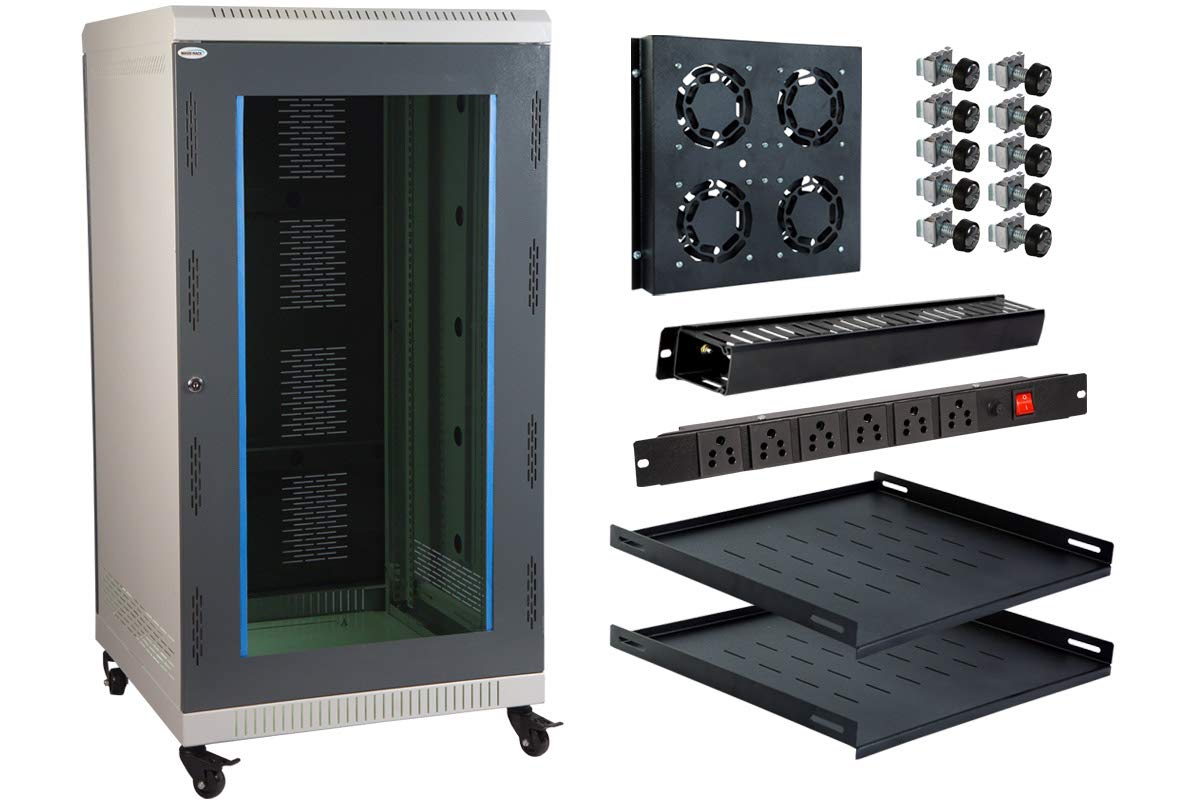
Here is a list of the tools and materials you will need:
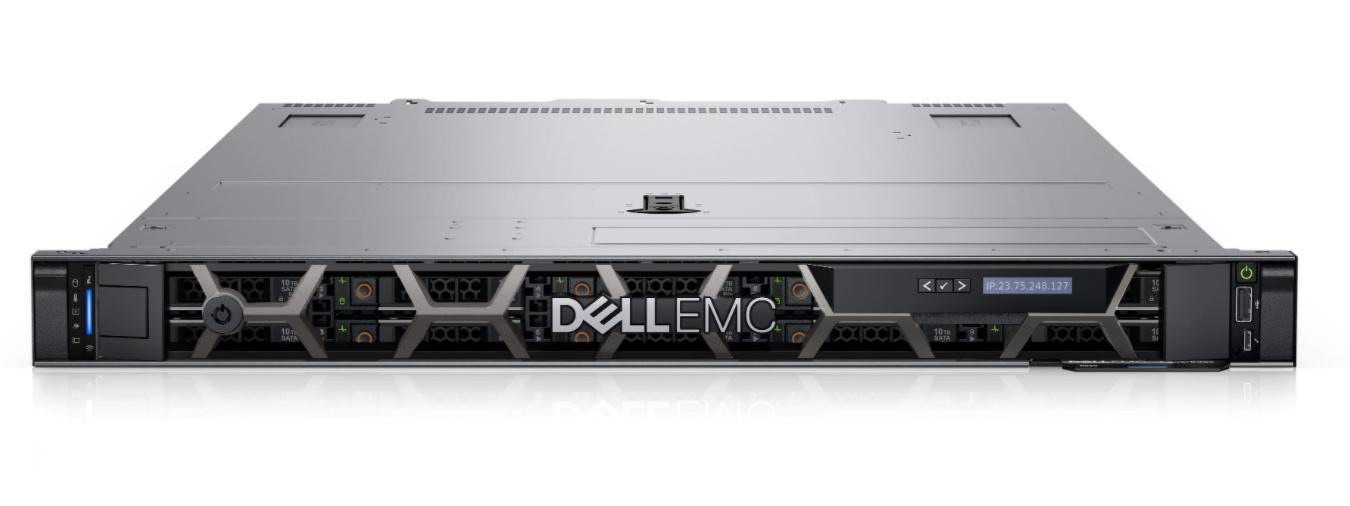
- Server rack panels – Make sure you have the correct size and type of Dell server rack panels for your setup. Refer to the user manual or installation guide for your specific rack model.
- Tape measure – Use a tape measure to accurately measure the height and width of your server rack. This will help you determine the positioning of the rack panels.
- Marker or pen – You will need a marker or pen to mark the rack for panel installation. Choose a marker that is easily visible on the rack surface.
- Level – A level will help you ensure that the rack panels are installed straight and level. This is important for both aesthetics and proper functioning of the equipment.
- Screwdriver – Depending on the type of rack panels you have, you may need a screwdriver to attach the panels to the server rack. Check the panel’s installation instructions for the specific type of screwdriver required.
- Cable management accessories – To keep your cables organized and prevent them from tangling, consider using cable management accessories such as cable ties or cable clips. These can help maintain a clean and tidy server rack installation.
- PPE (Personal Protective Equipment) – As with any installation process, it is important to prioritize safety. Wear appropriate PPE such as gloves and safety glasses to protect yourself from any potential hazards.
Once you have gathered all the necessary tools and materials, you are ready to move on to the next step: measuring and marking the rack for panel installation.
Step 2: Measure and mark the rack for panel installation
Now that you have all the necessary tools and materials, it’s time to measure and mark the server rack for panel installation. This step is crucial to ensure accurate placement of the rack panels.
Here’s how to measure and mark the rack:
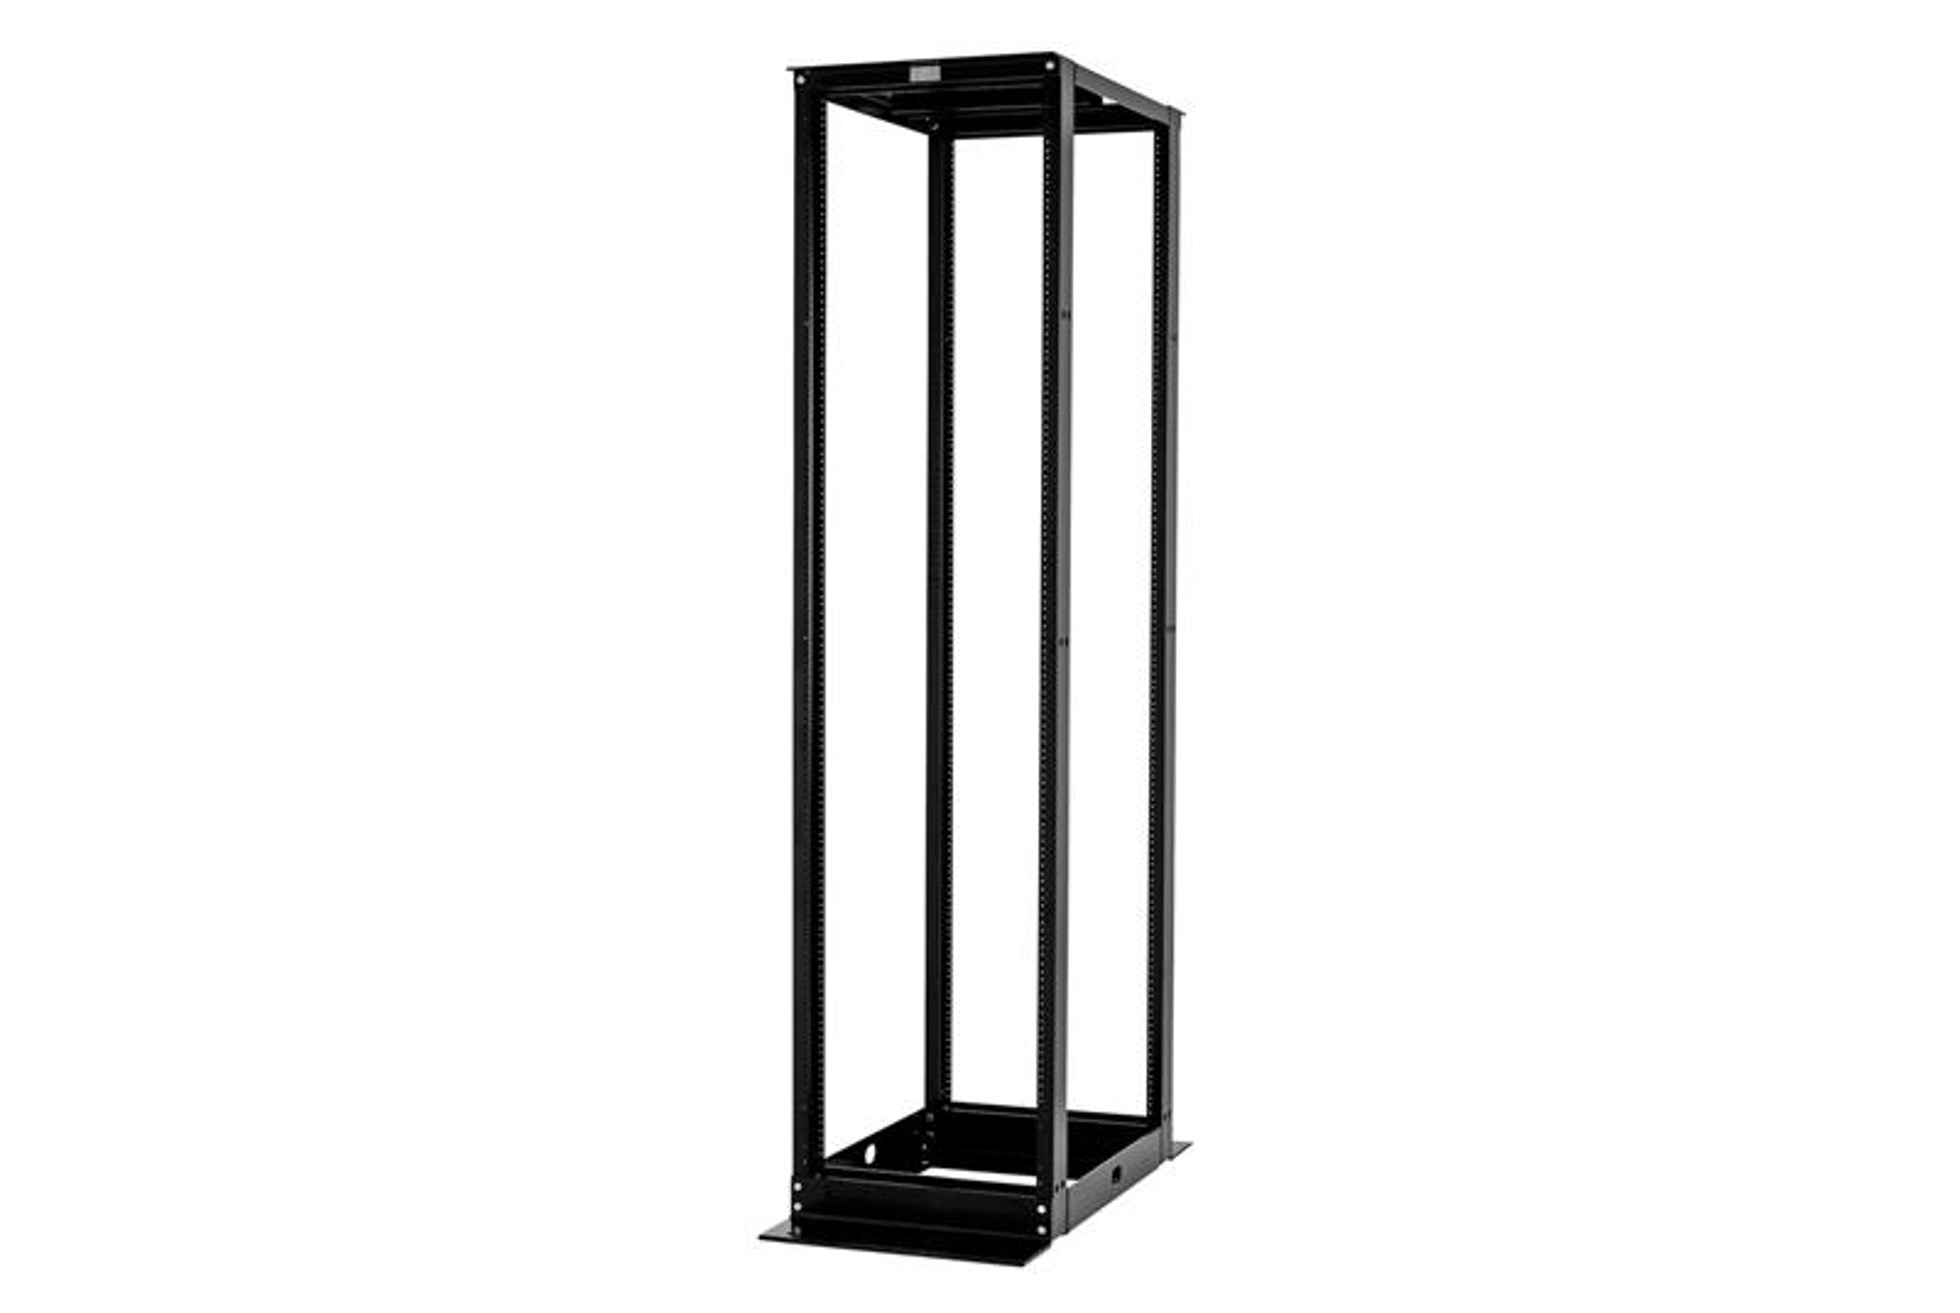
- Start by measuring the height and width of the server rack using a tape measure. The measurements should include any existing panels or equipment already installed in the rack. Take note of these measurements as they will help determine the positioning of the new rack panels.
- Using a marker or pen, mark the desired placement of the rack panels on the sides of the rack. It is recommended to mark the top and bottom positions for each panel, as well as any additional intermediate positions if needed.
- Ensure that the markings are level and aligned with each other. A level can be handy for verifying the accuracy of your markings.
It is important to take into account any specific requirements or guidelines provided by Dell for your rack model. Some racks may have pre-drilled holes or specific mounting positions, while others may require measuring and marking based on your own preferences.
Keep in mind that the placement of the rack panels should allow for proper access to the equipment and cables. Consider leaving enough space between each panel for easy installation and maintenance.
Once you have measured and marked the rack, you are now ready to move on to the next step: preparing the server rack panels.
Step 3: Prepare the server rack panels
After measuring and marking the rack for panel installation, it’s time to prepare the server rack panels. Proper preparation ensures that the panels are ready for mounting onto the rack.
Follow these steps to prepare the server rack panels:
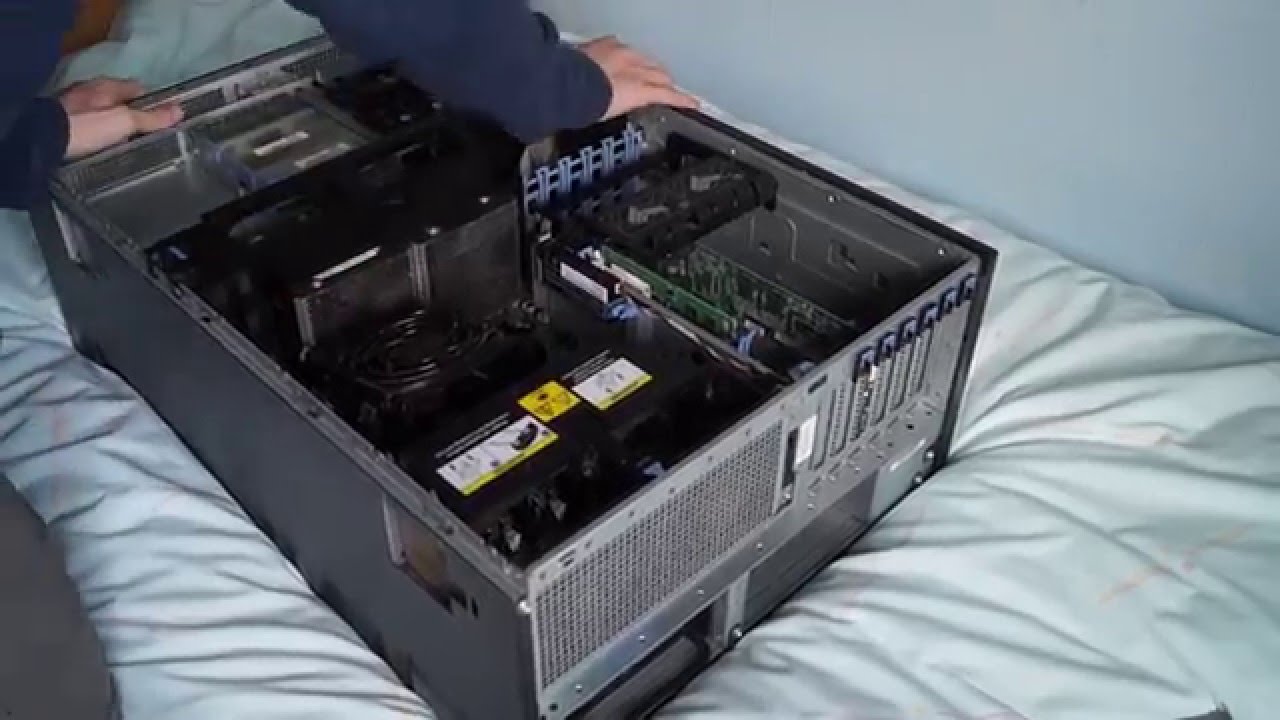
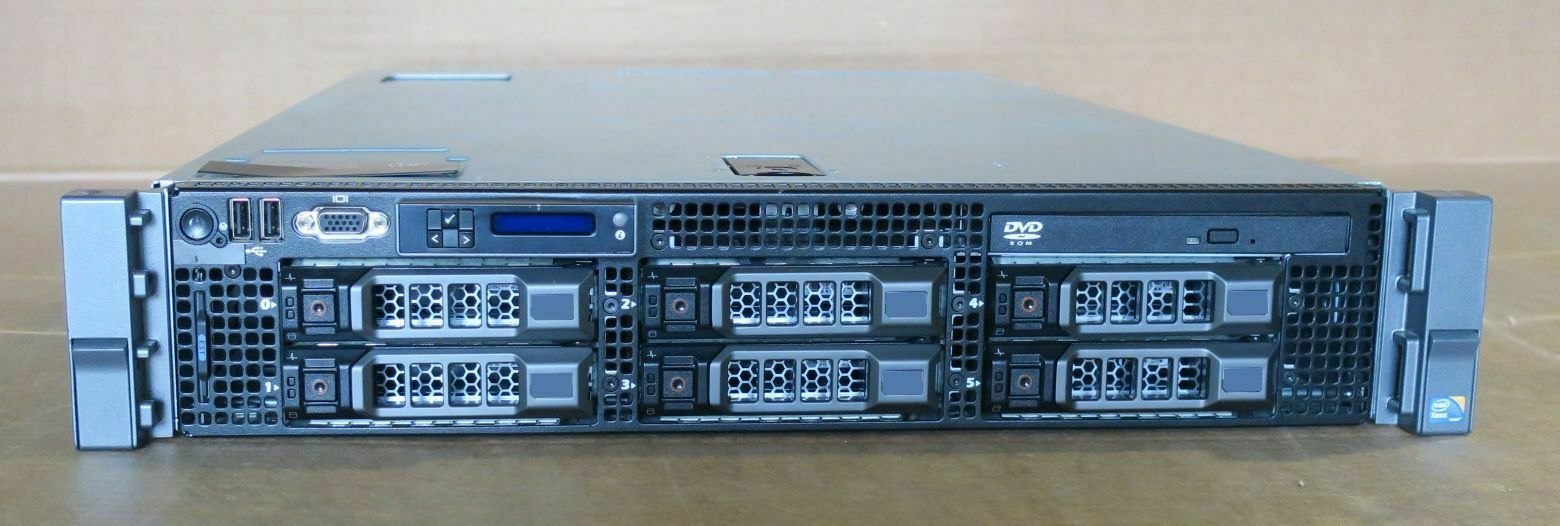
- Inspect the panels: Before installation, carefully inspect each rack panel for any damage or defects. Check for dents, scratches, or misalignments that may affect their functionality or aesthetic appeal.
- Remove any protective coverings: Some rack panels may come with protective coverings or packaging materials. Remove these coverings to expose the panel’s surface and ensure a clean installation.
- Attach any necessary mounting brackets: Depending on the type of rack panels and your specific rack model, you may need to attach mounting brackets. Follow the manufacturer’s instructions to securely attach the brackets to the panels.
- Organize cables and wires: Take the time to organize and route any cables or wires that will be connected to the rack panels. This will prevent tangled wires and improve overall cable management.
- Label the panels: Consider labeling each panel for easy identification and future reference. Use adhesive labels or marking pens to clearly indicate the purpose or function of each panel.
By properly preparing the server rack panels, you ensure that they are in optimal condition and ready for installation. Taking the time to inspect, remove coverings, attach brackets if necessary, organize cables, and label the panels will contribute to a smooth and efficient installation process.
With the server rack panels prepared, you’re ready to move on to the next step: mounting the panels onto the server rack.
Step 4: Mount the panels onto the server rack
Now that you have prepared the server rack panels, it’s time to mount them onto the server rack. Properly installing the panels will ensure their stability and functionality within the rack.
Follow these steps to mount the panels onto the server rack:
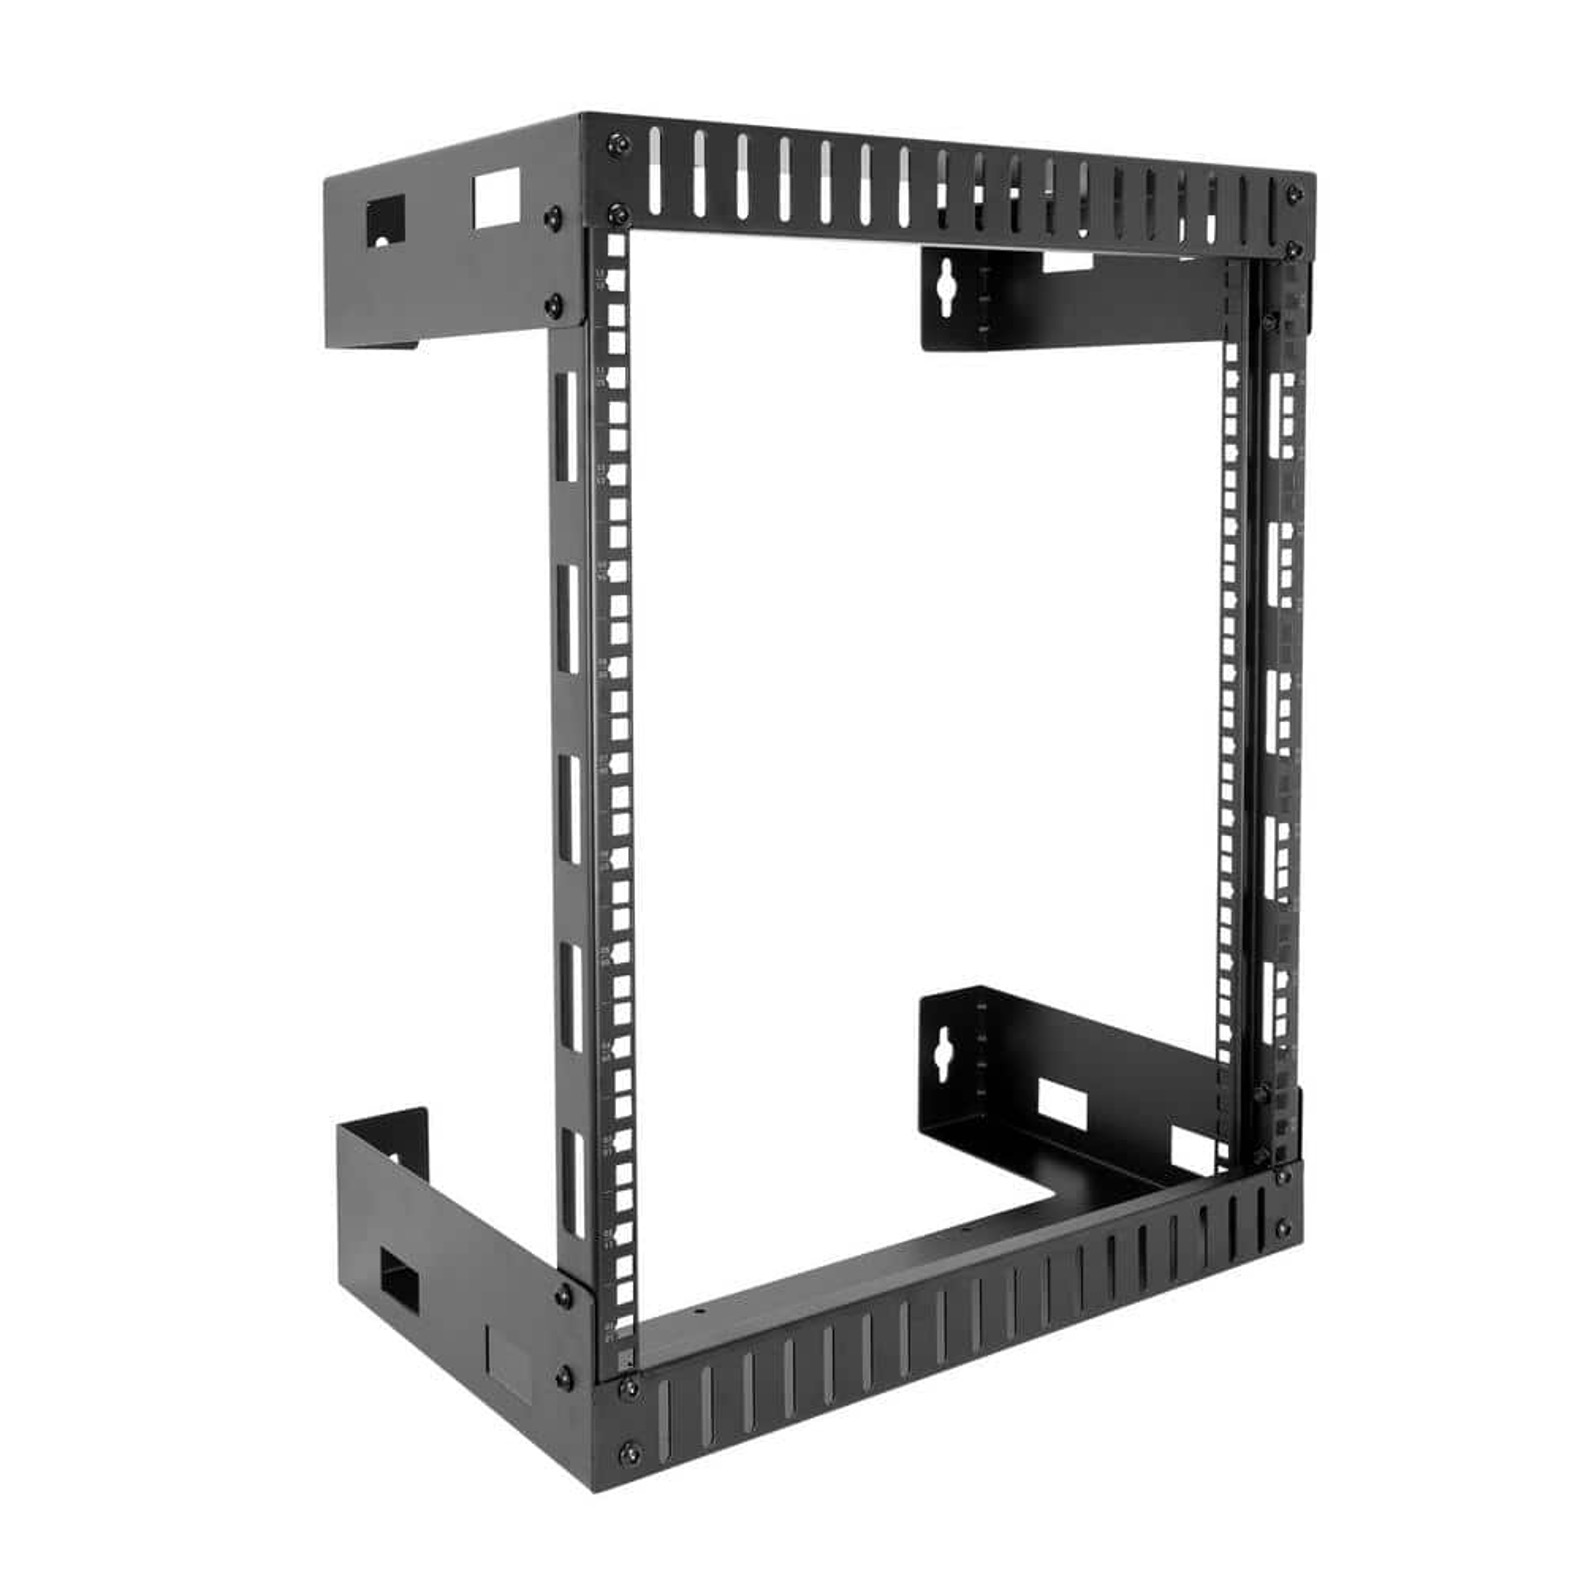
- Position the first panel: Start by positioning the first panel at the designated location on the rack. Align the panel with the marked measurements you made earlier. Ensure that the panel is level and properly aligned with the rack.
- Secure the panel: Depending on the type of rack and panels, you may need to use screws, bolts, or clips to secure the panel onto the rack. Refer to the installation instructions provided by Dell for your specific rack model. Use a screwdriver or appropriate tool to tighten the fasteners and ensure a secure attachment.
- Repeat for remaining panels: Once the first panel is securely mounted, repeat the process for the remaining panels. Align each panel with the markings and secure them in place using the appropriate fasteners.
- Double-check alignment: After mounting all the panels, double-check their alignment and make any necessary adjustments. Use a level to ensure that the panels are straight and level within the rack.
It is important to follow the specific instructions provided by Dell for your rack model. Some racks may have specific mounting mechanisms or requirements. Take your time during this step to ensure that each panel is securely installed and properly aligned.
With the panels mounted onto the server rack, you are now ready to move on to the next step: securing the panels in place.
Step 5: Secure the panels in place
Now that you have successfully mounted the server rack panels onto the rack, the next step is to secure them in place. Properly securing the panels ensures their stability and prevents any unwanted movement or vibrations.
Follow these steps to secure the panels in place:
- Check for stability: Before proceeding with securing the panels, double-check that they are stable and properly aligned. Ensure that there are no loose or wobbly panels.
- Use cable management accessories: If necessary, utilize cable management accessories such as cable ties or clips to organize and secure the cables and wires connected to the rack panels. This will help prevent tangles and maintain a clean and organized setup.
- Tighten screws or fasteners: If your panels are secured using screws or fasteners, use a screwdriver or appropriate tool to ensure that the screws or fasteners are tightened securely. Be careful not to overtighten, as this can damage the panels or the rack.
- Verify panel stability: After securing the panels, gently shake the rack to check for any movement or instability. If any panels are loose or not properly secured, re-tighten the screws or fasteners as needed.
It is crucial to properly secure the panels to prevent any accidents or damage to your equipment. Loose panels can lead to vibrations that may affect the performance and reliability of your server setup.
With the server rack panels securely in place, you are now ready to move on to the next step: connecting the cables and wires.
Step 6: Connect the cables and wires
Now that the server rack panels are securely mounted and in place, it’s time to connect the cables and wires. Properly connecting and organizing the cables is essential for maintaining a neat and efficient server setup.
Follow these steps to connect the cables and wires:
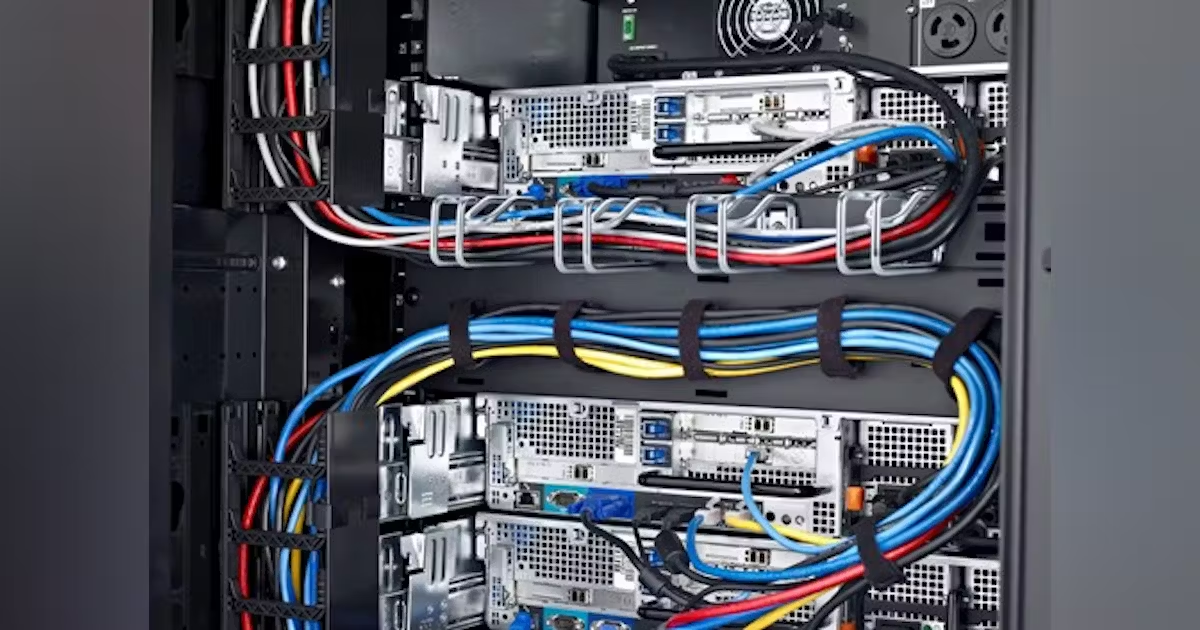
- Organize the cables: Begin by organizing the cables and wires that will be connected to the rack panels. Bundle together similar cables and use cable management accessories like cable ties or clips to keep them organized. This will make it easier to identify and troubleshoot any issues in the future.
- Route the cables: Carefully route the cables and wires to the appropriate rack panels. Avoid placing them in areas where they may be pinched or obstructed. Ensure that each cable has enough slack for any necessary movement or adjustments.
- Connect the cables: Connect each cable to the corresponding ports or connectors on the rack panels. Ensure that the connections are secure and properly seated. Double-check that all cables are connected according to your desired setup and requirements.
- Label the cables: To further enhance organization and ease of maintenance, consider labeling the cables. Use adhesive labels or cable tags to indicate the purpose or destination of each cable. This will save time and effort when troubleshooting or making changes to your server configuration.
Take your time during this step to ensure that the cables are neatly routed and securely connected. Proper cable management reduces the risk of accidental disconnections, signal interference, and overall system maintenance issues.
With the cables and wires connected, you have now successfully completed the installation of your Dell server rack panels. Take a moment to verify that all connections are secure and properly functioning.
Congratulations! You have now completed the installation process and are ready to utilize your Dell server rack panels to their fullest potential.
Conclusion
Installing Dell server rack panels is a crucial step in setting up a functional and organized server room. By following the step-by-step guide provided, you can ensure a successful and efficient installation process.
We began by gathering the necessary tools and materials, including the server rack panels, tape measure, marker, level, screwdriver, cable management accessories, and PPE. These tools are essential for a smooth installation.
Next, we measured and marked the rack for panel installation, ensuring accurate placement and alignment. This step is crucial for achieving a clean and professional-looking server rack setup.
Afterwards, we prepared the server rack panels by inspecting them for any damage, removing protective coverings, attaching mounting brackets if needed, organizing cables and wires, and labeling the panels for easy identification.
With the panels prepared, we proceeded to mount them onto the server rack, taking care to align them properly and secure them with the appropriate fasteners. Double-checking the alignment and stability of the panels is essential for a sturdy installation.
The next step involved securing the panels in place, ensuring stability and preventing any unwanted movement. Proper cable management using accessories like cable ties or clips helped organize and secure the cables and wires connected to the rack panels.
Lastly, we connected the cables and wires, routing them neatly and securely to the appropriate rack panels. Labeling the cables enhanced organization and ease of maintenance.
By completing these steps, you have successfully installed your Dell server rack panels, creating an efficient and well-organized server room. Your equipment is now properly secured and the cables are neatly connected, contributing to the overall functionality and ease of maintenance.
Remember to refer to the user manual or installation guide provided by Dell for your specific rack model for any additional instructions or guidelines.
Thank you for following this guide. We hope it has been helpful in your server rack panel installation process. Happy computing!