Introduction
Welcome to this guide on how to install CentOS 5.5 on VMware Workstation. Whether you are a beginner or an experienced user, this step-by-step tutorial will provide you with the necessary instructions to successfully set up CentOS 5.5 on your virtual machine.
CentOS is a popular open-source Linux distribution that is widely used for server systems and desktop environments. Known for its stability, security, and extensive community support, CentOS is an excellent choice for those looking to deploy robust and reliable infrastructure.
VMware Workstation, on the other hand, is a powerful virtualization platform that allows you to run multiple operating systems simultaneously on a single machine. By using VMware Workstation, you can create virtual environments to test software, develop applications, or simply explore different operating systems.
This tutorial will guide you through the process of downloading the CentOS 5.5 ISO image, creating a new virtual machine in VMware Workstation, configuring the virtual machine settings, installing CentOS 5.5 on the virtual machine, and completing the installation.
By the end of this tutorial, you will have a fully functional CentOS 5.5 virtual machine running on VMware Workstation. You will also gain valuable insights into the installation process, including the configuration options available during setup.
So, let’s get started with Step 1: Downloading the CentOS 5.5 ISO image, and embark on this exciting journey of installing CentOS 5.5 on VMware Workstation!
Step 1: Downloading the CentOS 5.5 ISO
The first step in installing CentOS 5.5 on VMware Workstation is to download the CentOS 5.5 ISO image. The ISO image contains the installation files for the CentOS operating system. Here’s how you can download it:
- Open your web browser and go to the CentOS website (https://www.centos.org/download/).
- On the CentOS download page, scroll down until you find the section for CentOS 5.5. Click on the “Full DVD ISO” link to download the ISO image.
- Once the download is complete, make sure to verify the integrity of the ISO image by checking its MD5 checksum. This step ensures that the ISO image has not been corrupted during the download process.
- To check the MD5 checksum, you can use a checksum tool or a command-line utility that supports MD5 checksum verification. Compare the generated checksum with the one provided on the CentOS website to confirm that the ISO image is intact.
- After verifying the integrity of the ISO image, you are ready to proceed to the next step in the installation process.
Downloading the CentOS 5.5 ISO image is an important step as it provides the necessary files to install the operating system on your virtual machine. Ensure that you have a stable internet connection and sufficient disk space to download the ISO image. The size of the ISO image is approximately 4.4 GB, so make sure you have enough space on your storage device.
Once you have successfully downloaded the CentOS 5.5 ISO image and verified its integrity, you can move on to the next step: creating a new virtual machine in VMware Workstation. This will allow you to set up an environment where you can install and run CentOS 5.5.
Step 2: Creating a New Virtual Machine in VMware Workstation
Now that you have downloaded the CentOS 5.5 ISO image, it’s time to create a new virtual machine in VMware Workstation. Follow these steps to set up the virtual machine:
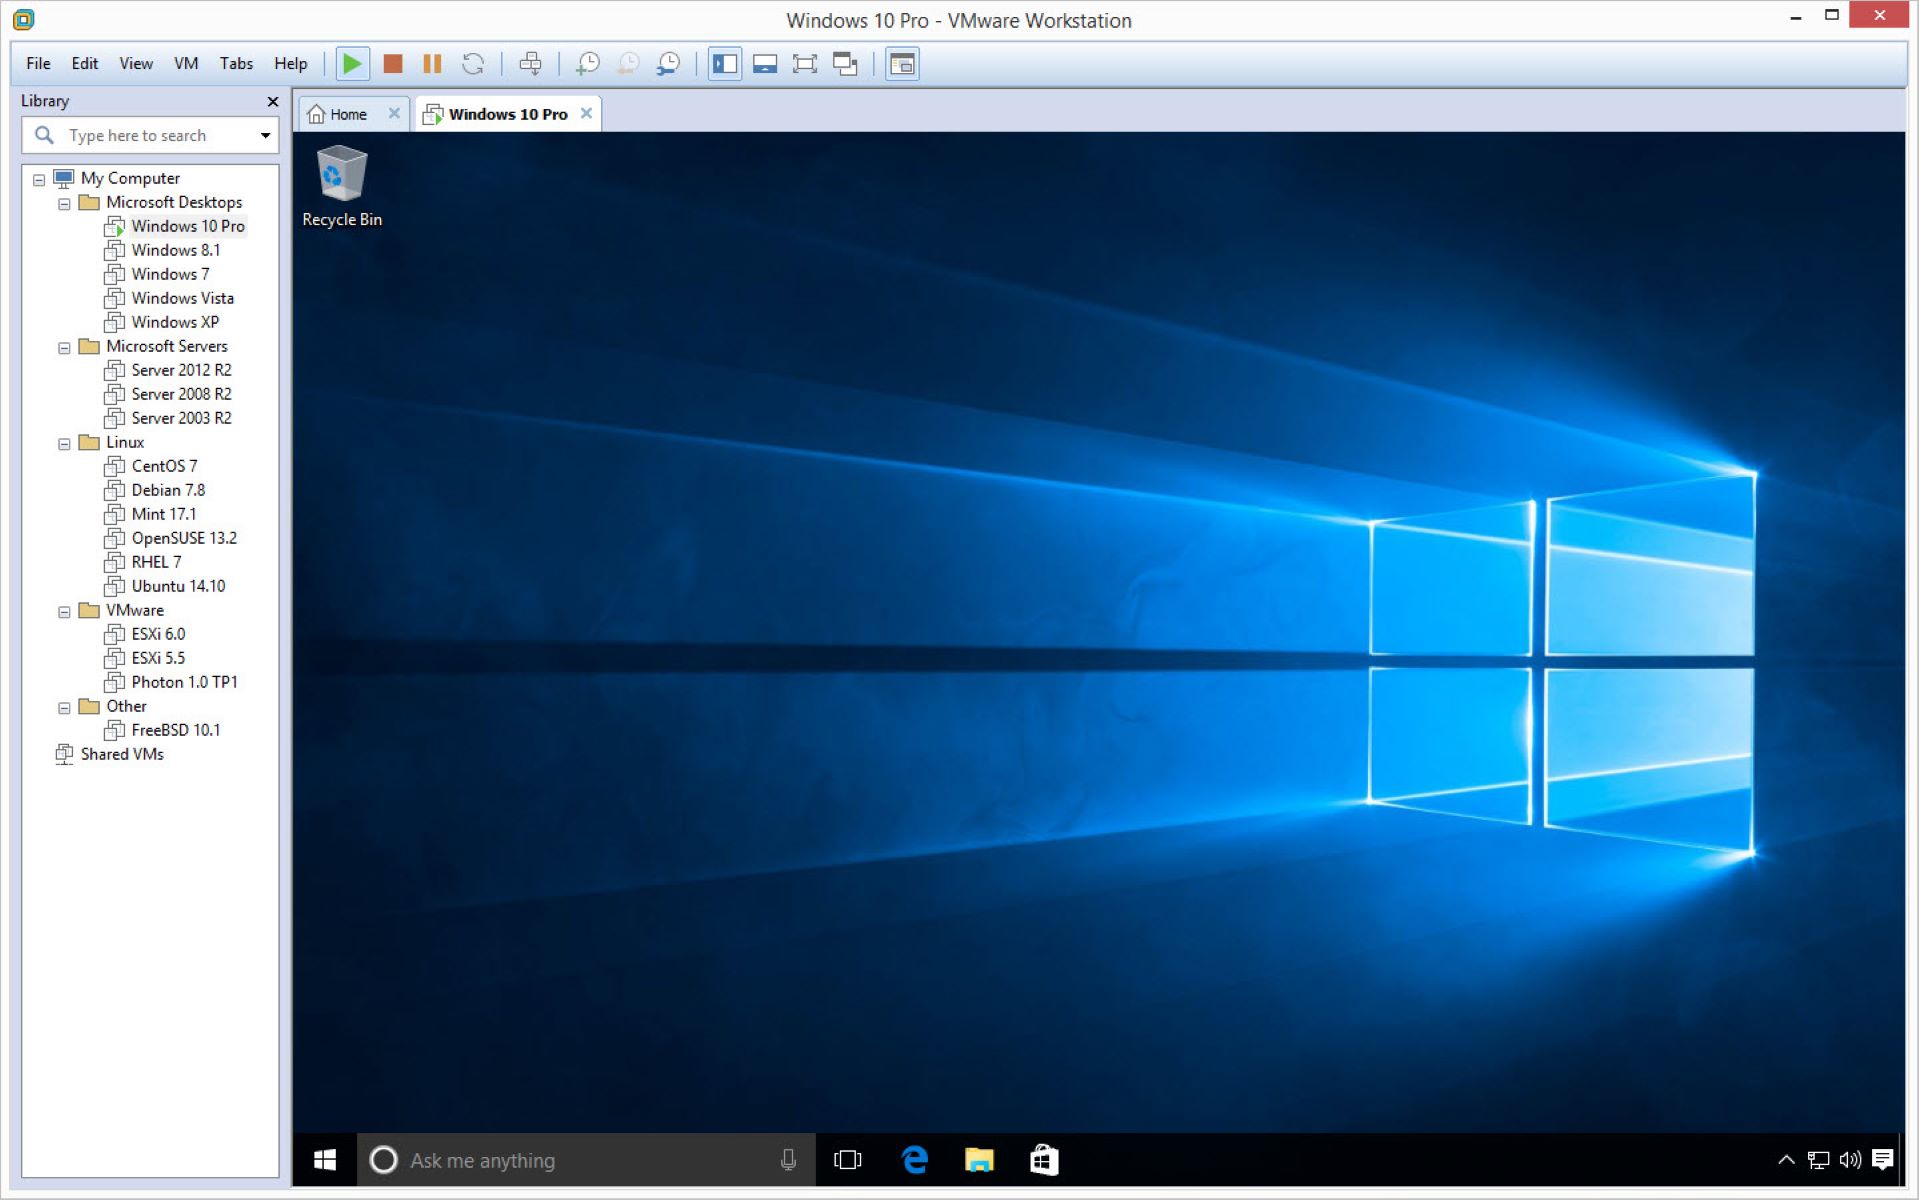
- Launch VMware Workstation on your computer. If you don’t have VMware Workstation installed, you can download it from the official VMware website and install it.
- Click on “Create a New Virtual Machine” or go to the “File” menu and select “New Virtual Machine.”
- The New Virtual Machine Wizard will open. Select “Typical” for the configuration type and click “Next.”
- Choose “Installer disc image file (iso)” and click “Browse” to locate the downloaded CentOS 5.5 ISO image on your computer. Once selected, click “Next.”
- Give your virtual machine a name and specify the location where you want to store its files. Click “Next” to proceed.
- Set the disk size for your virtual machine. The recommended minimum size is 20 GB, but you can adjust it based on your needs. Click “Next” when you’re done.
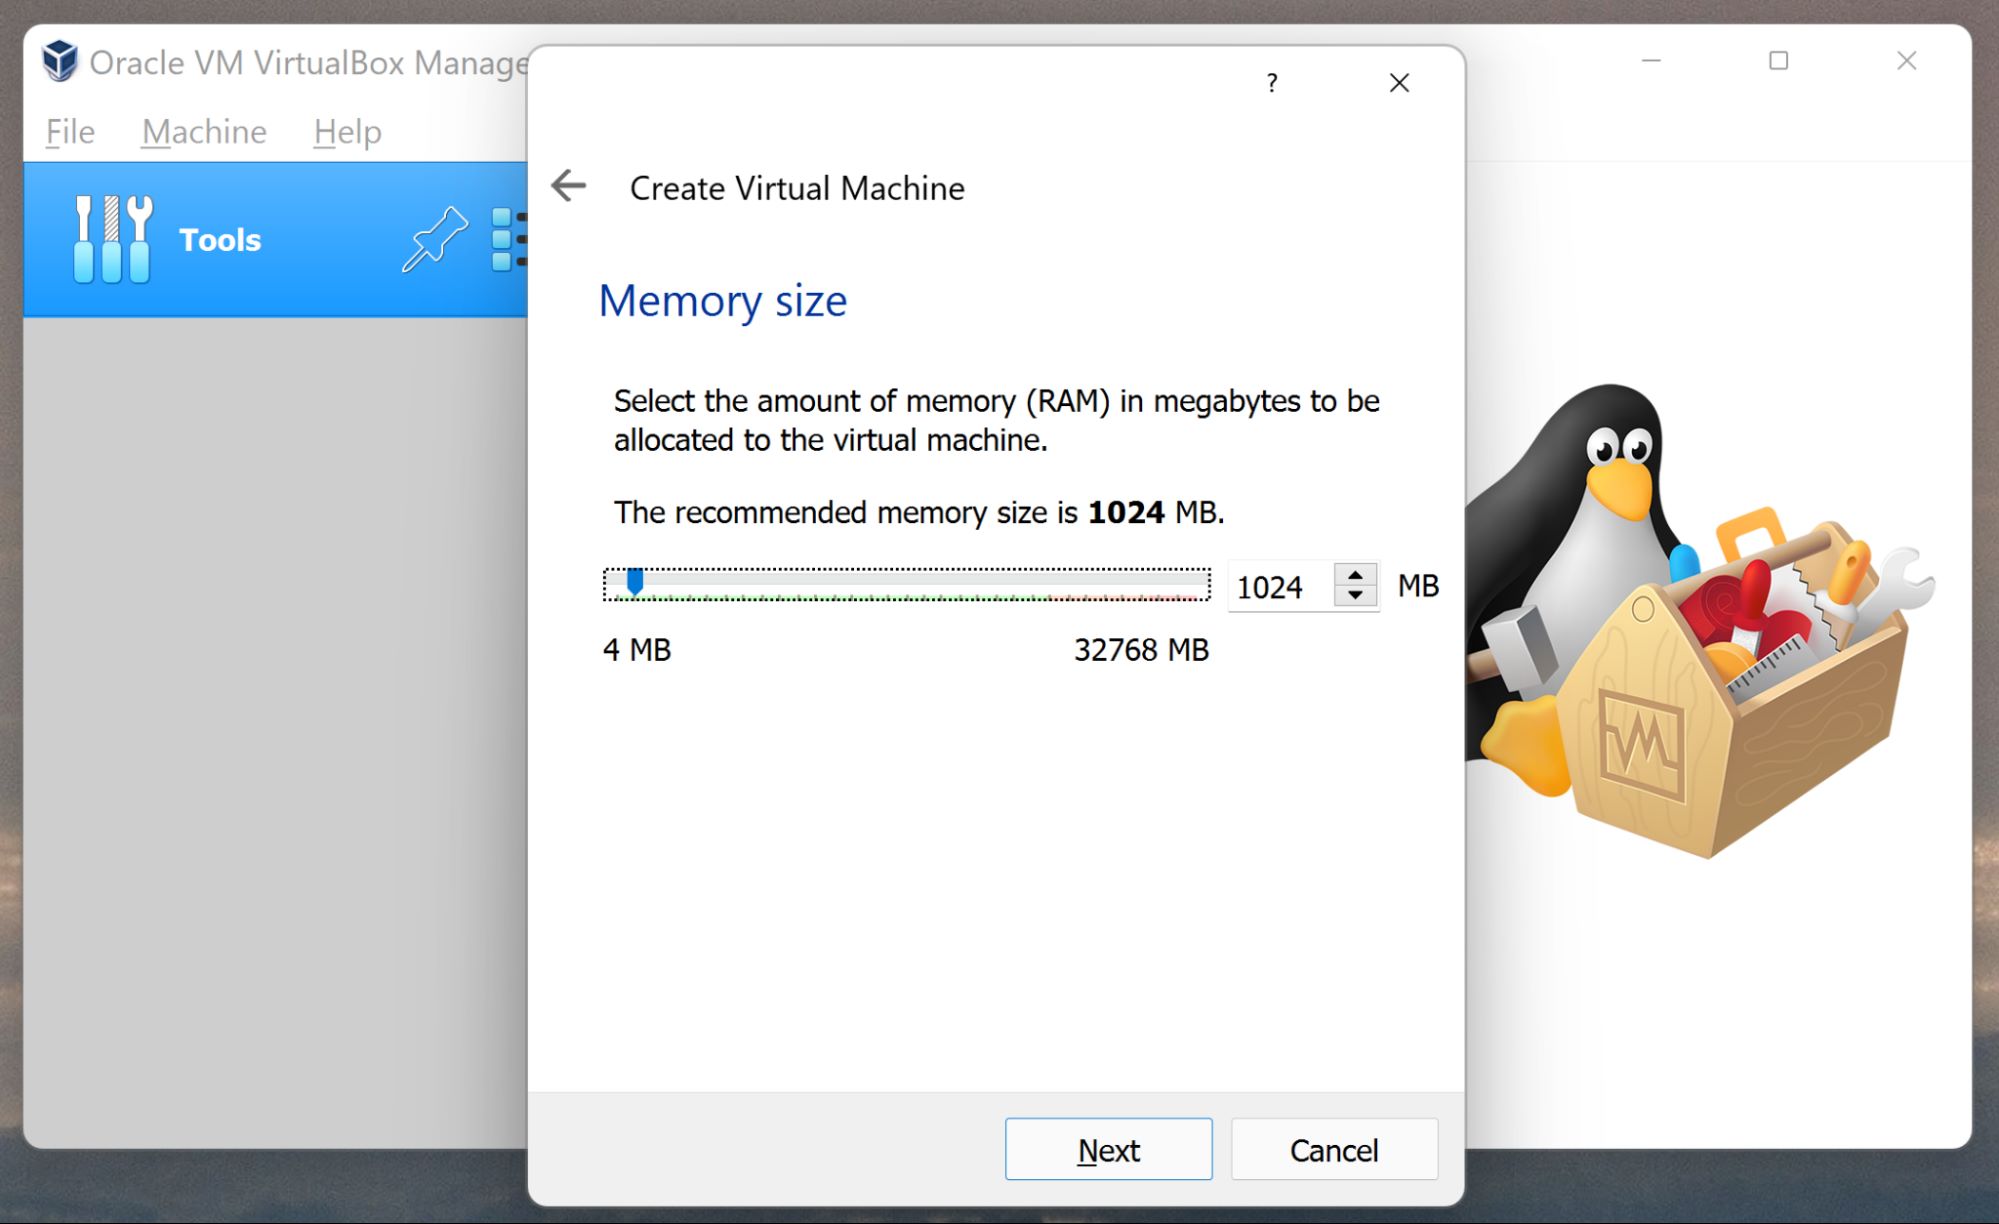
- Adjust the hardware settings for your virtual machine as needed. This includes specifying the number of CPU cores, memory allocation, network settings, and other options. Once you’ve configured the settings, click “Next.”
- Review the summary of your virtual machine configuration. If everything looks correct, click “Finish” to create the virtual machine.
Creating a new virtual machine allows you to define the settings and specifications required for the installation of CentOS 5.5. It also provides you with the flexibility to customize the virtual hardware resources to meet your specific requirements.
Once you have completed these steps, you are now ready to proceed to the next section: configuring the virtual machine settings. This will allow you to fine-tune the configuration of your virtual machine to ensure a smooth installation process for CentOS 5.5.
Step 3: Configuring the Virtual Machine Settings
After creating a new virtual machine in VMware Workstation, the next step is to configure the settings to optimize the installation and performance of CentOS 5.5. Follow these steps to configure the virtual machine settings:
- Select your virtual machine from the VMware Workstation interface and click on “Edit virtual machine settings.”
- In the “Hardware” tab, review and adjust the settings as needed. This includes the number of CPU cores allocated to the virtual machine, the amount of memory, network adapters, and storage devices.
- If you want to customize the network settings, go to the “Network Adapter” section and choose the desired network connection type (such as bridged, NAT, or host-only).
- In the “Options” tab, you can further customize the virtual machine settings. This includes configuring power management options, enabling or disabling shared folders, adjusting the display resolution, and configuring other advanced settings.
- Review all the settings and make any necessary adjustments. Once you’re satisfied with the configuration, click “OK” to save the changes.
By configuring the virtual machine settings, you can optimize the resources allocated to the CentOS 5.5 installation. This ensures that the operating system has sufficient CPU, memory, and networking capabilities to function properly within the virtual environment.
It is important to note that the specific settings you choose will depend on your system requirements and the intended use of the CentOS 5.5 virtual machine. However, the default settings provided by VMware Workstation should be sufficient for most installations.
Now that you have successfully configured the virtual machine settings, you are ready to move on to the next step: installing CentOS 5.5 on the virtual machine. This will involve booting from the CentOS 5.5 ISO image and following the on-screen instructions to complete the installation process.
Step 4: Installing CentOS 5.5 on the Virtual Machine
Now that you have configured the virtual machine settings, it’s time to proceed with the installation of CentOS 5.5 on the virtual machine. Follow these steps to install the operating system:
- Ensure that the CentOS 5.5 ISO image is mounted or attached to the virtual machine as the installation media.
- Start the virtual machine by clicking on the “Power on” button in the VMware Workstation interface.
- The virtual machine will boot from the CentOS 5.5 ISO image and display the CentOS installation wizard.
- Choose your preferred language, keyboard layout, and other localization settings. Click “Next” to continue.
- Read and accept the license agreement to proceed with the installation.
- Next, you will be prompted to select the type of installation. Select “Server” for a minimal server installation or “Desktop” for a graphical desktop environment. You can also choose custom installation options if you have specific preferences.
- Specify the partitioning scheme for the CentOS installation. You can choose the default option or manually configure the disk partitions according to your needs.
- Follow the on-screen instructions to set the root password, create user accounts, and configure additional system settings.
- Once you have completed the configuration, the installation process will begin. Sit back and wait for the process to complete.
- After the installation finishes, you will be prompted to reboot the virtual machine. Remove the CentOS ISO image from the virtual machine before restarting.
During the installation process, CentOS will copy files, install packages, and configure the system according to your selections. This may take some time, so be patient and allow the installation to complete without interruption.
Once the virtual machine reboots after the installation, you have successfully installed CentOS 5.5 on the virtual machine. You can now proceed to the next step: configuring the CentOS 5.5 installation to ensure optimal performance and functionality.
Step 5: Configuring the CentOS 5.5 Installation
Once you have completed the installation of CentOS 5.5 on your virtual machine, it’s time to configure the installation to ensure optimal performance and functionality. Follow these steps to configure CentOS 5.5:
- After the virtual machine reboots, you will be prompted to log in using the username and password you created during the installation process.
- Once logged in, you will be presented with the CentOS desktop environment or command-line interface, depending on the type of installation you chose.
- If you installed the CentOS desktop environment, take some time to familiarize yourself with the interface and explore the available applications.
- If you opted for a server installation, use the command-line interface to configure the system. You can use commands such as
ip addrto check network configuration,vi /etc/hoststo edit the hosts file, andyumto install or update packages. - Configure the network settings, including assigning a static IP address if necessary, to ensure proper connectivity.
- Update the system by running the command
yum updateto install the latest updates and security patches. - Install any additional packages or software that you require for your specific needs using the package manager (
yumordnf). - Set up any services or applications that you need, such as a web server, database server, or FTP server. Refer to the documentation or guides specific to the software you are installing.
- Configure any firewall rules or security measures to protect your CentOS system from unauthorized access.
- Test the installation and configurations to ensure that everything is working correctly.
By properly configuring your CentOS 5.5 installation, you can optimize its performance, enhance security, and tailor it to your specific requirements. Take the time to carefully configure the system based on your needs and ensure all necessary updates and packages are installed.
Once you have completed the configuration, your CentOS 5.5 installation will be ready to use. You can start utilizing it for various purposes such as web hosting, development, or server management.
Now that you have successfully installed and configured CentOS 5.5, you can proceed to the next and final step: completing the installation and first boot of the virtual machine.
Step 6: Completing the Installation and First Boot
As you near the end of the CentOS 5.5 installation process, it’s crucial to ensure that everything is in place for a successful first boot. Follow these final steps to complete the installation:
- After configuring the CentOS 5.5 installation, reboot the virtual machine. This can be done by clicking on the “Restart” option in the CentOS interface or using the appropriate command in the command-line interface.
- The virtual machine will go through the boot process, and you will be prompted to log in using the username and password you created during the installation.
- Once logged in, take a moment to verify that all essential services, applications, and settings are functioning correctly.
- Test the network connectivity to ensure the virtual machine can access the internet and other resources on your network.
- If you encounter any errors or issues during the first boot, refer to the CentOS documentation or online forums for troubleshooting steps.
- Make sure to update the system regularly to keep it secure and up to date. Use the package manager (e.g.,
yumordnf) to install any necessary updates or security patches. - Consider creating regular backups of your virtual machine to protect your data and system configurations.
- Take some time to explore the CentOS 5.5 environment, whether it’s a command-line interface or a graphical desktop environment. Familiarize yourself with the available tools and resources.
- If you encounter any further issues or need assistance, refer to the CentOS documentation, online forums, or seek help from the CentOS community.
Completing the installation and first boot ensures that your CentOS 5.5 virtual machine is ready for use. It allows you to verify the functionality of the system and make any necessary adjustments or configurations.
Congratulations! You have successfully installed CentOS 5.5 on VMware Workstation and completed the necessary steps to ensure a smooth installation and initial boot. Your CentOS 5.5 virtual machine is now ready for you to leverage its power and capabilities for your specific needs.
Now that you have completed the installation process, continue exploring and learning about CentOS 5.5 to fully utilize its features and capabilities.
Conclusion
Installing CentOS 5.5 on VMware Workstation allows you to create a virtual environment that can run the powerful CentOS operating system. Throughout this guide, we have covered the step-by-step process of installing CentOS 5.5 on VMware Workstation, configuring the virtual machine settings, and completing the installation to ensure a successful setup.
CentOS 5.5 offers stability, security, and an extensive range of features, making it an excellent choice for both server systems and desktop environments. By leveraging the capabilities of VMware Workstation, you can run multiple operating systems simultaneously and create flexible and versatile virtual environments.
Throughout the installation process, we have emphasized the importance of customizing the settings based on your requirements. Configuring the hardware resources and network settings will optimize the performance of CentOS 5.5 on your virtual machine.
Once the installation is complete, take the time to further configure CentOS 5.5 according to your specific needs. This includes setting up additional services and applications, configuring security measures, and staying up to date with system updates.
Remember to familiarize yourself with the CentOS 5.5 environment, whether it’s through the graphical desktop interface or the command-line interface. Explore the available tools, resources, and community support to enhance your experience with CentOS 5.5.
By following this guide, you have gained the knowledge and expertise needed to successfully install CentOS 5.5 on VMware Workstation. Enjoy the benefits of CentOS’s stability, security, and extensive capabilities as you utilize them for your server systems or desktop environments.
Continue to learn and explore CentOS 5.5 to unlock its full potential and leverage its features for your specific use cases. Whether you are using CentOS for development, hosting applications, or system administration, this powerful operating system will serve you well in your endeavors.
Thank you for following this guide, and we hope it has been helpful in your journey to install and utilize CentOS 5.5 on VMware Workstation.