Introduction
Creating a CentOS 8 virtual machine (VM) in VMware Workstation allows you to test applications, experiment with different software configurations, or set up a development environment on your local machine. CentOS 8 is a popular Linux distribution known for its stability, security, and long-term support. VMware Workstation, on the other hand, is a powerful virtualization software that enables you to run multiple operating systems simultaneously on a single computer.
This step-by-step guide will walk you through the process of creating a CentOS 8 VM in VMware Workstation. Whether you’re a beginner or an experienced user, this tutorial will provide the necessary instructions to get your virtual machine up and running efficiently.
Before we dive into the steps, there are a few prerequisites you need to have in place. First, ensure that you have a working installation of VMware Workstation on your computer. You can download a free trial version from the VMware website if you don’t have it already. Additionally, you’ll need to have the CentOS 8 ISO file, which you can download from the CentOS website.
Setting up a CentOS 8 VM offers numerous benefits. It allows you to create an isolated environment where you can test software configurations without interfering with your main operating system. It also provides an ideal platform for learning and development purposes, as you can experiment with different tools and techniques without the risk of affecting your production environment. Furthermore, having a CentOS 8 VM handy saves you time and resources by eliminating the need for physical hardware installations.
Now that you understand the significance of creating a CentOS 8 virtual machine, let’s proceed to the prerequisites step, where we will ensure all the necessary requirements are met before moving forward to the actual setup process.
Prerequisites
Before you begin creating a CentOS 8 virtual machine in VMware Workstation, make sure you have the following prerequisites in place:
- VMware Workstation: Ensure that you have VMware Workstation installed on your computer. You can download the latest version from the official VMware website. If you don’t have it already, you can also opt for the free trial version.
- CentOS 8 ISO: Download the CentOS 8 ISO file from the official CentOS website. Ensure that you select the appropriate architecture (32-bit or 64-bit) based on your system specifications.
- Adequate System Resources: Check if your computer meets the minimum system requirements to run VMware Workstation and the CentOS 8 VM smoothly. It is recommended to have a reasonably powerful system with sufficient RAM, CPU, and disk space to ensure optimal performance.
- Network Connectivity: Make sure your computer is connected to the internet during the CentOS 8 installation process. This is necessary to download any required updates or packages during the installation.
- Administrative Privileges: Ensure that you have administrative privileges on your computer to install and configure VMware Workstation and create the virtual machine. This allows you to make system-level changes required for the VM setup.
Taking care of these prerequisites will ensure a smooth and hassle-free CentOS 8 VM setup in VMware Workstation. It is essential to have the necessary software, resources, and permissions to create and configure the virtual machine successfully. Once you have checked off all these prerequisites, you are ready to move on to the next step of downloading the CentOS 8 ISO.
Step 1: Download CentOS 8 ISO
The first step in creating a CentOS 8 virtual machine is to download the CentOS 8 ISO file from the official CentOS website. The ISO file contains the installation image of the CentOS 8 operating system, which we will use to install the OS on our virtual machine.
To download the CentOS 8 ISO, follow these steps:
- Open your preferred web browser and navigate to the official CentOS website at https://www.centos.org.
- Once you’re on the CentOS website, locate and click on the “Get CentOS Now” button or navigate to the Downloads section of the website.
- In the Downloads section, you will find different versions of CentOS available for download. Look for the CentOS 8 version and click on the corresponding link to proceed.
- On the CentOS 8 download page, you will see various mirrors from which you can download the ISO file. Choose a mirror that is geographically closer to your location to ensure faster download speeds.
- Click on the link provided by the mirror to start the download. The CentOS 8 ISO file is usually several gigabytes in size, so the download might take some time based on your internet connection speed.
After the download is complete, you will have the CentOS 8 ISO file ready to be used for the virtual machine installation. It is recommended to save the ISO file in a location where you can easily access it later during the VM setup process.
In the next step, we will guide you through the installation of VMware Workstation, the virtualization software that enables us to create and manage virtual machines on our computer.
Step 2: Install VMware Workstation
In order to create a CentOS 8 virtual machine, we need to have VMware Workstation installed on our computer. VMware Workstation is a powerful virtualization software that allows you to run multiple operating systems on a single physical machine. Here’s how you can install VMware Workstation:
- Download VMware Workstation: Go to the official VMware website at https://www.vmware.com/products/workstation-pro.html to download the latest version of VMware Workstation.
- Choose the Installation Package: On the VMware Workstation download page, select the appropriate installation package for your operating system. VMware Workstation is available for both Windows and Linux platforms.
- Run the Installer: Once the download is complete, navigate to the location where the installation package is saved and run the installer executable (.exe for Windows or .bundle for Linux).
- Accept the Terms of the License Agreement: Read the terms of the license agreement carefully and if you agree, select the checkbox to accept the terms and click on the “Next” or “Install” button.
- Choose the Installation Location: The installer will prompt you to choose the installation location for VMware Workstation. You can either accept the default location or choose a different directory.
- Customize the Installation (Optional): The installer may offer additional options to customize the installation. You can choose whether to install VMware Workstation for all users or just for the current user. Make your selections and click on “Next” or “Install”.
- Wait for the Installation to Complete: The installer will now install VMware Workstation on your computer. This process may take a few minutes. Once the installation is finished, click on the “Finish” or “Close” button.
Congratulations! You have successfully installed VMware Workstation on your computer. This software will serve as the platform for creating and managing virtual machines, including the CentOS 8 VM that we will configure in the following steps.
In the next step, we will guide you through the process of creating a new virtual machine in VMware Workstation to start setting up our CentOS 8 environment.
Step 3: Create a new virtual machine
With VMware Workstation installed on your computer, it’s time to create a new virtual machine to begin setting up your CentOS 8 environment. Follow these steps to create a new virtual machine:
- Launch VMware Workstation: Open VMware Workstation from the start menu or desktop shortcut. The application will open with the VMware Workstation home screen.
- Create a New Virtual Machine: Click on the “Create a New Virtual Machine” option on the home screen, or go to the “File” menu and select “New Virtual Machine”.
- Choose the Installation Method: In the New Virtual Machine Wizard, select the “Typical (recommended)” option and click “Next”. This will guide you through the setup process using default settings.
- Install the Operating System Later: In the next step, select the “I will install the operating system later” option and click “Next”. We will install CentOS 8 using the ISO file in the subsequent steps.
- Select the Guest Operating System: In the next window, choose “Linux” as the guest operating system and select “CentOS 8 x64” from the dropdown menu. Click “Next” to proceed.
- Specify the Virtual Machine Name: Enter a name for your virtual machine, such as “CentOS 8 VM”. You can also choose a location to store the virtual machine files or accept the default location. Click “Next” to continue.
- Specify the Disk Capacity: Set the maximum disk size for your virtual machine. It is recommended to allocate at least 20 GB of disk space for CentOS 8. You can choose to allocate disk space now or later. Click “Next” to proceed.
- Customize Hardware: In the next window, you can customize the hardware settings for your virtual machine, such as memory, processors, network adapters, and display settings. Adjust these settings according to your requirements and click “Next”.
- Ready to Create Virtual Machine: Review the summary of your virtual machine configuration and click “Finish” to create the new virtual machine. VMware Workstation will create the virtual machine based on the specified settings.
Congratulations! You have successfully created a new virtual machine in VMware Workstation. In the next step, we will configure the virtual machine settings to prepare for installing CentOS 8.
Step 4: Configure the virtual machine settings
After creating a new virtual machine in VMware Workstation, the next step is to configure its settings to optimize the CentOS 8 installation. Here are the steps to configure the virtual machine settings:
- Power Off the Virtual Machine: If the virtual machine is running, make sure to power it off before proceeding with the configuration. In VMware Workstation, select the virtual machine from the library and click on the “Power Off” button.
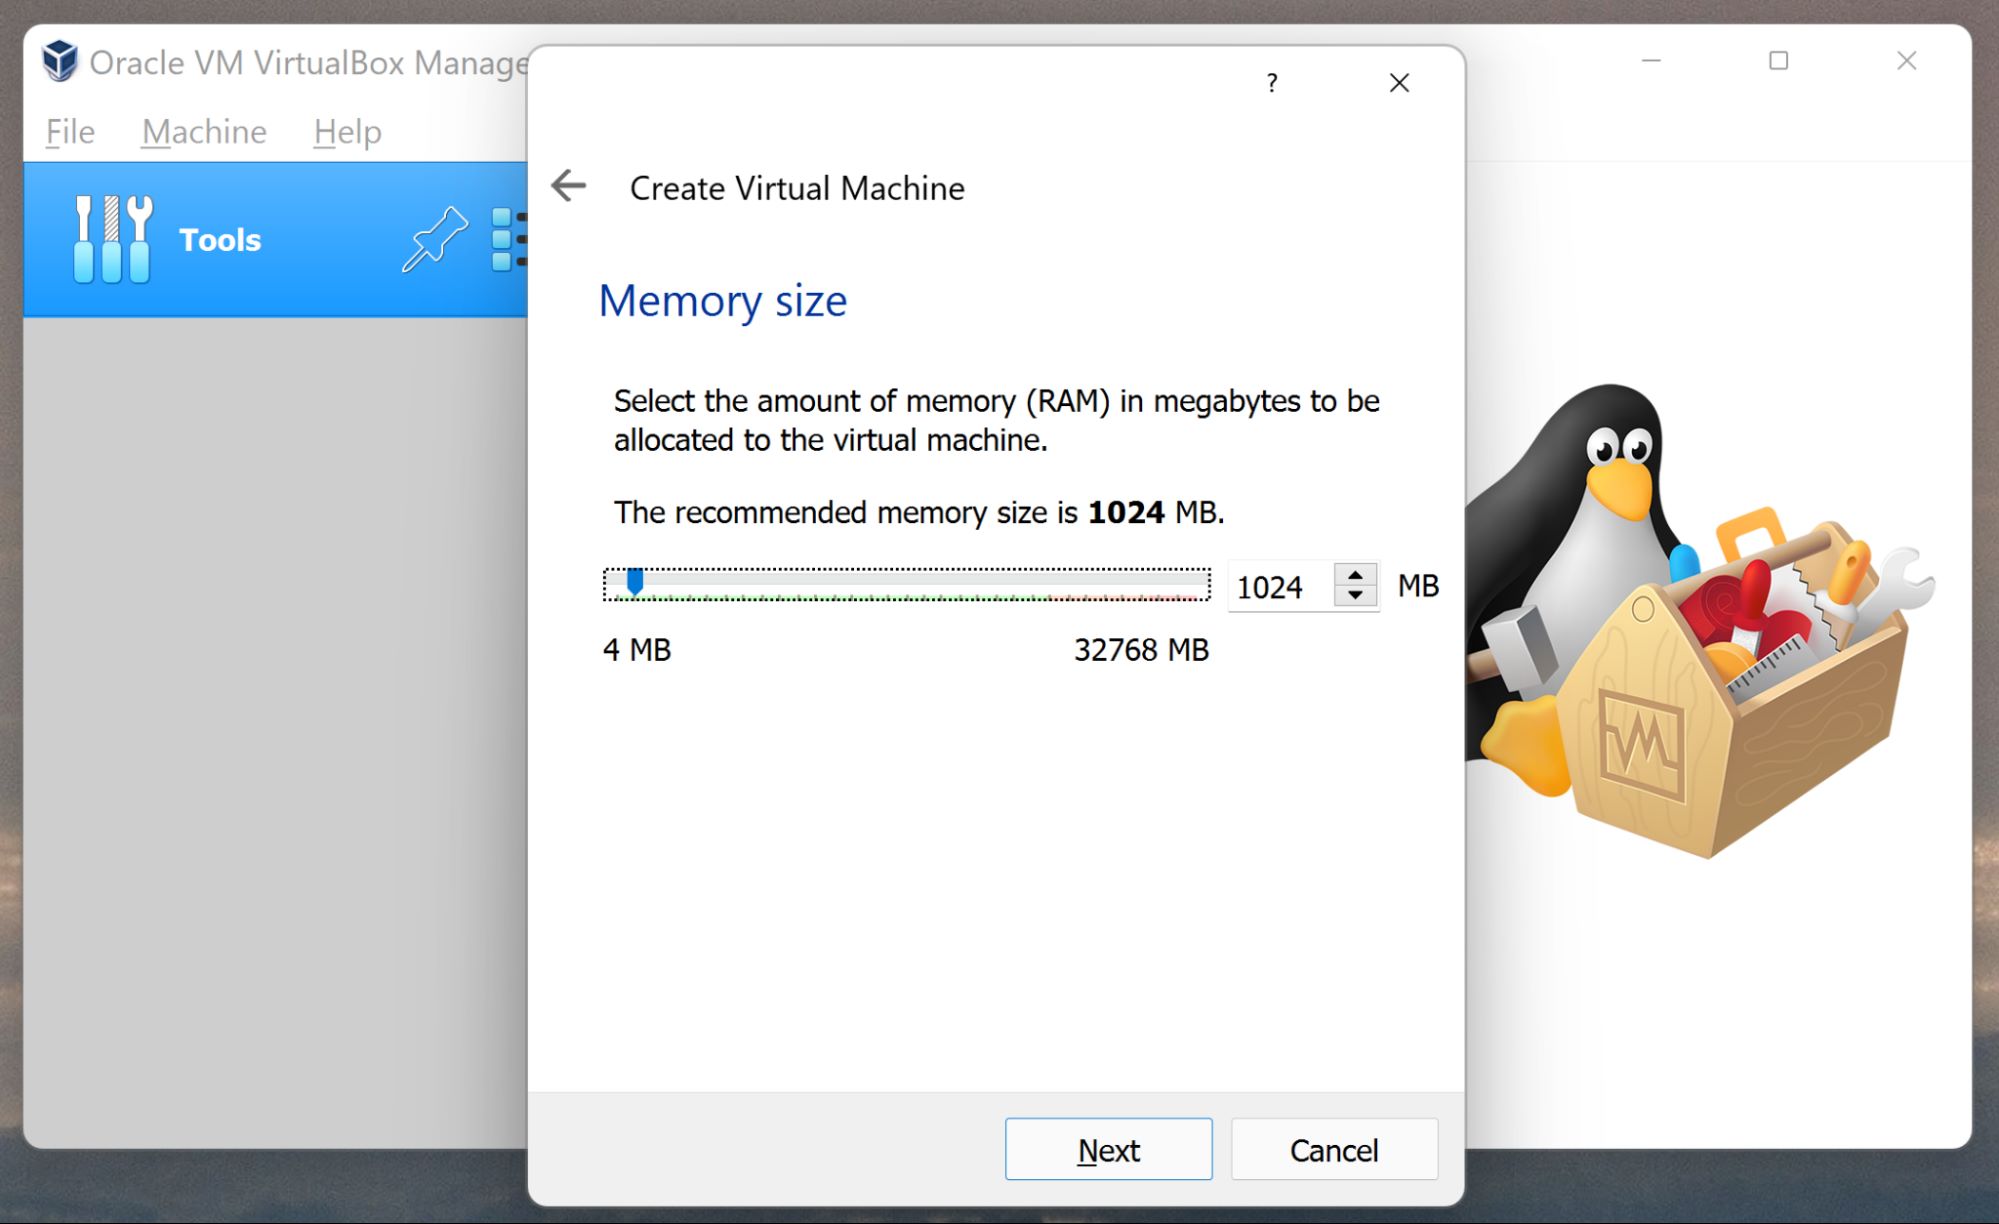
- Adjust Memory Allocation: Depending on the available resources on your computer, you can allocate the desired amount of memory (RAM) to the virtual machine. Higher memory allocation ensures better performance. To adjust the memory allocation, select the virtual machine, click on “Edit virtual machine settings”, navigate to the “Memory” tab, and set the desired memory size.
- Configure Processors: Similarly, you can customize the number of processors assigned to the virtual machine. This determines the processing power dedicated to the CentOS 8 VM. In the “Processors” tab of the virtual machine settings, specify the number of processors you want to allocate.
- Network Adapter Settings: By default, VMware Workstation assigns a Network Address Translation (NAT) virtual network adapter to the virtual machine. This enables internet access for the CentOS 8 VM. If you require a specific network configuration, such as a bridged or host-only network, you can change the network adapter settings by navigating to the “Network Adapter” tab in the virtual machine settings.
- Storage and ISO: Ensure that the virtual machine has the CentOS 8 ISO file attached as the installation media. In the virtual machine settings, go to the “CD/DVD” tab and select the “Use ISO image file” option. Browse and select the downloaded CentOS 8 ISO file.
- Other Hardware Settings: VMware Workstation allows further customization of the virtual machine hardware settings, such as display, sound, USB, and shared folders. You can adjust these settings based on your specific requirements by accessing the corresponding tabs in the virtual machine settings.
- Save the Settings: Once you have configured all the desired settings for the virtual machine, click on the “OK” button to save the changes.
By configuring the virtual machine settings appropriately, you can ensure optimal performance and functionality for your CentOS 8 VM. In the next step, we will proceed with the installation of CentOS 8 on the virtual machine.
Step 5: Install CentOS 8
With the virtual machine settings configured, we are now ready to install CentOS 8 on the virtual machine. Follow these steps to install CentOS 8:
- Power On the Virtual Machine: Start the virtual machine by selecting it from the library and clicking on the “Power On” button in VMware Workstation.
- Access the CentOS 8 Installer: Once the virtual machine boots up, it will present a BIOS screen followed by the CentOS 8 installation screen. Use the arrow keys to navigate and select “Install CentOS 8” to start the installation process.
- Select Language and Keyboard Layout: Choose your preferred language and keyboard layout for the CentOS 8 installation and click “Continue”.
- Configure Installation Destination: In the “Installation Summary” screen, select the installation destination for CentOS 8. This is where the operating system will be installed. You can choose to automatically configure storage or customize the partition layout manually. Click on “Done” once you have made your selection.
- Configure Network: If you want to configure your network settings during the installation, click on the “Network & Host Name” section in the “Installation Summary” screen. Provide the necessary network details and click “Apply”.
- Begin Installation: Review the installation summary to ensure all settings are correct. If everything looks good, click on the “Begin Installation” button to start the CentOS 8 installation process.
- Create User Account: During the installation, create a user account with a password for accessing the CentOS 8 system. Provide the required details and click “Done” when finished.
- Wait for Installation to Complete: CentOS 8 will now be installed on the virtual machine. The installation process may take some time, so be patient and wait for it to complete.
- Reboot the System: Once the installation is finished, the virtual machine will automatically reboot. At this point, the CentOS 8 operating system will be ready to use.
Congratulations! You have successfully installed CentOS 8 on your virtual machine. In the next step, we will guide you through the customization of the CentOS 8 installation to suit your specific requirements.
Step 6: Customize the CentOS 8 installation
Once CentOS 8 has been installed on your virtual machine, it’s time to customize the installation to suit your specific needs. The following steps will guide you through the customization process:
- Login to CentOS 8: After the virtual machine restarts, you will be prompted with the CentOS 8 login screen. Enter the username and password you created during the installation process to access the system.
-
Update the System: It is recommended to update the system with the latest software packages to ensure optimal performance and security. Open a terminal and run the command
sudo dnf updateto update the system. -
Install Additional Software: Depending on your requirements, you may need to install additional software on your CentOS 8 system. Use the package manager
dnfto install the desired software packages. For example, to install a web server, you can run the commandsudo dnf install httpd. -
Configure Networking: If you need to customize the network settings, such as setting a static IP address or configuring DNS servers, you can do so by editing the network configuration files located in the
/etc/sysconfig/network-scripts/directory. -
Enable Firewalld: CentOS 8 comes with a built-in firewall called Firewalld. It is recommended to enable and configure Firewalld to enhance the security of your system. Use the command
sudo systemctl enable firewalldto enable the firewall, and then usesudo firewall-cmdto configure rules and zones. - Customize System Settings: You can further customize the CentOS 8 system settings according to your preferences. This includes configuring user accounts, changing the system language, adjusting display settings, and more. Use the graphical tools or configuration files to modify these settings.
By customizing the CentOS 8 installation, you can tailor the system to meet your specific requirements. Whether it’s installing additional software, configuring networking, or adjusting system settings, CentOS 8 provides the flexibility to create a personalized environment. Experiment and make the necessary changes to optimize the system for your needs.
In the next step, we will cover the finalizing of the CentOS 8 virtual machine setup, ensuring that everything is in place for a smooth and efficient workflow.
Step 7: Finalize the CentOS 8 VM setup
After customizing the CentOS 8 installation, it’s important to finalize the CentOS 8 virtual machine setup to ensure everything is in place for a smooth and efficient workflow. Follow these steps to complete the setup:
- Take Snapshots: Before making any significant changes to your CentOS 8 VM, it’s recommended to take snapshots of the virtual machine. Snapshots capture the current state of the VM, allowing you to revert to it if something goes wrong during the setup process.
- Create Backups: It’s always a good practice to create backups of your CentOS 8 VM, especially if you’ve installed additional software or made extensive customization. Regularly back up your virtual machine files to ensure you don’t lose valuable data in case of any unforeseen issues.
-
Configure Automatic Updates: Enable automatic updates on your CentOS 8 VM to ensure that it stays up to date with the latest security patches and software updates. You can use the
dnf-automaticpackage to configure automatic updates or set up a cron job to run the update commands regularly. -
Secure SSH Access: If you need to access your CentOS 8 VM remotely over SSH, it’s important to secure the SSH configuration. Update the SSH configuration file (
/etc/ssh/sshd_config) to allow only trusted IPs or configure key-based authentication for enhanced security. -
Set Up Monitoring: Install monitoring tools like
htop,ncdu, ortopon your CentOS 8 VM to monitor system resource usage, disk space, and other performance metrics. Monitoring ensures that your VM is running efficiently and helps identify any potential issues. -
Implement Backup Strategies: In addition to regular backups, consider implementing backup strategies specifically for your CentOS 8 VM. This can include offsite backups, incremental backups, or using backup tools like
rsyncorscpto store data in a separate location. - Document Configuration Changes: Keep track of the changes you have made during the CentOS 8 VM setup. Document the customizations, installed software, and any important configuration files you have modified. This documentation will be valuable for troubleshooting purposes or when setting up similar VMs in the future.
By following these finalization steps, you can ensure that your CentOS 8 VM is properly set up and ready for your specific needs. Taking snapshots, creating backups, implementing security measures, and monitoring the system will contribute to a stable and reliable virtual machine environment.
With the CentOS 8 VM fully set up and finalized, you are now ready to make the most of this powerful platform. Enjoy exploring the possibilities and leveraging the benefits of running CentOS 8 in VMware Workstation for your projects and development tasks.
Conclusion
Creating a CentOS 8 virtual machine in VMware Workstation opens up a world of possibilities for testing, development, and experimentation. With the step-by-step guide provided in this article, you have learned how to download the CentOS 8 ISO, install VMware Workstation, create a new virtual machine, configure its settings, install CentOS 8, customize the installation, and finalize the setup.
A CentOS 8 VM offers numerous advantages, including a stable and secure Linux environment for testing software configurations, learning new technologies, and developing applications. Its versatility and flexibility make it an ideal choice for developers, system administrators, and anyone looking to explore the CentOS ecosystem.
During the setup process, you customized the CentOS 8 installation to suit your specific needs by adjusting memory allocation, configuring network settings, and installing additional software packages. You also took steps to secure the virtual machine, implement backups, and monitor system performance.
With your CentOS 8 VM up and running, you are now ready to unleash your creativity and productivity. Use this powerful environment to develop, test, and deploy applications, set up web servers, practice your scripting skills, and more.
Remember to keep your CentOS 8 VM updated with the latest software patches and security updates to maintain system stability and safeguard against vulnerabilities. Regularly back up your virtual machine files and consider implementing monitoring and backup strategies to protect your data and ensure peace of mind.
Feel free to explore more of the CentOS ecosystem, including its vast range of software packages, libraries, and tools that can be installed through the package manager.
By following this guide and harnessing the power of CentOS 8 in VMware Workstation, you have equipped yourself with a versatile and efficient platform for your projects and development needs. Embrace the possibilities, experiment with different configurations, and unlock your creativity in this responsive and feature-rich environment.