Introduction
When it comes to keeping your computer’s CPU cool, an aftermarket CPU cooler can make all the difference. Whether you are a gamer who pushes their system to the limit or a content creator who runs resource-intensive applications, a high-quality cooler can help maintain optimal temperature levels and prevent overheating.
In this guide, we will walk you through the step-by-step process of installing an aftermarket CPU cooler. This upgrade will not only improve the cooling performance of your system but also allow for potential overclocking of your CPU for enhanced performance.
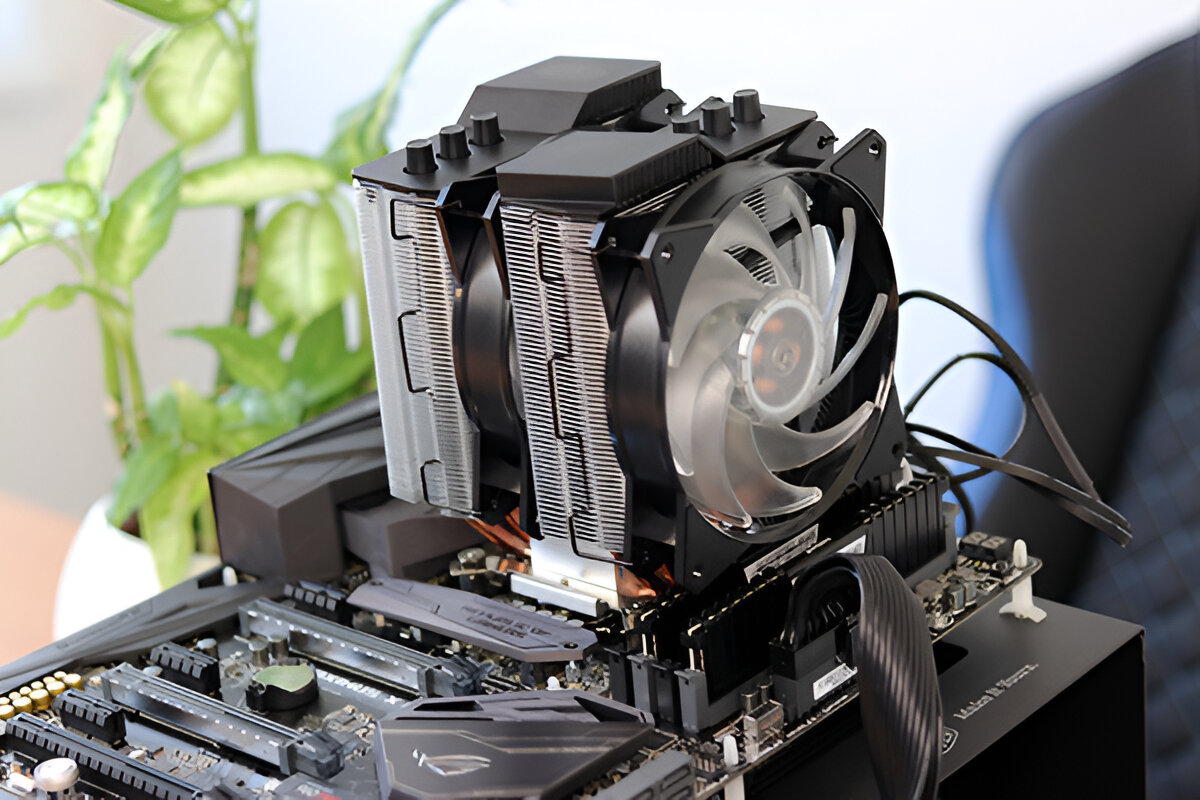
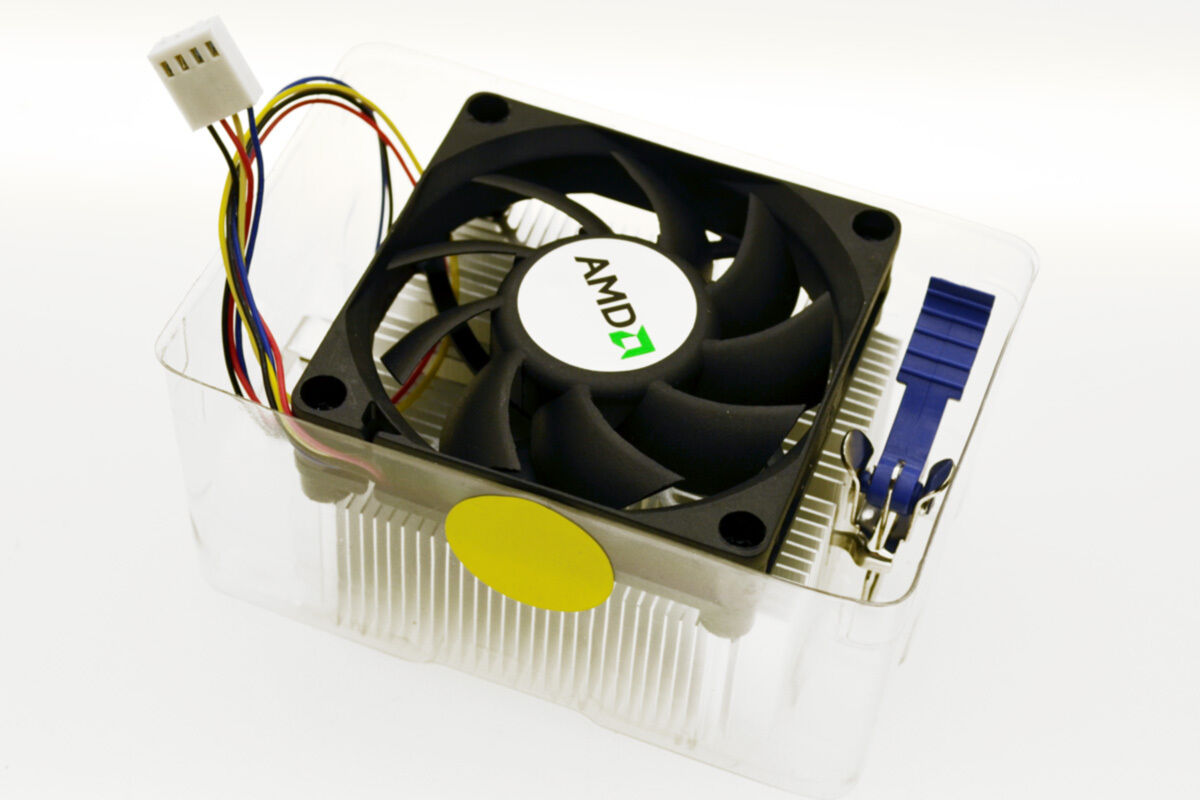
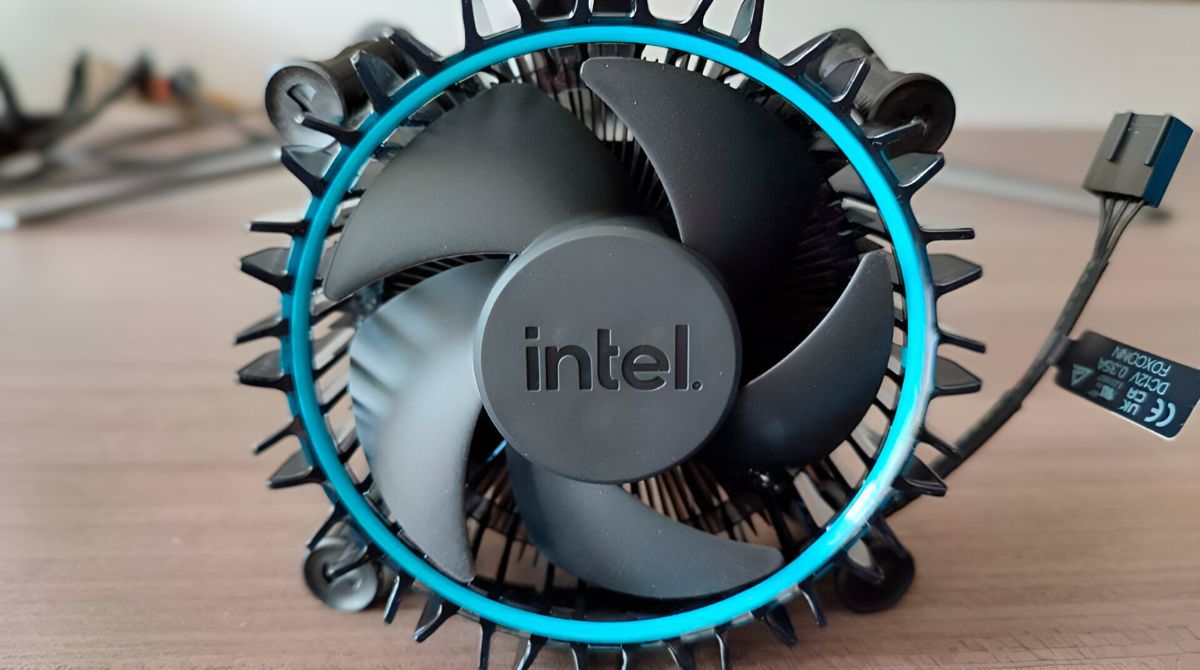
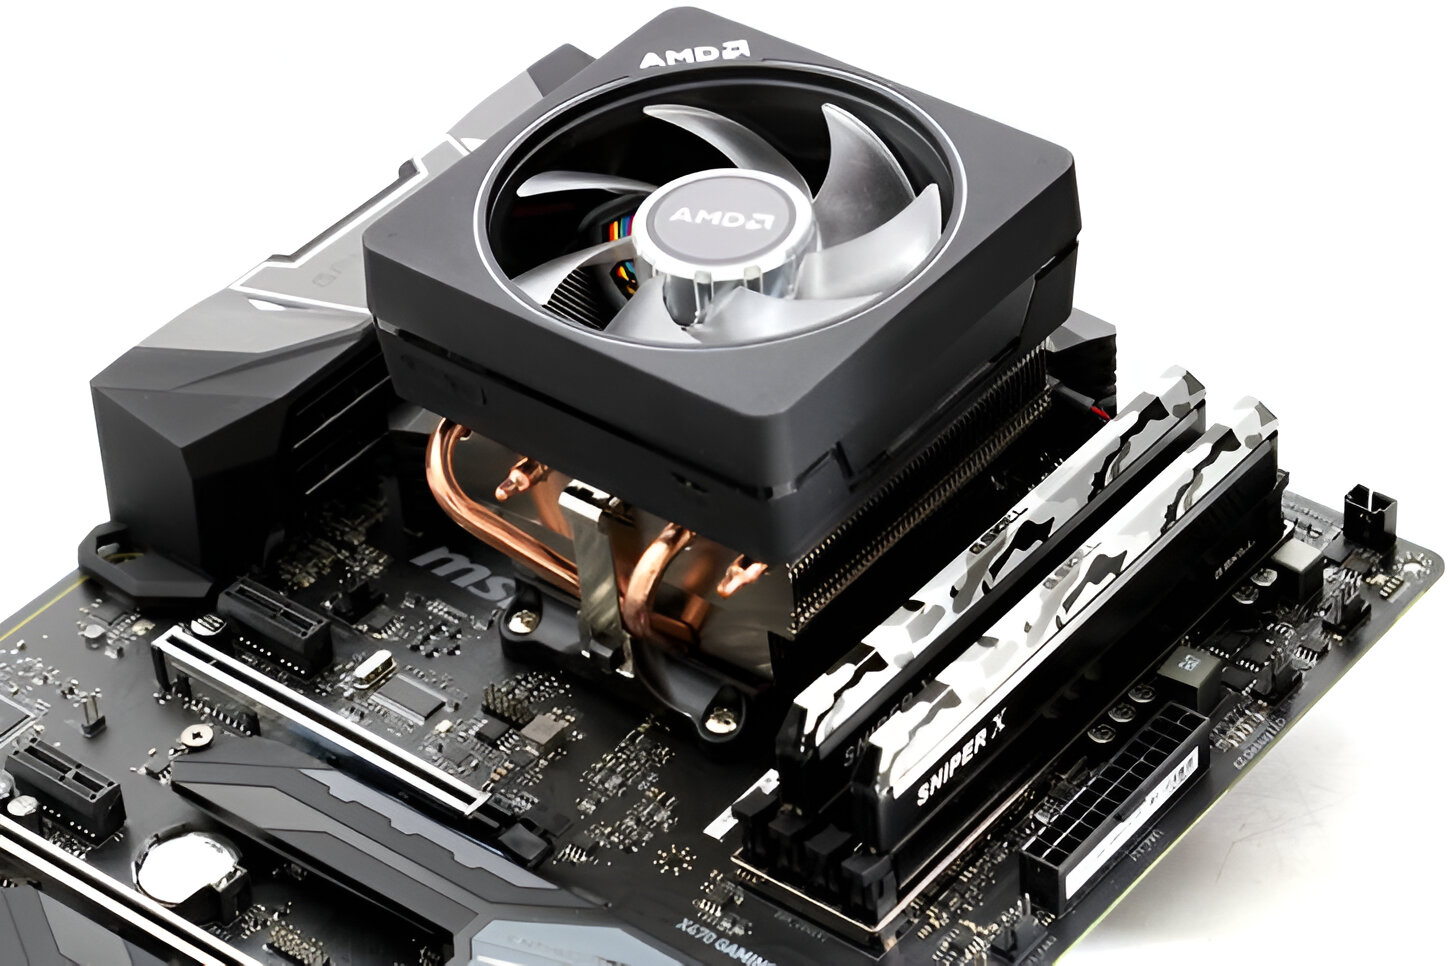
Replacing the stock CPU cooler that came with your computer with an aftermarket one has several benefits. Aftermarket coolers are typically larger and utilize more advanced cooling technologies, such as heat pipes and larger fans, to improve heat dissipation and airflow. This results in lower CPU temperatures, quieter operation, and potentially longer lifespan for your processor.
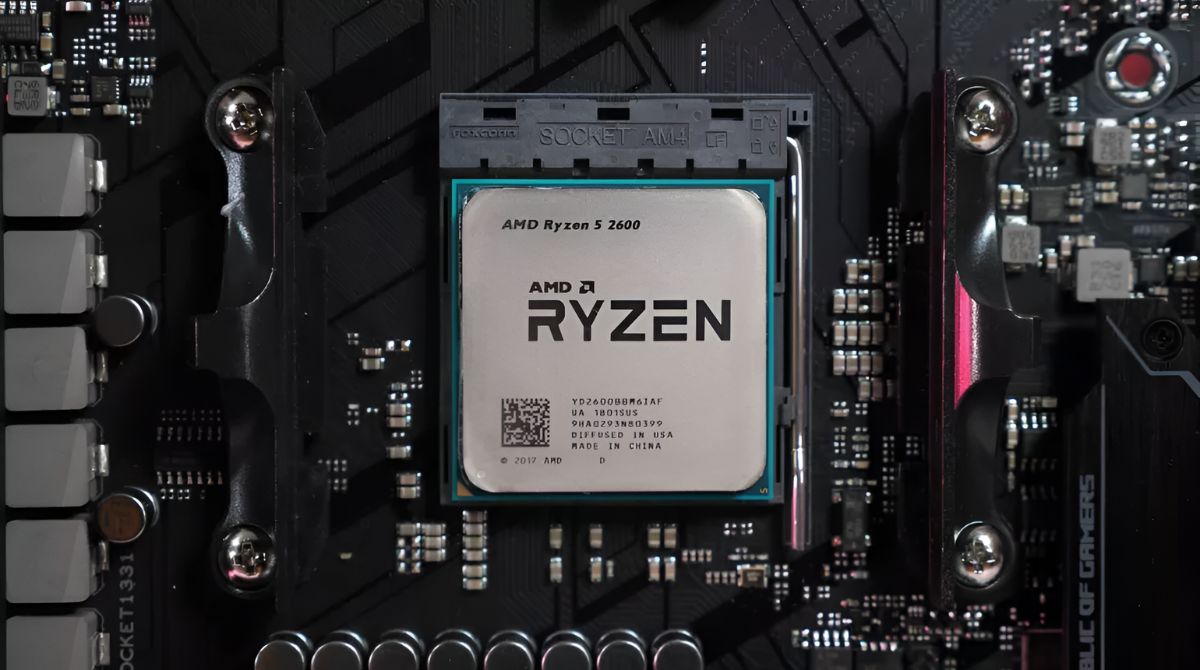
Before we dive into the installation process, it’s important to note that every CPU cooler has specific requirements and compatibility with different socket types. Make sure to check the specifications of the cooler you have chosen and ensure it is compatible with your motherboard’s socket type.
Now, let’s get started and gather the necessary tools and equipment to proceed with the installation of your new aftermarket CPU cooler.
Step 1: Gather the necessary tools and equipment
Before you begin the installation process, it’s important to gather all the necessary tools and equipment to ensure a smooth and efficient installation of your new aftermarket CPU cooler. Here are the items you’ll need:
1. Screwdriver: Depending on your CPU cooler, you may need a Phillips or flathead screwdriver to secure the cooler in place.
2. Thermal paste: Thermal paste is a crucial component that helps transfer heat from the CPU to the cooler. Make sure you have a high-quality thermal paste ready before you start the installation.
3. Isopropyl alcohol and lint-free cloth: Before installing the new cooler, you’ll need to clean the old thermal paste from the CPU. Isopropyl alcohol and a lint-free cloth are essential for this task.
4. CPU cooler mounting brackets: Some aftermarket coolers require special mounting brackets to be installed on the motherboard. Make sure you have the appropriate brackets for your cooler.
5. Optional: Anti-static wristband: Although not necessary, an anti-static wristband can help protect your computer’s sensitive components from electrostatic discharge during the installation process.
Ensure that you have all these tools and equipment readily available before proceeding with the installation. This will help streamline the process and prevent any interruptions or delays.
Now that you’ve collected the necessary tools and equipment, let’s move on to the next step: removing the old CPU cooler.
Step 2: Remove the old CPU cooler
Before you can install the new aftermarket CPU cooler, you’ll need to remove the old cooler from your computer. Follow these steps to safely remove the old CPU cooler:
1. Power off your computer: Shut down your computer and unplug it from the power source. This will prevent any accidental damage to the components.
2. Remove the side panel: Open up your computer case by removing the side panel. This will give you easy access to the motherboard and CPU.
3. Disconnect the CPU fan: Locate the CPU fan connector on the motherboard and gently unplug it. The connector may have a small latch or tab that needs to be released before you can remove the cable.
4. Remove the mounting screws: Take note of the mounting screws or clips securing the cooler in place. There are usually 2-4 screws or clips that hold the cooler onto the CPU socket.
5. Carefully lift the cooler: Slowly and gently lift the old cooler off the CPU. Be cautious not to apply too much force or twist the cooler, as this can damage the CPU or motherboard.
6. Clean the CPU surface: Once the cooler is removed, you’ll notice thermal paste residue on the CPU surface. Use a lint-free cloth and a small amount of isopropyl alcohol to carefully clean off the old thermal paste. Ensure that the surface is clean and free from any debris.
By following these steps, you have successfully removed the old CPU cooler. Now, it’s time to clean the CPU surface and apply thermal paste for the installation of the new aftermarket cooler.
Step 3: Clean the CPU and apply thermal paste
Before installing the new aftermarket CPU cooler, it’s important to clean the CPU surface and apply a fresh layer of thermal paste. This will ensure optimal heat transfer between the CPU and the cooler. Follow these steps:
1. Prepare the CPU surface: Use a lint-free cloth and a small amount of isopropyl alcohol to carefully clean the CPU surface. Gently wipe away any residual thermal paste from the previous cooler. Make sure the surface is clean and free from any debris.
2. Apply thermal paste: Take a small pea-sized amount of thermal paste and apply it to the center of the CPU surface. Be mindful not to apply too much paste, as it can lead to poor heat transfer. The pressure from the cooler’s mounting will spread the thermal paste evenly.
3. Spread the thermal paste: Once the thermal paste is applied, carefully spread it evenly across the CPU surface using a plastic card or a thermal paste spreader. This will ensure maximum coverage and uniform heat transfer.
4. Avoid air bubbles: Make sure there are no air bubbles trapped between the CPU and the thermal paste. Air bubbles can obstruct heat transfer and affect the cooler’s efficiency.
By cleaning the CPU surface and applying the thermal paste correctly, you have prepared the CPU for the installation of the new aftermarket cooler. Now, let’s move on to the next step: installing the new CPU cooler.
Step 4: Install the new aftermarket CPU cooler
Now that the CPU surface is cleaned and the thermal paste is applied, it’s time to install the new aftermarket CPU cooler. Follow these steps to ensure a proper installation:
1. Identify the cooler’s orientation: Take a close look at the CPU cooler and identify its correct orientation. Most coolers are designed to blow air towards the rear exhaust fan of the computer case for efficient airflow.
2. Align the cooler with the mounting holes: Carefully align the mounting holes of the CPU cooler with the corresponding holes on the motherboard. Make sure the cooler is centered, ensuring even pressure distribution.
3. Secure the cooler in place: Depending on your cooler’s design, use the provided screws or mounting brackets to secure the cooler to the motherboard. Tighten the screws gradually and in a diagonal pattern to ensure even pressure.
4. Follow manufacturer instructions: Refer to the manufacturer’s instructions for any specific installation requirements or additional steps. This will ensure that you install the cooler correctly and securely.
5. Check for proper contact: Gently press down on the cooler to ensure it is making proper contact with the CPU surface. This will help ensure efficient heat transfer.
6. Double-check the orientation: Before moving on, double-check that the cooler is oriented correctly, and the fan is facing the right direction for optimal airflow.
By following these steps, you have successfully installed the new aftermarket CPU cooler. Now, let’s proceed to the next step: securing the CPU cooler in place.
Step 5: Secure the CPU cooler in place
After installing the new aftermarket CPU cooler, it’s essential to properly secure it in place to ensure stability and optimal cooling performance. Follow these steps to securely fasten the CPU cooler:
1. Tighten the mounting screws: Use a screwdriver to carefully tighten the mounting screws or brackets that hold the CPU cooler in place. Ensure that the screws are tightened evenly and snugly to avoid any wobbling or movement of the cooler.
2. Avoid overtightening: Be cautious not to overtighten the screws, as this can damage the motherboard or affect the cooling efficiency. It’s best to tighten the screws just enough to ensure a secure fit.
3. Check for proper alignment: Verify that the CPU cooler is seated correctly and aligned with the CPU socket. Any misalignment can obstruct proper contact between the cooler and CPU, affecting heat transfer.
4. Reinstall the side panel: Once the CPU cooler is securely in place, carefully put back the side panel of your computer case. Make sure it is properly aligned and fastened to ensure a clean and secure enclosure.
5. Plug in the CPU fan: Locate the CPU fan connector on the motherboard and connect the CPU cooler’s fan cable to it. Ensure a secure connection by firmly pressing it into place.
With the CPU cooler securely fastened, you can have peace of mind knowing that your CPU will stay cool during intensive tasks. In the next step, we will guide you through connecting the CPU fan to the motherboard.
Step 6: Connect the CPU fan to the motherboard
Connecting the CPU fan to the motherboard is a crucial step in ensuring proper cooling and efficient operation of your system. Follow these steps to connect the CPU fan to the motherboard:
1. Locate the CPU fan header: Look for the CPU fan header on the motherboard. It is usually labeled as “CPU_FAN” or something similar. Refer to your motherboard’s manual for the exact location.
2. Position the CPU fan cable: Position the CPU fan cable so that it can easily reach the CPU fan header without any tension or strain. Ensure that the cable does not interfere with other components or fans inside the case.
3. Connect the CPU fan cable: Align the pins on the CPU fan cable with the corresponding holes on the CPU fan header. Gently press the cable down to firmly connect it to the header. There may be a locking mechanism or clip that you need to secure, depending on the header design.
4. Verify the connection: Once connected, double-check that the CPU fan cable is securely attached to the CPU fan header. Ensure that there is no looseness or wobbling.
5. Cable management: Tidy up the cables inside your computer case to ensure optimal airflow and prevent any interference with the CPU fan. Use cable ties or clips to secure the cables and keep them organized.
6. Power on your computer: Now that the CPU fan is connected to the motherboard, you can power on your computer and check if the fan is spinning properly. Monitor the CPU temperatures using software or BIOS to ensure proper cooling.
By properly connecting the CPU fan to the motherboard, you can ensure that the cooler functions correctly and effectively dissipates heat from the CPU. In the next step, we will cover testing and final steps to complete the installation process.
Step 7: Testing and Final Steps
After completing the installation of the new aftermarket CPU cooler, it’s essential to perform a few tests and final steps to ensure everything is functioning correctly. Follow these steps to test your installation and wrap up the process:
1. Power on your computer: Start your computer and enter the BIOS settings to monitor the CPU temperature. Ensure that the temperatures are within normal ranges and lower than before.
2. Stress test the CPU: Run a stress test or intensive task to put your CPU under load. Monitor the CPU’s temperature to ensure that it remains stable and does not reach dangerously high levels. If the temperatures are too high, you may need to reseat the cooler or adjust the fan speed.
3. Check for vibrations or noise: Pay attention to vibrations, rattling, or excessive noise coming from the CPU cooler. If you notice any unusual sounds, it may indicate a loose screw or an issue with the installation. In such cases, check and tighten the screws as needed.
4. Adjust fan speed (optional): Depending on your CPU cooler and motherboard, you may have the option to adjust the fan speed for optimal performance. Consult your motherboard’s manual or BIOS settings to make any necessary adjustments.
5. Perform regular maintenance: It’s important to periodically clean the CPU cooler and remove any dust accumulation to maintain its efficiency. Use compressed air or a soft brush to gently clean the cooler’s fins and the fan blades.
6. Replace the side panel: Once you have completed the testing and final adjustments, carefully reattach the side panel of your computer case. Ensure that it is properly aligned and securely fastened.
With these final steps, you have successfully installed the new aftermarket CPU cooler and ensured its proper functioning. Enjoy the improved cooling performance, reduced noise levels, and potentially enhanced overclocking capabilities that the new cooler provides.
Remember to consult your cooler’s manual and your motherboard’s specifications for any specific instructions or recommendations. Regularly monitor your CPU temperatures and perform maintenance to keep your system running at its best.
Conclusion
Congratulations! You have successfully completed the installation of your new aftermarket CPU cooler. By following the step-by-step guide, you have improved the cooling performance of your computer, allowing for optimal temperature levels and enhanced system stability.
Installing an aftermarket CPU cooler not only helps maintain lower CPU temperatures but also provides benefits such as quieter operation, potential overclocking capabilities, and extended CPU lifespan. With proper cooling, you can push your system to its limits without worrying about overheating.
Throughout the installation process, you have learned important steps, including gathering the necessary tools, removing the old CPU cooler, cleaning the CPU surface, applying thermal paste, installing the new cooler, securing it in place, connecting the CPU fan to the motherboard, and performing final tests.
Remember to monitor your CPU temperatures regularly, especially during heavy use, to ensure your system’s stability and performance. Additionally, perform routine maintenance to keep your CPU cooler free from dust and debris, ensuring continuous efficiency.
Installing an aftermarket CPU cooler may seem daunting at first, but with careful attention and following the instructions, you can successfully upgrade your cooling system and reap the benefits it offers.
Now that your new CPU cooler is in place, enjoy the improved cooling efficiency, quieter operation, and potentially enhanced performance of your computer. Whether you’re a gamer, content creator, or simply a power user, a well-cooled CPU is crucial for a smooth and reliable computing experience.
Thank you for following this guide, and we hope it has been helpful in your CPU cooler installation journey. If you have any questions or need further assistance, don’t hesitate to consult your cooler’s manual or reach out to technical support.


